Quilty Chicks BOM: Chicken 2 Tutorial


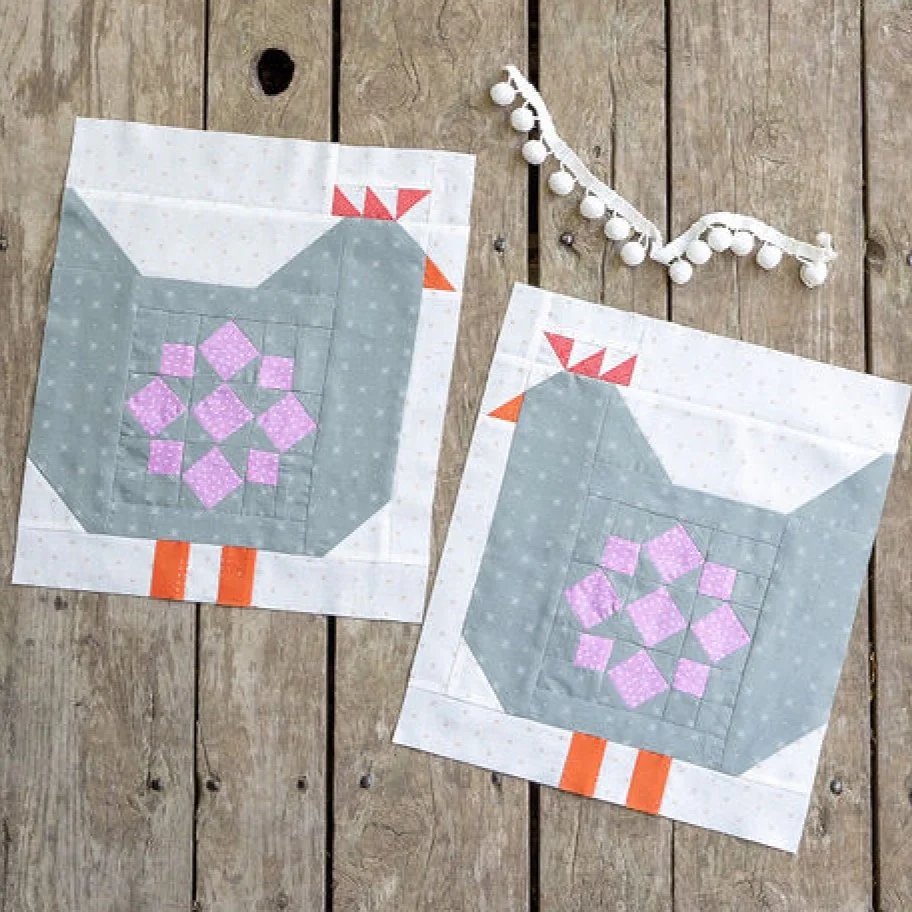
Ready to make Chicken 2 in the Quilty Chicks Block of the Month?! The interior block is more complicated than Chicken 1 but totally manageable. It can be a little challenging to work with such small fabric pieces but, on the bright side, you don't have to pin as much. :)
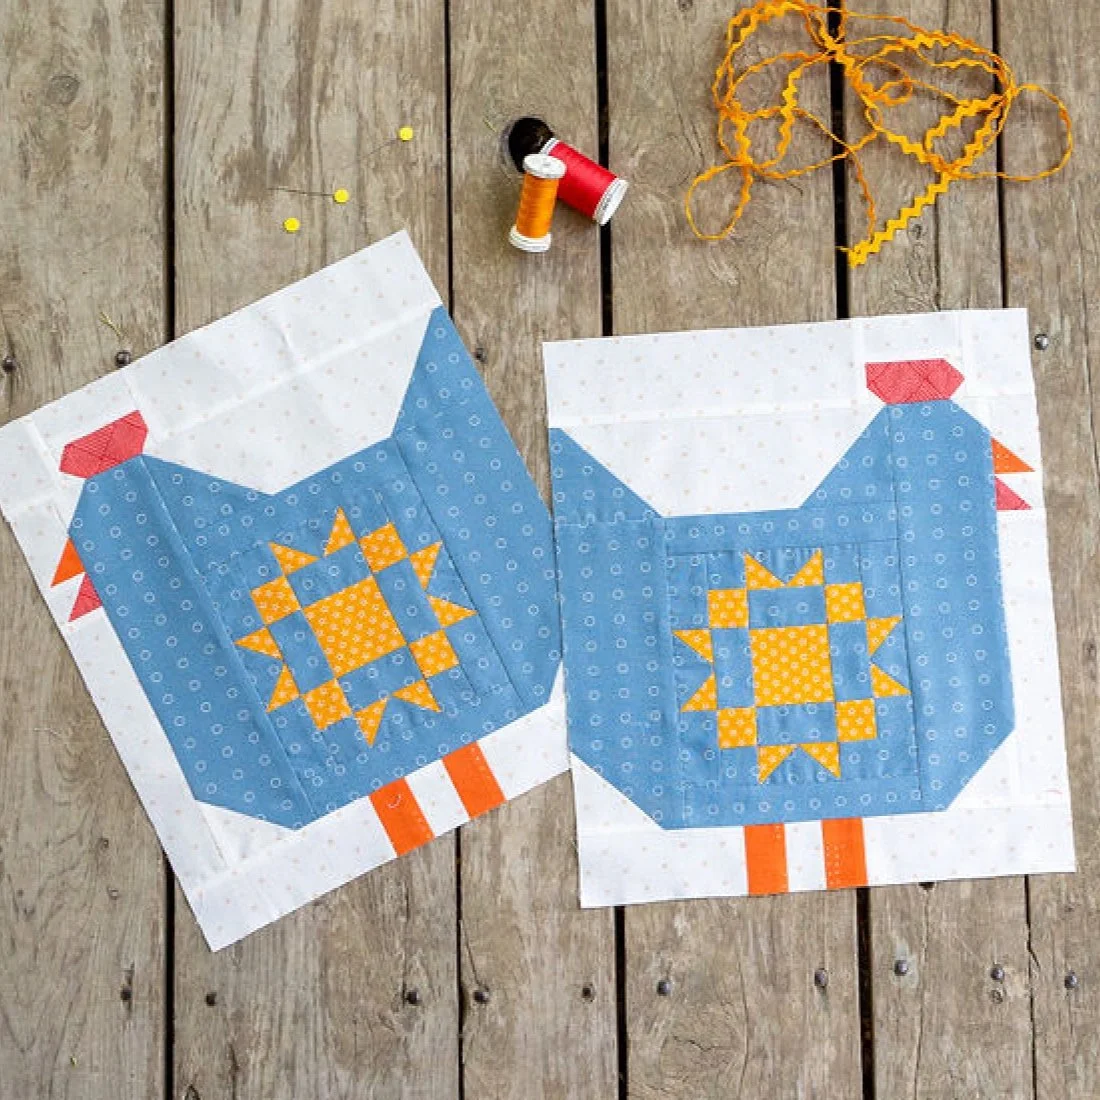
I've made a video where I show how to make the interior Sawtooth Wreath quilt block, step by step. I walk you through cutting, sewing, getting perfect points, and how to web piece the block units together. I also share my favorite way to press. Lots of the things are just my preferred way to piece, so take them or leave them as you will. :)
Keep reading for a written rundown.

Cutting Interior Block Pieces
There is not a ton of extra Chicken fabric. To ensure you have enough, don’t cut off a wide strip when you square up the edge - just enough that it is straight. Then cut (2) 1 7/8” x 21” and (2) 1 1/2” x 21” strips. Sub-cut the squares and rectangles from the strips.
From the Quilt Block fabric cut (1) 1 7/8” x 21” strip and (1) 1 1/2” x 21” strip. Sub-cut the needed squares.


Tips for Making Square-in-Square Units
Center the triangular Chicken pieces on the side of the Quilt Block square. The triangles that hang over the ends should be even. Sew triangles to both sides and press. Trim off the triangles that extend past the square to reduce bulk.

When you add the last two triangles, the seam should run from the notch at the top of the unit to the notch at the bottom.

Sewing the Corner Square Units
These go together easily, You may choose to finger press the first seam instead of pressing.

Using Web Piecing to Assemble the Block
I like to lay out all the block units by my sewing machine before I start sewing them together. Double check the orientation of the corner blocks before sewing units together.
You may want to try to use web piecing to assemble the block units. Go to minute 18:12 on the YouTube video to see how I do it.

General Pressing Tips
When pressing, set the seam, then nudge it open with the side of the iron, and press for the count of four. To really flatten the seam, place a clapper or book on top of it. You may wish to use a spritz of water or steam from the iron when you press the final seams.
If you need more explanation on any of these points, check out the YouTube video. You’ll feel like you are sitting beside me. :) Let me know if you have any questions!