How to Stitch-and-Flip When Making a Quilt Block
Hi there! I’m going to walk you through the basic steps of stitch-and-flip method and share my biggest tips in this quilt tutorial. But first, what is stitch-and-flip?
What is Stitch-and-Flip?
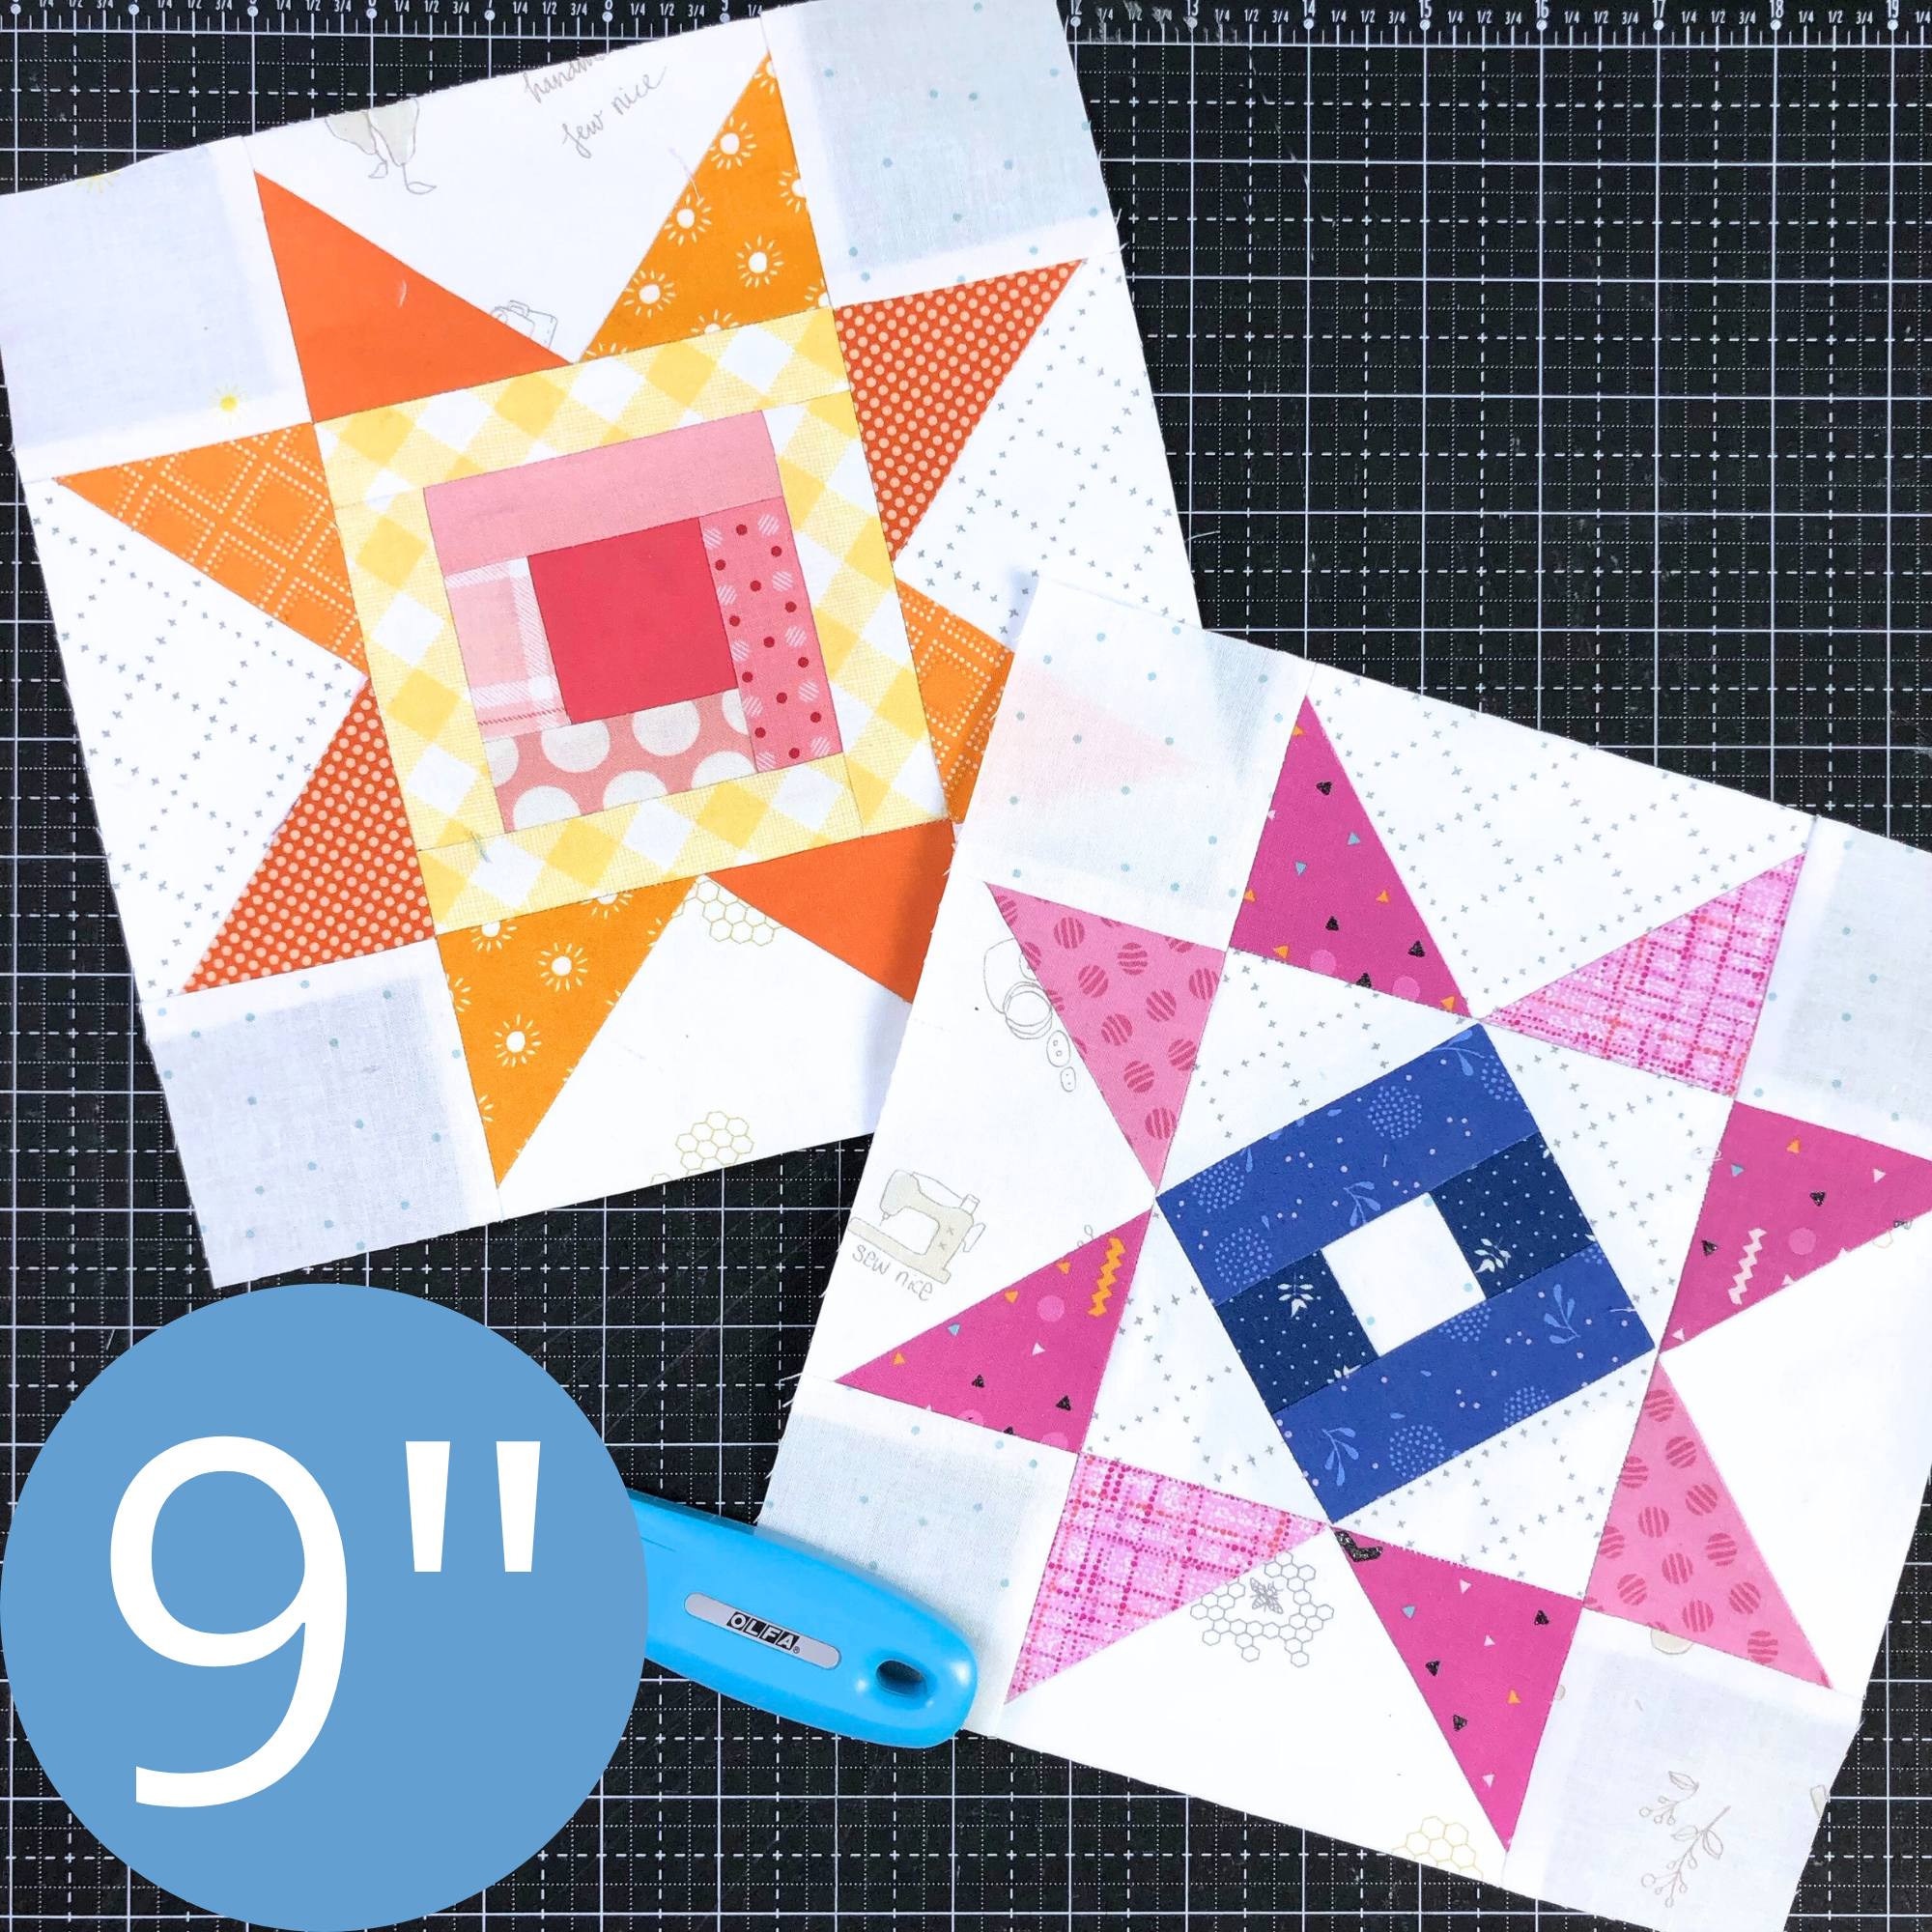
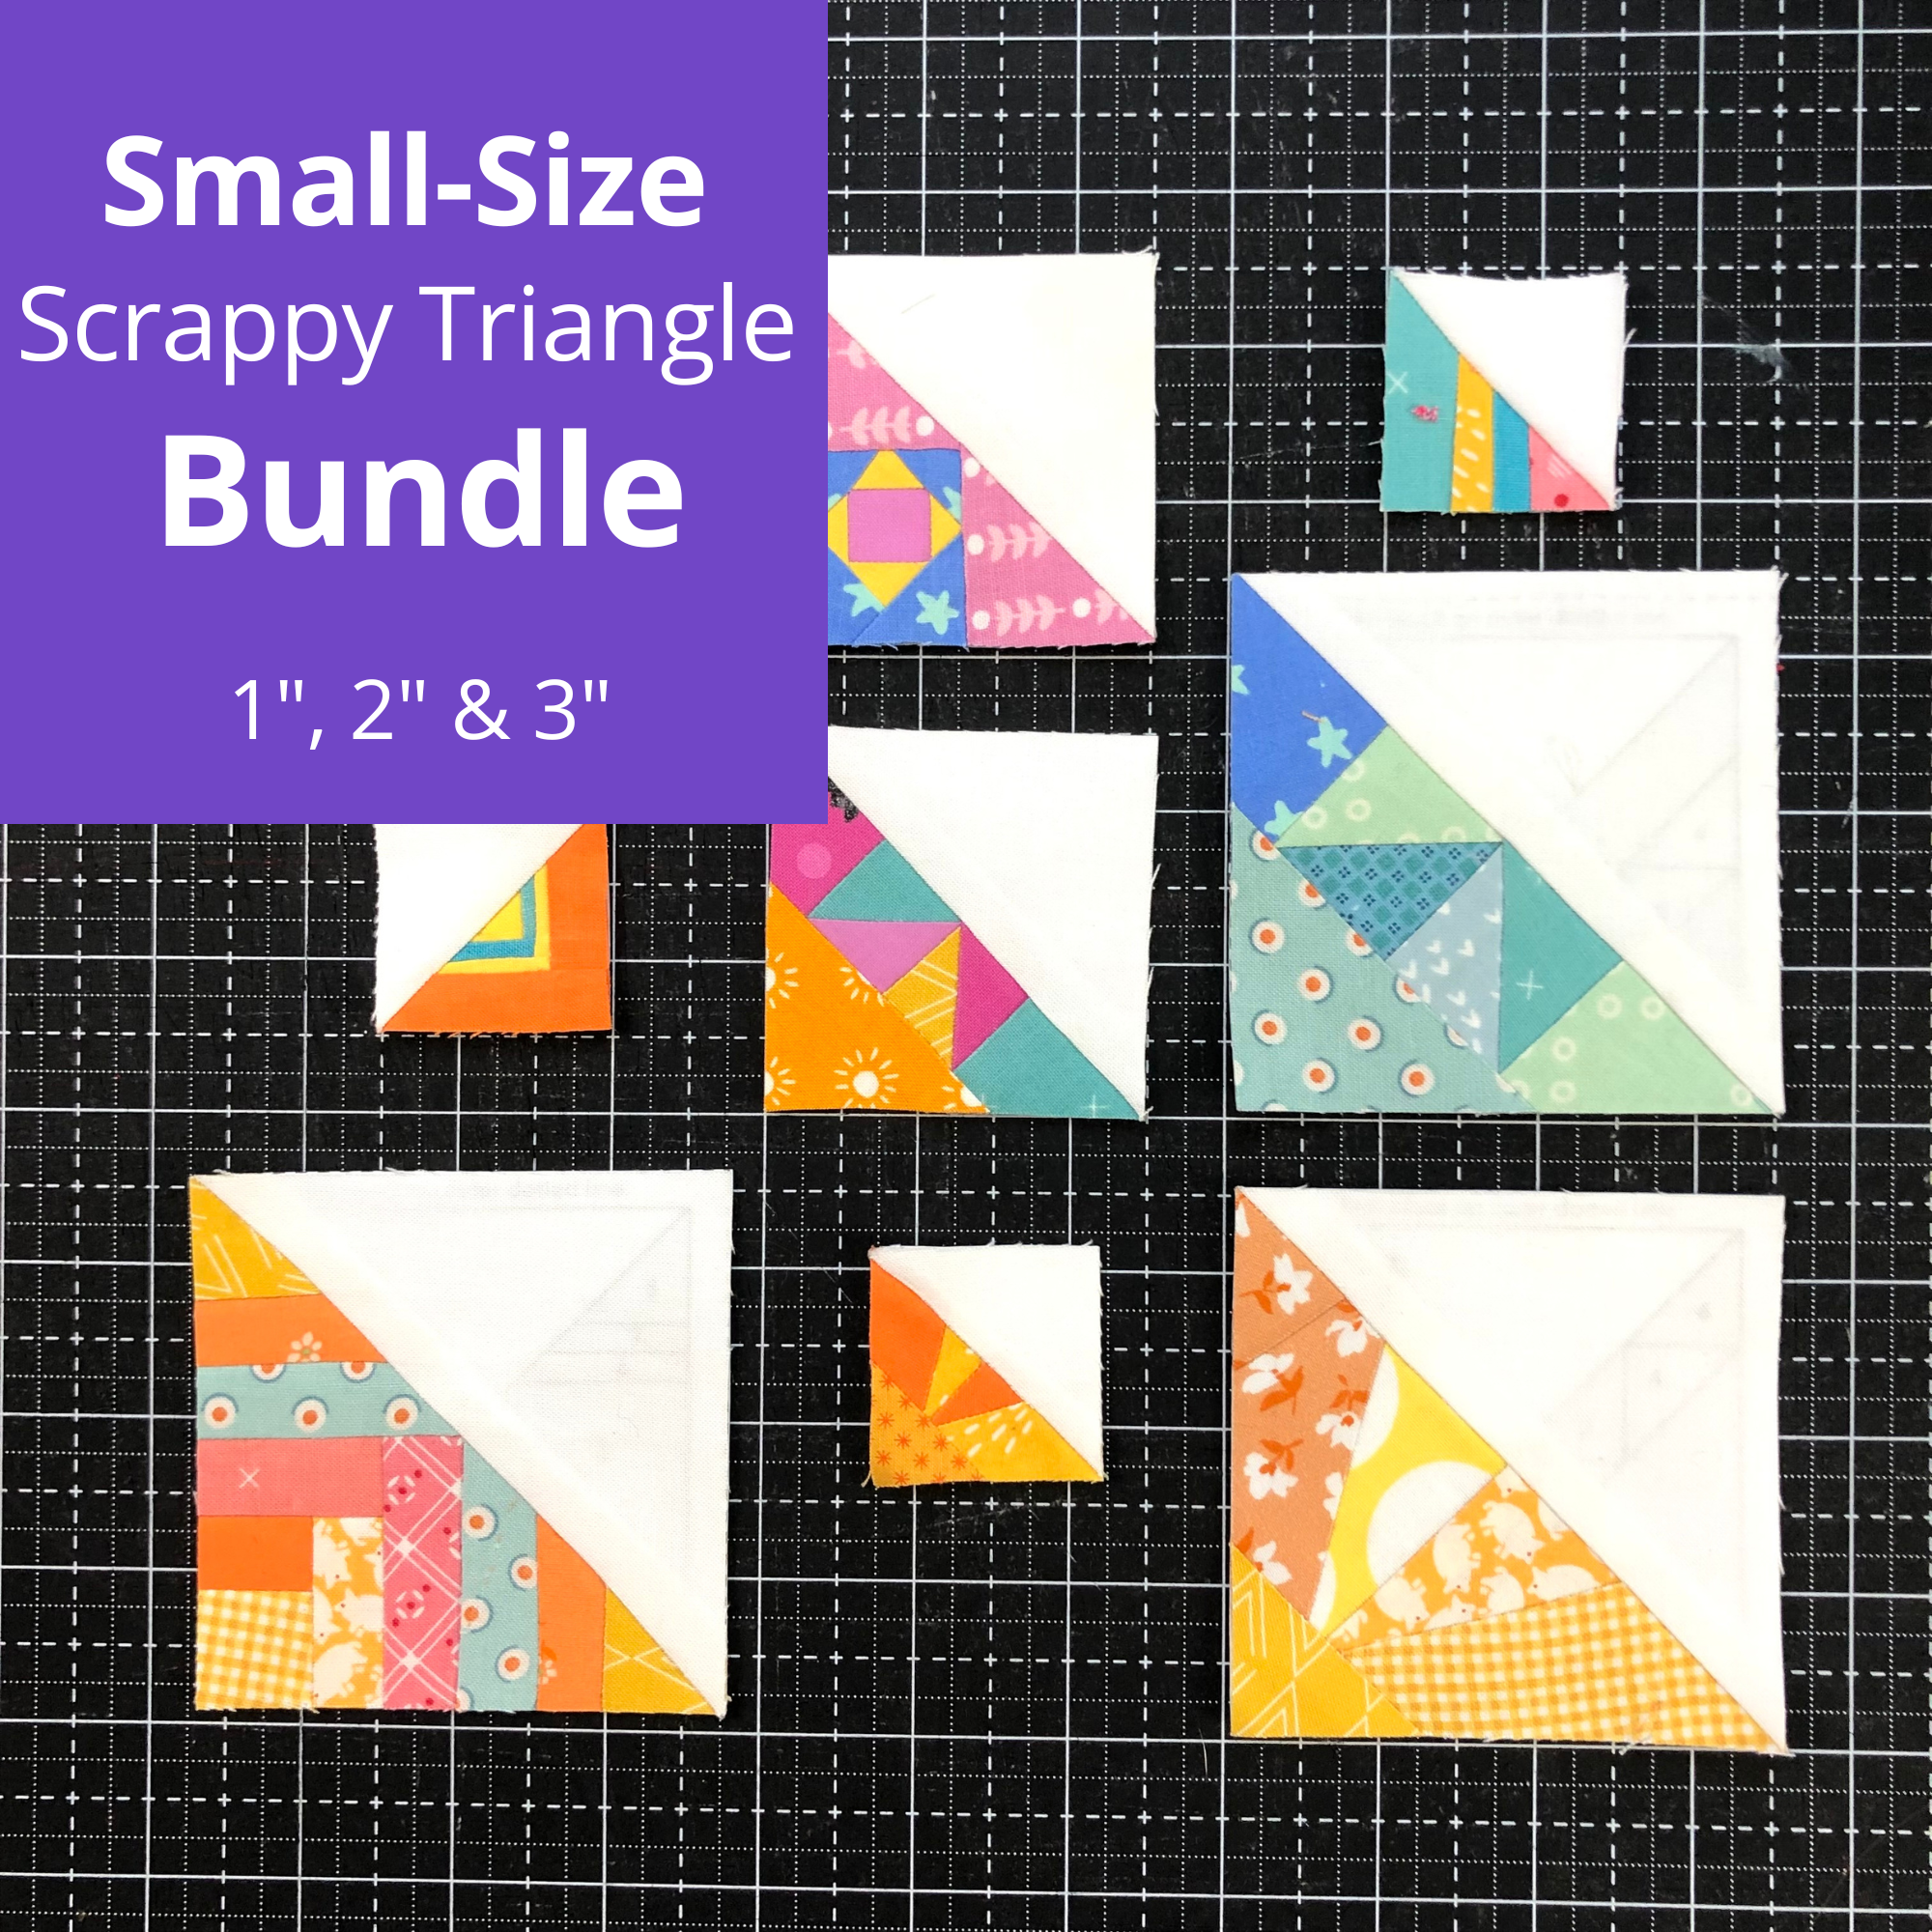
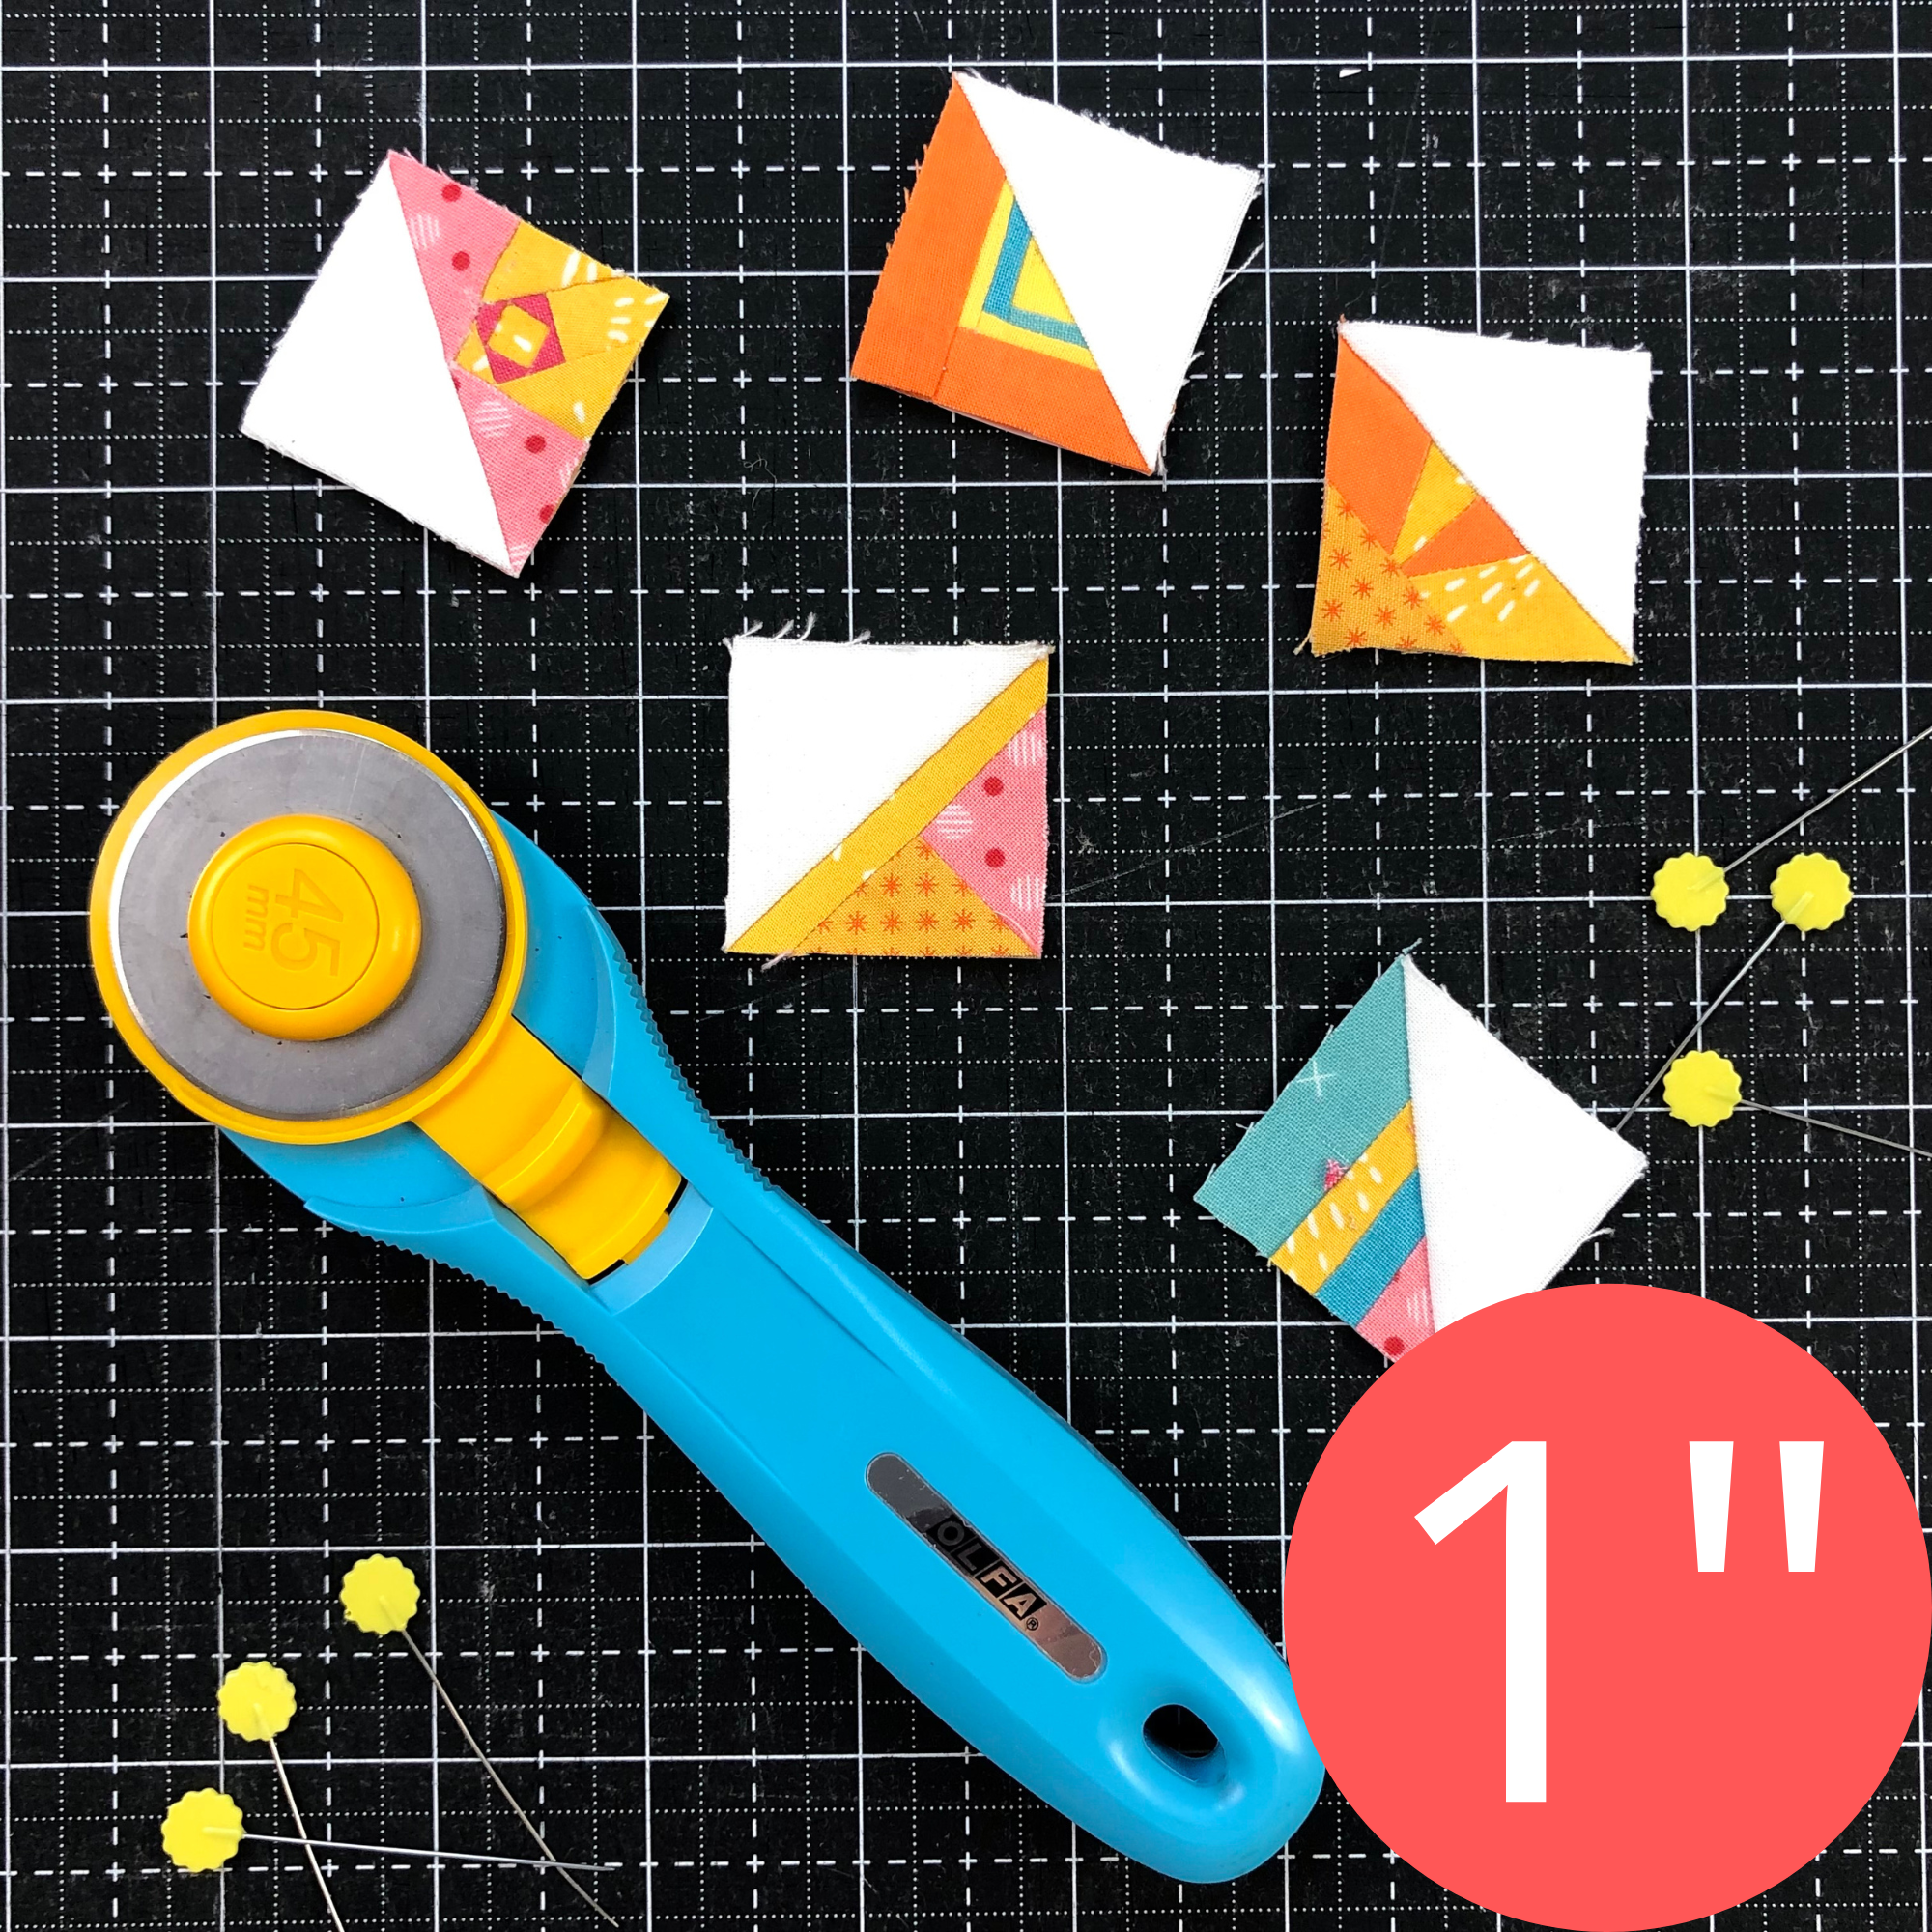
Stitch-and-flip is an easy way to make quilt block units that have half-square triangles (HST) in them. Instead of piecing HST and sewing other shapes to them, you sew a square, from corner to corner, onto the corner of one of the block units and then trim off the corner. The snowball block is one of the best known quilt blocks made with the stitch-and-flip method, but you can even use it to make flying geese units!


The snowball block on the left is made with the stick-and-flip method. If you were to use traditional half-square triangles to make the block, you would have to sew a lot more fabric pieces together. The stitch-and-flip method is a fast and easy way to make units with triangles on the corners. My 9-Patch Scrappy Stars quilt pattern uses snowball blocks to make the stars in this beginner-friendly quilt. The quilt comes together quickly because stitch-and-flip really is the fastest and easiest method for making triangles.
Keep reading for a step-by-step example of how to stitch-and flip. I also have a YouTube video that goes over the same information found in this post.
How to Stich-and-Flip
The stitch-and-flip method is used to make many types of quilt blocks but here is a basic overview that will apply to many different blocks. I am using a quilt block unit in my Quilty Chicks pattern to demonstrate the technique.

Step 1: Draw a diagonal line from corner to corner on the wrong side of a square.
You can use any type of pen or pencil to mark this line. Make sure the marked line runs from corner to corner by laying your ruler a bit to the side of the corner and drawing a line along it. Start drawing the line in the middle of the square and move toward the corners. This helps avoid distorting the corners of the square.

Step 2: Place the square, right sides together, with the other block piece.
Refer to your specific block pattern for square placement and line orientation. Be sure to double check that you have it placed the square correctly. (This block is in my Quilty Chicks pattern.) Pin fabric pieces together and get ready to sew!

Step 3: Sew on the marked line.
Line up the notch in your sewing machine’s presser foot with the marked line and sew on the line. Sewing machines often have a hard time starting on a corner, so start sewing on from the corner that is along the edge of the other piece of fabric as shown in the picture.
Step 4: Trim off the corner.
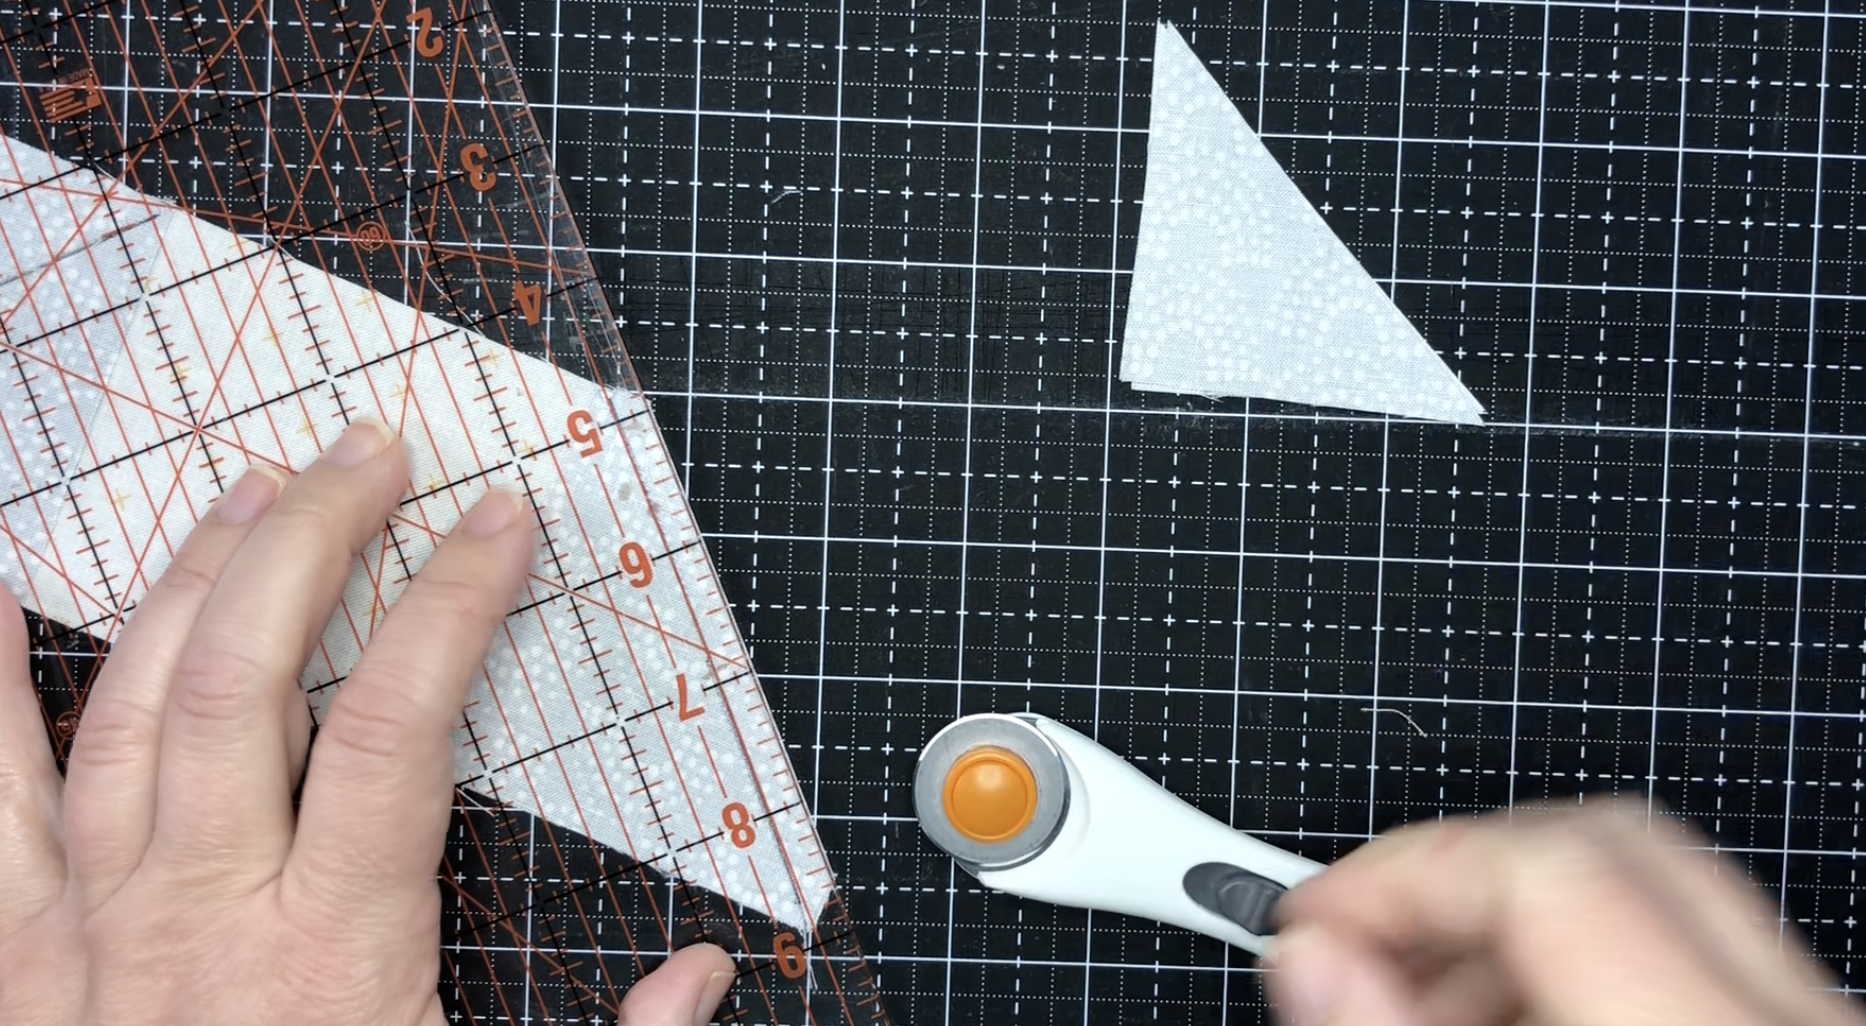
There are two ways to trim off the corner. First, place a ruler on the unit with the 1/4” mark on the drawn line and use a rotary cutter to trim off the corner.

Second, use scissors to rough cut the corner off 1/4” away from the stitched line. Trimming with scissors is super fast and is the method I prefer.

Step 5: Press
After trimming, set the seam by placing the iron on the seam for a few seconds while the right sides of the fabric are still together and the seam is exposed. Then flip open the triangle and press. I usually press the seam towards the corner triangle. Follow the pressing instructions given in the specific tutorial/pattern you are following.
That’s it! Do you feel ready to make some stitch-and-flip quilt blocks?


The Quilty Chicks chicken sampler uses a ton of stitch-and-flip units to make the chickens. And my 9-Patch Scrappy Stars pattern is a great example of using stitch-and-flip snowball blocks to make fun scrappy stars. This quilt is very beginner friendly.
Let me know if you have any questions and have fun sewing!