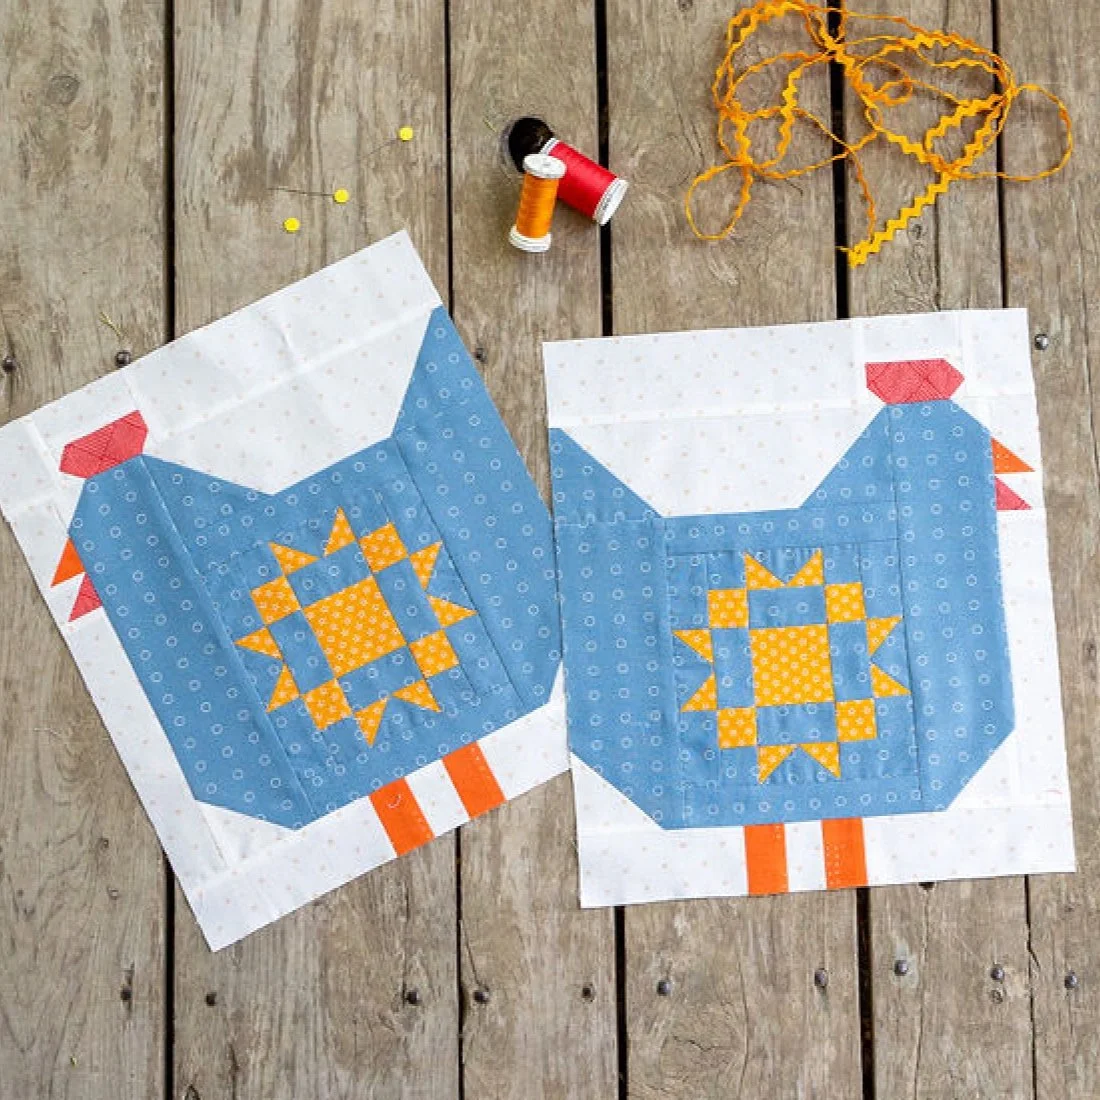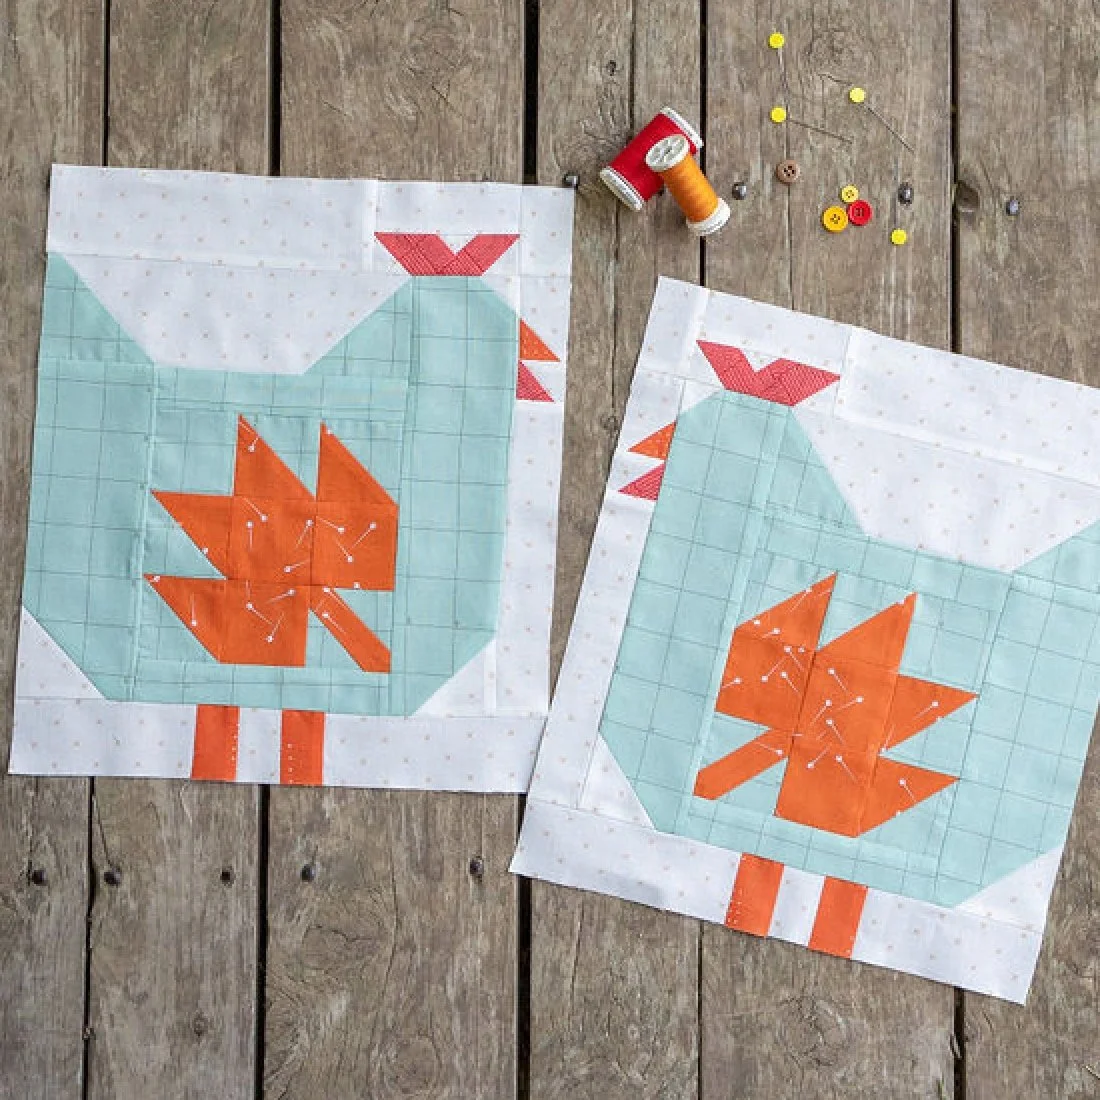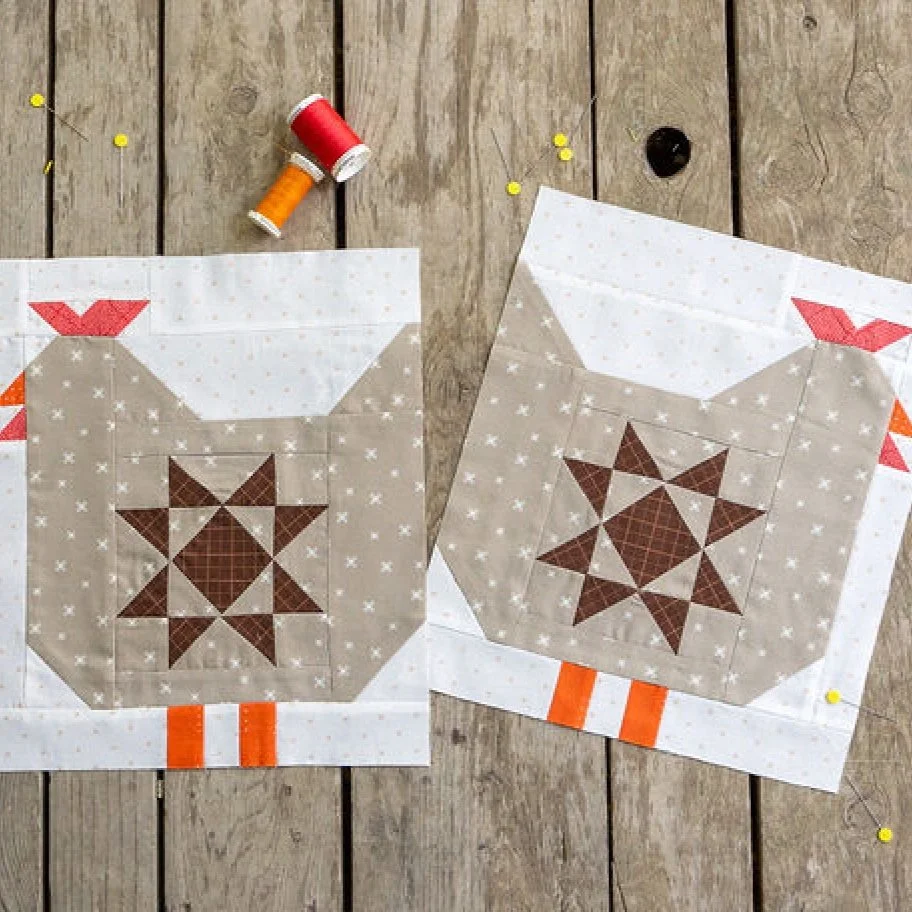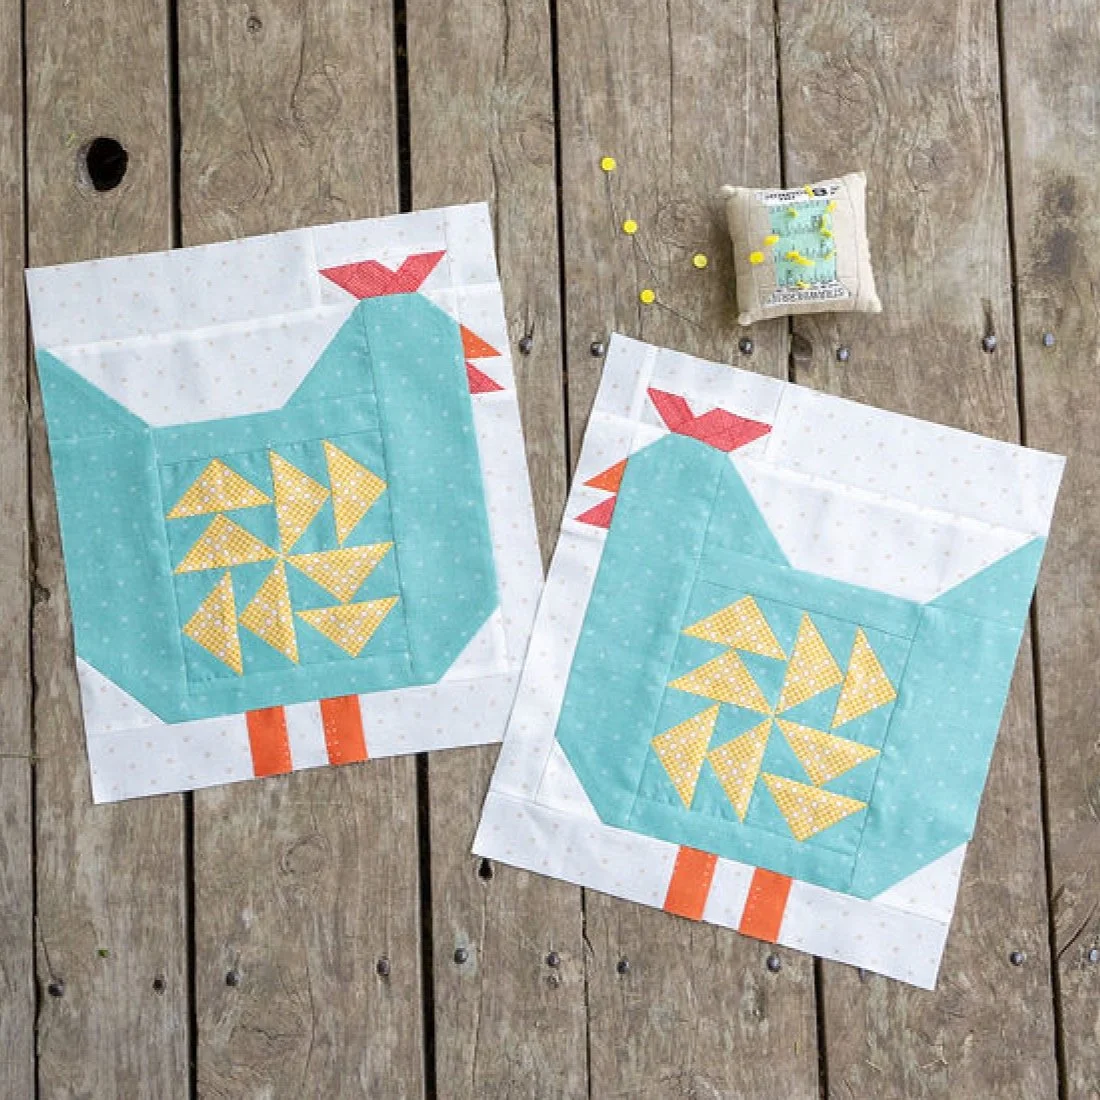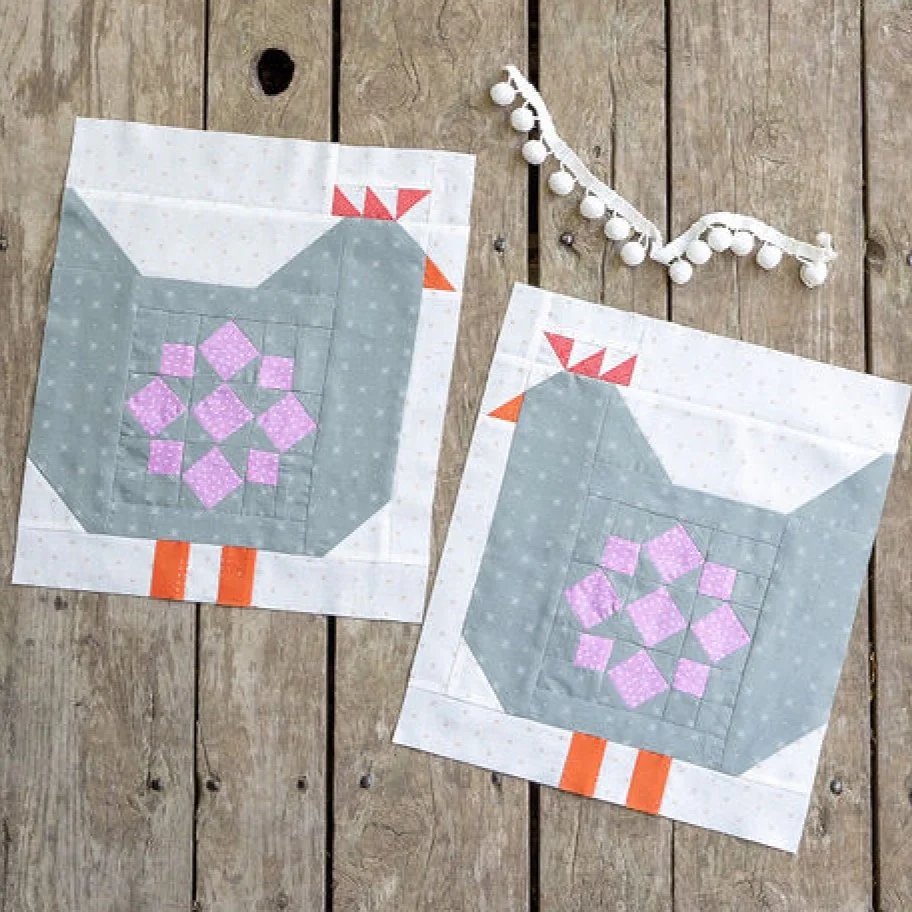
Quilty Chicks BOM: Chicken 5 - Maple Leaf Quilt Block Tutorial


Ready to make Chicken 5 in the Quilty Chicks Block of the Month? The interior quilt block - Maple Leaf - is a classic quilt block that you might have made before. If you haven’t or want some more tips, I’ve made a video that will guide you step by step through making the block. I also show how to use web piecing to join together block units.
Each Maple Leaf block comes together quickly with just simple squares, half-square triangles (HST), and a stitch and flip stem. Between the written instructions, video, and blog post, you will be good to go! :)
How to Make a Maple Leaf Quilt Block:

Refer to the cutting instructions in the Quilty Chicks Block of the Month quilt pattern and cut the necessary pieces for the Chicken 5 - Maple Leaf Block. Refer to the pattern for exact square sizes.
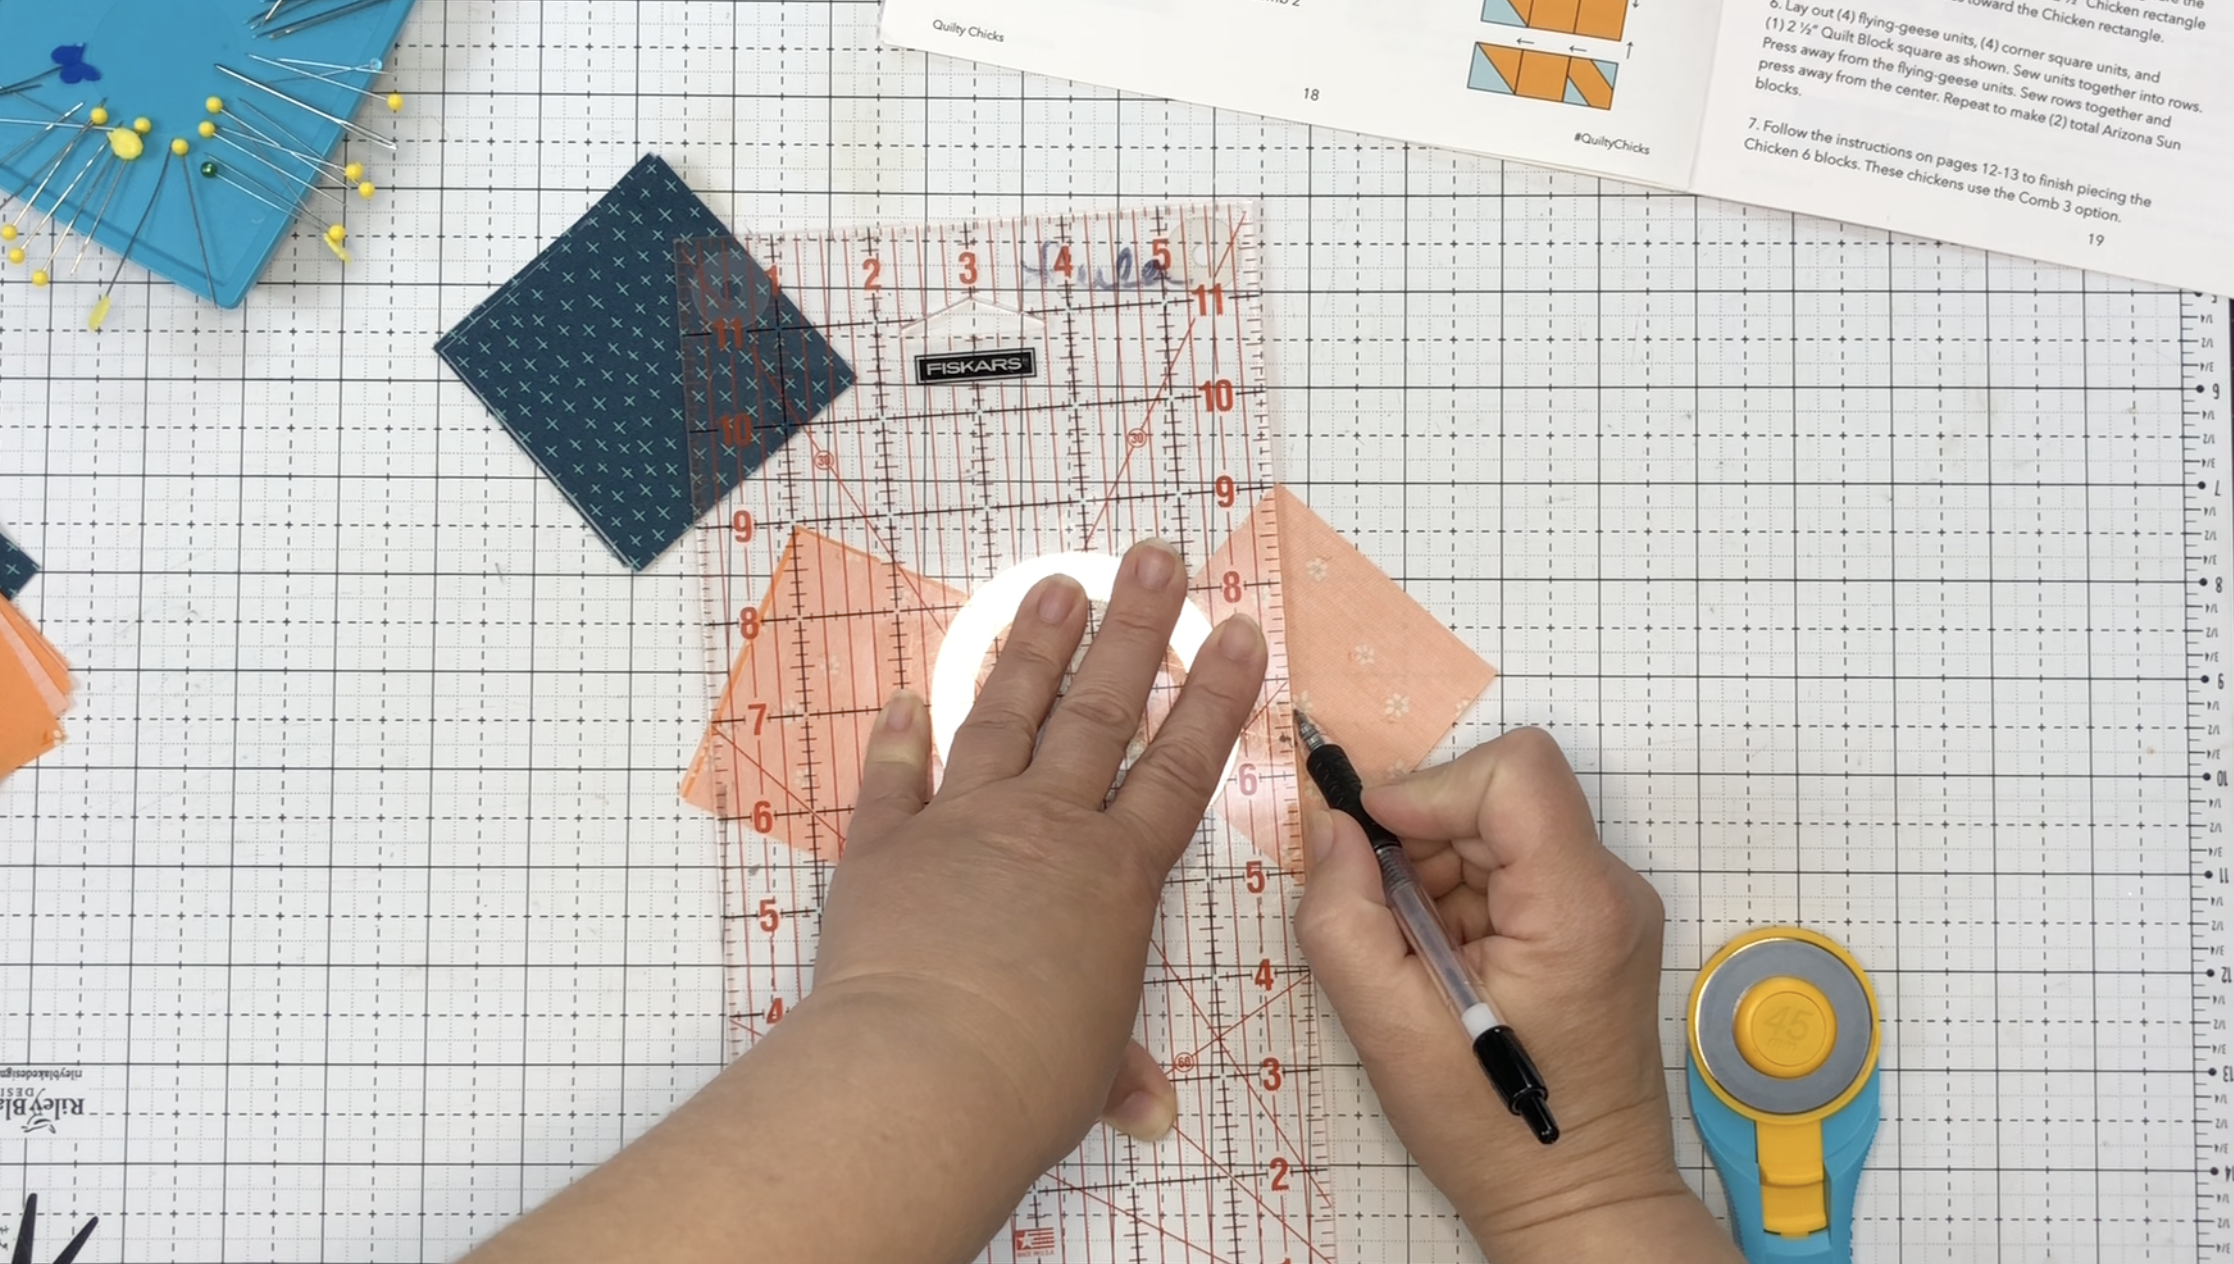

2. Draw a line from corner to corner on the lighter of the 3” squares using a ruler and pen/pencil. Pair Chicken and Quilt Block fabric squares.

3. Sew 1/4” away from the line on both sides.


4. Cut on the line and press toward the darker fabric.

5. Trim HST to 2 1/2” square. Refer to the video for different ways to trim the HST.
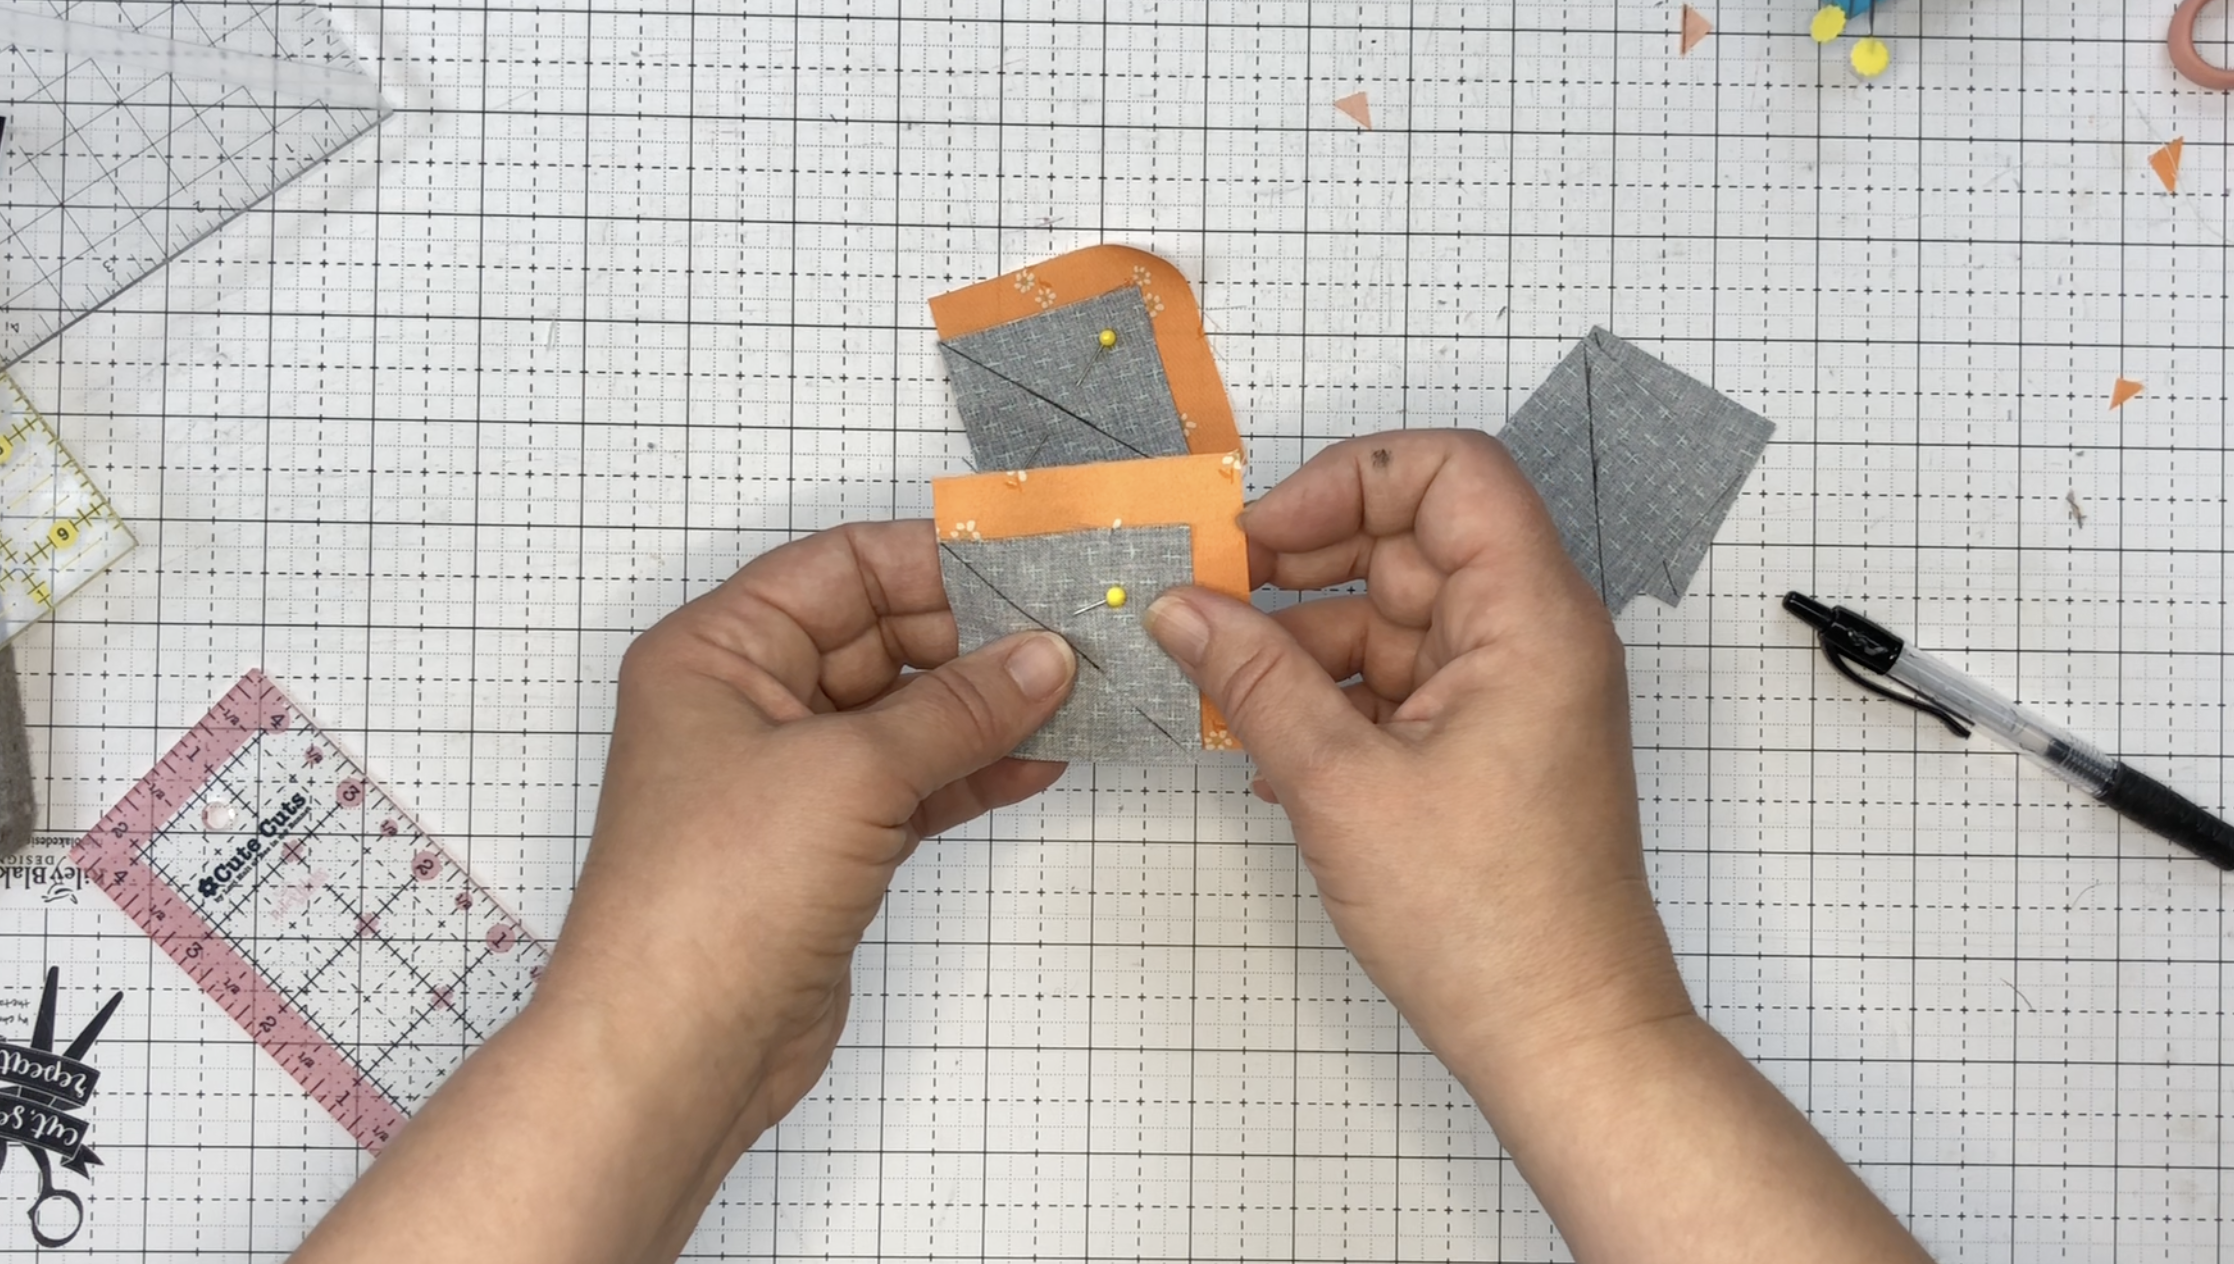

6. Mark a line from corner to corner on the 2” Chicken squares and place on a corner of the 2 1/2” Leaf fabric.
7. Sew on the line and repeat for the opposite corner.

8. Trim corners 1/4” away from the seam and press toward the center.

9. Lay out all block units. Double check that the HST are oriented correctly.


10.Sew units together into rows, press, and sew rows together. If you are not familiar with web piecing, refer to the video for a step by step demo. It is a great way to streamline final block or quilt assembly,

11. Use the assembly directions on page 13 of the pattern to assemble a set of right- and left-facing chickens.
Another block done! We are well on our way! Thanks for sewing along!