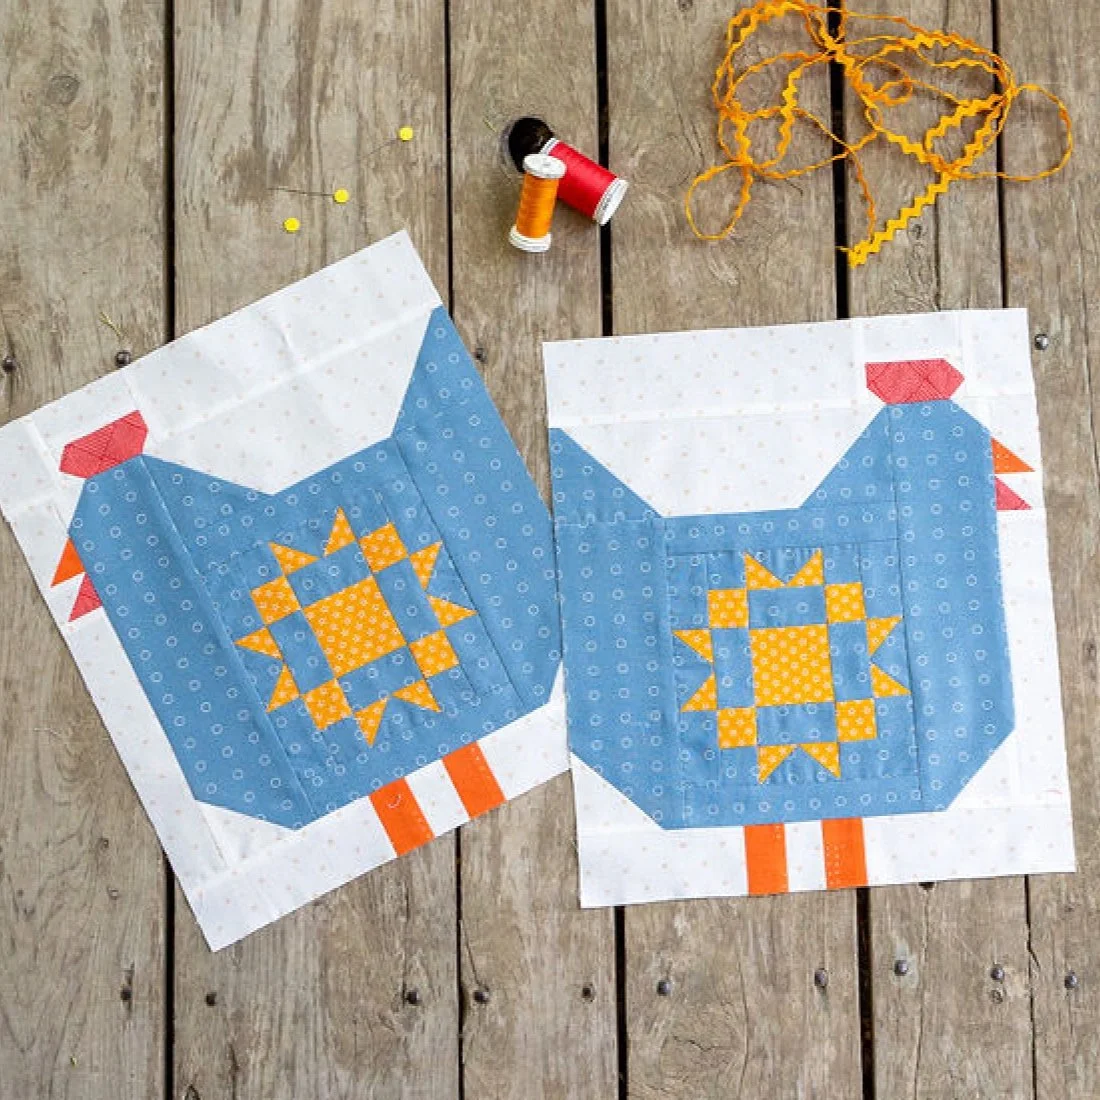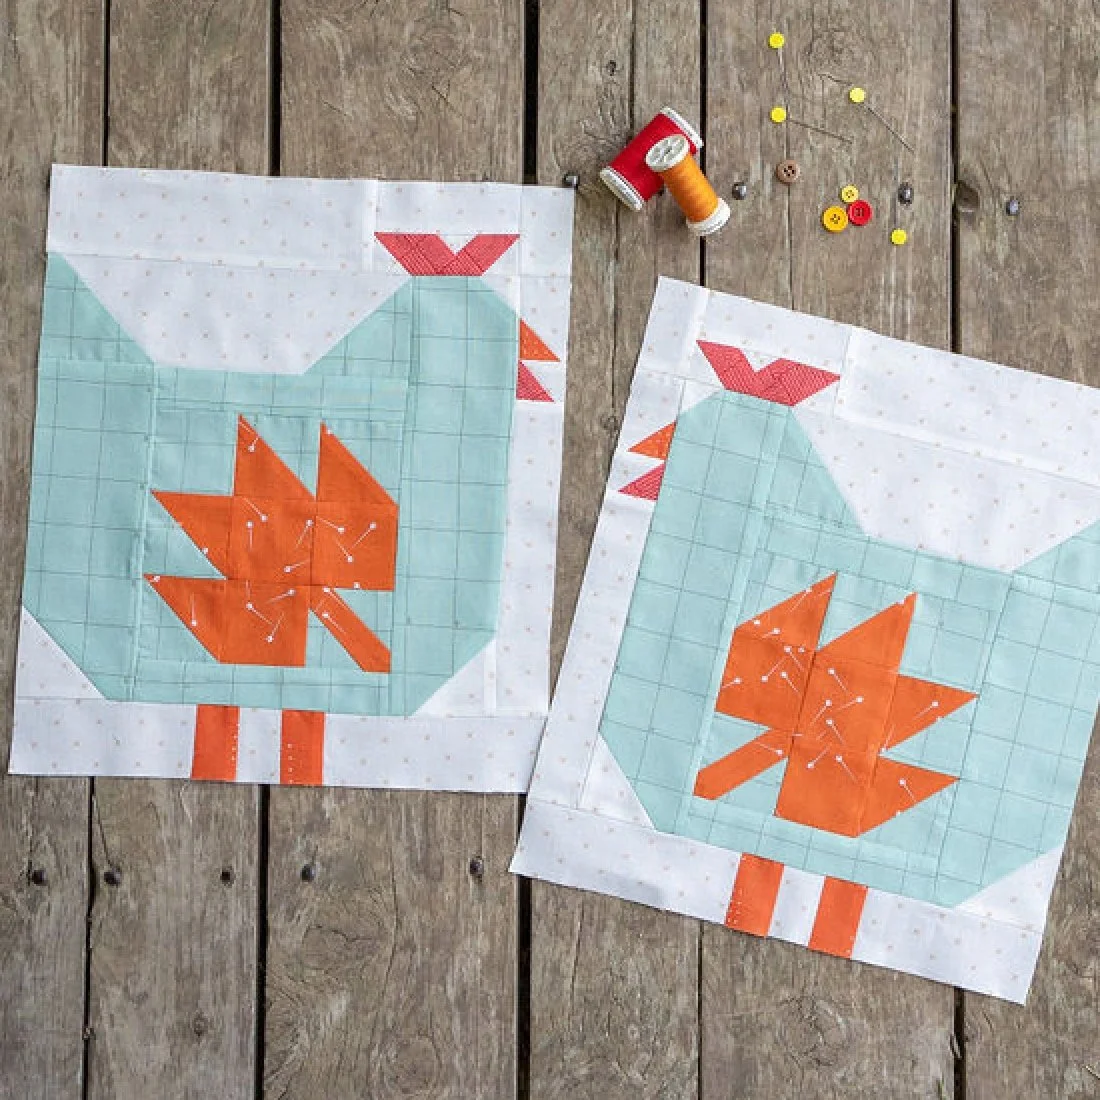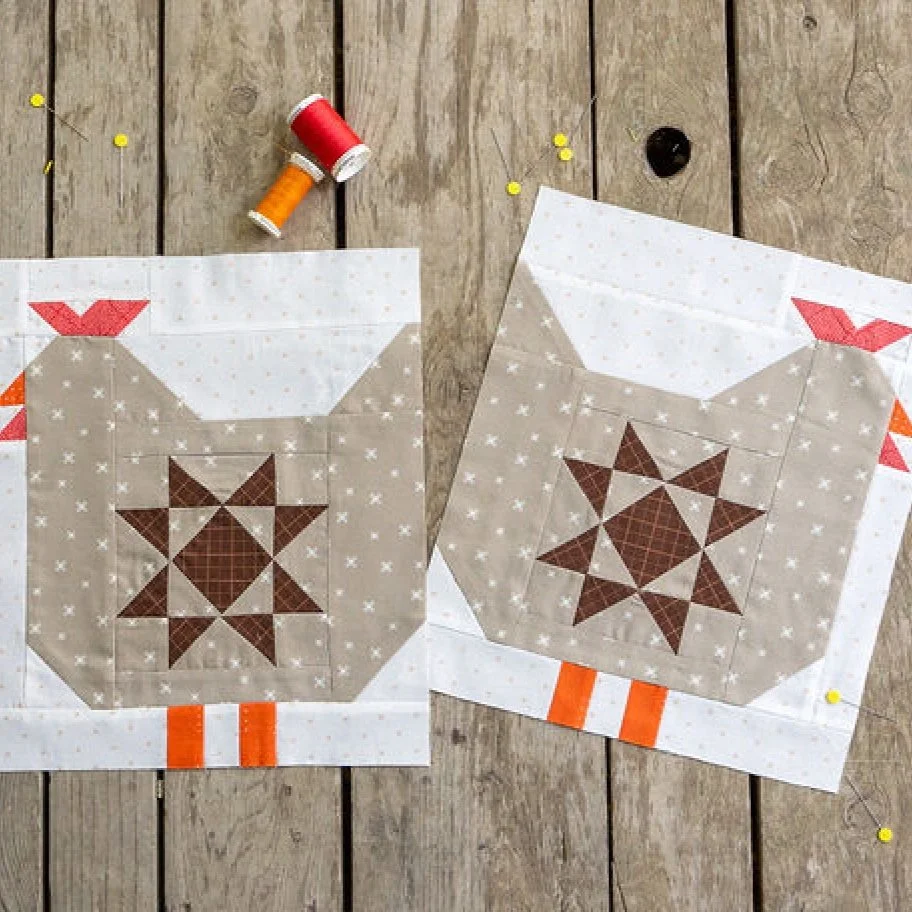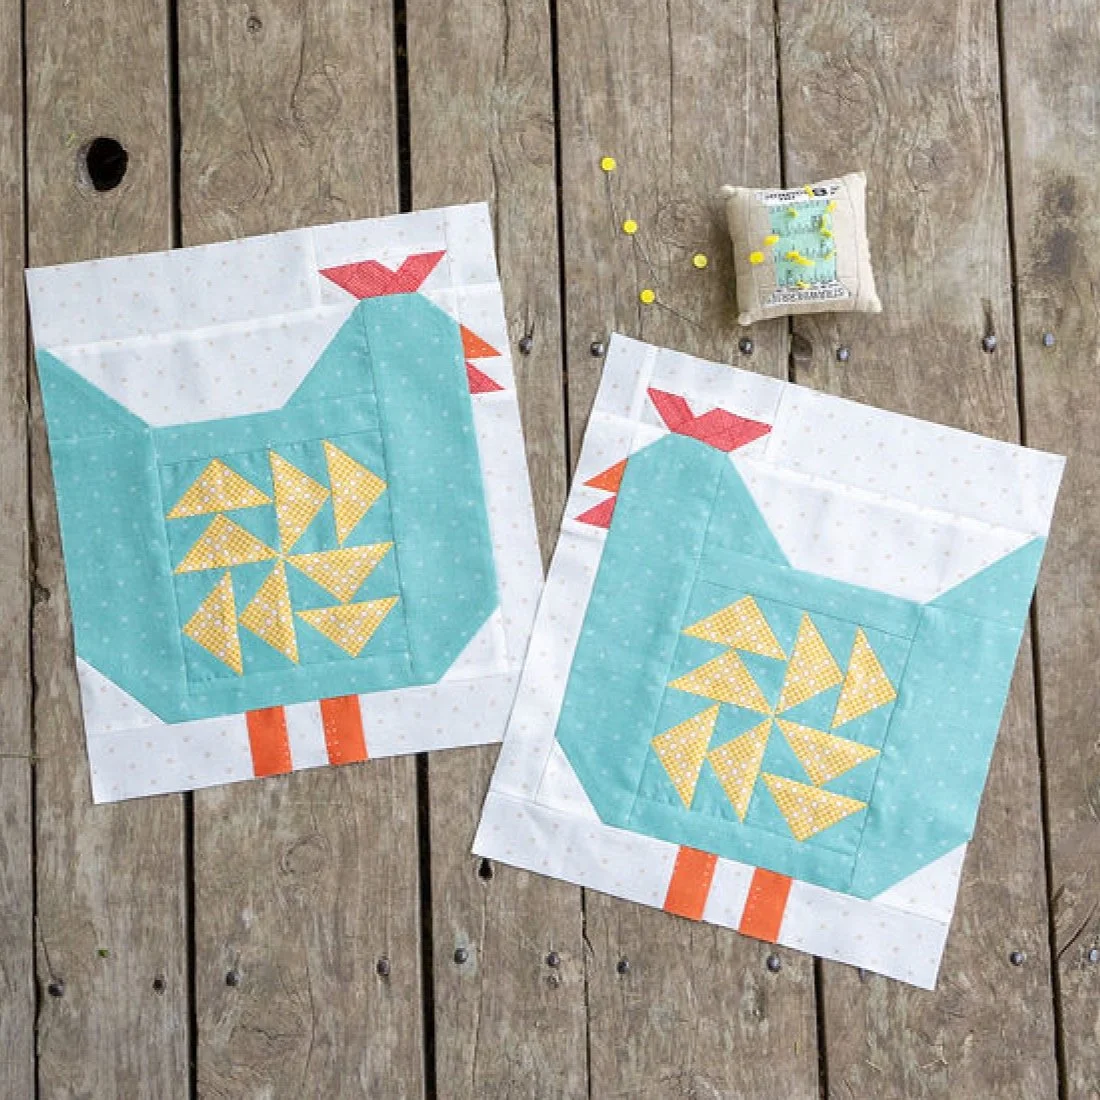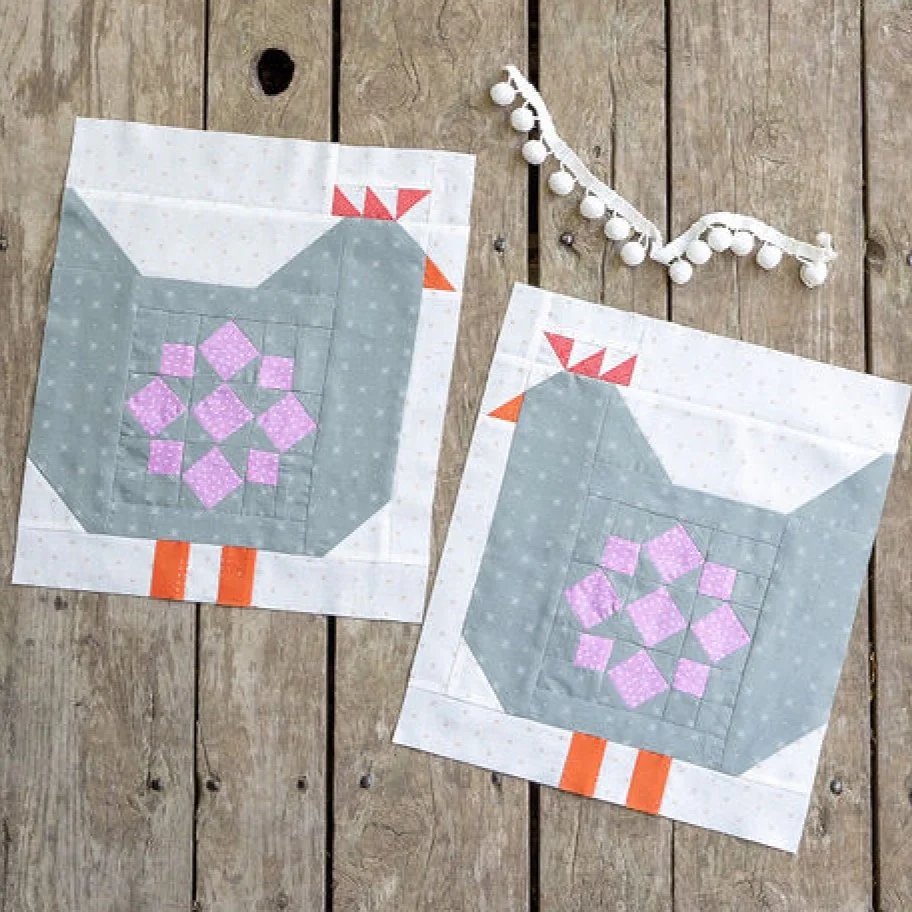
Quilty Chicks BOM: Chicken 4 - Ribbon Star Quilt Block Tutorial


Ready to make Chicken 4 in the Quilty Chicks Block of the Month? The interior quilt block - Ribbon Star - is a classic quilt block that you might have made before. If you haven’t or want some more tips, I’ve made a video that will guide you step by step through making the block. I even try out a new technique for marking squares!
The Ribbon Star Block is made with 4 flying geese units and a square-in-a-square unit. This post will basically go over the written pattern instructions but with more ‘real life’ photos. The video is where you will get tons of commentary on each step. :)

How to Make a Ribbon Star Quilt Block:

Refer to the cutting instructions in the Quilty Chicks Block of the Month quilt pattern and cut the necessary pieces. Refer to the pattern for exact square sizes.

2. Mark a line from corner to corner on the indicated squares. You can do this by using a ruler and pen or by using an iron to press a crease from corner to corner. This is a new method for me that I learned from Jackie of of Hearts on my Foot.


I don’t like marking lines with a pen and was excited to try this technique. It has its pros and cons - the lines are a bit hard to see sometimes and handling the creased fabric is harder than a flat piece of fabric - but I’d recommend giving it a try and seeing how you like it. I show how to do this in more detail and with lots of commentary in the video.


3. Place the small squares on opposite corners of the large square with the drawn line running from corner to corner. (In the picture on the left I am using the squares marked with a pen and on the right I am using the squares marked with a crease.

4. Sew 1/4” away from the line on both sides. With the creased line, the edge of my presser foot fit right in the groove, but it was hard to see the crease about halfway across the square. I think it would get better with more practice.

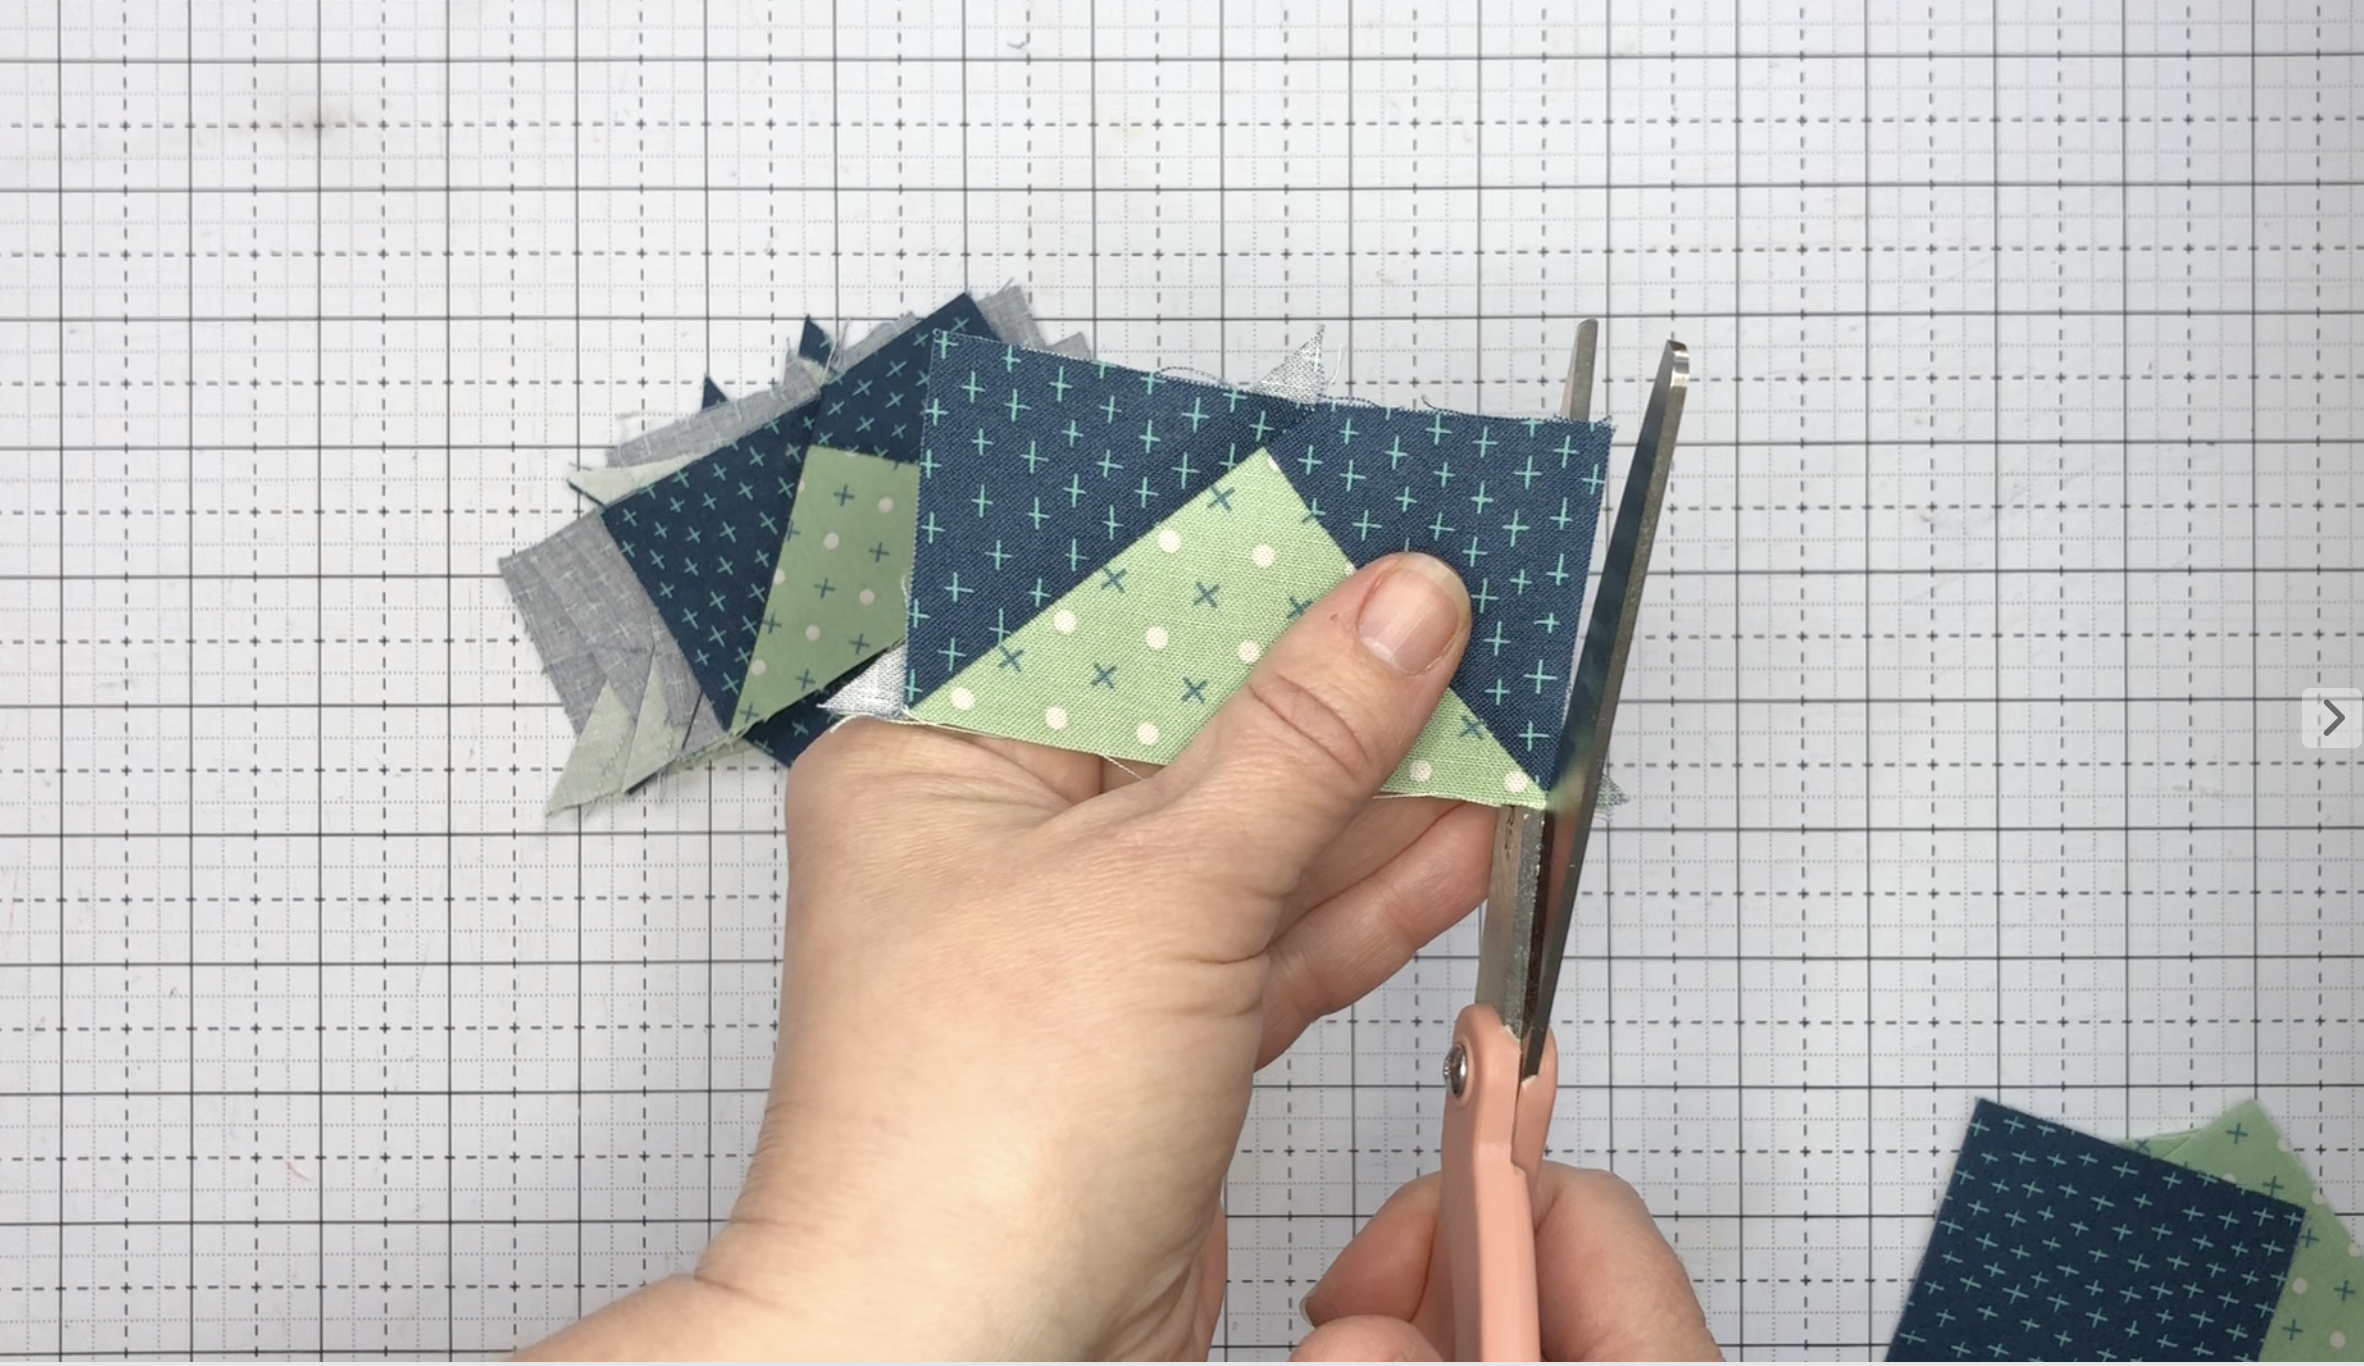
5. Cut on the drawn line. Because the creased line was harder to see, I used scissors instead of a ruler and rotary cutter.
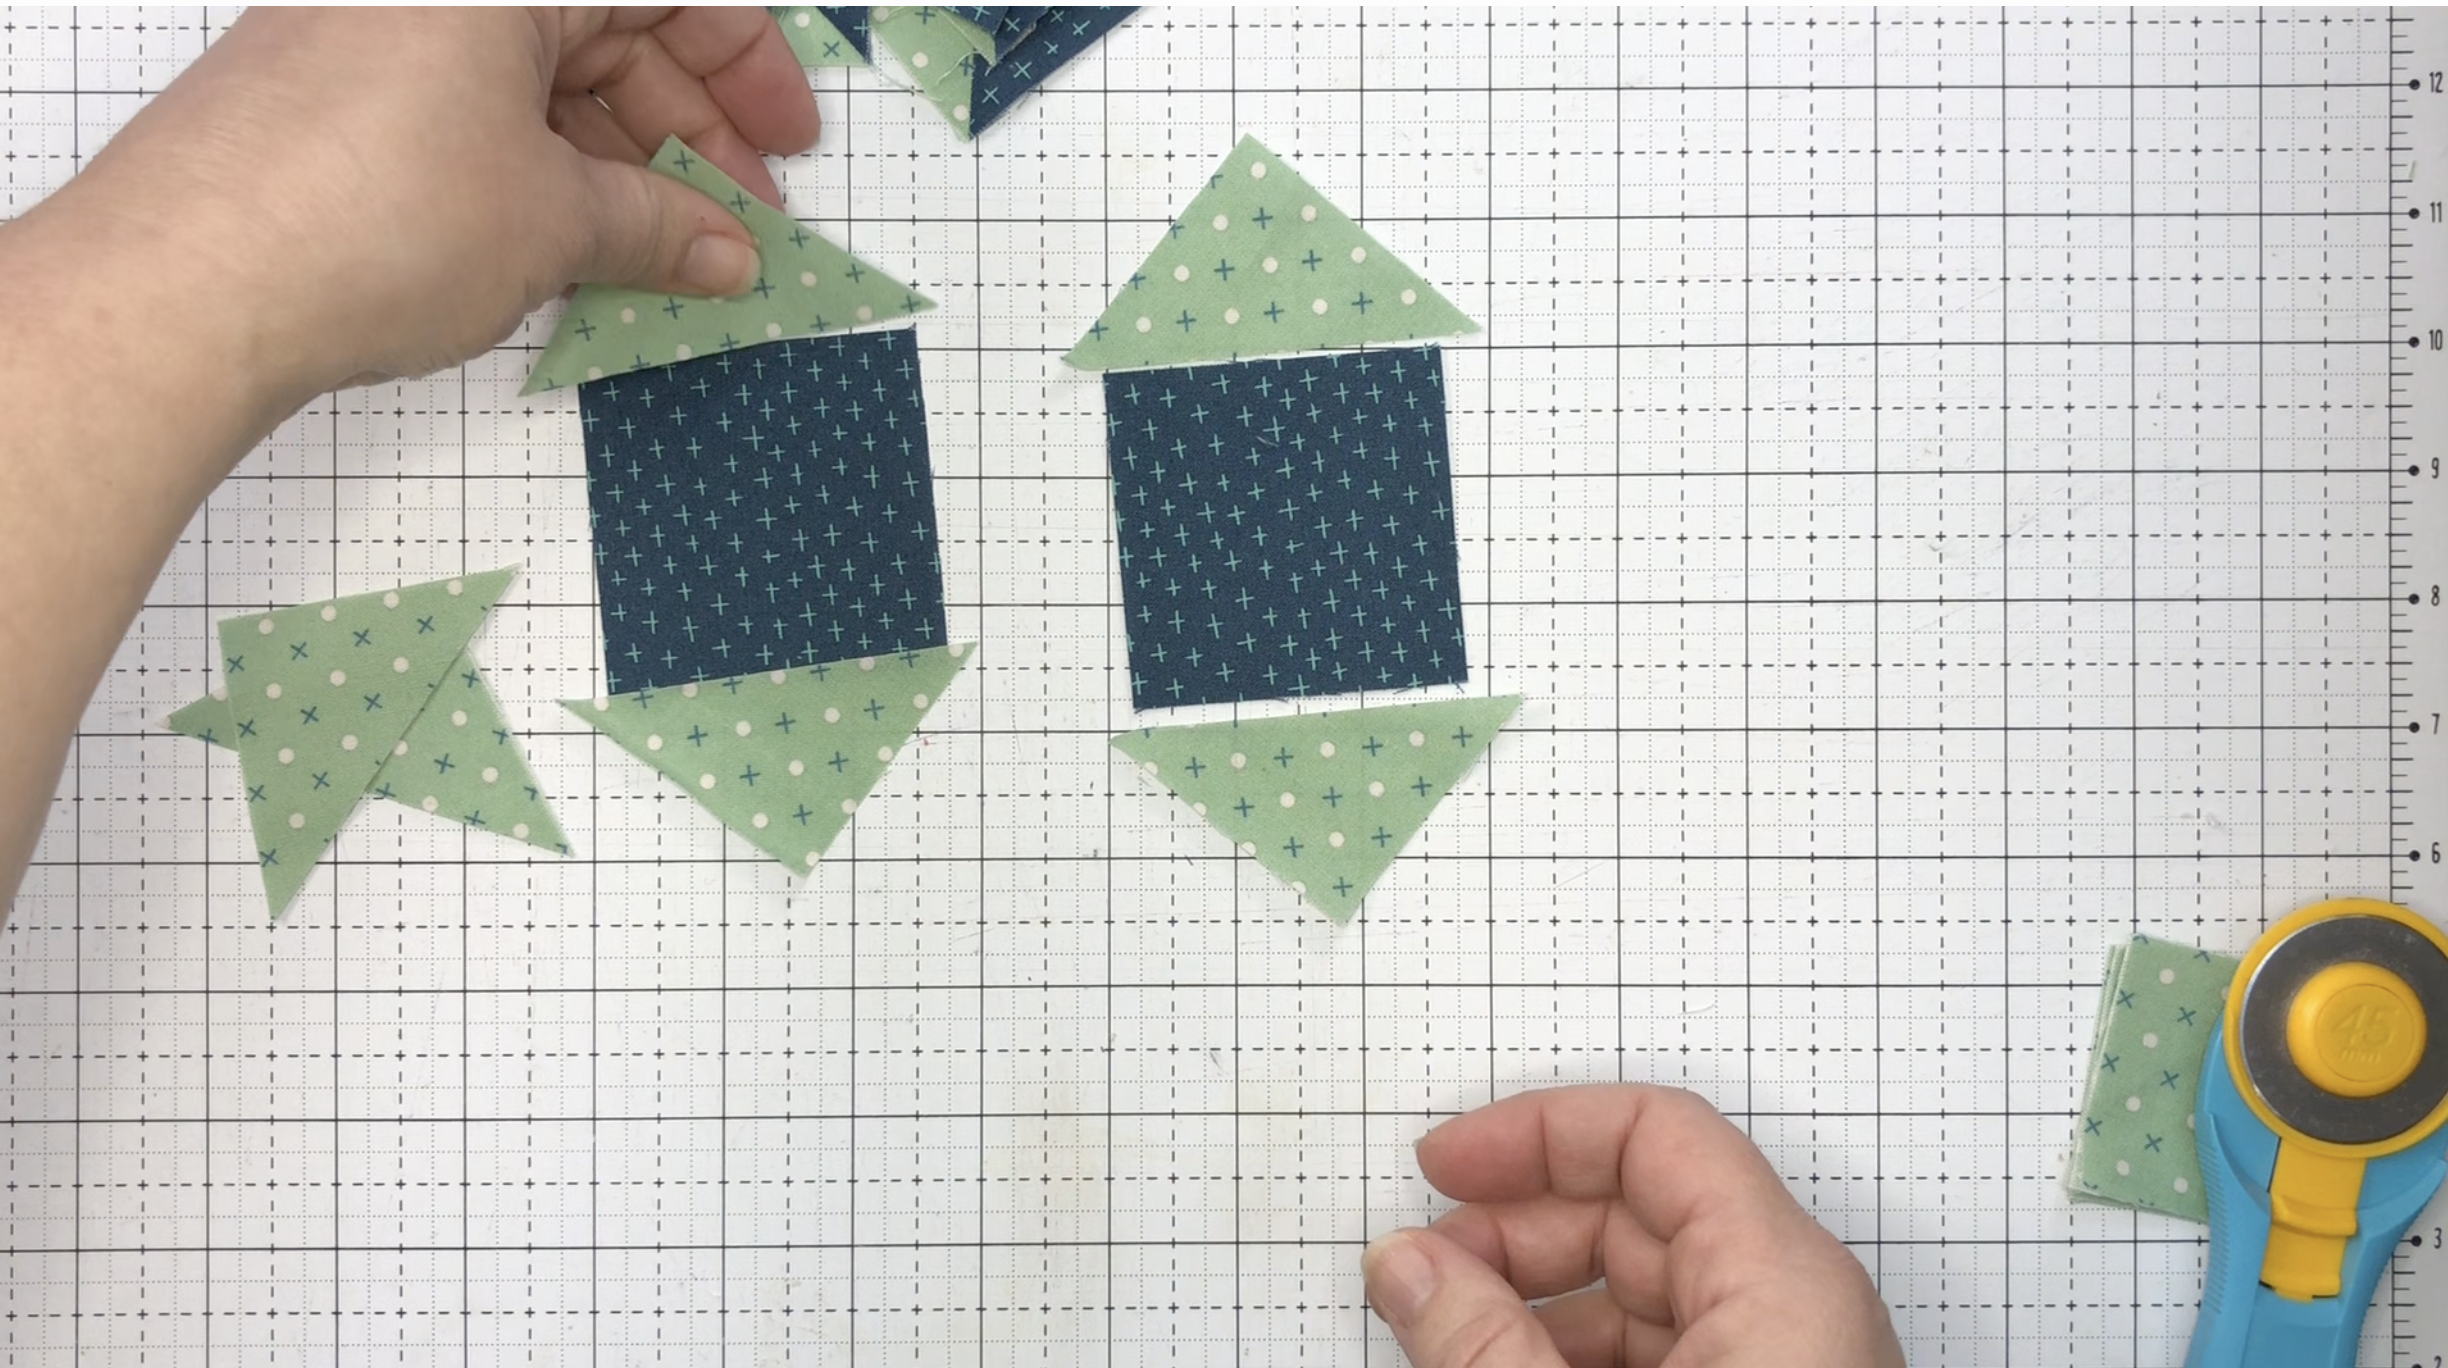
6. Set the seam and press the small triangles away from the large triangle.

7. Place a small square on the remaining corner and sew 1/4” on either side of the marked line.
8. Cut on the line and press. Trim dog ears (the corners that stick out).
9. Make the square-in-a-square unit by cutting the indicated squares in half on the diagonal and sewing them to opposite sides of the middle square.

10. Press away from the square and sew triangles on the remaining sides. Make sure the triangle is centered in the middle of the square.

11. Sew the triangles on, press, and trim dog ears.

12. Lay out all block units and sew the squares onto both sides of the flying geese units. Sew the remaining flying geese to opposite sides of the square-in-a-square unit. Be sure to match the points.

13. Press. This is where I start to wax eloquent about the pros and cons of pressing seams open or to the side and do a test to see which I like best. (Spoiler - It’s close, but I decided I still like pressing to the side better.)
14. Then follow the instructions on page 13 of the Quilty Chicks pattern to piece the Ribbon Star block into the Chicken 4 quilt block.
Another block done! We are well on our way! Thanks for sewing along!