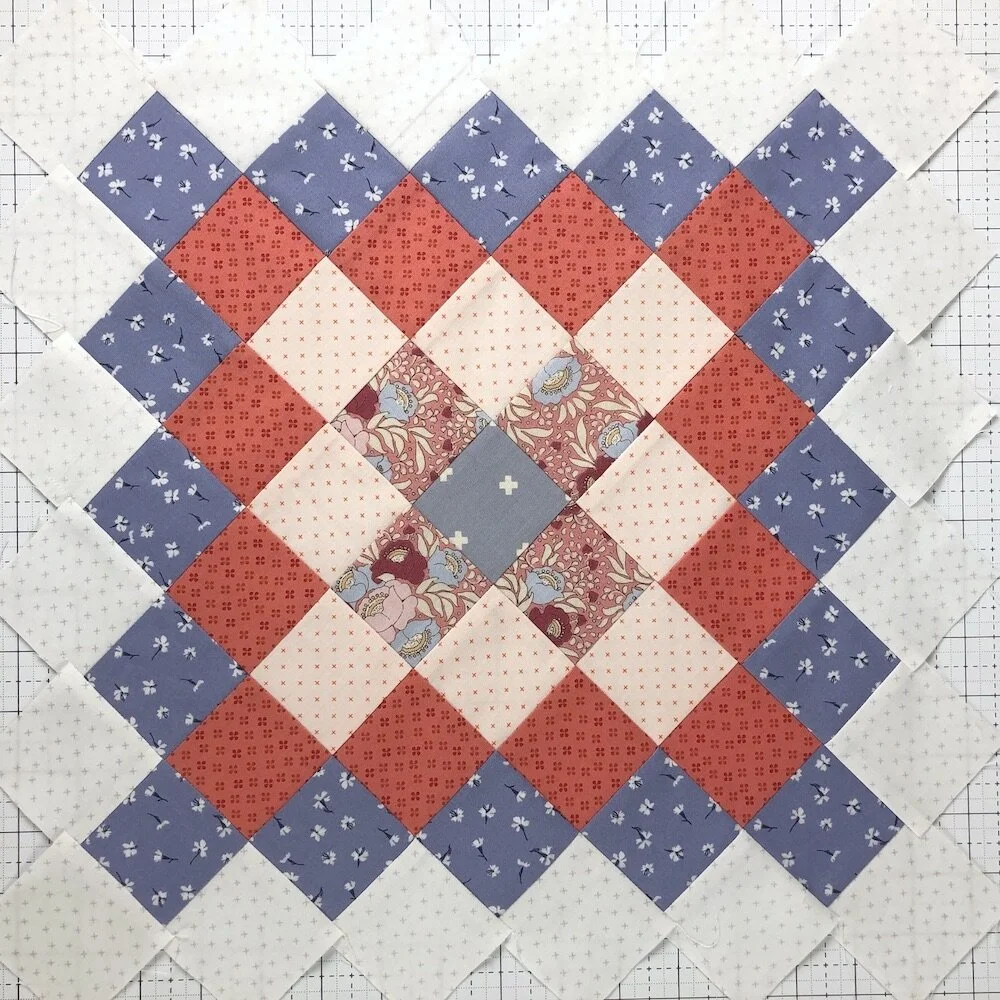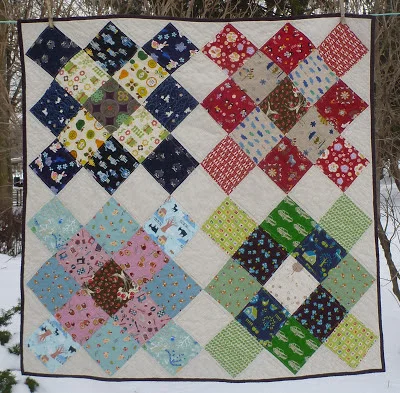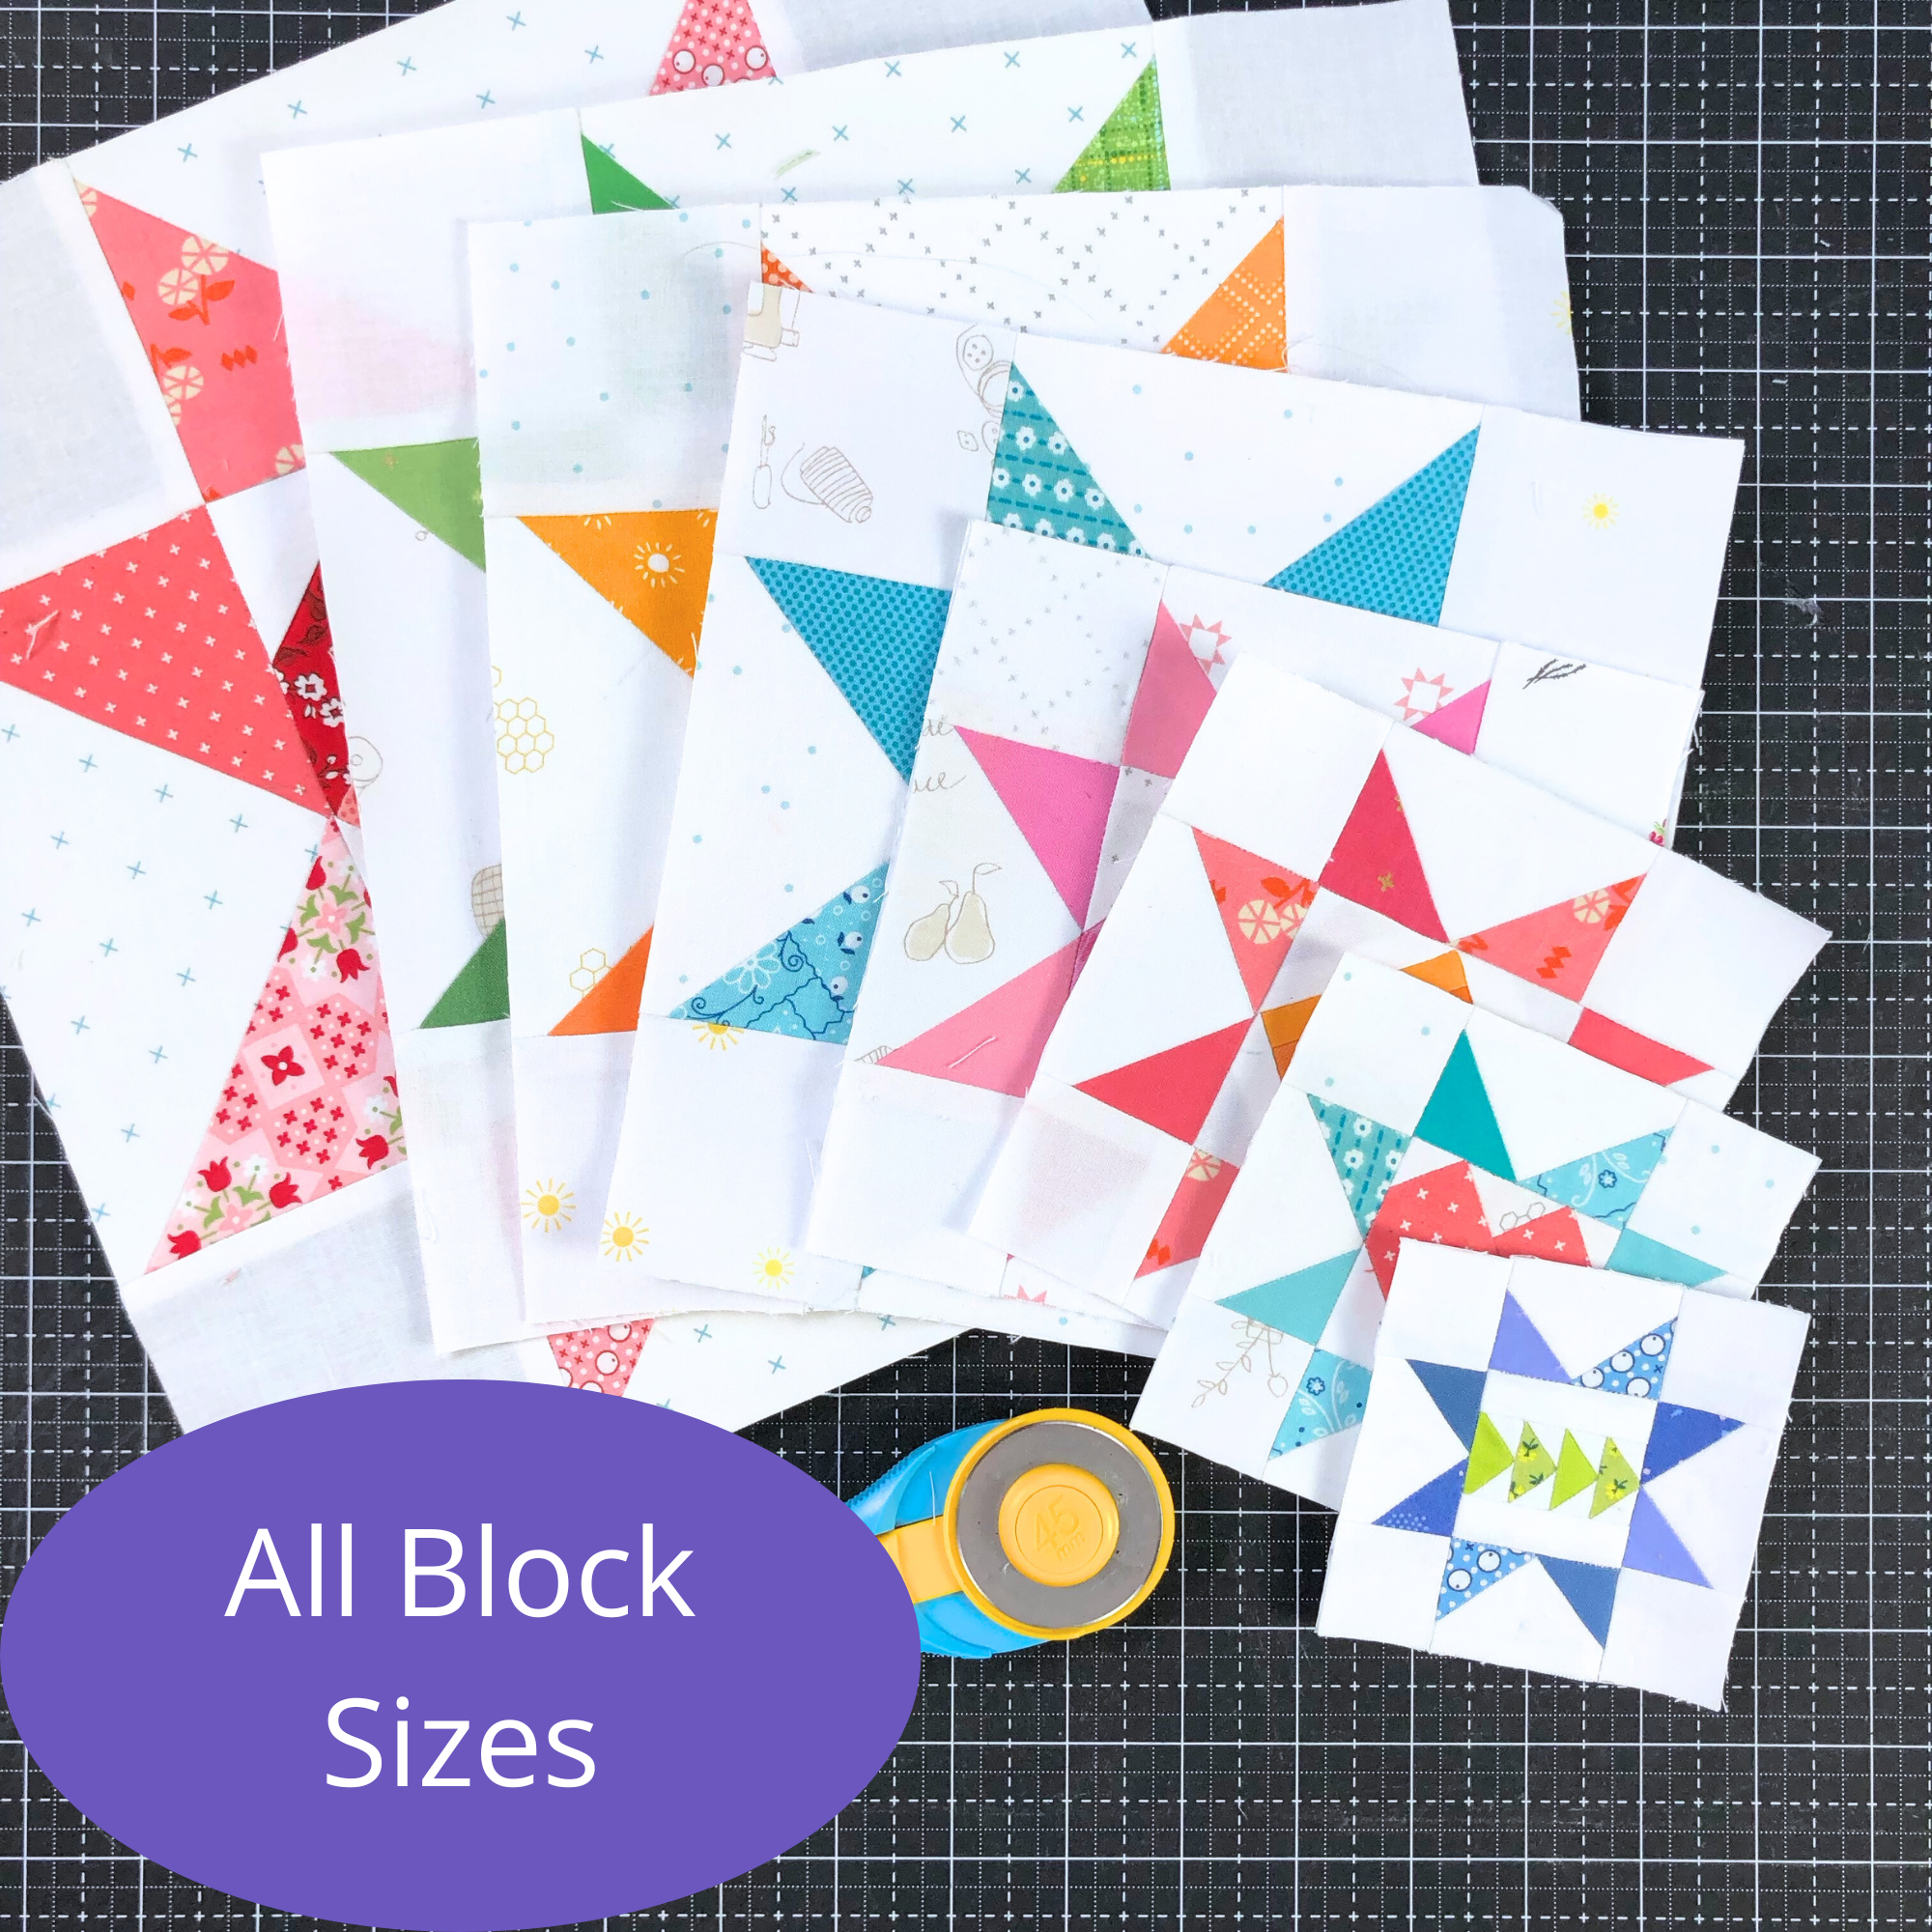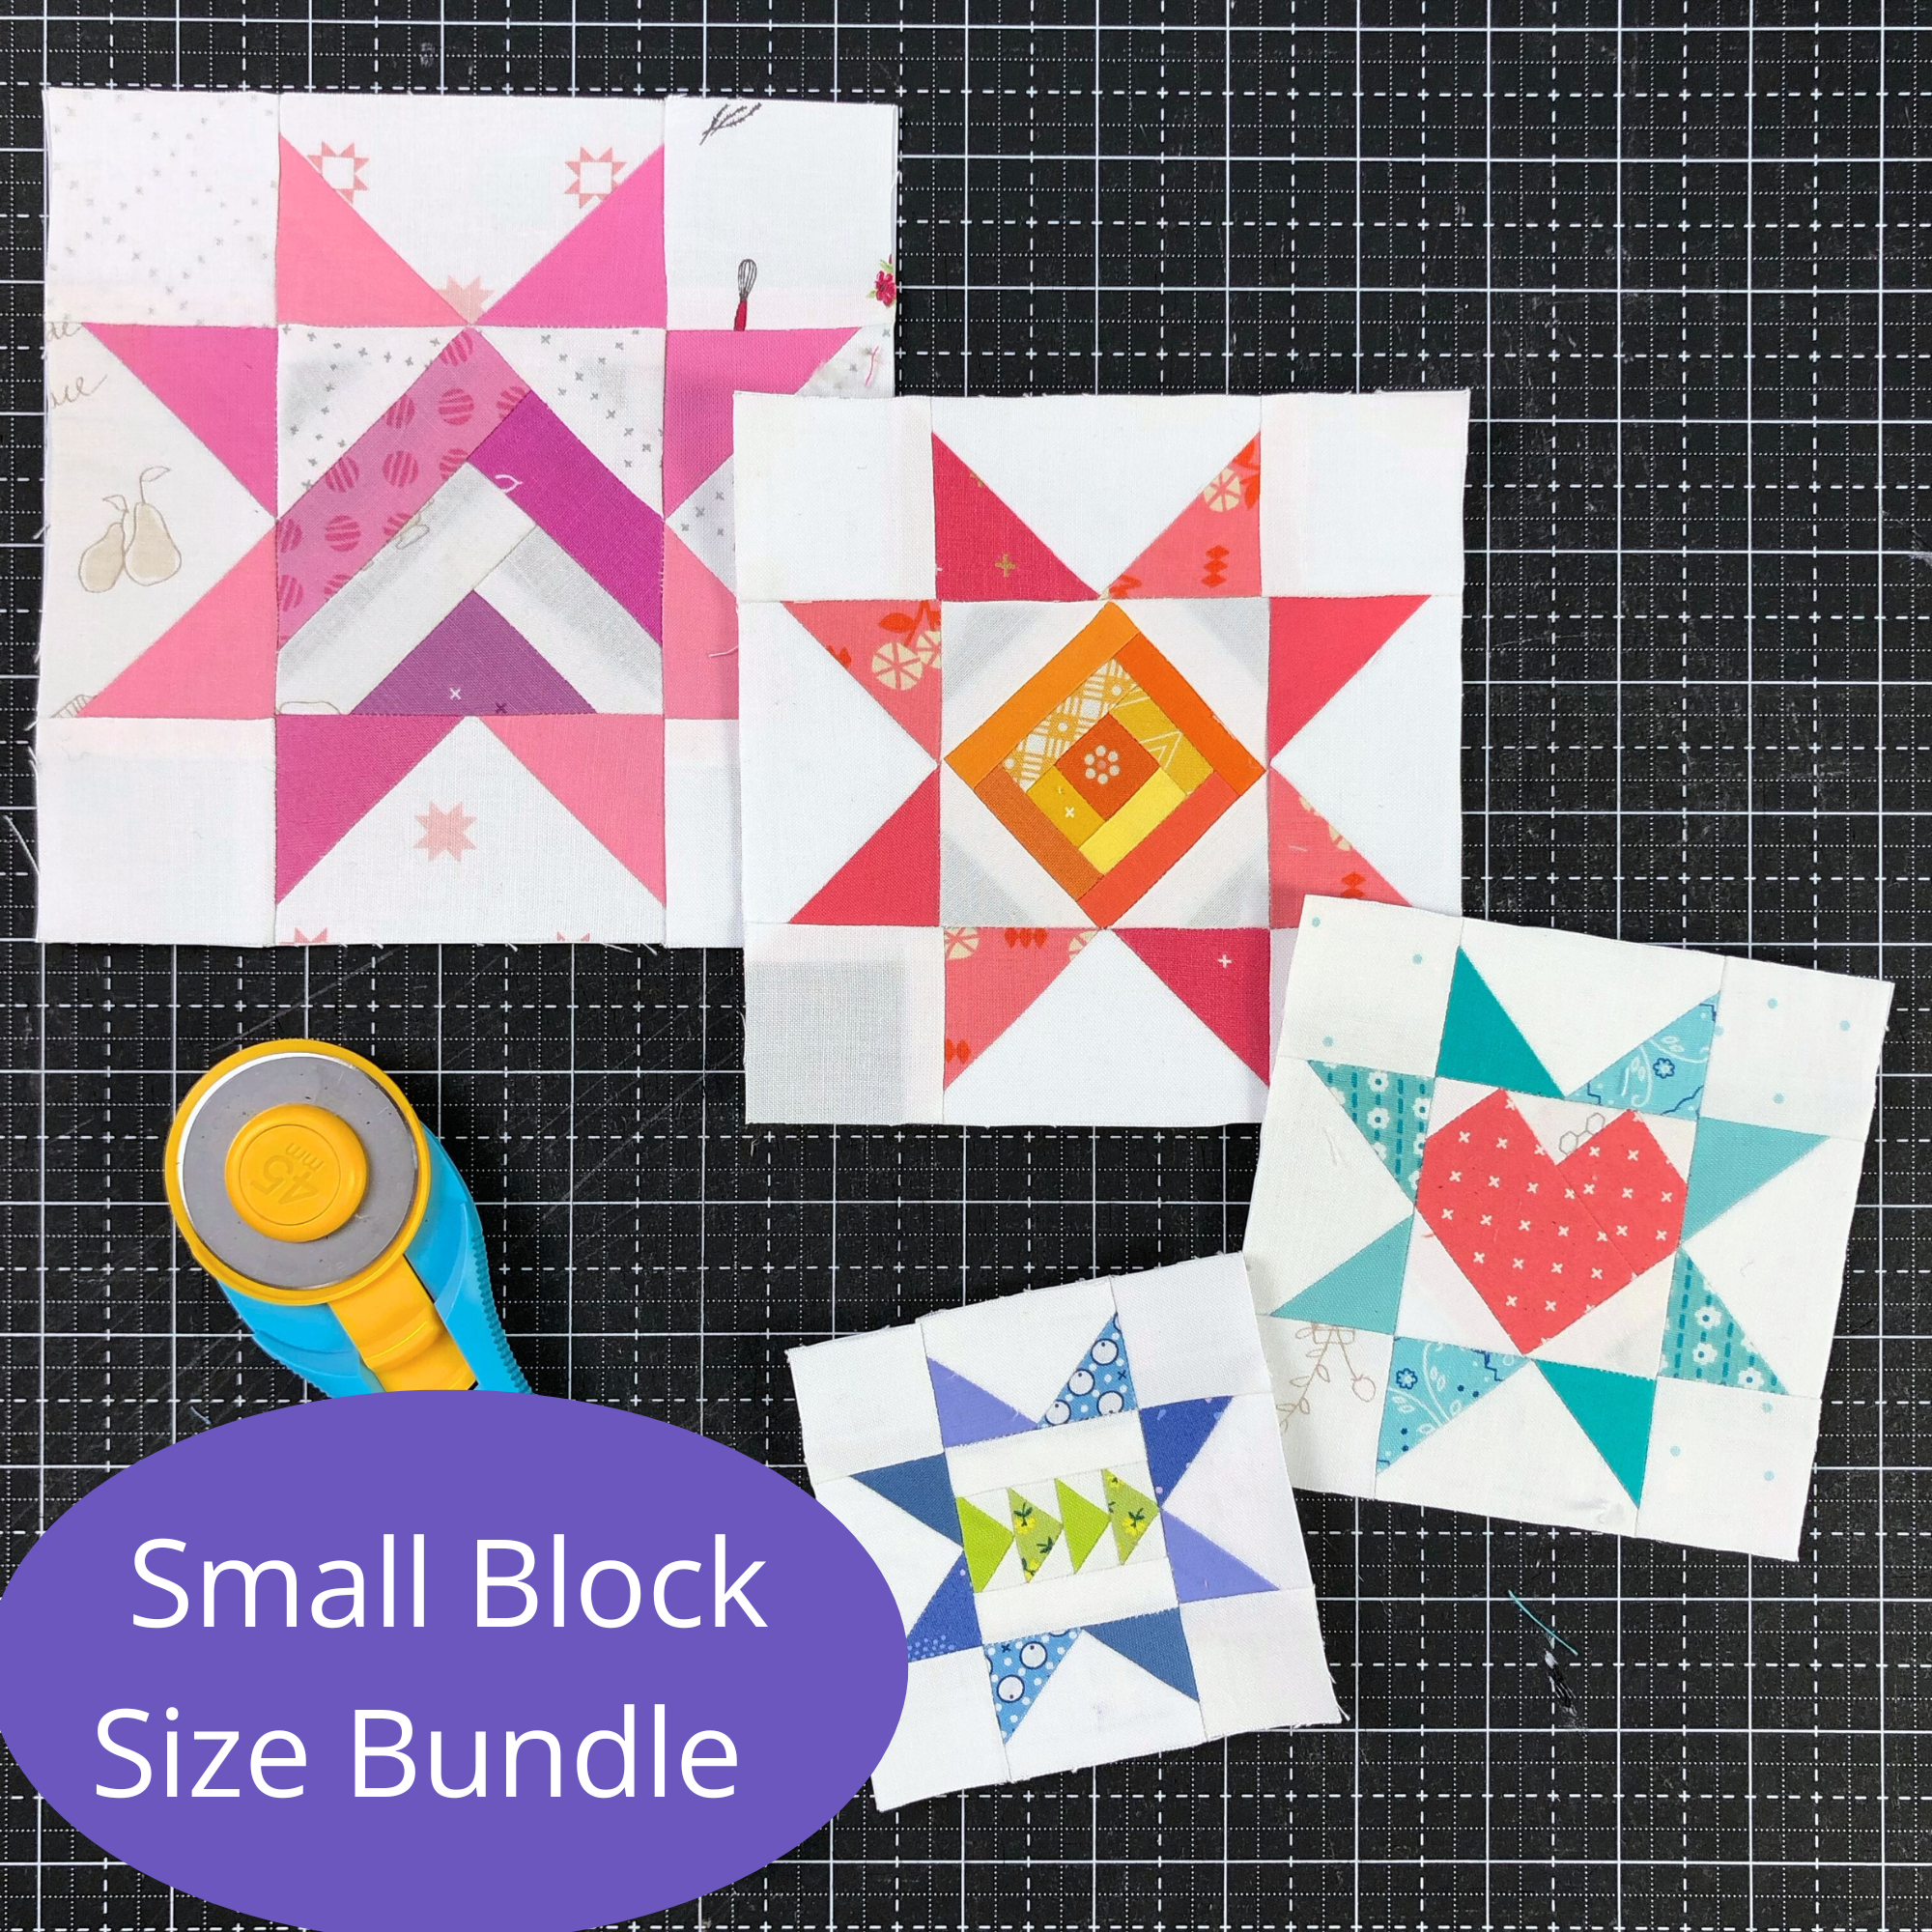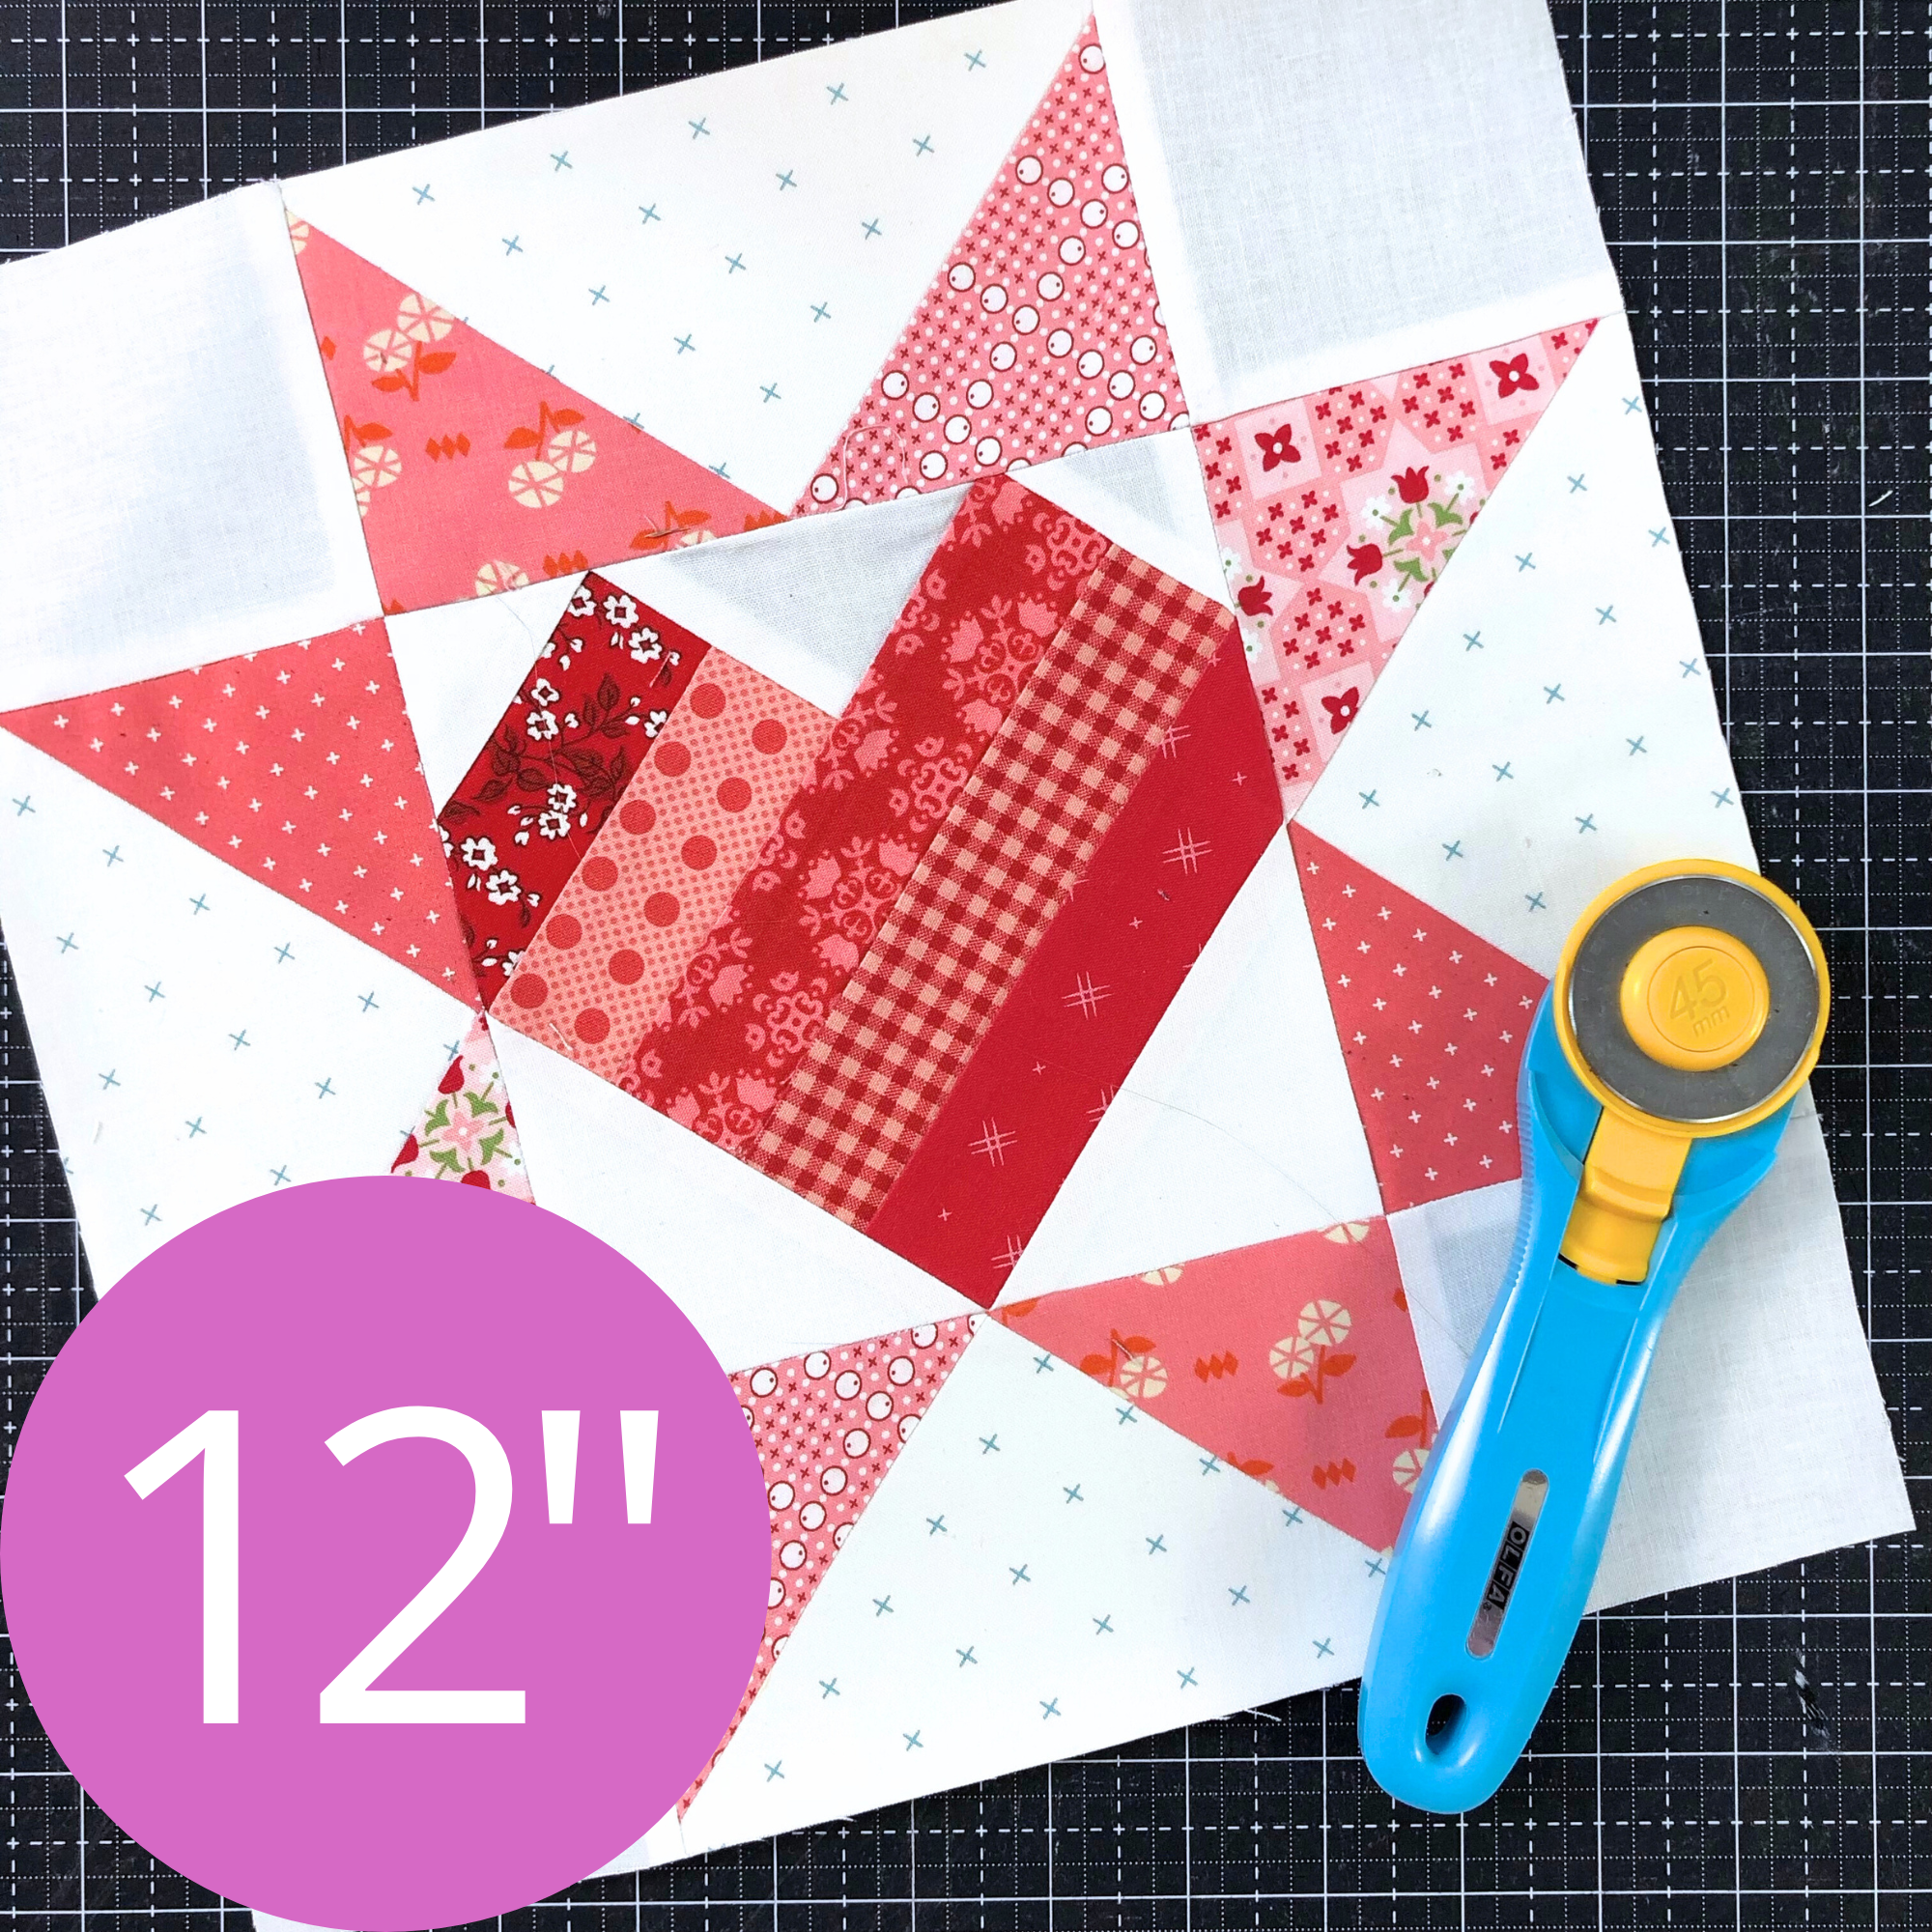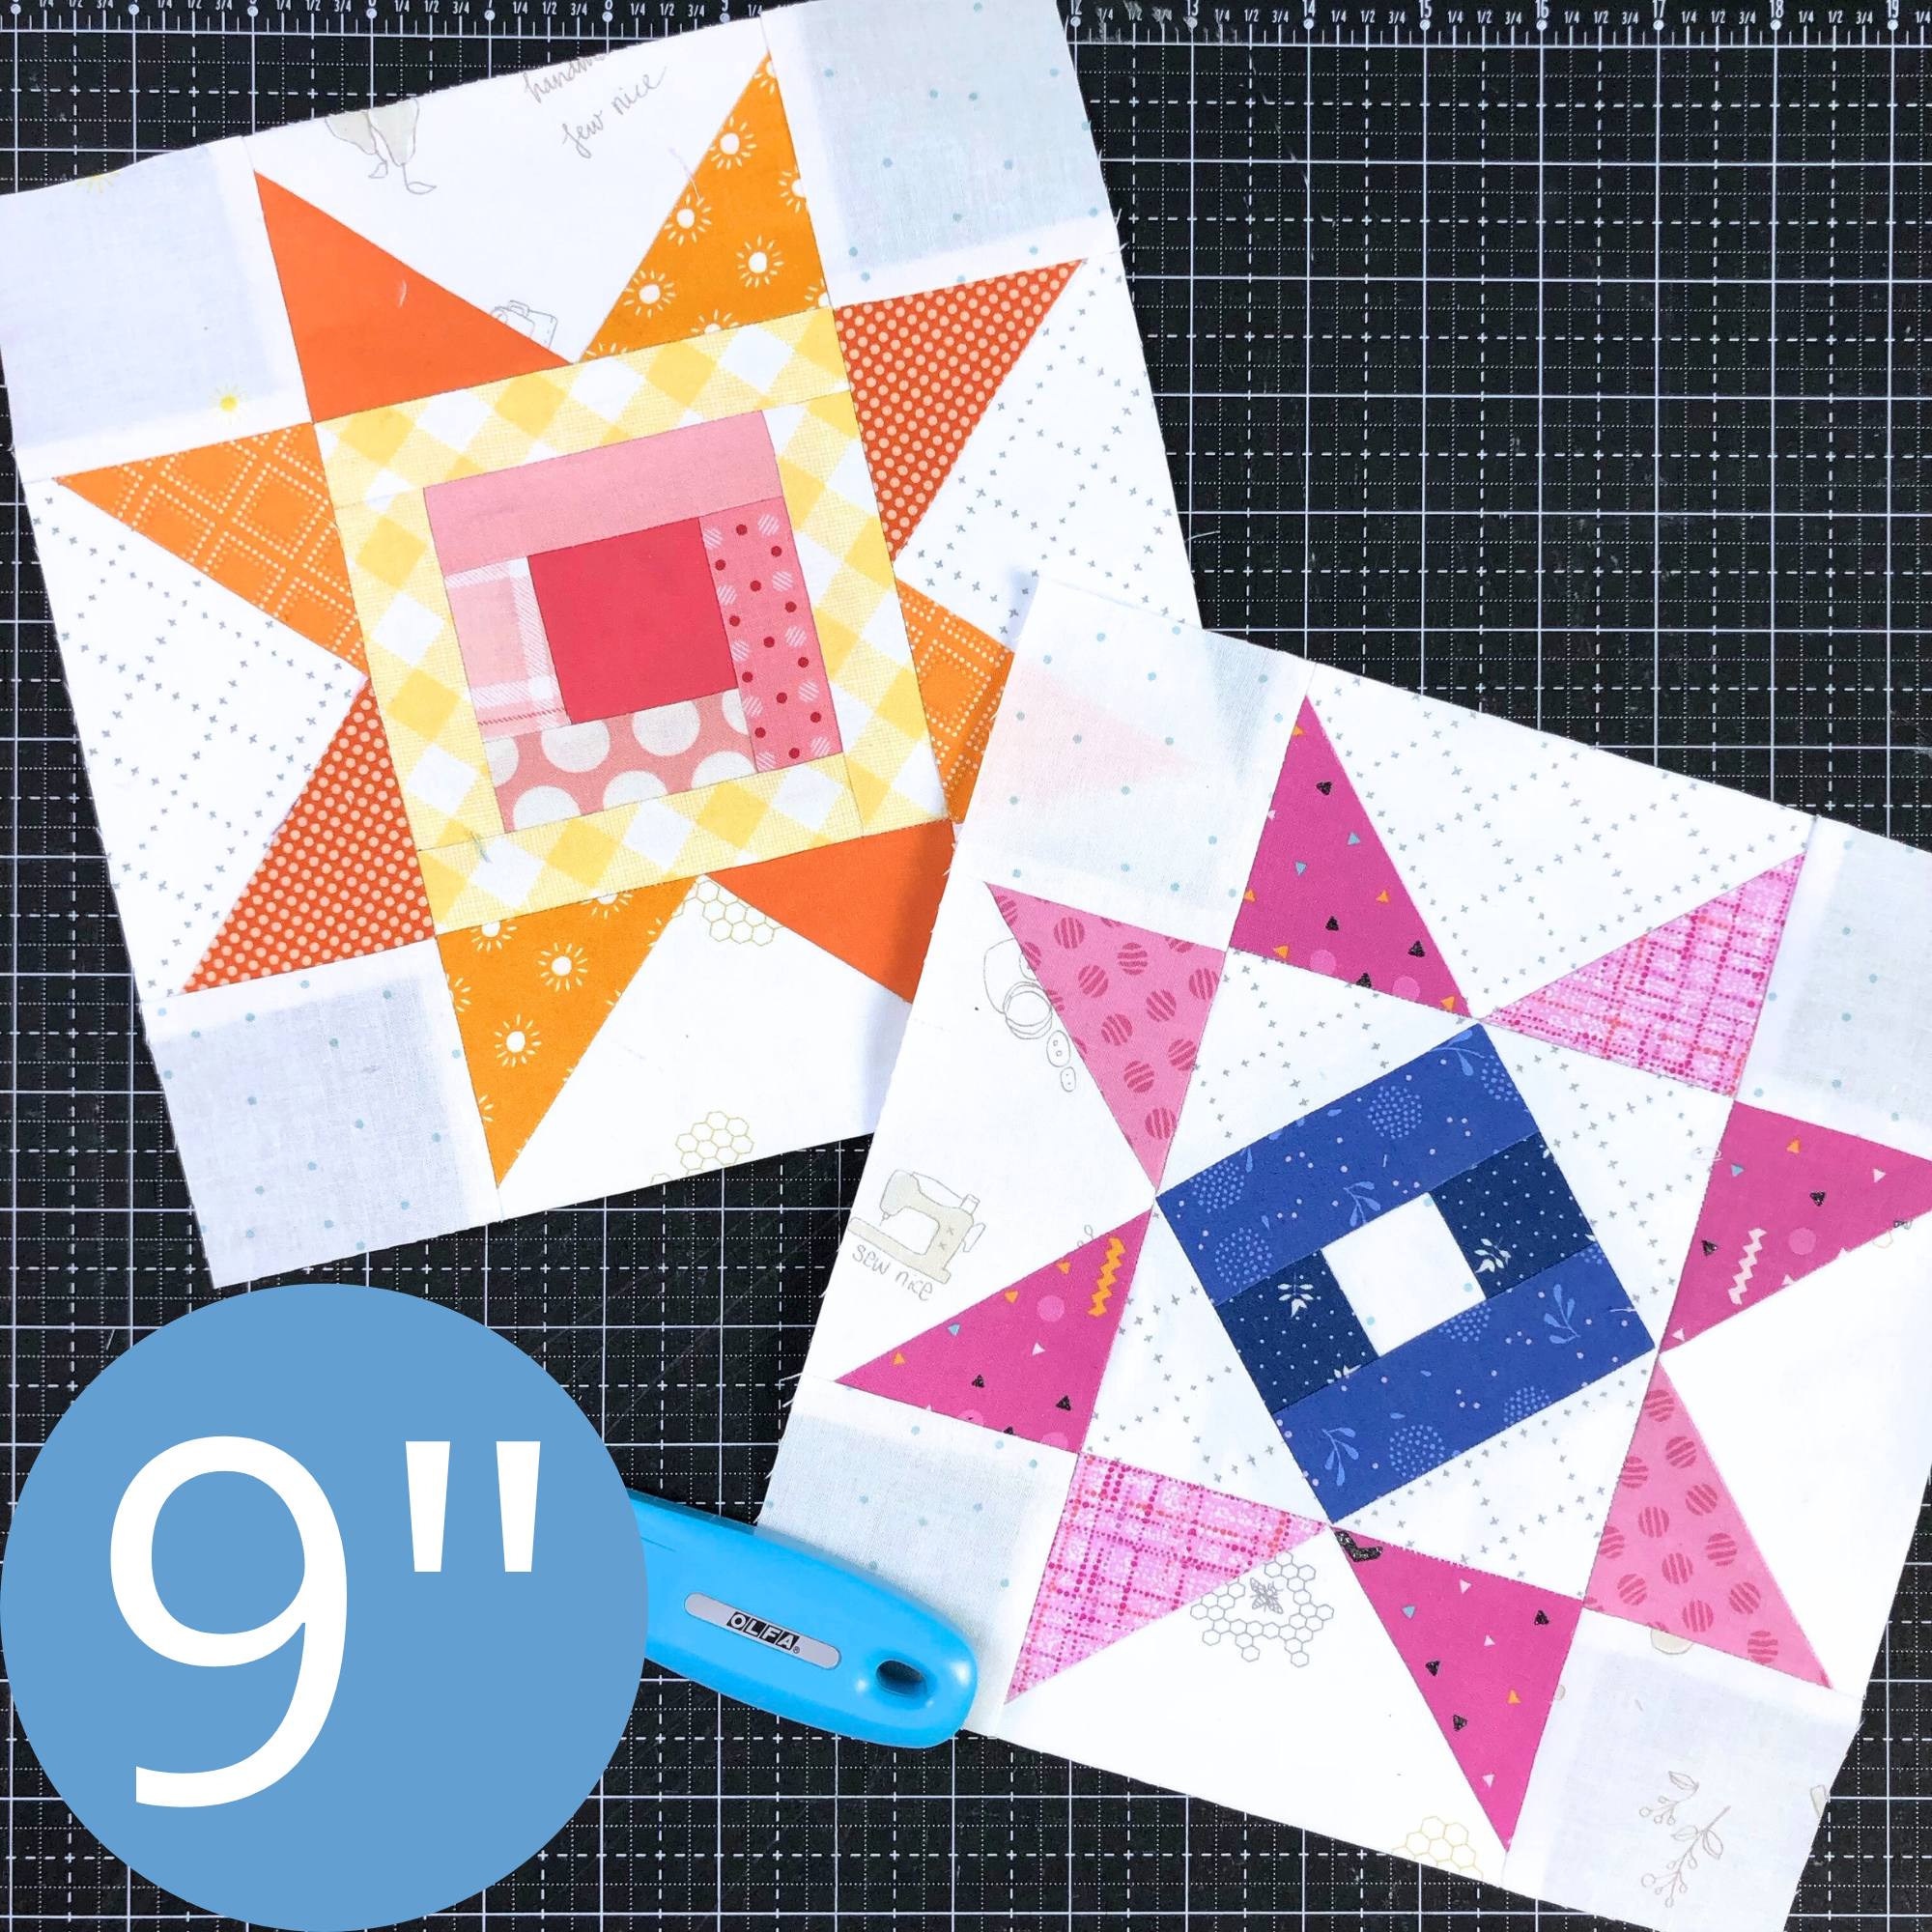
Jumbo Granny Square Quilt Block Tutorial
I love Granny Square quilt blocks, but hate sewing each square together one at a time. I worked up a way to make four 14” Jumbo Granny Square quilt blocks at once using strip pricing. It is super fun, easy, and fast! Let me show you how!

You can access a printable version of the instructions by clicking the button below.
These instructions make a total of four identical Jumbo Granny Square quilt blocks.
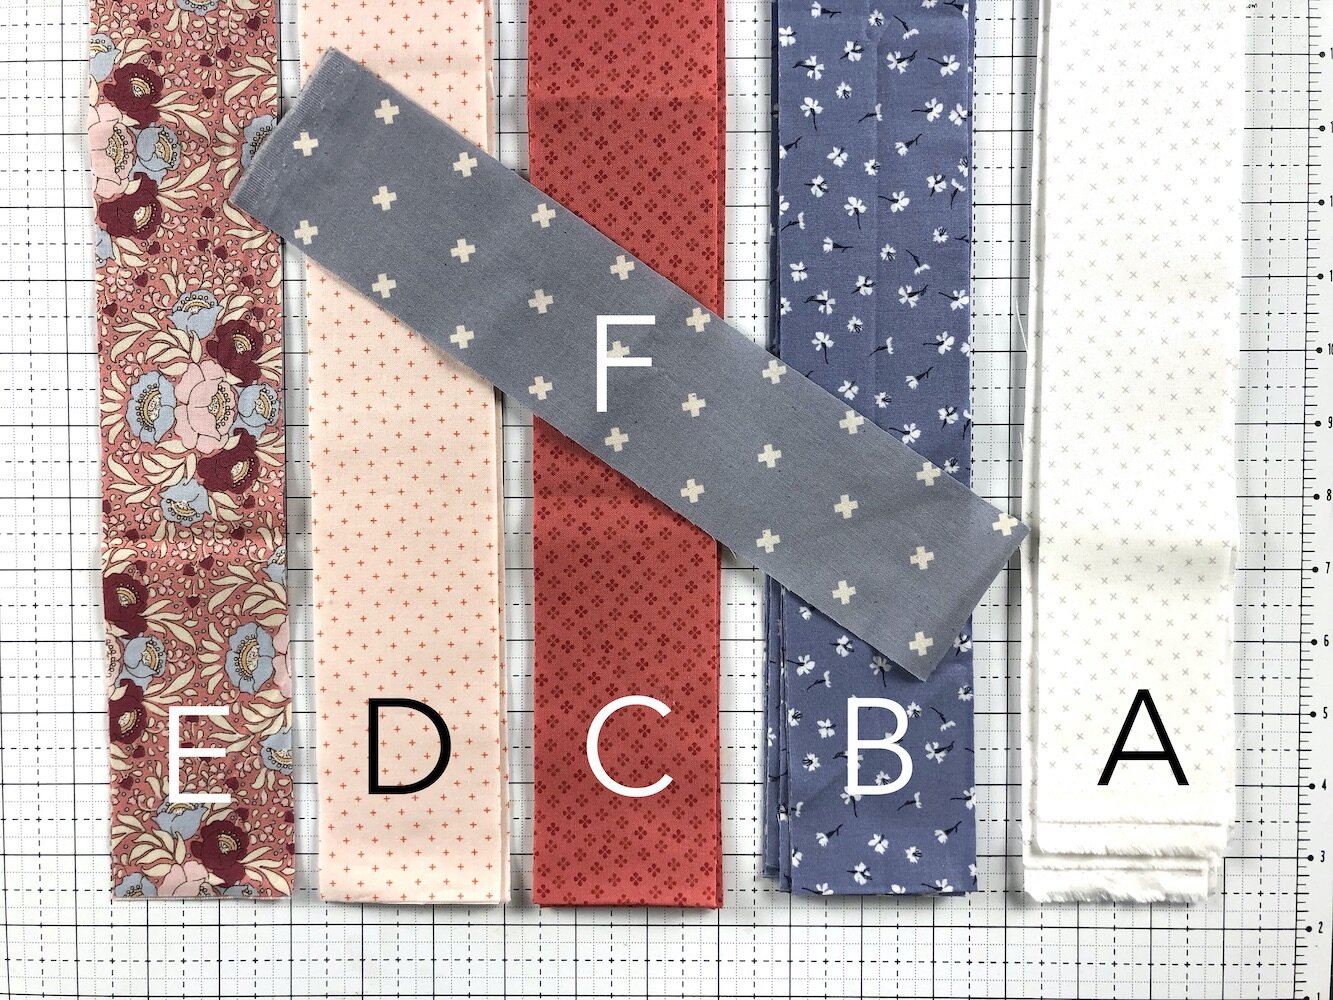
Cut:
Fabric A (White - Use the same fabric for all blocks in the quilt)
(10) 2 1/2” x 21” strips
Fabric B (Blue)
(8) 2 1/2” x 21” strips
Fabric C (Bright Pink)
(6) 2 1/2” x 21” strips
Fabric D (Light Pink)
(4) 2 1/2” x 21” strips
Fabric E (Pink Floral)
(2) 2 1/2” x 21” strips
Fabric F (Light Blue)
(1) 2 1/2” x 10 1/2” strip
Sew Strip Sets
(Use a 1/4” seam allowance for all seams.)


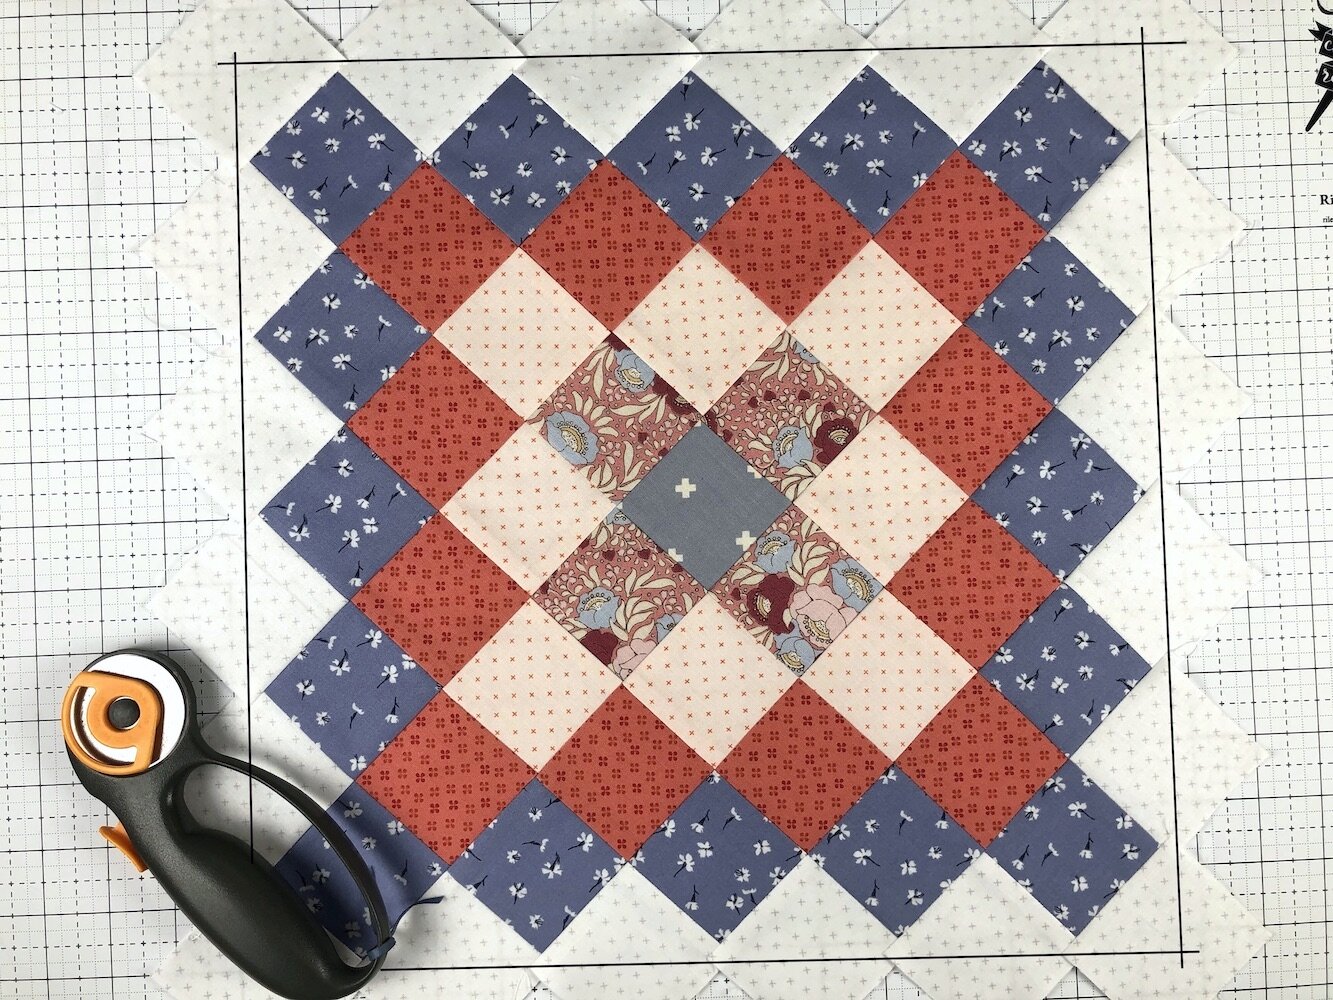
Sew A, B, C, D, & E strips together lengthwise. Do not press. Cut into (2) 10 1/2” strip sets. Sew the strip sets to both sides of the F strip as shown. Press seams to one side. This is Strip Set 1.


2. Sew one A, B, C, D, E, D, C, B, & A strip together lengthwise. Press seams to one side. This is Strip Set 2.
3. Sew A, B, C, D, C, B, & A strips together lengthwise. Press seams to one side. This is Strip Set 3.


4. Sew A, B, C, B, & A strips together lengthwise. Press seams to one side. This is Strip Set 4.
5. Sew A, B, & A strips together lengthwise. Press seams to one side. This is Strip Set 5.

Sub-cut Strip Sets
Square up the end of each strip set and sub-cut 2 1/2” strips. There will be (4) strips from Strip Set 1 and (8) strips from all other strip sets.
Cut the remaining Fabric A strip into (8) 2 1/2” squares. This is “Strip Set” 6.

Sew Strips Together into Blocks
Sew Strip Set 2 to Strip Set 1. Flip strips, if necessary, so seams nest (alternate directions). Sew Strip Set 3 to Strip Set 2. Keep adding strips to one side, ending in the 2 1/2” Fabric A squares. Press seams outward toward the 2 1/2” square. Sew Strip Sets 2-6 to the other side of Strip Set 1. Press seams outward.
Repeat with other strip sets to make four Jumbo Granny Square blocks.
Trim Blocks
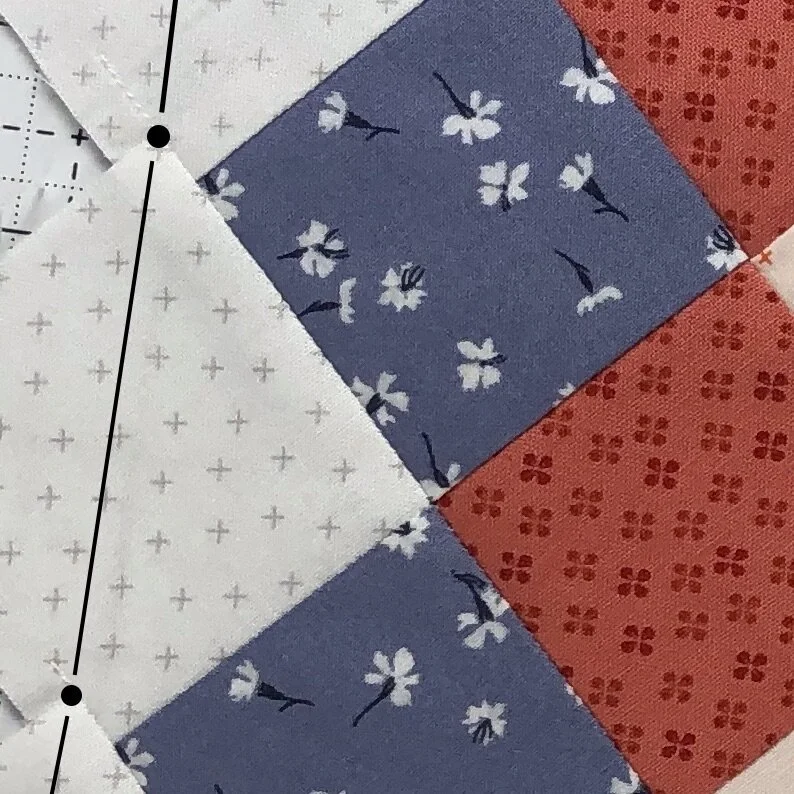
Because trimming the blocks leaves an exposed bias edge, wait to trim until you have made all the blocks and are ready to assemble your quilt top.
Using a ruler and rotary cutter, trim the blocks 1/4” above the points of the Fabric B squares and at the corners of the Fabric A squares. (See dots in the picture above.) Trimmed blocks will be approximately 14 1/4” square. (Finished block size is approximately 13 3/4”.)
Sew Blocks Together
Lay out your trimmed blocks. Sew blocks together into rows. Press seams to the sides, alternating rows. Sew rows together. Press.
Layout Options & Block Requirements
Add borders to any of these layout options to make a larger quilt top. These layout options are based on sets of four Granny Square blocks without leftovers. If different layout options are desired, any leftover blocks can be made into throw pillows.
Very Small Baby Quilt (approx. 28” x 28”) Make 4 blocks (1 set of blocks), 2x2 layout.
Small Square Quilt (approx. 55” x 55”) Make 16 blocks (4 sets of blocks), 4x4 layout.
Throw Quilt (approx. 55” x 69”) Make 20 blocks (5 sets of blocks), 4x5 layout.
Large Square Quilt (approx. 83” x 83”) Make 36 blocks (9 sets of blocks), 6x6 layout.
I have been having so much fun making these blocks with different fabric combinations. I’ll post a picture of my finished quilt when it is done and look forward to seeing what you make. If you are on Instagram, use the hashtag #jumbogrannysquare and tag me so I can find your blocks.
(Not sure how to use Instagram or know if you even want to? Check out this post. I’ll guide you through it step by step.)