How to Use Instagram: A Quilters Guide

Why should quilters use Instagram? I’ll tell you why, how to sign up, all the Instagram vocabulary you need to know, and walk you through how to post a picture.
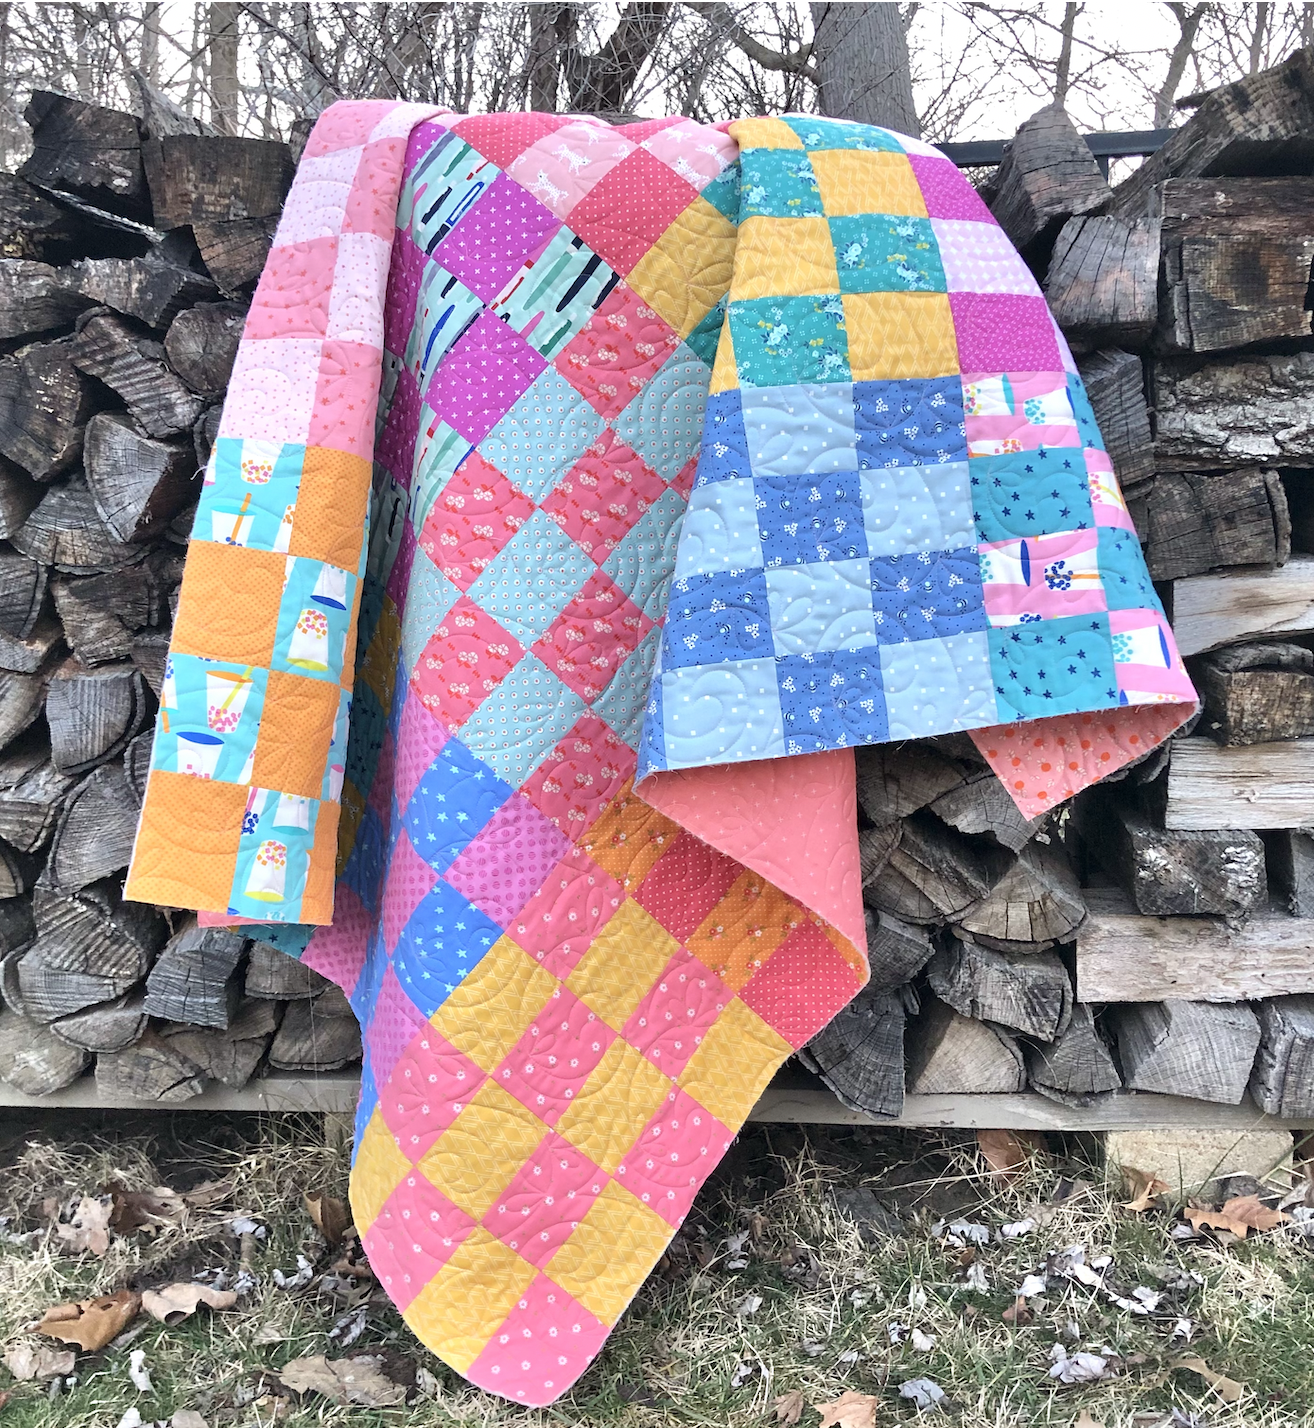
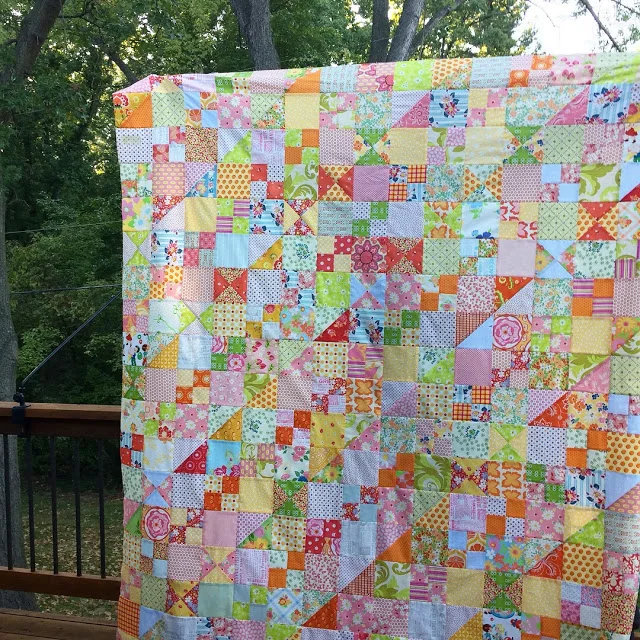
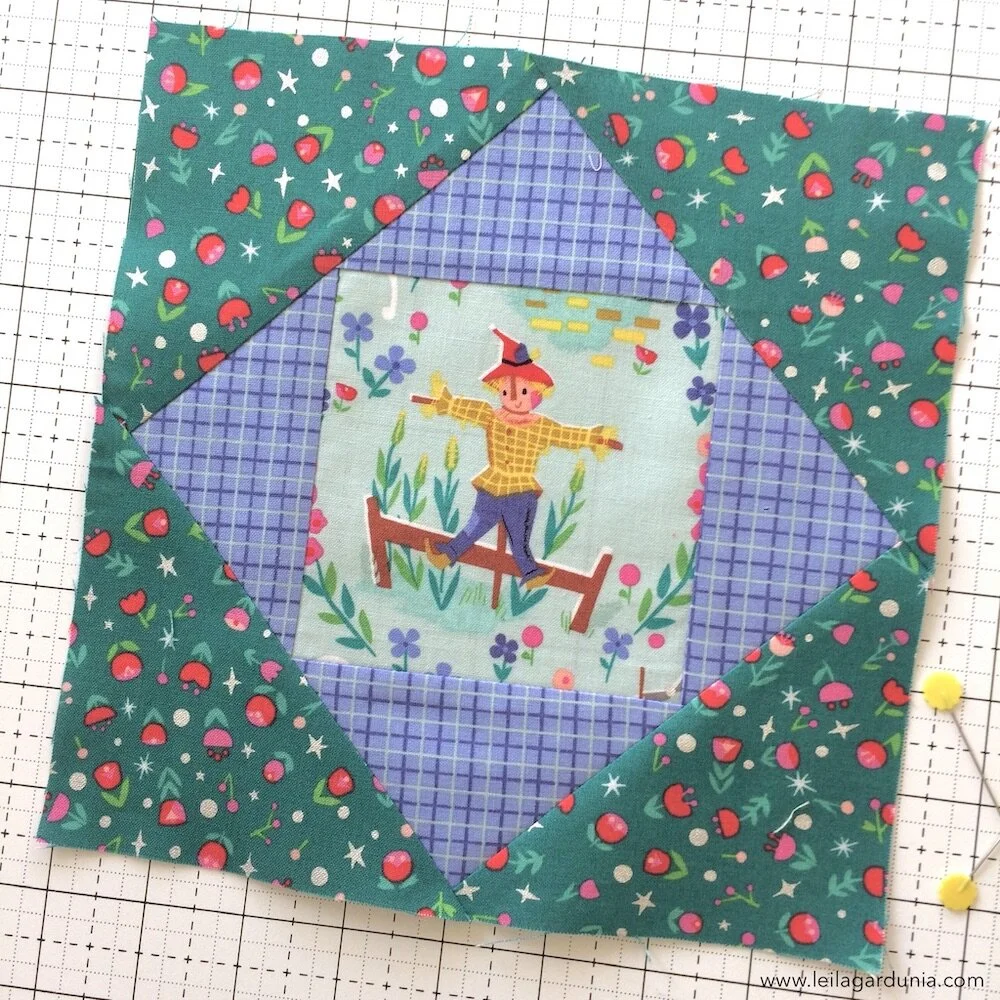
Instagram is a great tool that quilters use to share in progress and finished photos of their projects together. People also organize online mini quilt swaps on Instagram as well as Quilt Alongs. They are fun ways to build friendships and community. Quilt Alongs are when a group of quilters make a quilt at the same time. Usually, there is someone who organizes the schedule of sewing and gives weekly sewing prompts. Often there are prizes for posting in progress photos and staying caught up. If you haven’t used Instagram before, the whole process can be kind of confusing, but it is worth it to figure it out. I promise, it’s not that bad.
Reasons I love Instagram:
You can’t link directly to different websites, so there isn’t as much reposting of stupid stuff. You know, the ‘Friends’ who fill your feed with stupid/inflammatory/fake junk. Following mostly quilters on Instagram makes it a great, inspiring place to be.
No messy side bars with ads and distracting messes. There are still ads that show up, but they will mostly look like regular posts, and say Sponsored at the top. I find they are much less annoying. I appreciate the clean look of Instagram.
You can find a great community of quilters, especially younger quilters on Instagram.

How to Sign Up:
Download the Instagram App onto your phone. It is a free app and you can find it in the App Store on your phone.
Open the app and sign up. You can actually make an account on the Instagram App or at www.instagram.com. (These pictures are from the internet version, because I couldn't really sign up again on my phone. The phone view will be similar.)
You will need to provide an email address or phone number, your name, a user name, and password. That’s it!
You will need to verify that it’s you by entering a code that Instagram sends to your phone number.

Next, Instagram will give you the option of linking your Facebook account so you can post to both Instagram and Facebook at the same time. It also gives you the option of ‘Following’ some high profile people. (Following means you see what they post.)

The next step is to click on your profile picture. Add a picture of yourself! We want to see who you are.
You can also find Facebook friend who are on Instagram. You don’t have to follow all of your Facebook friends, you can pick and choose.
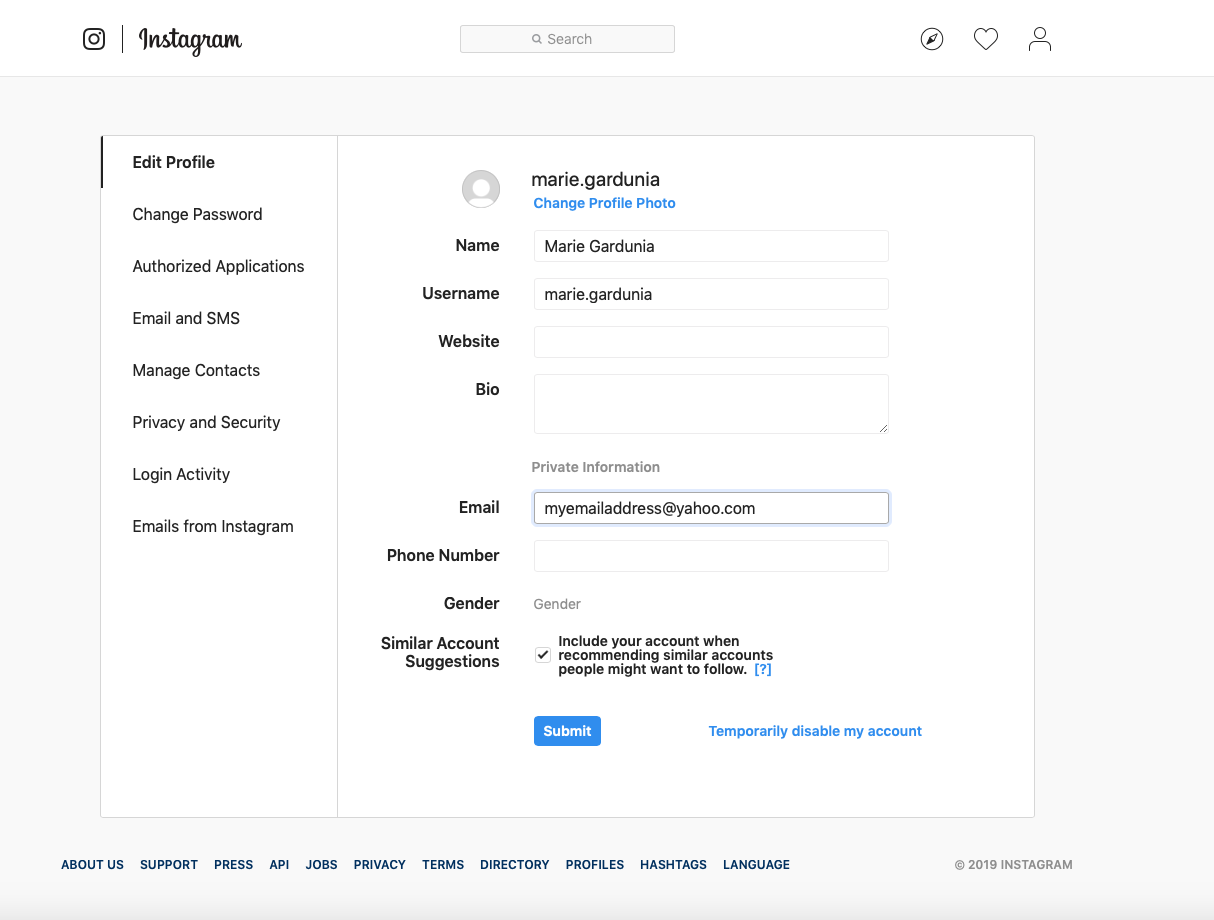
Then go to Edit Profile. You can add a description and link to a website here if you want. You can also set your privacy settings.
Basic Instagram Vocabulary:
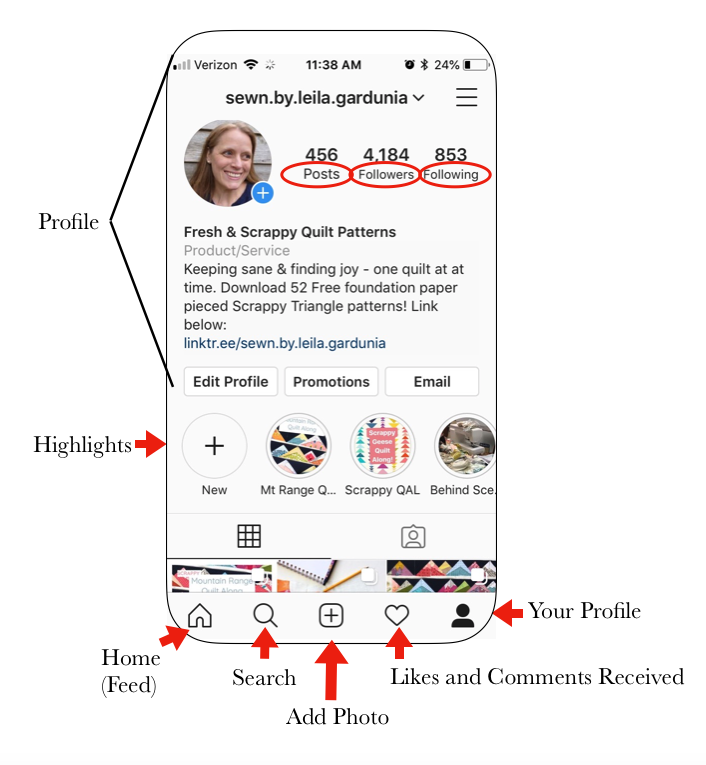
Profile - There is a picture of you, your user name and a place to write something about yourself and put in one link. Lots of times people will say, ‘click the link in my profile to find…’. That means that if you click on that person’s icon, it will take you to their profile page and you will find the info you need when you click the link found in their profile description.
If you click on the little person in the bottom right corner, it will take you to your own profile.
Posts - these are the pictures or videos that you post. At the top of your profile, it show how many times you have posted.
Follow - If you want to see content from people regularly, you can go to their profile and click ‘Follow’. This will put content they post in your feed. But remember, Instagram has an algorithm (code) that keeps track of what you like and comment on. If you never like or comment on someone’s posts, Instagram may stop showing them to you. If you want to keep seeing content from someone, ‘Like’ and comment on their posts regularly.
Followers - This is a count of how many people are ‘following’ an account.
Following - This is a count of how many people the person is following.
Like - You ‘Like’ something when you double click on a picture, or click on the heart icon below the picture. Below the picture, it also says how many ‘Likes’ it has gotten.
Home/Feed - The ‘Home’ icon will take you to your feed. Your feed is all the pictures from the people you follow.
Hashtags - Hashtags (#) are used to label your photos so they are searchable. If you put #scrapquilt at the end of your picture caption, people who search for pictures of scrap quilts will find it. You want to use a mixture of generalized hashtags (#quilt or #sewing) and more specialized hashtags (#foundationpaperpiecing). You can even make up your own hashtags. Say you are working on a long term project, you could use the hashtag #LeilasEpicSummerQuilt for all your posts of that project.
If you are part of a quilt along, there will be a hashtag for the quilt along that you will need to use. (Example: #ScrappyGeeseQAL) There may also be additional hashtags you may need to use to be entered into quilt along drawings. For example, if there was a prize for finishing the quilt on time, you might need to post a picture of your finished quilt with the hashtag #ScrappyGeeseQALFinish. Make sure you use the hashtags asked for. The quilt along organizer doesn’t have the time to search though all the quilt along photos to find the finished quilts. It is much easier for her to search the hashtag and see all the finished quilts in one place.
Following Hashtags - This is a great way to see content you are interested in. When you click the search icon and type #scrapquilts, there is an option at the top of the results that lets you ‘Follow this Hashtag’. That means that posts with the #scrapquilt hashtag will show up in your feed. This is a super useful function. If your guild has a hashtag they use, you can see posts from any guild members who use that hashtag. If you are part of a Quilt Along, there will usually be a hashtag associated with it. You can follow that hashtag to see what the other quilters in the Quilt Along are doing.
Search - Click the search icon (the magnifying glass) to find people (accounts) or pictures posted under different hashtags (tags), or taken in different places.
Stories - These are the little circles at the top of your screen. If you want to post a video, or a silly picture, or something behind the scenes that you don’t want to live forever on your feed, you can post it as a Story. It will be archived and disappear after 24 hours. Sometimes Quilt Along organizers will post mini tutorials in their Stories.
Highlights - Sometimes you don’t want those Stories to go away. If you want to save a series of videos or posts, you can create a Highlight and select what past Stories you want in that highlight. For example, if I posted a series of how to foundation paper piece videos ( I haven’t), I could save them all in a Highlight people could watch at any time. People’s Highlights are found at the bottom of their profile.


How to Post a Picture
Now that we know the basic vocabulary, let’s go over how to post a picture.
Take a Picture - You can be on the app or just take a picture on your phone as you regularly would. Remember that taking your picture in natural light, outside or by a window, will get you a much better results than taking it in your basement sewing room with no windows (ask me how I know…).
Open Instagram - on the bottom of the screen is an addition sign (+). Click it when you want to ‘add’ a picture to your feed.
Choose the Picture - in this section there are three options on the bottom of the screen for adding photos.
-You can pick a photo from the ‘Library’ on your phone of previously taken photos.
-You can choose to take a Photo.
-Or you can record a Video. All of the options are found at the bottom of the screen.
-Once you have clicked on the picture, you can choose to add more that you can swipe to see by clicking the overlapping squares in the bottom right hand corner of the pictures. After clicking it, choose more pictures from the library.
-If the square format cuts off the bottom of your rectangular photo, you can choose to have the pictures post as a rectangle by clicking the double arrows in the bottom left corner of the photo.
-Once you have chosen your photo, click Next (Top right hand corner of the screen.)

4. Filter and Edit - if you picture is dark or needs to be cropped, you can take care of that here by clicking on Edit. A couple of clicks to lighten up your picture here can make a real difference. When you are done, click ‘Next’. (I don’t usually use a filter, but you can if you want.)
5. Caption - This is where you write what the picture is about. Please, please, please write something real. So many teens that I follow write really cryptic/dumb/unintelligible things. Tell us what the picture is about, how you felt, what pattern it is, anything really. If you want to encourage interaction and comments, ask a question or ask people to share something. For example, ‘I’m ripping out seams for the fourth time tonight! I’m going crazy. What is the worst thing you have had to rip out?’ Or ‘Should I choose the red or blue for this block?’ Remember that when someone comments on your post, it is nice to hit the Reply button under their comment and, well, reply to what they said.
6. Hashtags - Remember to add relevant hashtags so people can find your photos.
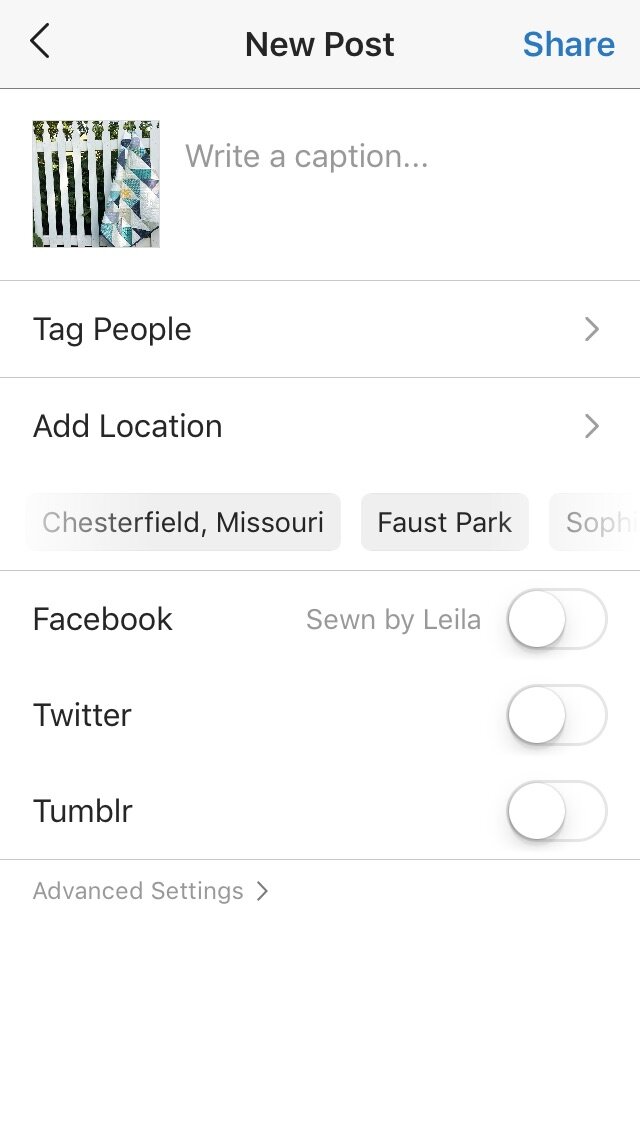
7. Tag - Hit this to label people that are in the picture, or to let someone know that you’ve mentioned them in a post. For example, many people tag pattern or fabric designers when they make something. Or you might tag your quilting friends in a retreat photo.
8. Location - sometimes it is fun to indicate where the picture was taken.
9. Post in Multiple Places - If you link your other accounts, you can post the same picture and caption on Facebook, Twitter, or Tumbler.
10. Proofread - Better safe than sorry!
11. Hit Share!
The picture is now in your feed!
How can you tell who has liked or commented on your photos? You can click on the picture, but Instagram will also let you know if there are any new likes or comments. When you next open Instagram the little Heart icon on the bottom of the screen will be lit up. Click on it and you can see who has been commenting.
There you have it! I hope you will give Instagram a try. Let me know in the comments if you have any other Instagram questions and I will get them answered. Thanks!
Oh, and if you want, you can follow me on Instagram too! I’m @leila.gardunia. Just click Follow! :)