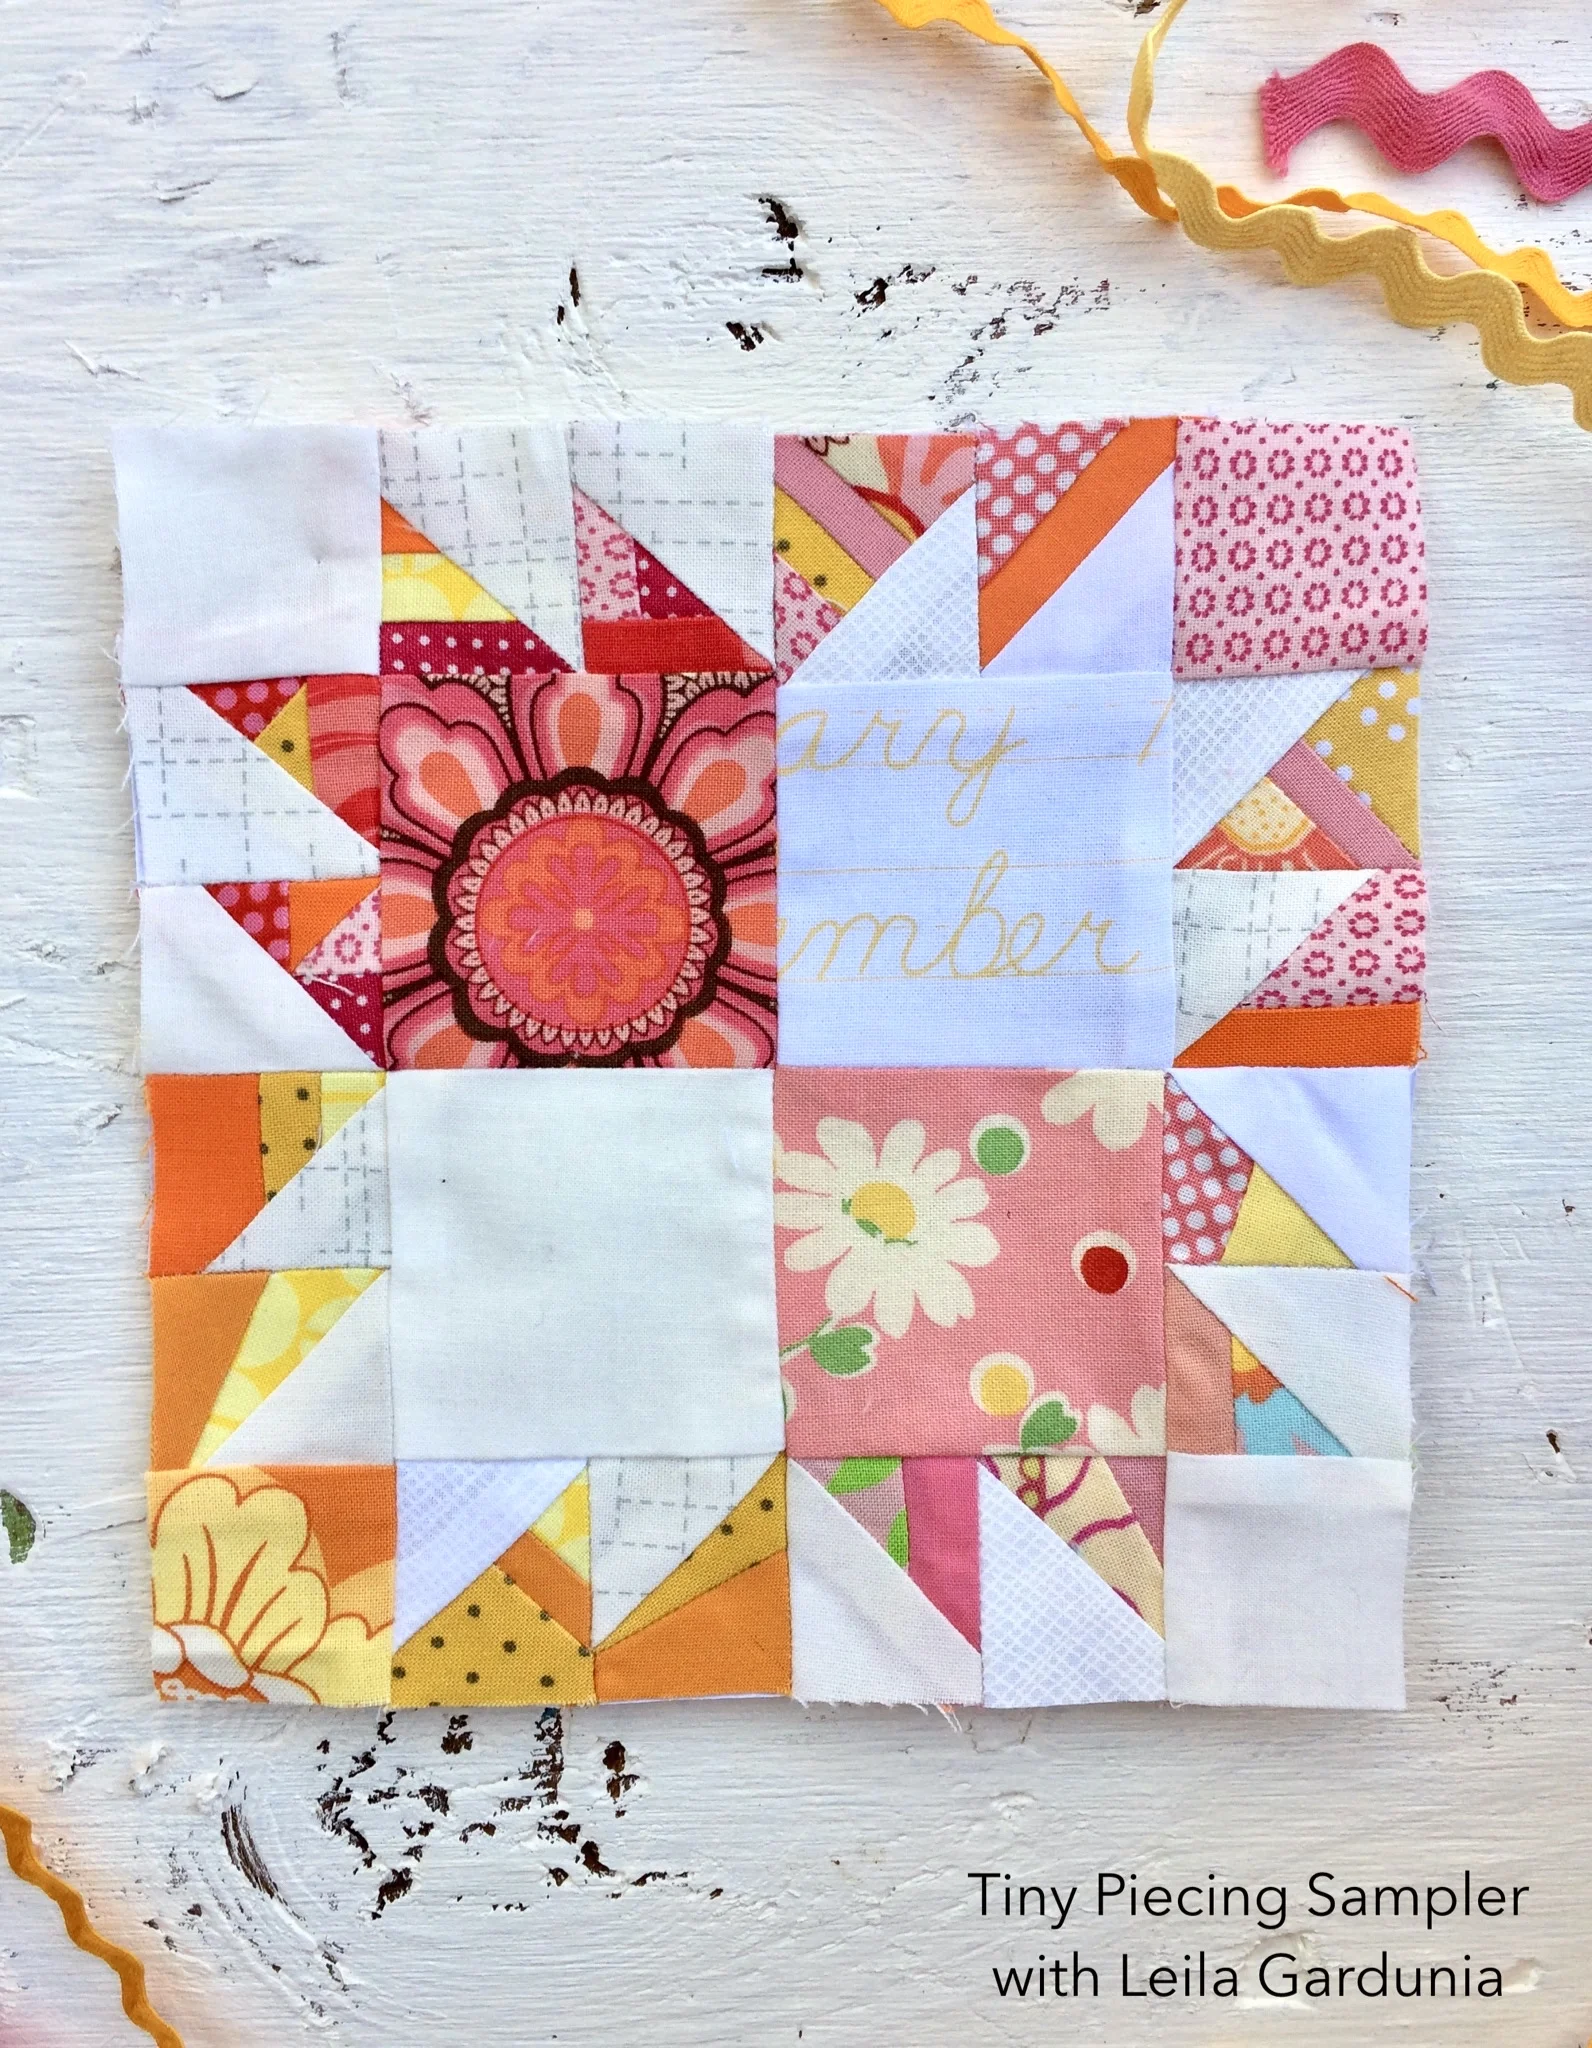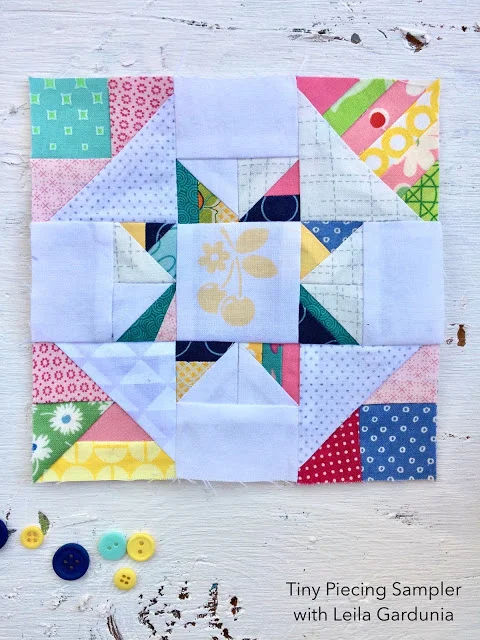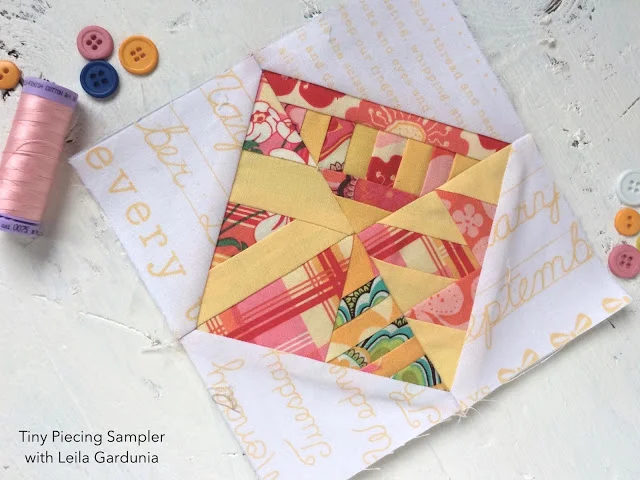
Block 11 - Tiny Piecing Sampler

To be totally honest, this isn’t my favorite block in the Tiny Piecing Sampler. I think a big part of it is the fabric I chose. But, you win some, you lose some with fabric selection. The 12” Block is made of 4 of these blocks sewn together and looks pretty cool! Instructions for both options are found below.
(Here are the links for all the other blocks in the Tiny Piecing Sampler and the Shop where you can purchase the Scrappy Triangle foundations.)
6” Block
Make:
(2) 2” Scrappy Triangles
(2) 3” Scrappy Triangles
Cut:
(2) 1 1/2” x 2 1/2” rectangles
(2) 1 1/2” x 3 1/2” rectangles
12” Block
Make:
(8) 2” Scrappy Triangles
(8) 3” Scrappy Triangles
Cut:
(8) 1 1/2” x 2 1/2” rectangles
(8) 1 1/2” x 3 1/2” rectangles
Assembly
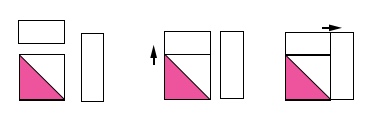
Sew a 1 1/2” x 2 1/2” rectangle to the top of each 2” Scrappy Triangle. Press towards the rectangle.
2. Sew a 1 1/2” x 3 1/2” rectangle to the side of the 2” Scrappy Triangle unit. Press towards the rectangle. Repeat for all 2” Scrappy Triangles.

3. Arrange the 2” Scrappy Triangle units and 3” Scrappy Triangles as illustrated.
4. Sew the units together into rows and press towards the 3” Scrappy Triangles.
5. Press downwards. The 6” Block is finished.
6. Repeat to make 4 units for the 12” Block.

7. Arrange the 6” units as illustrated. Sew units together into rows. Press seams open.
8. Sew rows together. Press seams open.