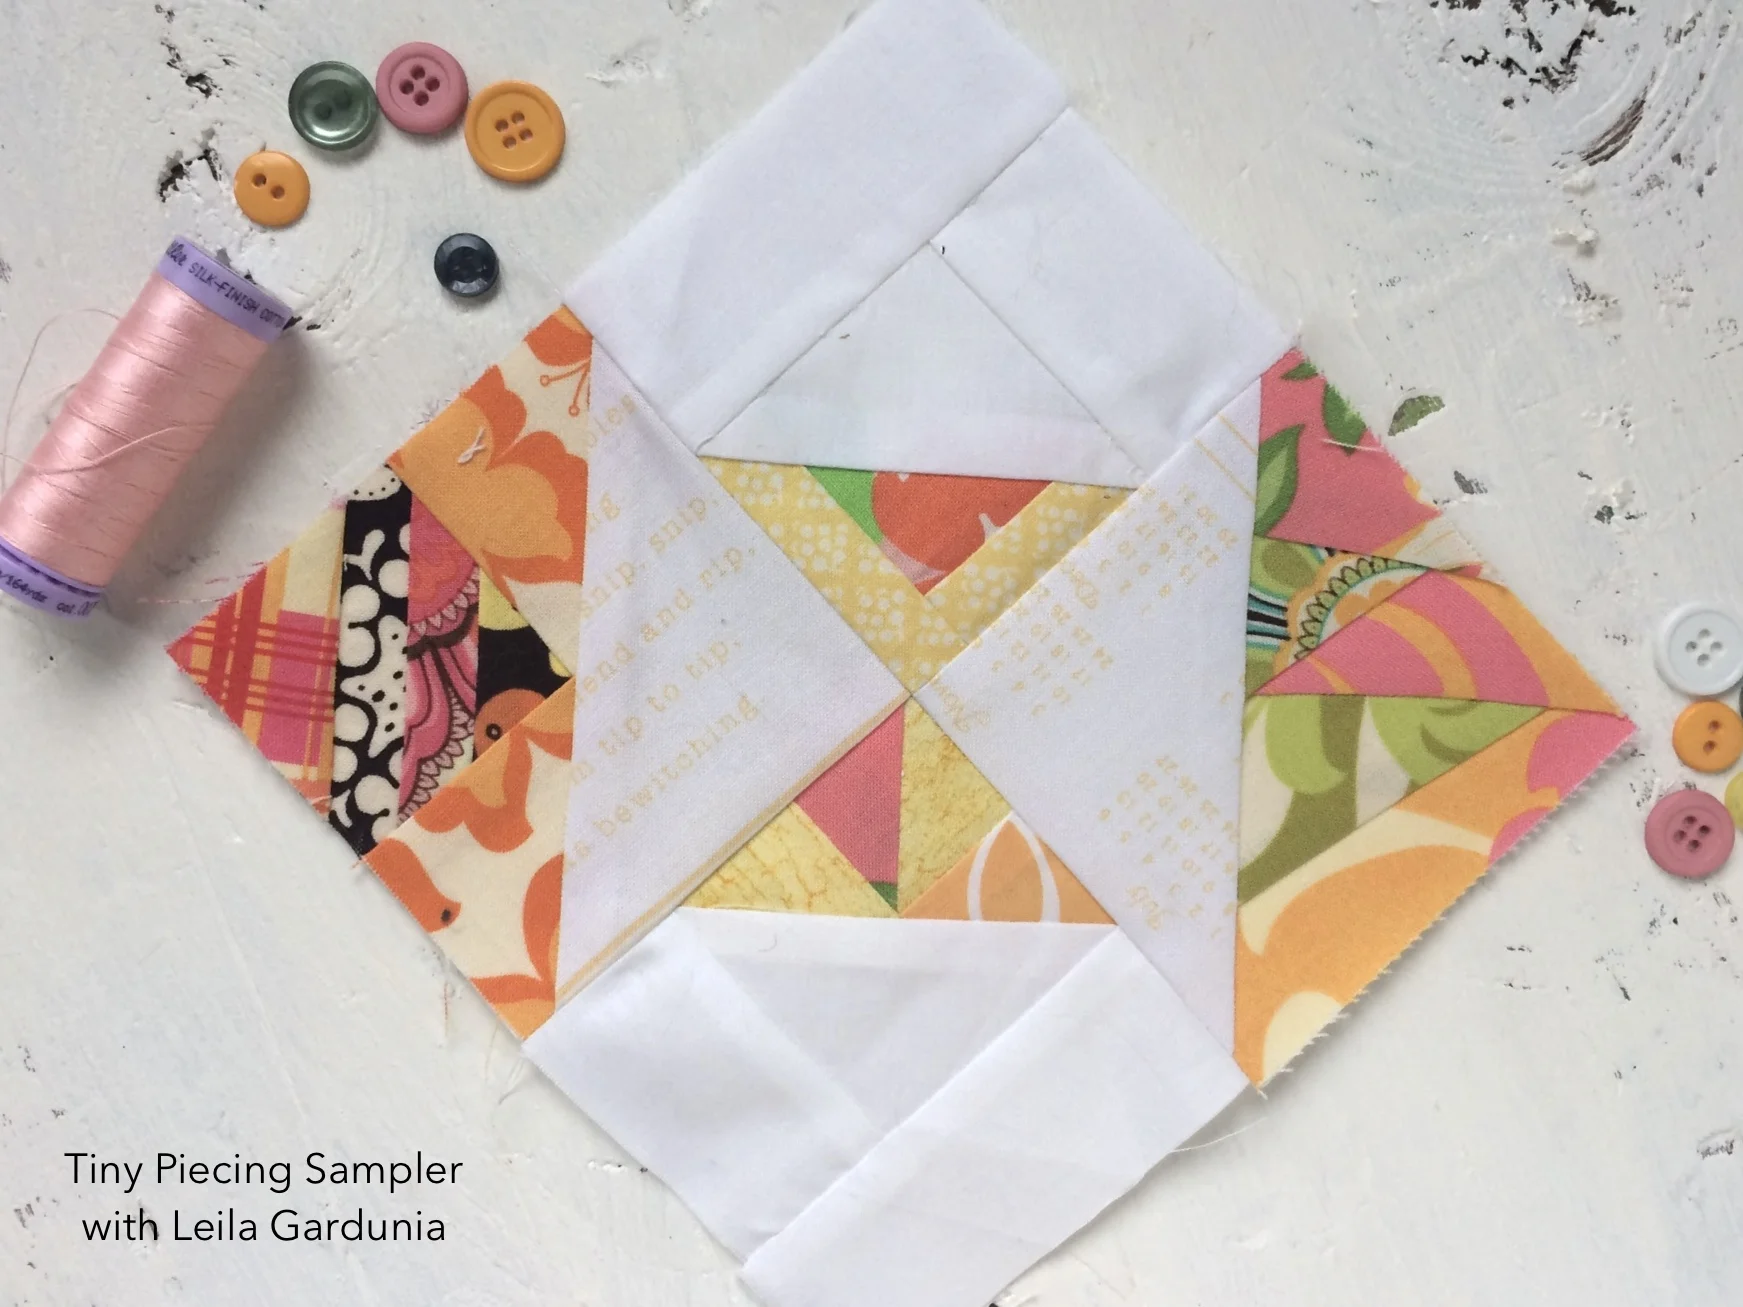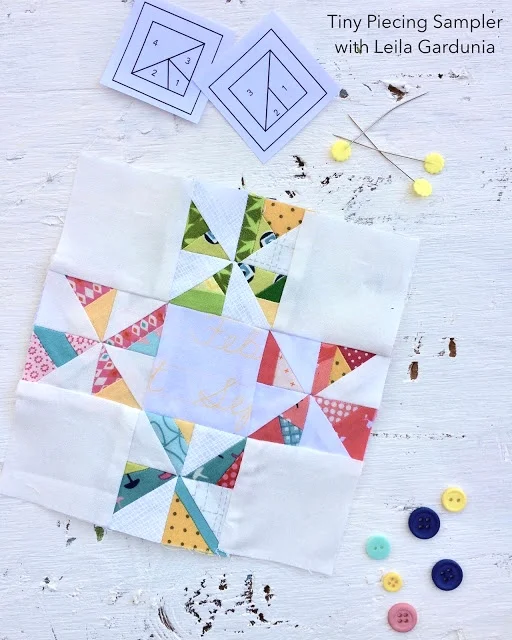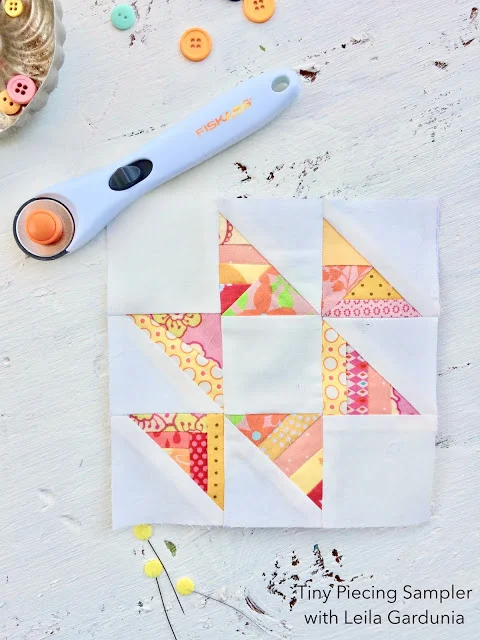
Block 6 - Tiny Piecing Sampler

I'm not going to lie, I did question my sanity a bit as I made this block. Sixteen 1" Scrappy Triangles? What was I thinking?!? :) But it was worth it!
For extra flair, try using four of the same Scrappy Triangles in the middle. They will make a fun secondary pattern.
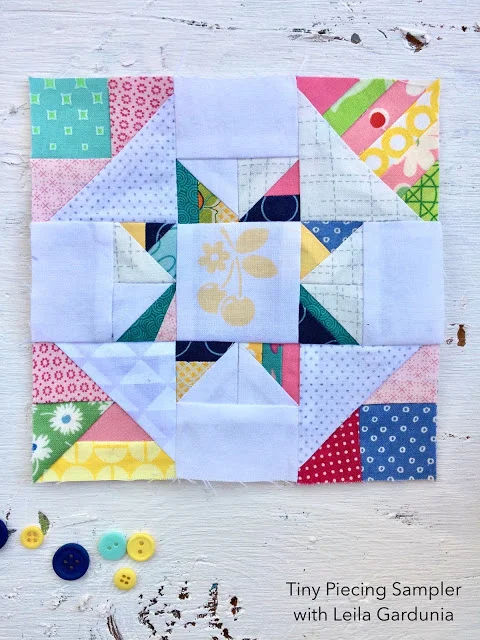
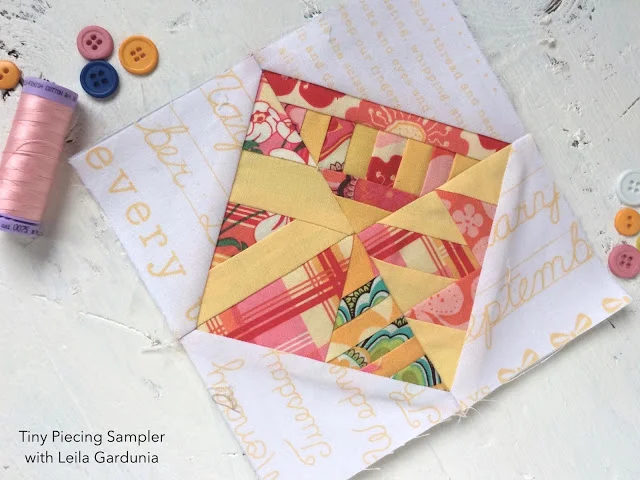
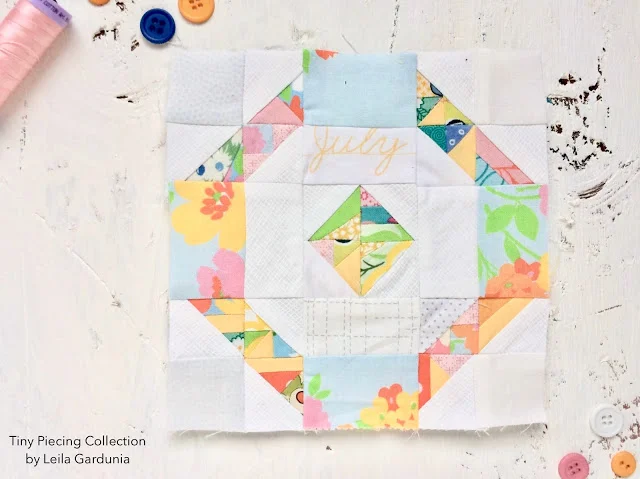
(Here are the links for all the other blocks in the Tiny Piecing Sampler and the Shop where you can purchase the Scrappy Triangle foundations.)
Instructions
6" Block
Make:
(16) 1" Scrappy Triangles
Cut:
White
(4) 1 1/2" squares
(4) 1 1/2" x 2 1/2" rectangles
Print (mint in graphics)
(4) 1 1/2" x 2 1/2" rectangles
12" Block
Make:
(16) 2" Scrappy Triangles
Cut:
White
(4) 2 1/2" squares
(4) 2 1/2" x 4 1/2" rectangles
Print (mint in graphics)
(4) 2 1/2" x 4 1/2" rectangles
Schedule

1. Layout all units as illustrated above.
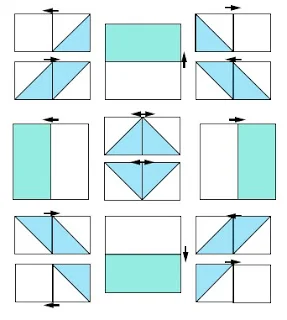
2. Sew the White corner units to the adjacent Scrappy Triangles.
3. Sew the remaining Scrappy Triangles together into pairs.
4. Sew the rectangles together.
5. Press all seams in the direction indicated by the arrows.
6. Then sew the Scrappy Triangle pairs together into 4-patch units.

7. Sew the rows together by sewing Scrappy Triangle units to the rectangle units. Press towards the rectangles.
8. Sew rows together and press seams open.
Whew! We did it!