Week 1 - Scrappy Mountain Range Quilt Along!

Welcome!
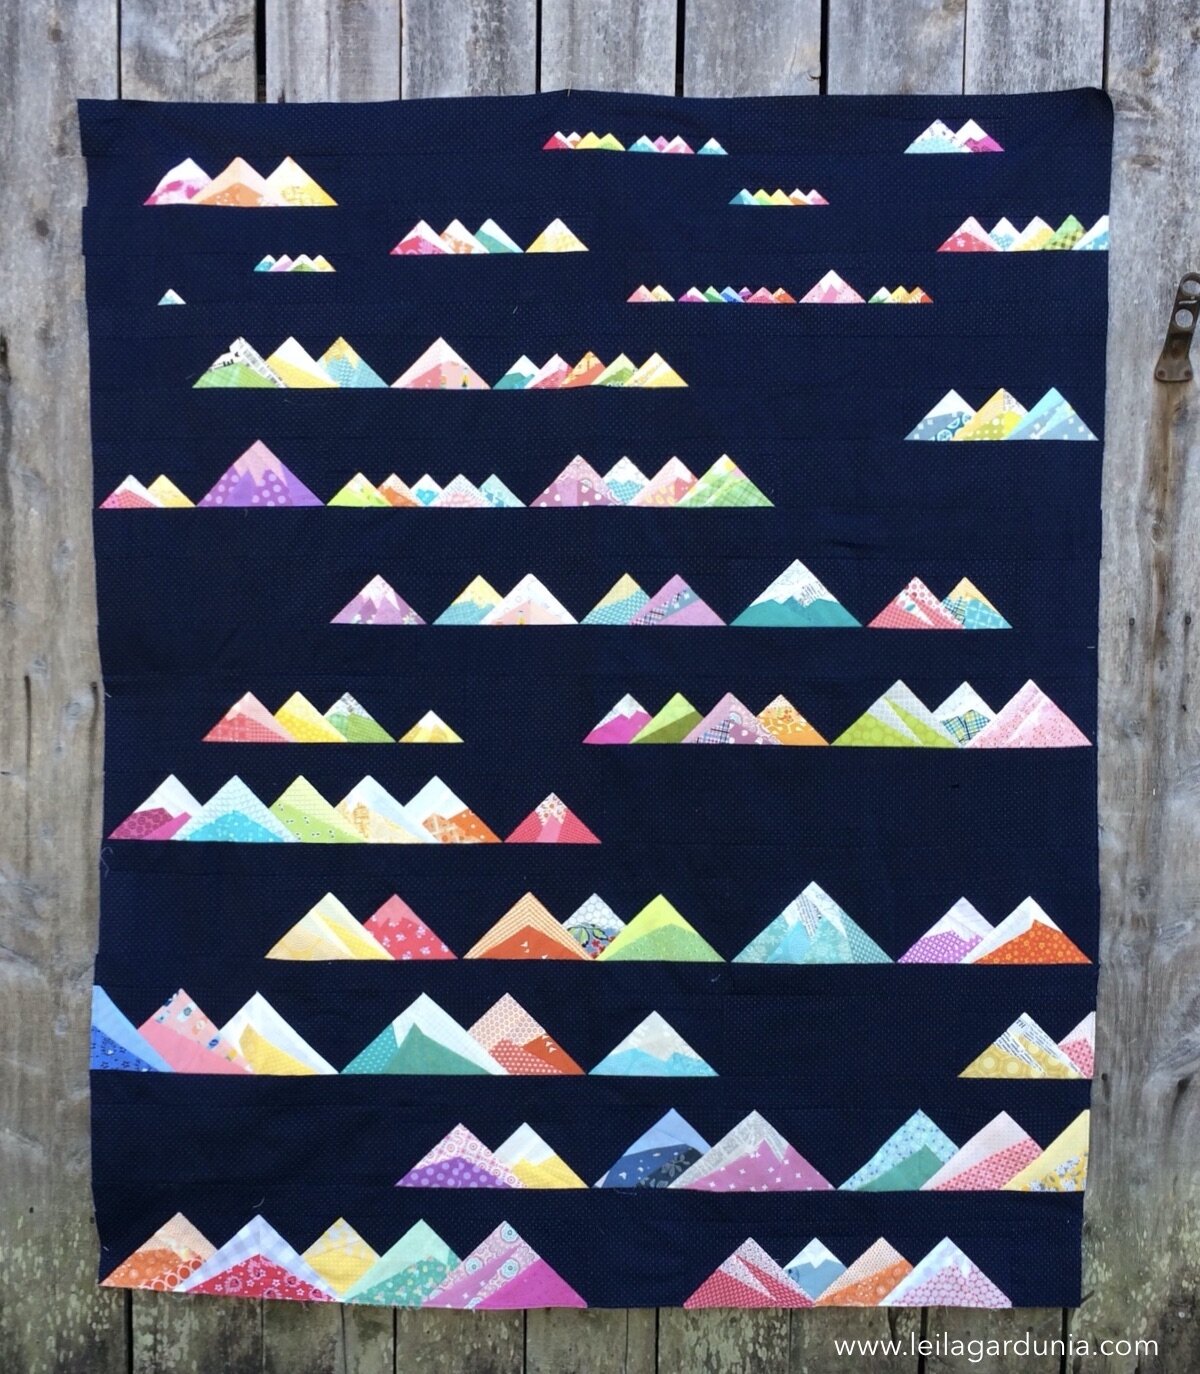
I am so excited that you are making the Scrappy Mt Ranges quilt with me! It is going to be a lot of fun. Keep reading to find out what supplies you will need, tips on choosing and cutting fabrics, and instructions for how to enter the weekly giveaway.
This week we will be focusing on gathering scraps, precutting background fabric, and printing foundations. Share your progress by posting a picture of your fabric pull on Instagram with the hashtags #mountainrangeqal and #scrappymountains and tag me @leila.gardunia. Then search the hashtags and see everyone’s fabric choices!
Alright! Let’s go over everything you need to get started with the Scrappy Mt Ranges Quilt.

Needed Supplies:
Complete Scrappy Mountain Ranges Pattern (If you purchased the pattern before October 2019 it did not contain the pattern for the quilt - only the foundations. Click here to get the quilt pattern portion of the Scrappy Mt Ranges pattern.)
Printer and paper (about 50 pieces)
3 3/4 yards background fabric (can be scrappy if desired)
3 yards total of scraps for the mountains (can be supplemented by yardage)
1/3 yard for binding
4 yards backing
A piece of batting at least 64” x 74”
This week is a great time to sort and press your scraps. Depending on how many you have, you might want to sort by both by color and size.

Things to think about when choosing fabric:
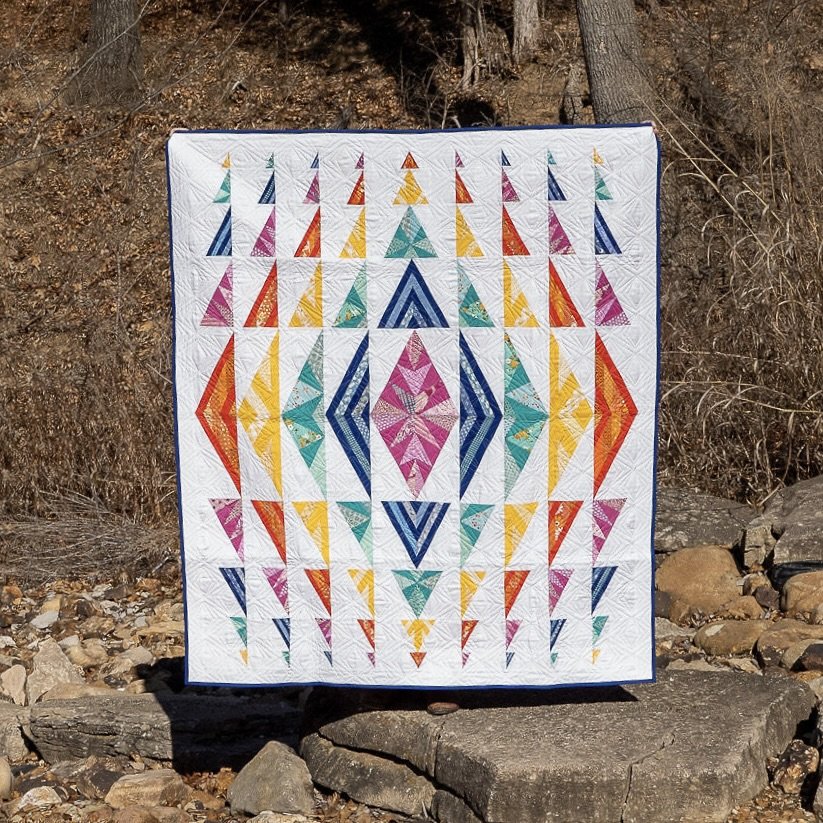
The mountains are the stars of the show and we want them to stand out loud and proud. To do that we need to ensure the mountain fabrics contrast well with the background fabric. The easiest way to accomplish this is to choose a background fabric that is either very dark or very light. The background fabric also needs to be a solid, tone on tone, or very small non-directional print. If the background fabric is too busy it will be distracting and the lines of the mountains will not be as visible.
If you choose dark fabric for the background, use medium fabric for the mountain bases and light fabrics for the mountain tops.
If you choose a light background fabric, use dark fabric for the mountain bases and medium fabrics for the mountain tops.


TIP: Take a picture of your chosen fabrics and put a black and white filter on it. Can you see a significant difference between your background and mountain fabrics? If some of the mountain fabric blends into the background consider replacing it with higher contrasting fabric.

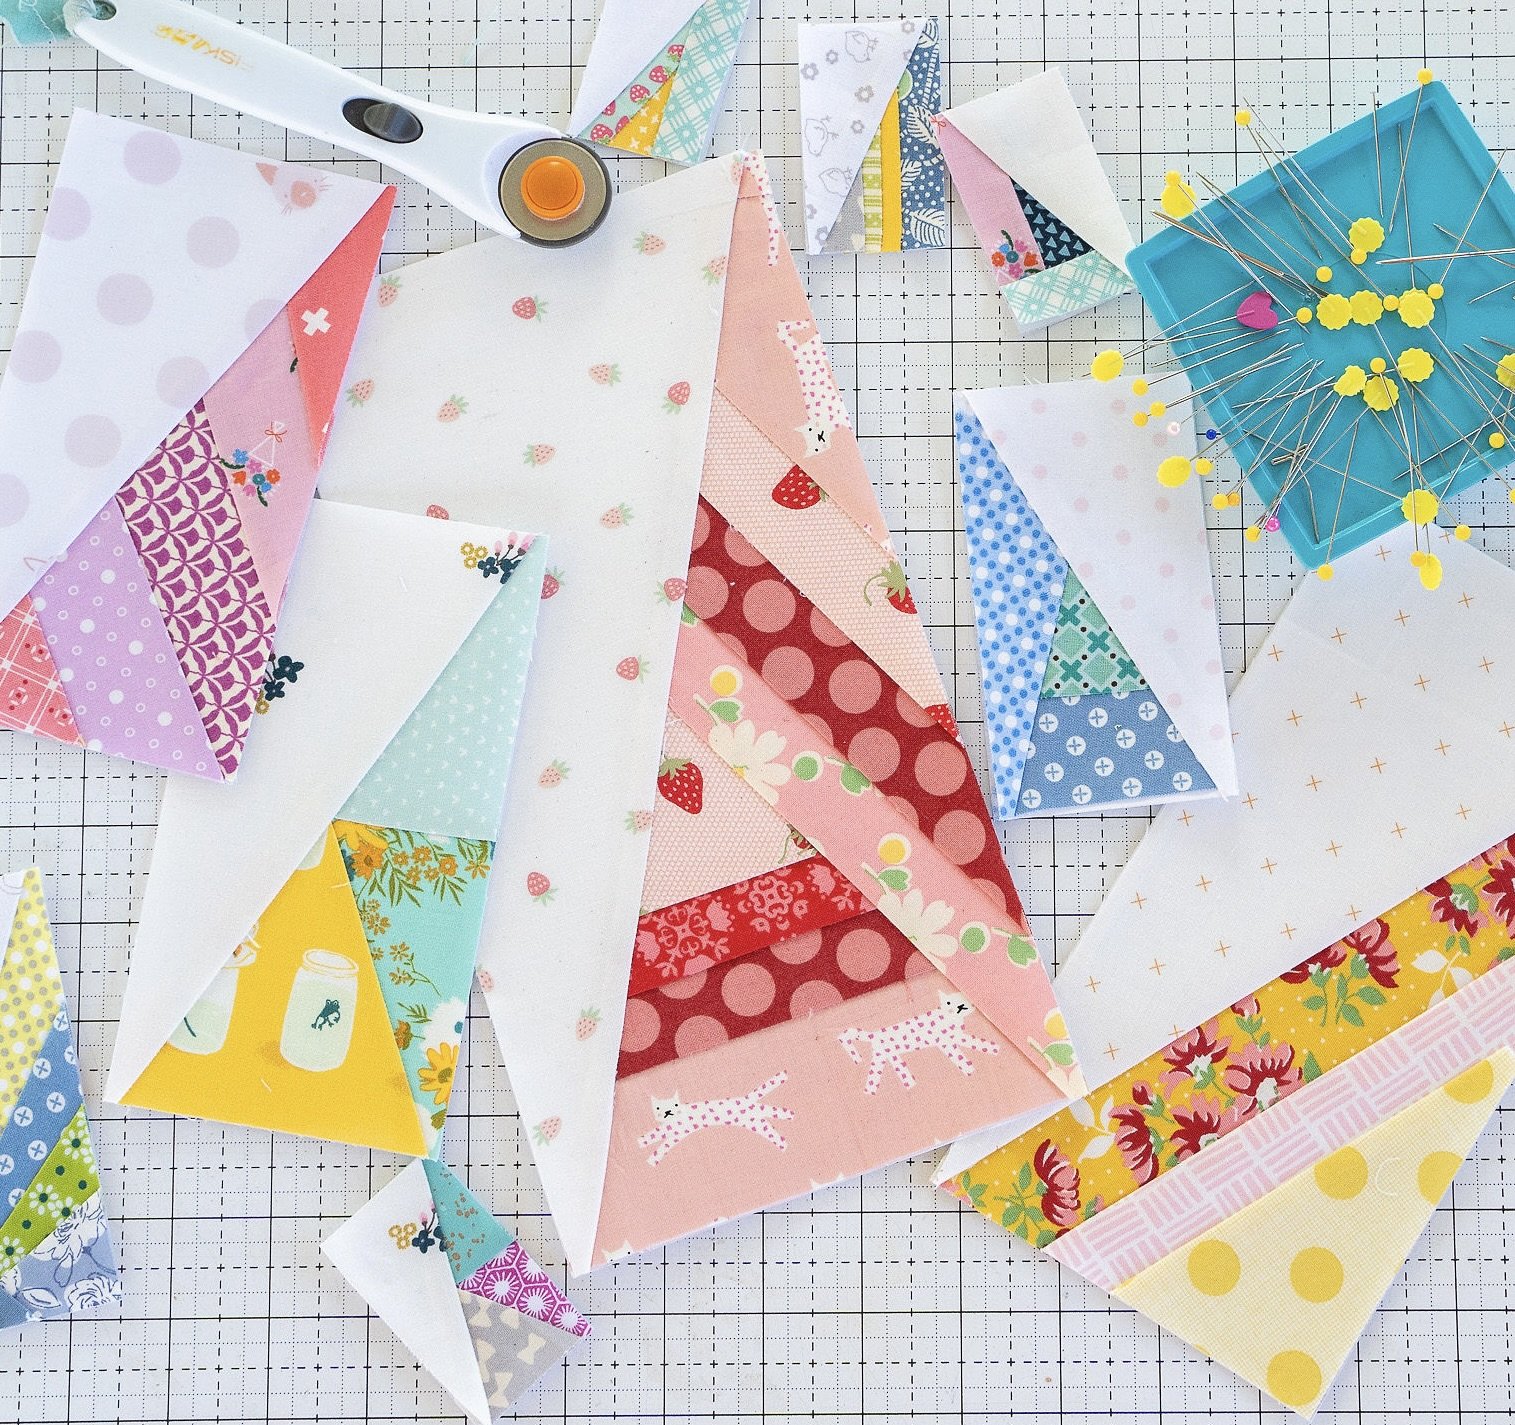
The size of print on the mountain fabric matters as well. As the mountain block gets smaller, the print size on your mountain fabric should decrease as well. Large prints that work well with the large mountains will make the snowcaps and silluette of the smaller mountains indistinct. Solids or small tone-on-tone prints will work best with the smaller mountains.
Cutting Background Fabric:
You can precut all your background fabric this week or cut some each week as you make your rows. Cutting instructions for the background fabric are found on pages 4-5 of the Scrappy Mt Ranges pattern. Page 4 contains the cutting instructions for all the different strips and spacers you will need. I recommend cutting the recommended number of width of fabric strips but sub-cutting them into smaller rectangles as you need them. There are so many different sizes of rectangles/strips that it would be easy to mix them up. If you do cut them all ahead of time be sure to label them clearly. Cut the largest pieces first and use the scraps from those strips to cut the smaller pieces.
The cutting instructions for the background triangles above the mountains are found on page 5. The squares will be cut from corner to corner either once or twice depending on their use. Occasionally there will be a leftover triangle that could be used with a set of smaller mountains instead of cutting more squares. Those instances are noted on the pattern.
Printing Foundations:
You can print all the foundations now, or print as needed as we progress through the quilt along. Either option works well. I have provided a table on page 3 of the instructions that will let you know which foundations to print.
If you purchased the pattern before October 2019 it did not contain the pattern for the quilt - only the foundations. Click here to get the quilt pattern portion of the Scrappy Mt Ranges pattern.
Prizes!
Prizes help me stay motivated and on schedule, so each week I will award a $25 Etsy Gift Certificate to a randomly chosen participant who has posted a picture of that week’s task on Instagram. For me to find your pictures and enter you in the giveaway you need to use the hashtags #mountianrangeqal and #scrappymountains and tag me @leila.gardunia in the description of you photo.
To be entered this week post a picture of the fabric you will be using in your Scrappy Mt Ranges quilt.
Grand Prize!

Lilo of Trace Creek Quilting is my go-to quilter and she has generously donated a grand prize of FREE edge-to-edge longarm quilting for one Mt Range Quilt. To be entered for the grand prize you must post a picture of your finished quilt top by May 31st. You must also have posted at least 3 process photos.
Lilo has also offered 25% off edge-to-edge quilting on all Scrappy Mt Range quilts that she receives before August 1st. A win for everyone!
Quilt Along Schedule:
April 10-16 - Review the pattern and prepare for sewing.
April 17-23 - sew rows 1-3
April 24-30 - sew rows 4-6
May 1-7 - sew rows 7-9
May 8-14 - sew rows 10-12
May 15-21 - sew rows 13-14
May 22-30 - catch up and sew rows together
May 31st - very last day!
Thanks again for joining the quilt along! I can’t wait to see all your fabric pulls on Instagram!!