
How to Foundation Paper Piece Scrappy Diamond Quilt Blocks
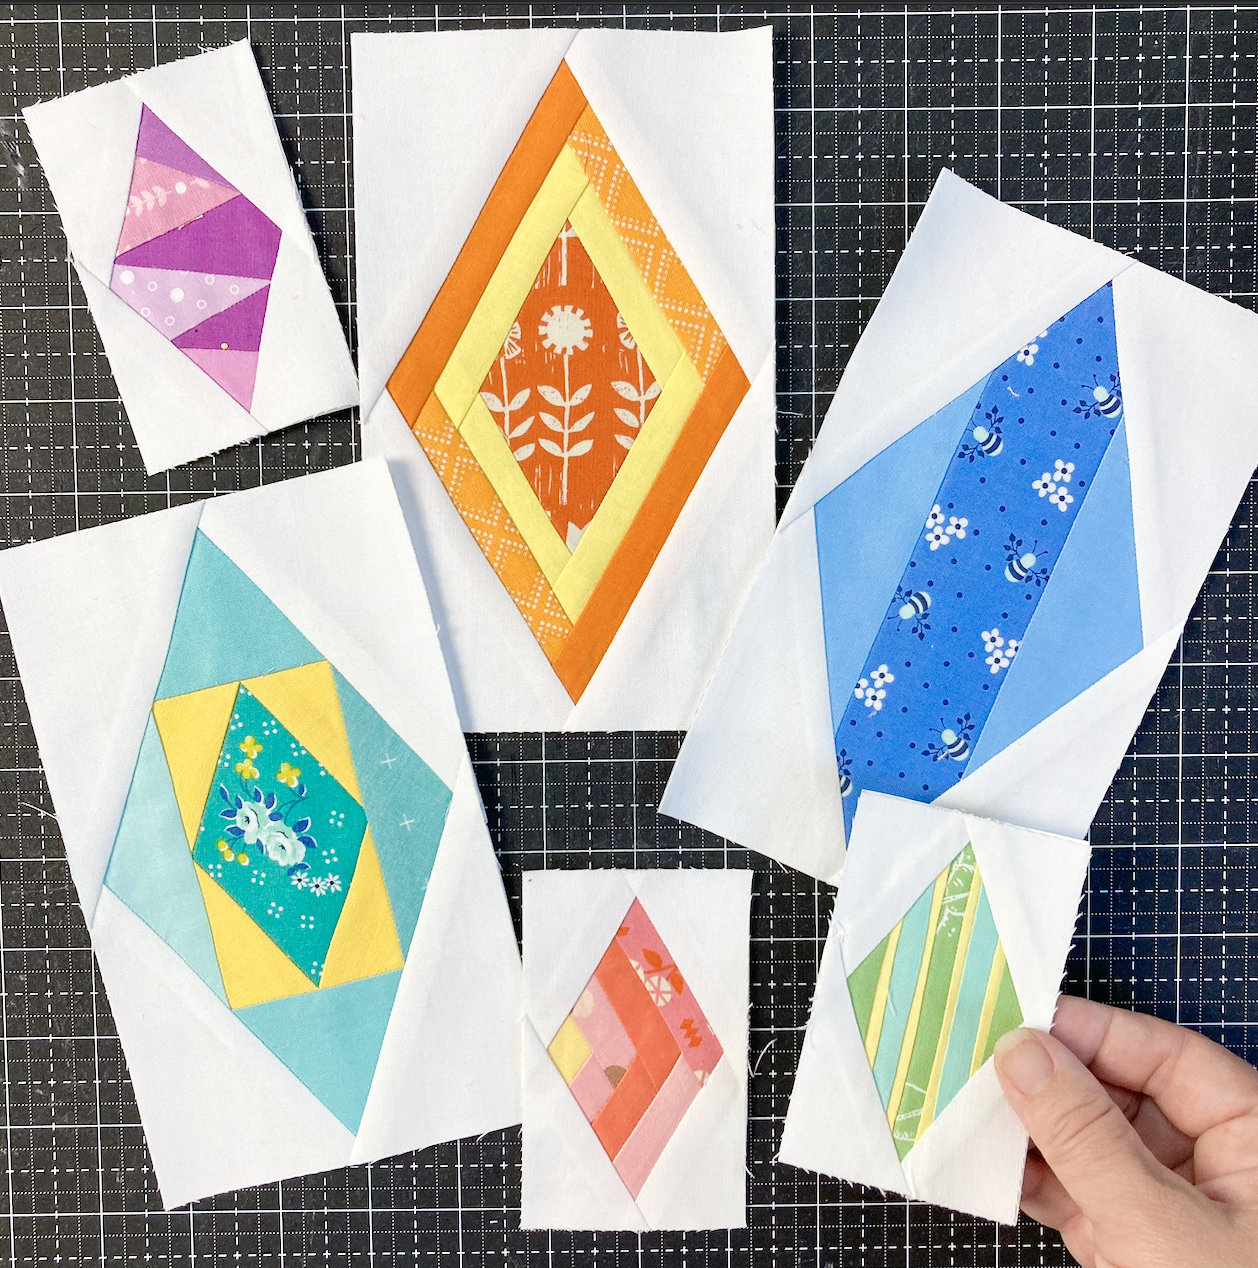
Scrappy Diamonds are a great way to bust through your scraps! There are three different sizes of Scrappy Diamonds: Mini Diamonds, regular Scrappy Diamonds and Large Diamonds. Use the Mini Diamonds to use up your smallest scraps and the Large Diamonds to fly through your scraps and make larger quilts.
This tutorial is available in a condensed written format and also as a video. The video tutorial is great for visual learners who want step-by-step detailed instructions and the written tutorial is great for a quick refresher.
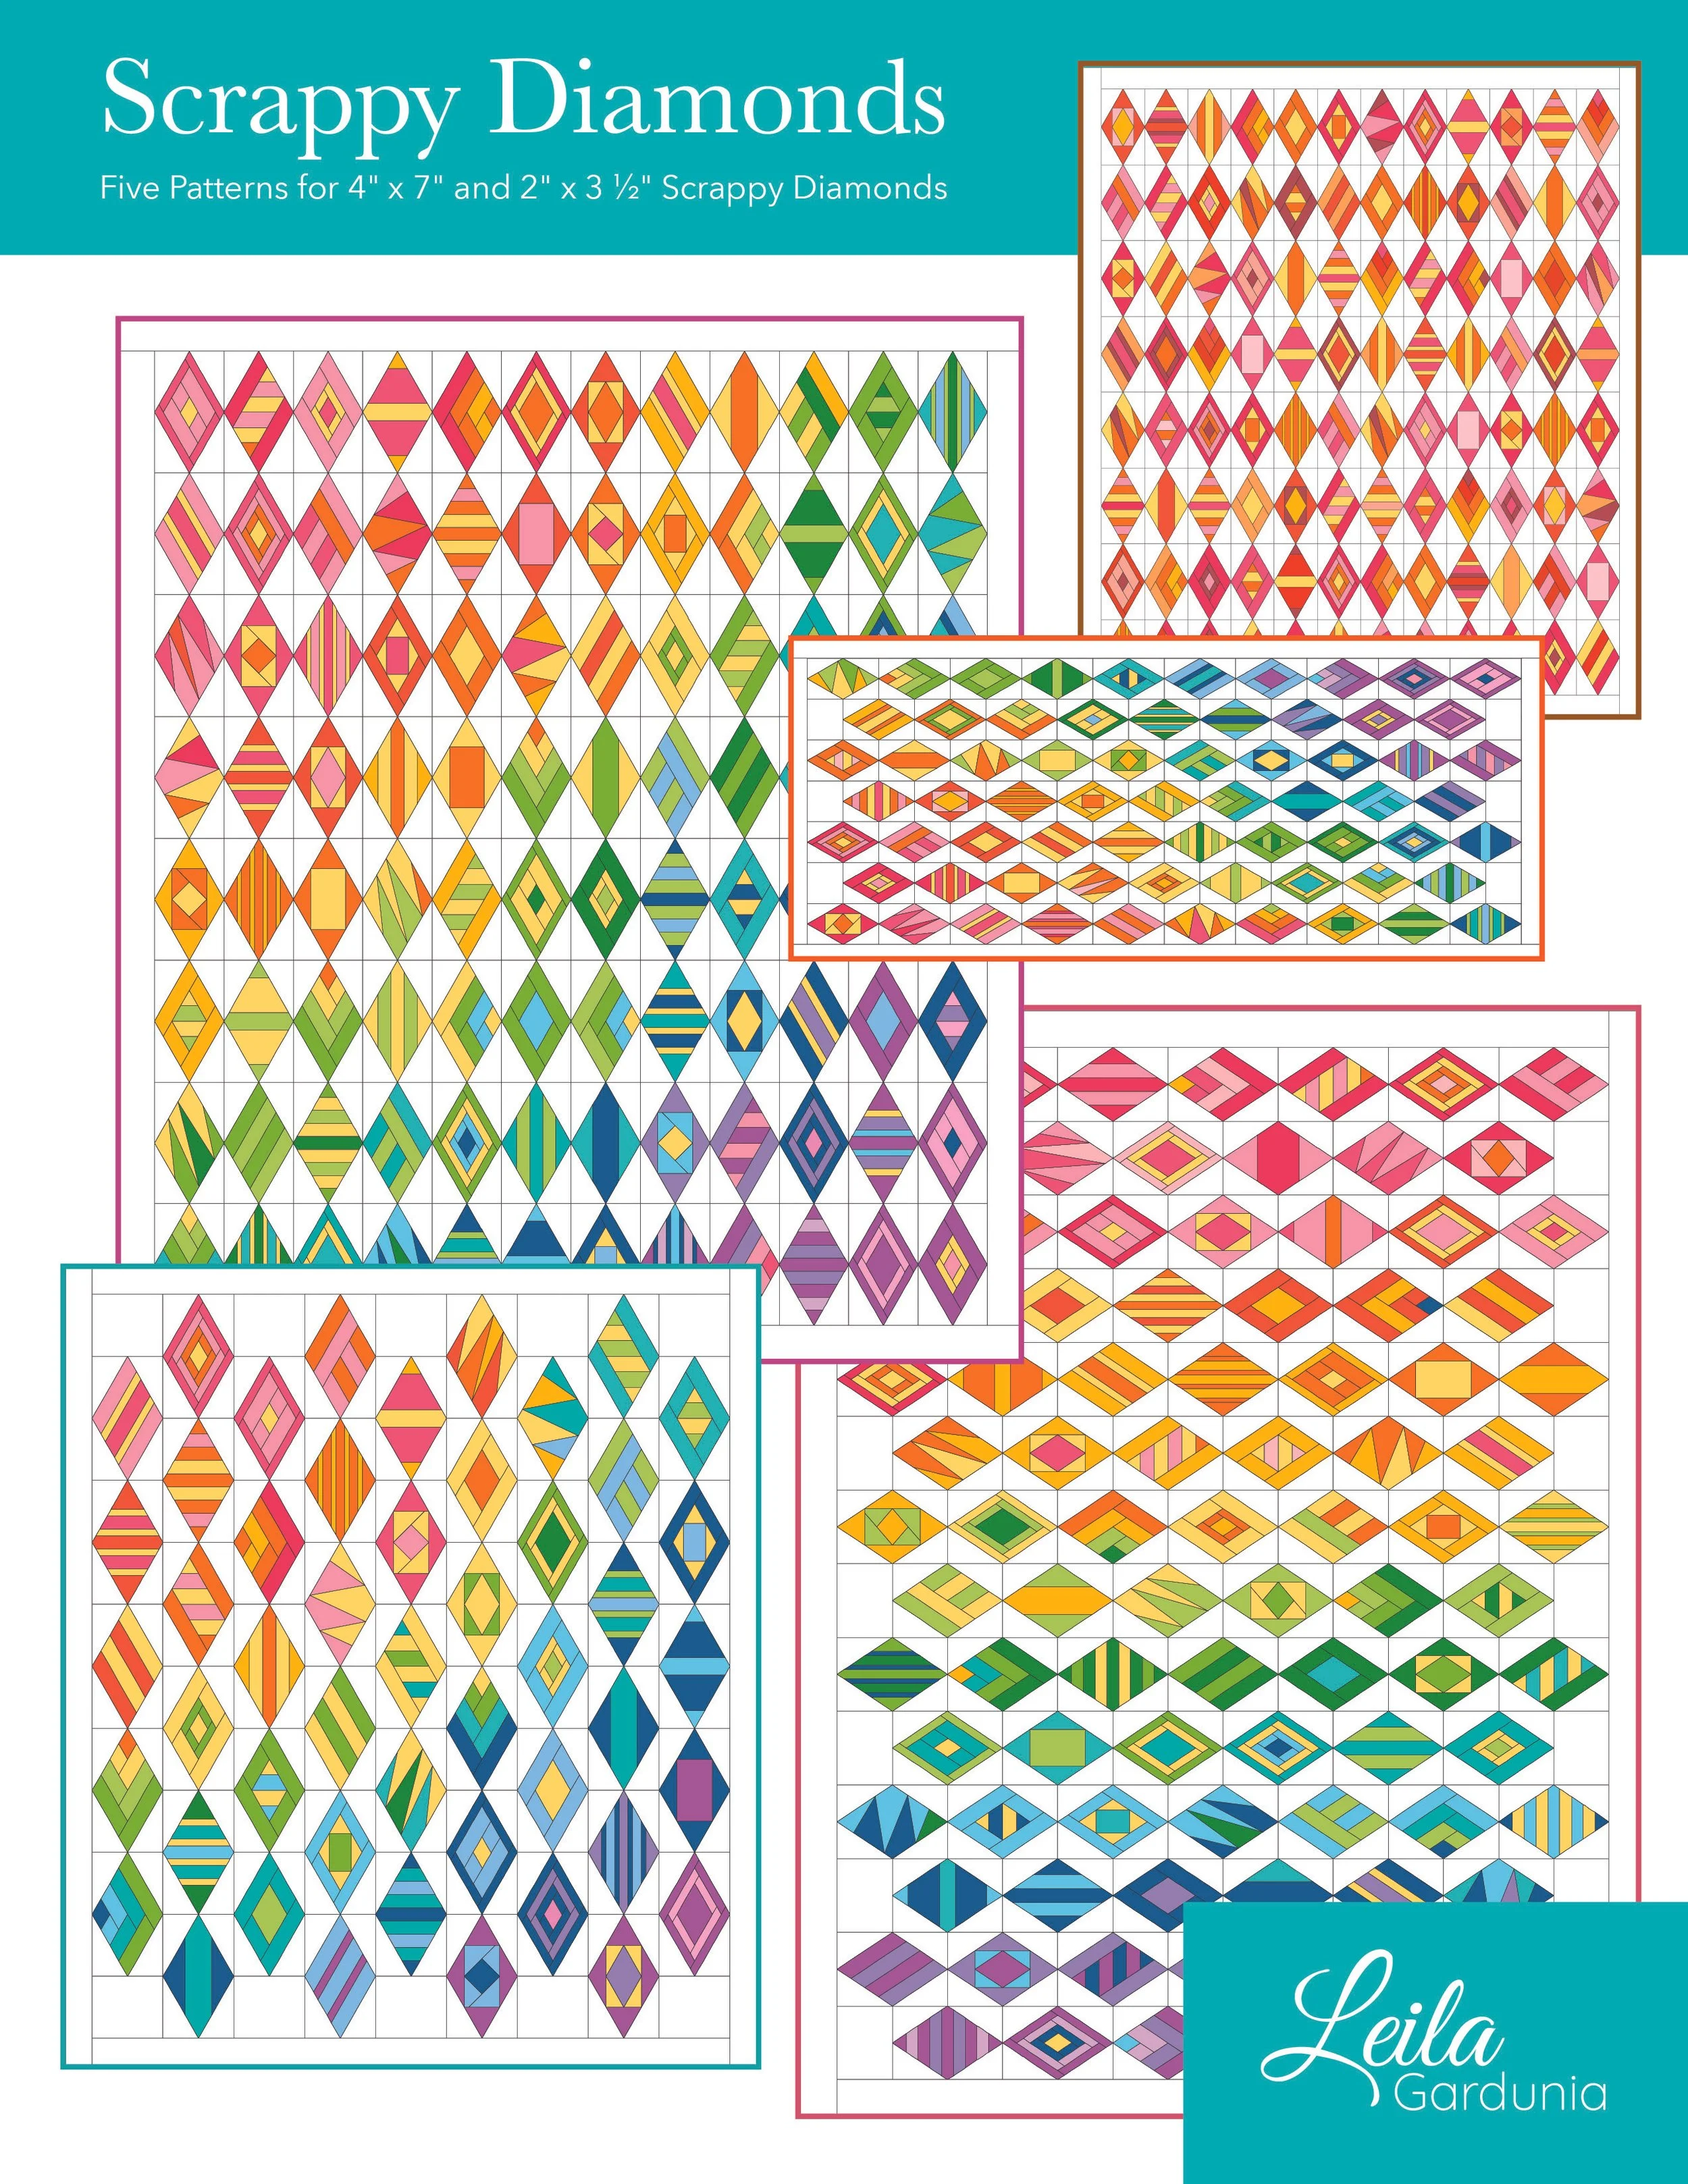
I’ve also linked some free quilt patterns that use Scrappy Diamonds. Check them out if you need some ideas.
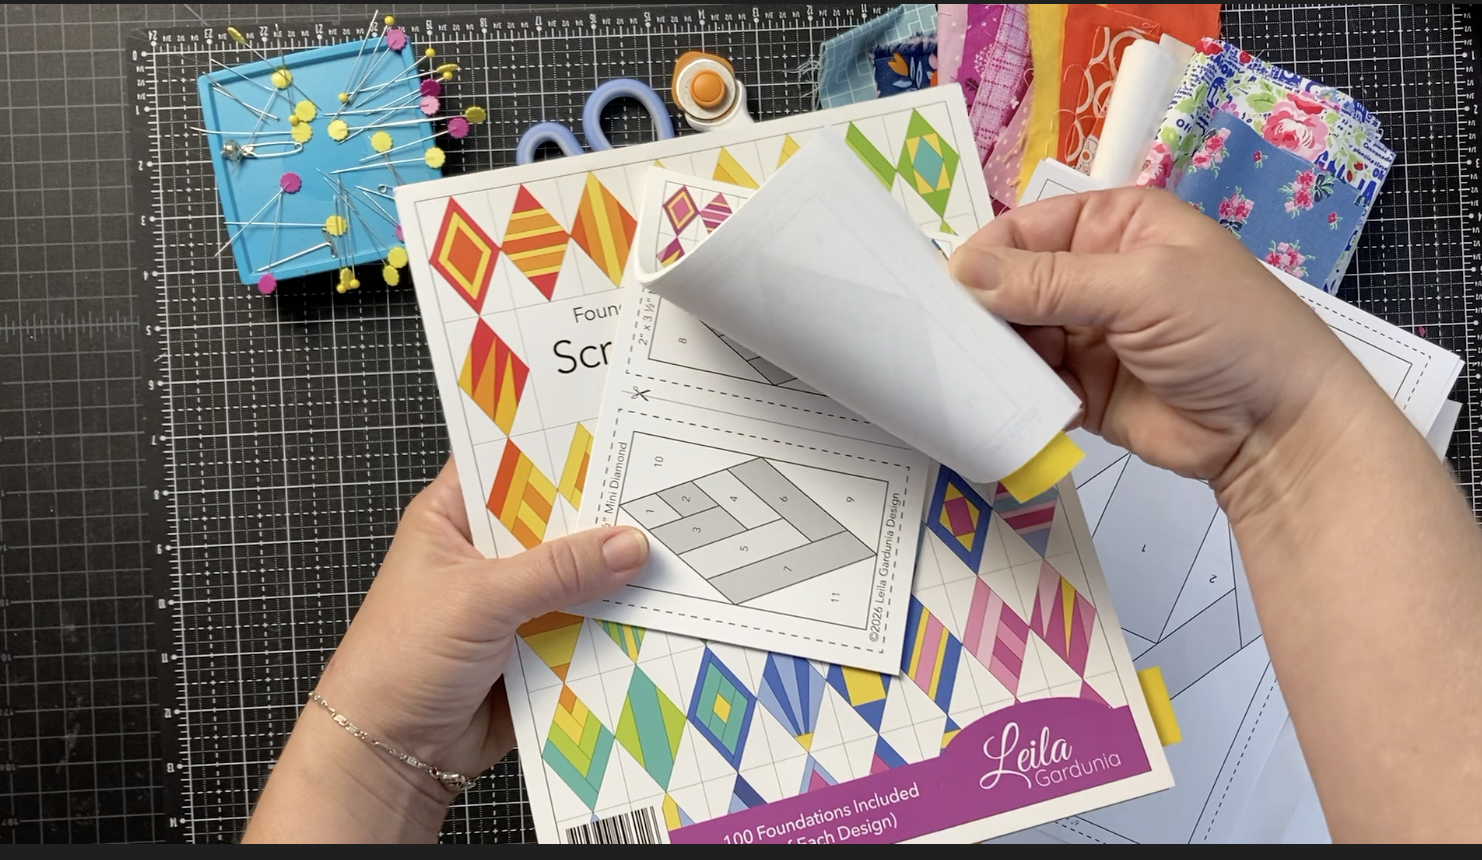
How to Purchase the scrappy diamond foundations
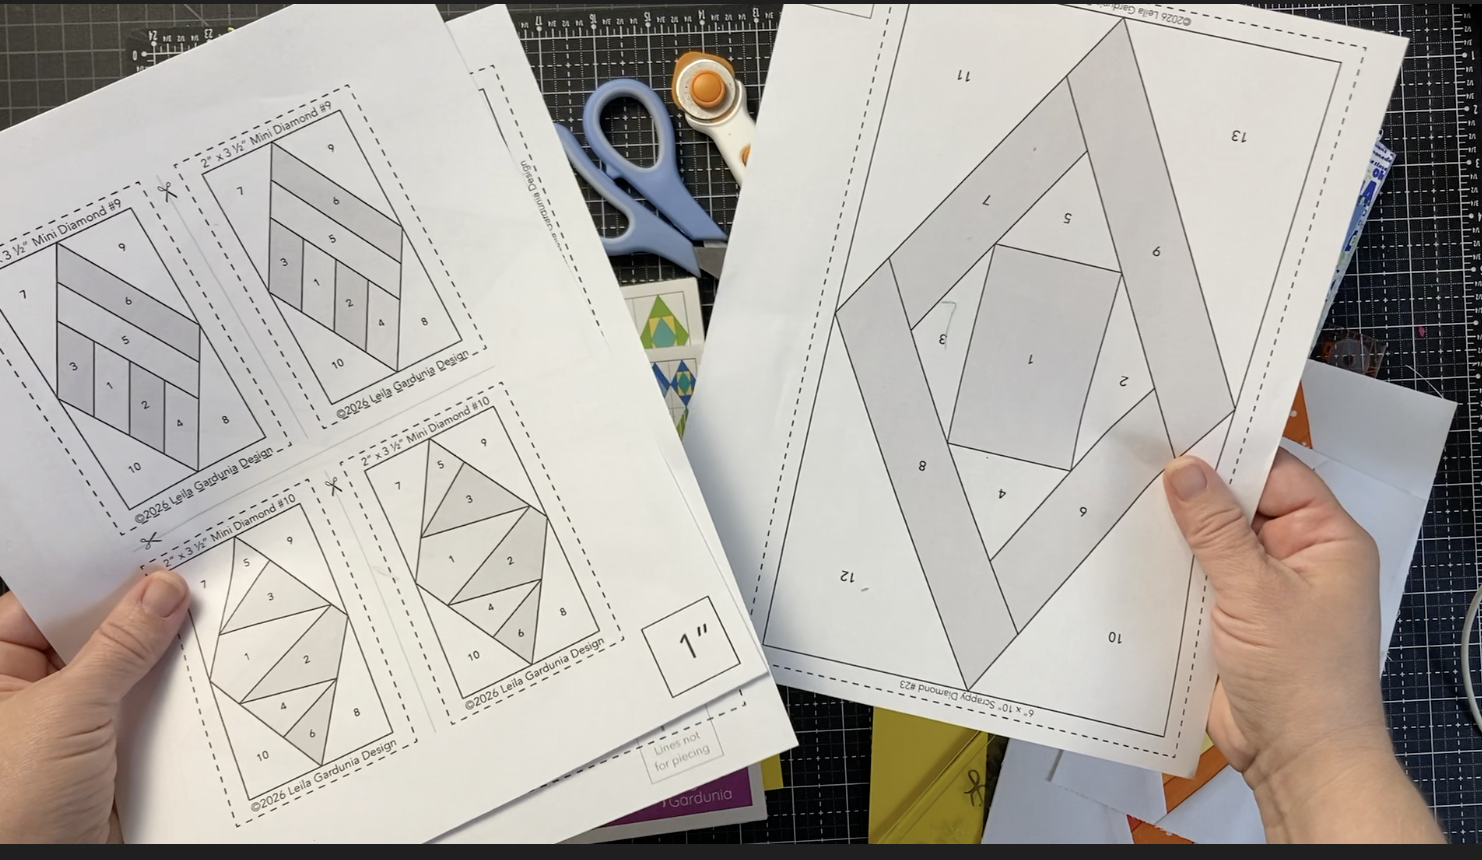
The foundations are available as PDF patterns and pre-printed pads. You can download the PDF and print as many foundations as you would like. The pre-printed pads are great if you don’t want to mess with printing. The foundations are perfectly sized and you can get to sewing right away! They're also printed on lightweight paper that's easy to see-through and makes tearing off the paper easy.
Step 1: prepare your foundation
If printing from a PDF, make sure that the fit to size option is off and that you're printing at 100%. Measure the 1” square on the foundation to ensure it is printed to the correct size.
If you are using the foundation pads, you are good to go! Just tear out a foundation and start sewing.
There are 25 different Scrappy Diamond designs. To speed piecing, consider making four of the same design at a time.
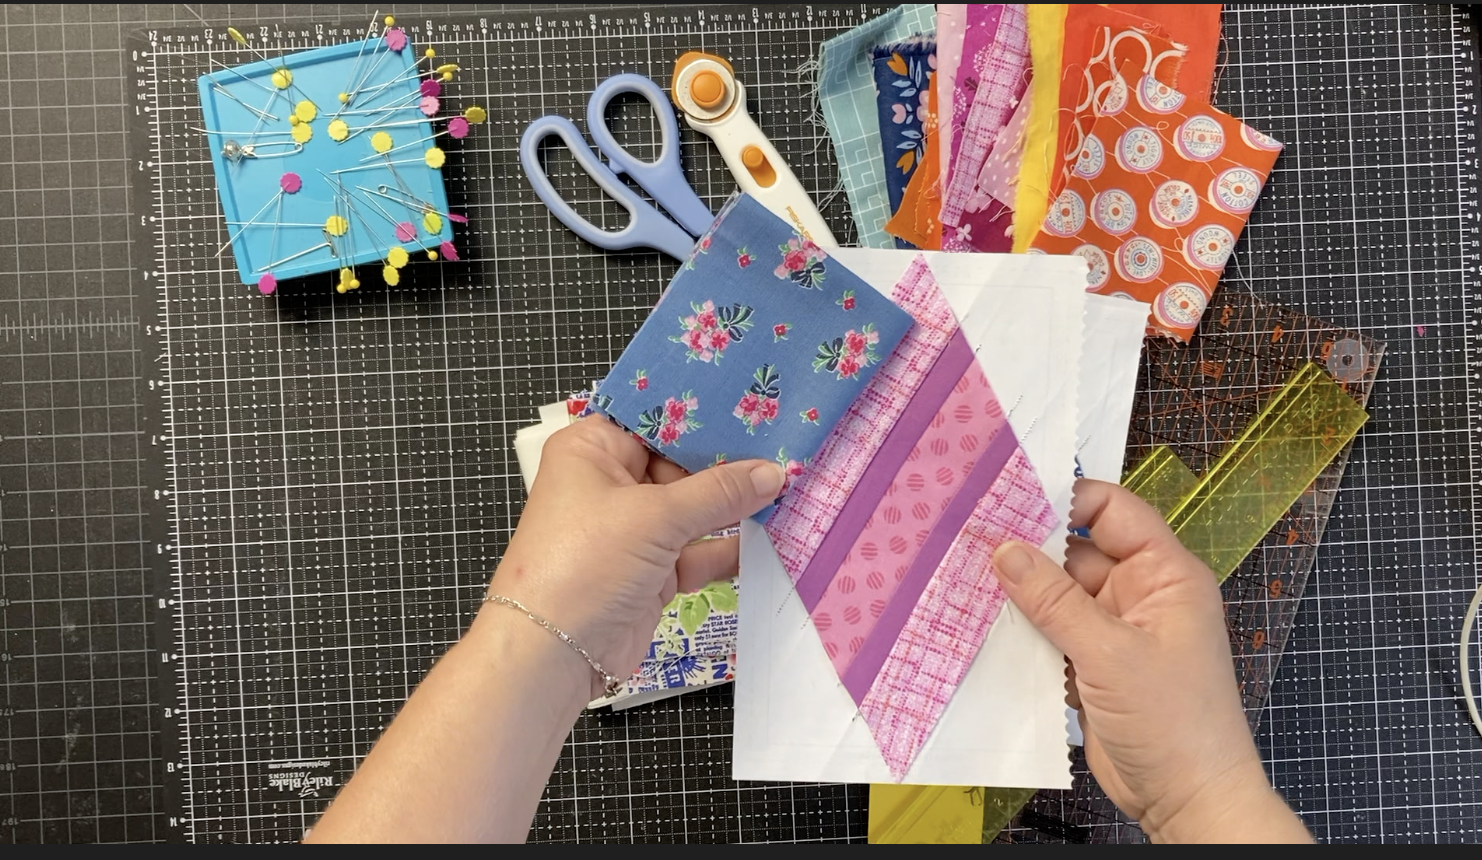
Step 2: choose and cut The background fabric
You can use a single background fabric for all of the outer background triangles or a variety of prints. Just be sure that there is a good amount of contrast between the background and the diamond so that the diamond shape will pop.
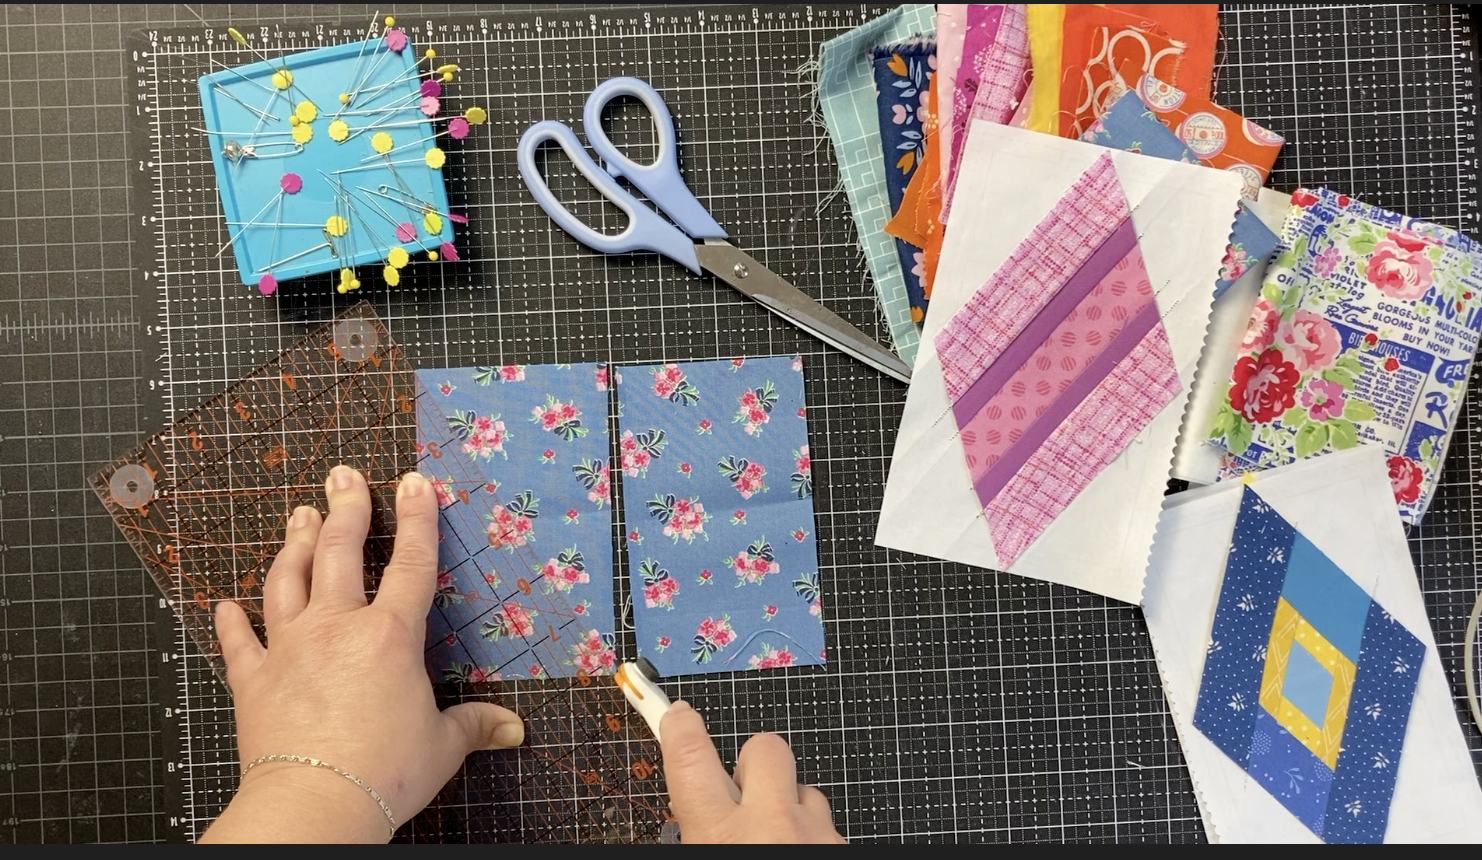
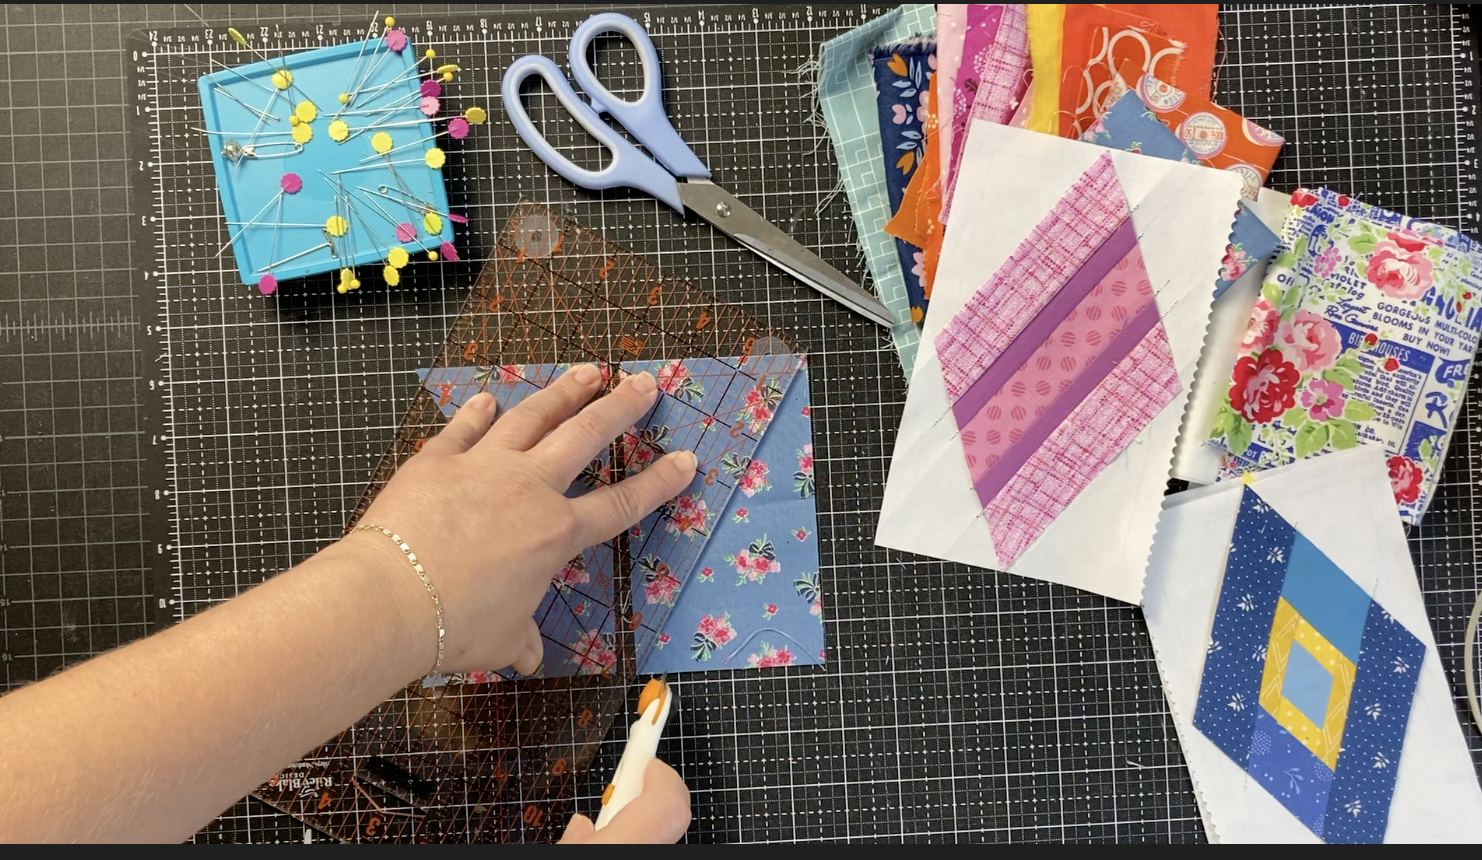
Cut the Background Triangles
Refer to the pattern for the exact sizes of rectangles you'll need for the background triangles. You'll need two rectangles per diamond block. One rectangle will need to be cut from the bottom left to the top right and one from the top left to the bottom right. Cutting the rectangle in half in opposite directions is a must you're using fabric with a right or wrong side.
If you're using solid fabric, the direction of the cut doesn't matter.
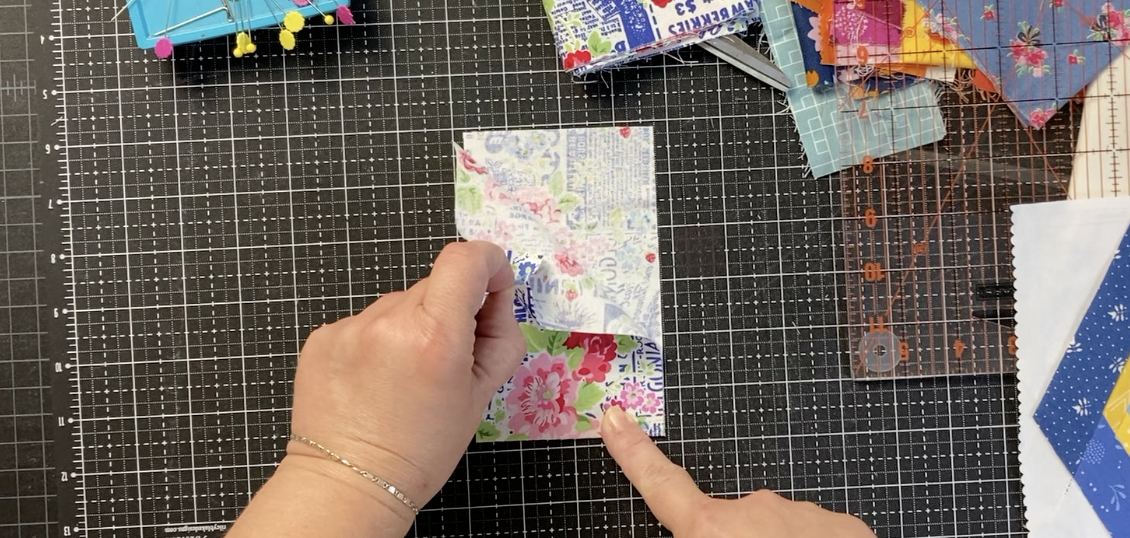
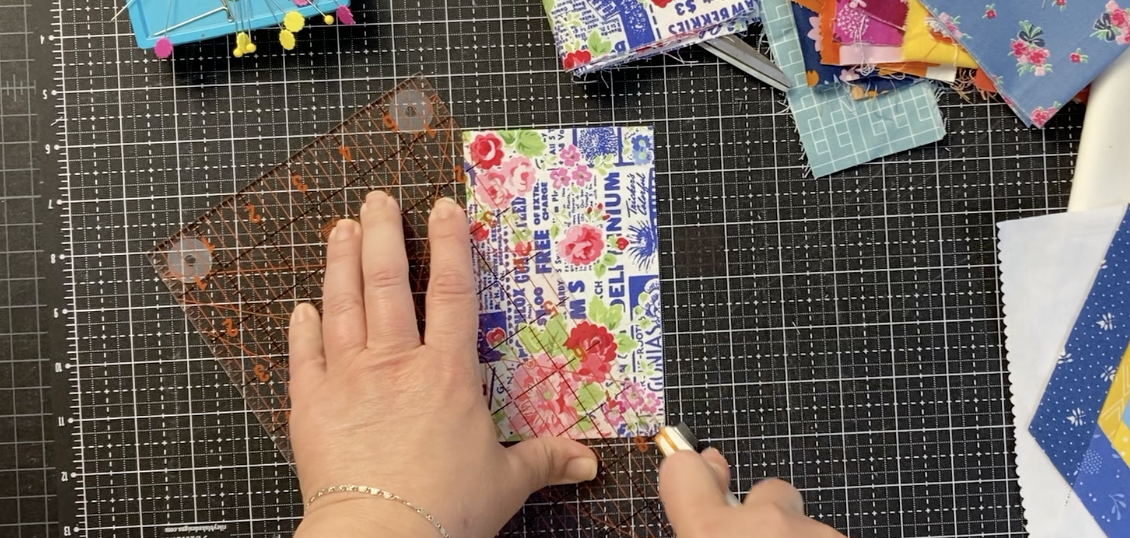
A quick trick is to place a pair of rectangles wrong sides together and make one cut in either direction. Because one rectangle is upside down, it’s like you made two cuts in opposite directions.
Step 3: Place and Trim the first piece of fabric
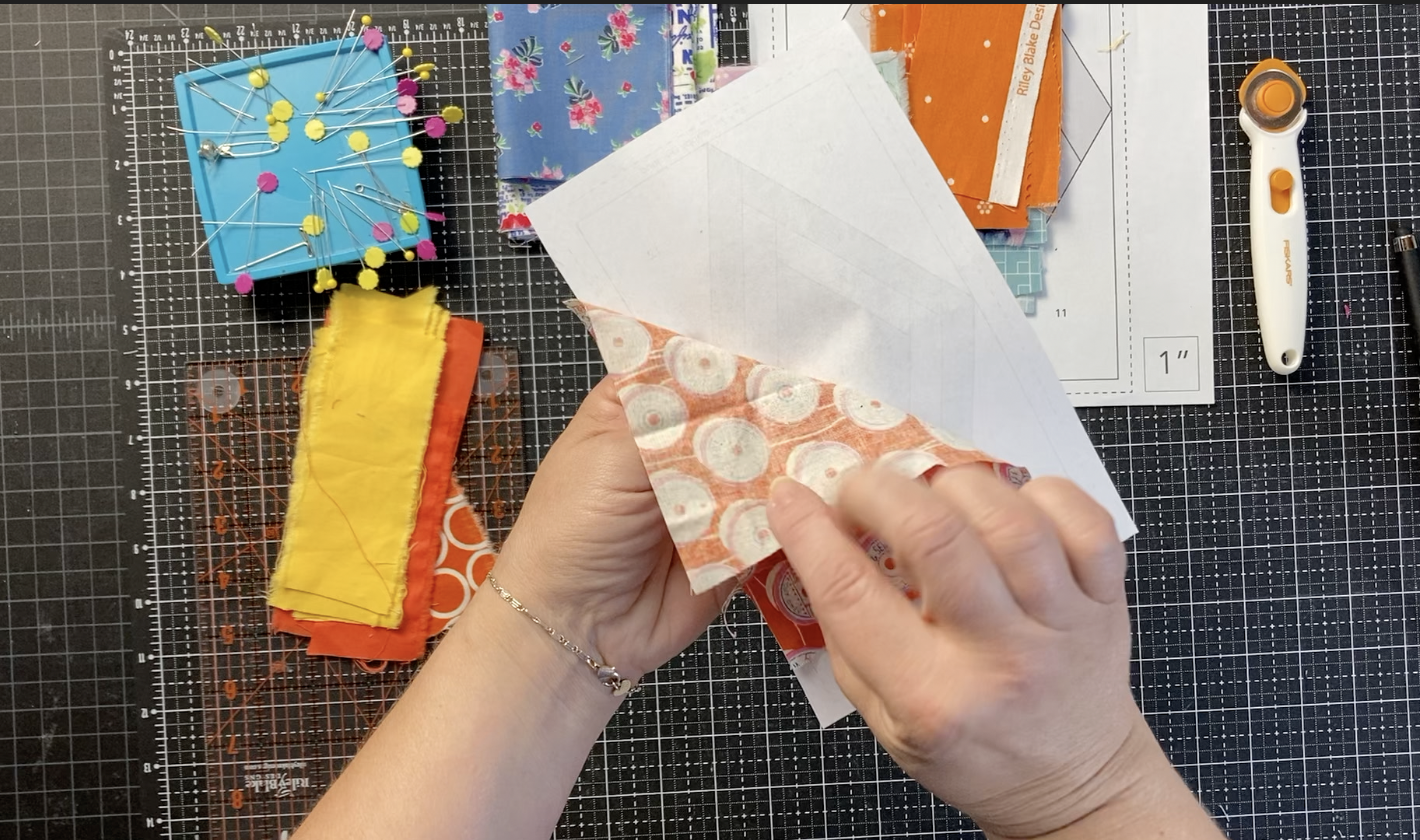
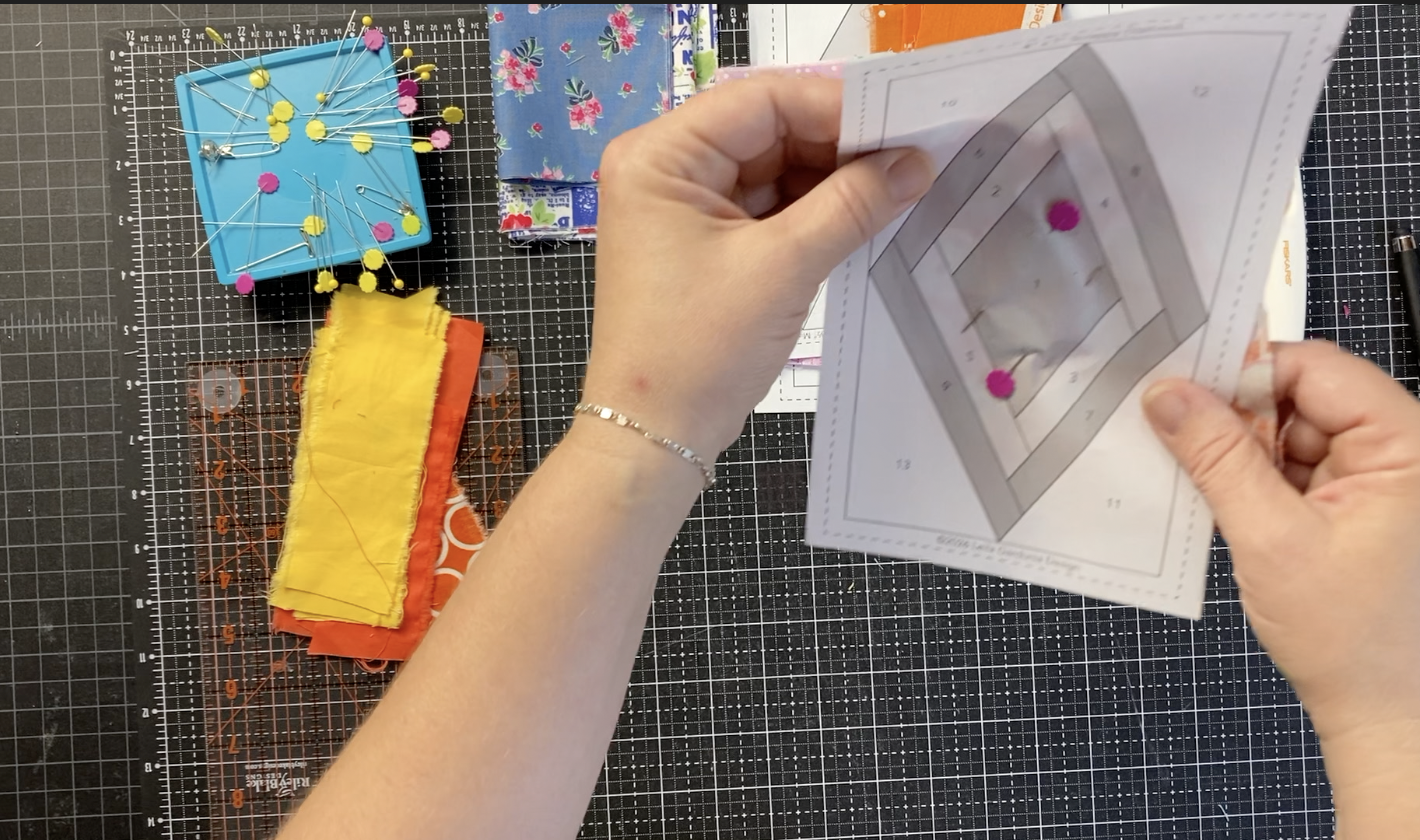
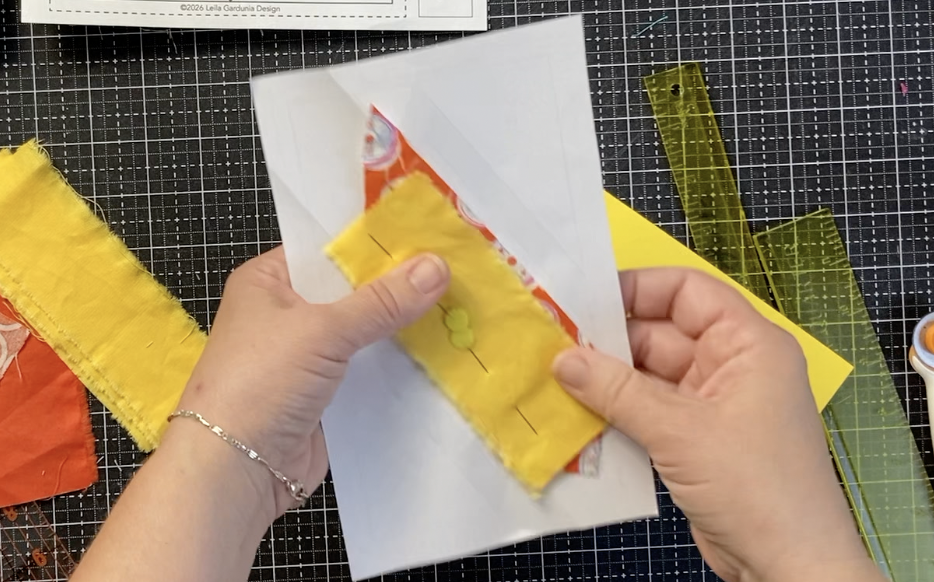
Choose a piece of fabric for section one. The fabric should cover all of section one completely and extend off the sides by at least a half an inch. Pin it in place with a flathead pin.
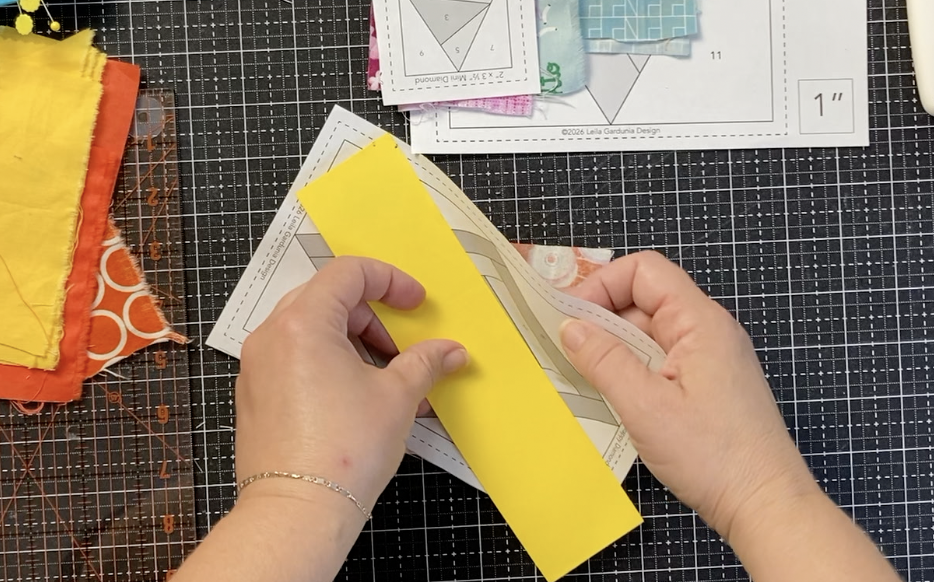
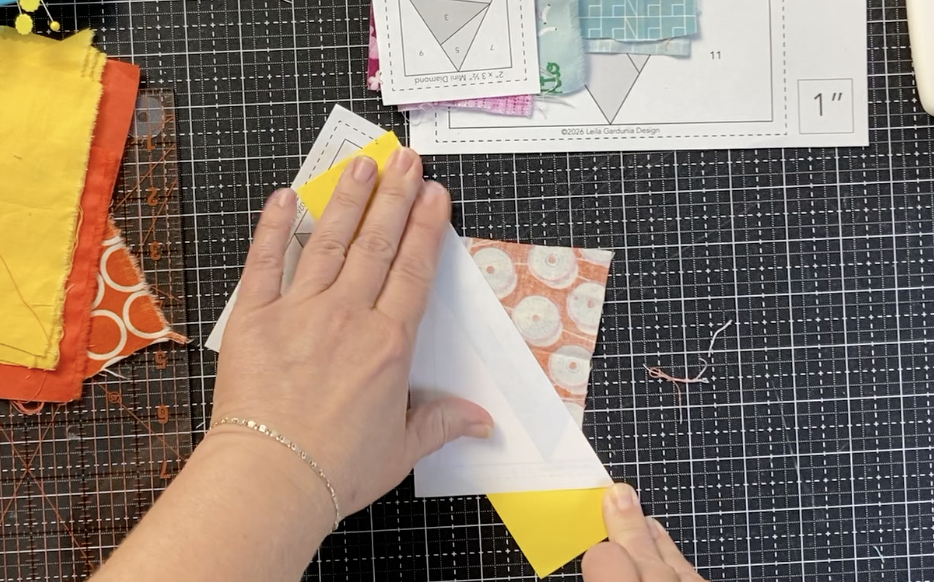
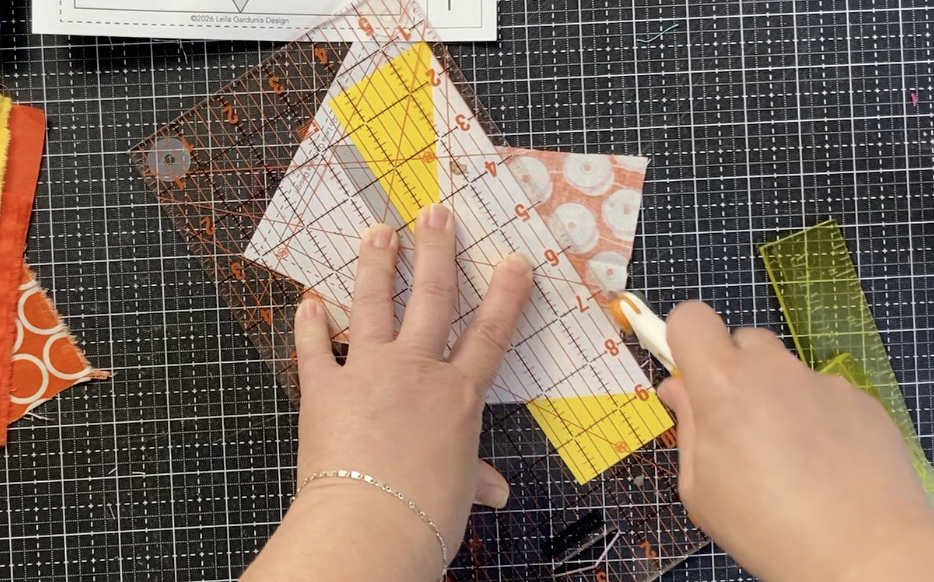
Using a postcard or a piece of card stock, fold back the paper on the line between section one and two. Place a ruler along the folded edge and trim a quarter inch from the edge. You can use a regular ruler or an add a quarter ruler. An add a quarter ruler is super convenient because it has a lip a quarter inch from the edge so you can just put the lip up against the fold and trim.
Step 4: add the second piece of fabric
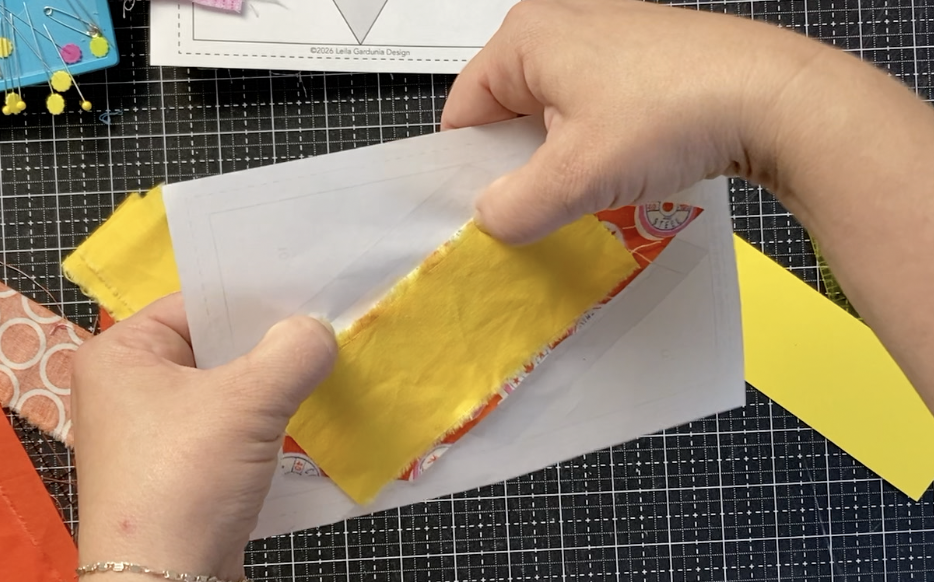
Choose a piece of fabric that is 1/2 inches larger than section 2 on all sides. Place it right sides together with fabric one and line up fabric two with the trimmed edge of fabric one. Pin in place.
Pinning is especially necessary for the larger regular and jumbo blocks. Err on the side of too many pins so the fabric won’t flop around and get caught in the seam.
Step 5: Sew
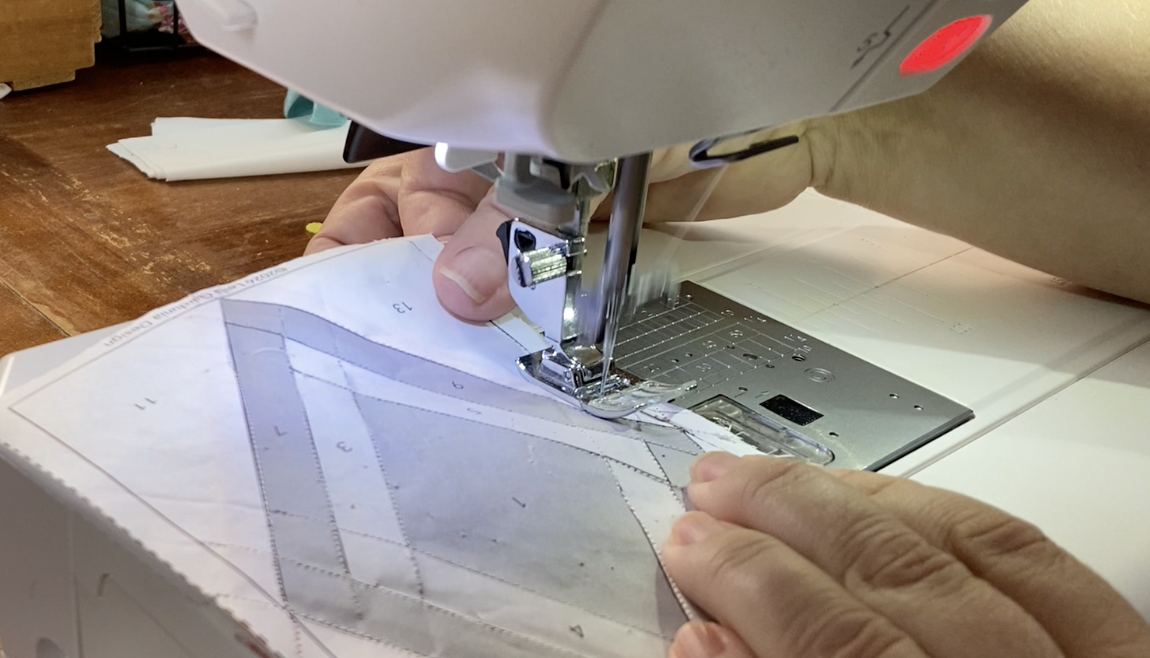
Decrease the stitch length on your sewing machine to 1.5. The shorter stitch length punches more holes into the paper and makes it easier to remove at the end.
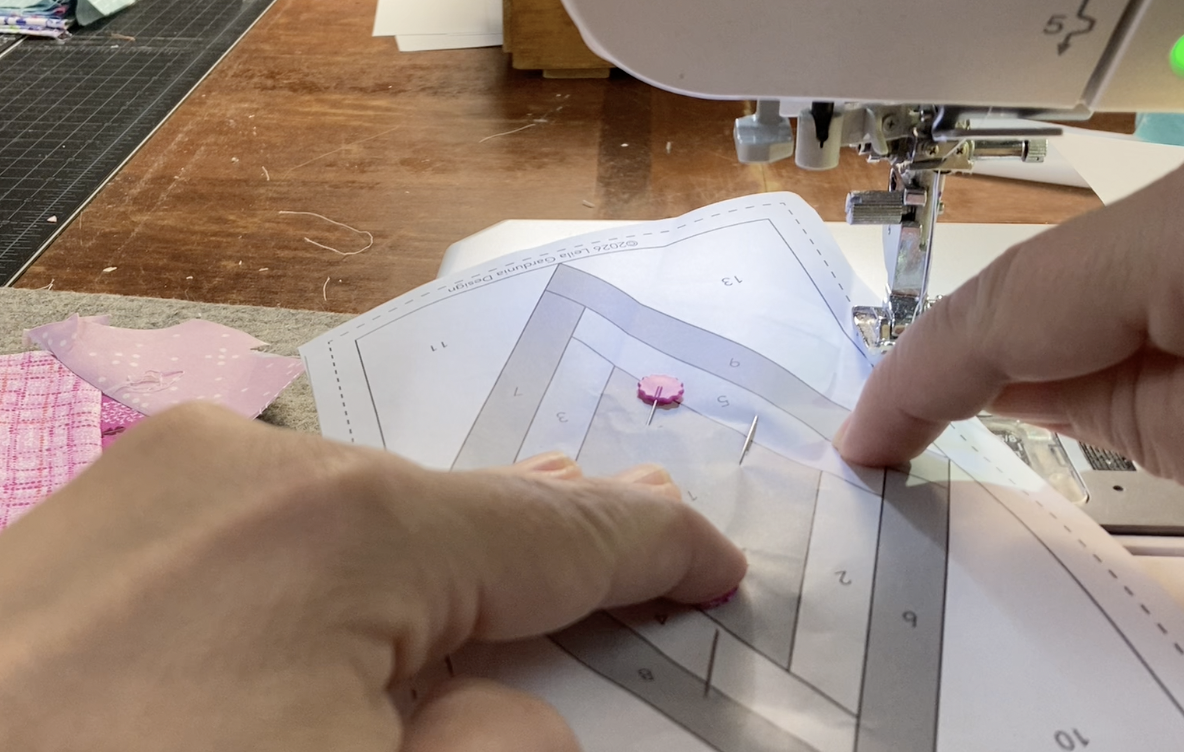
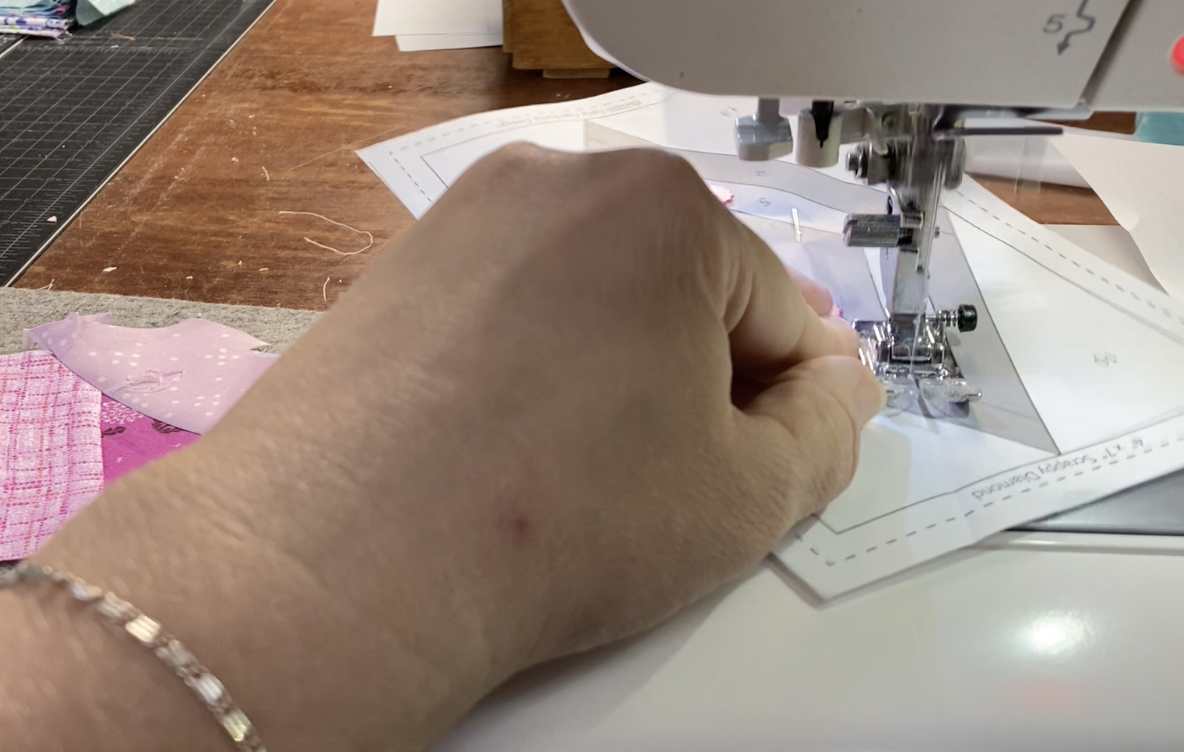
Turn the foundation over so the line side is face up. Locate the line between sections one and two. Starting a half inch before the line, sew on the line and continue off the line for another half inch.
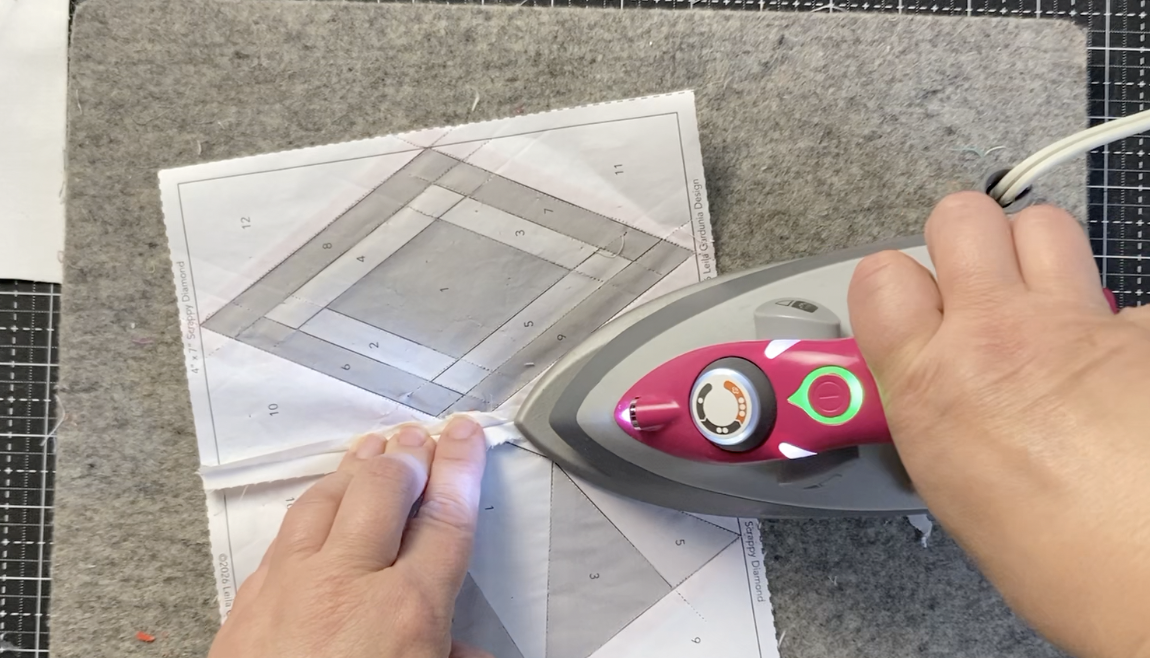
Step 6: Press
Remove the pins from the block. Set the seam and press open. This is especially important with the Jumbo Diamonds. The Mini Diamond blocks may be fingerpressed if desired. Some people also like to use a roller to press the seams.
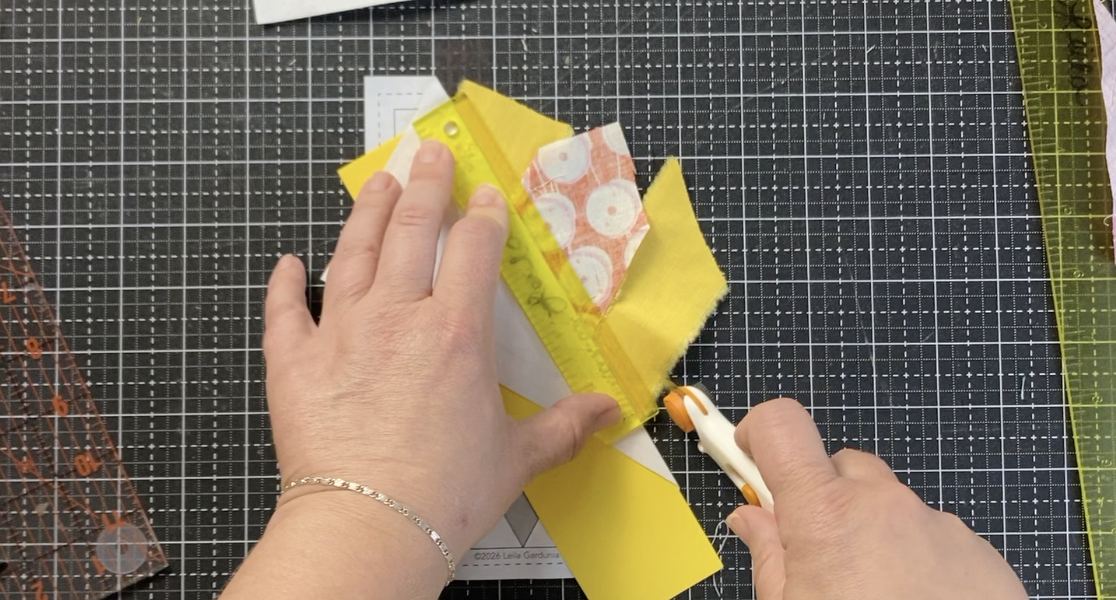
Step 6: Trim
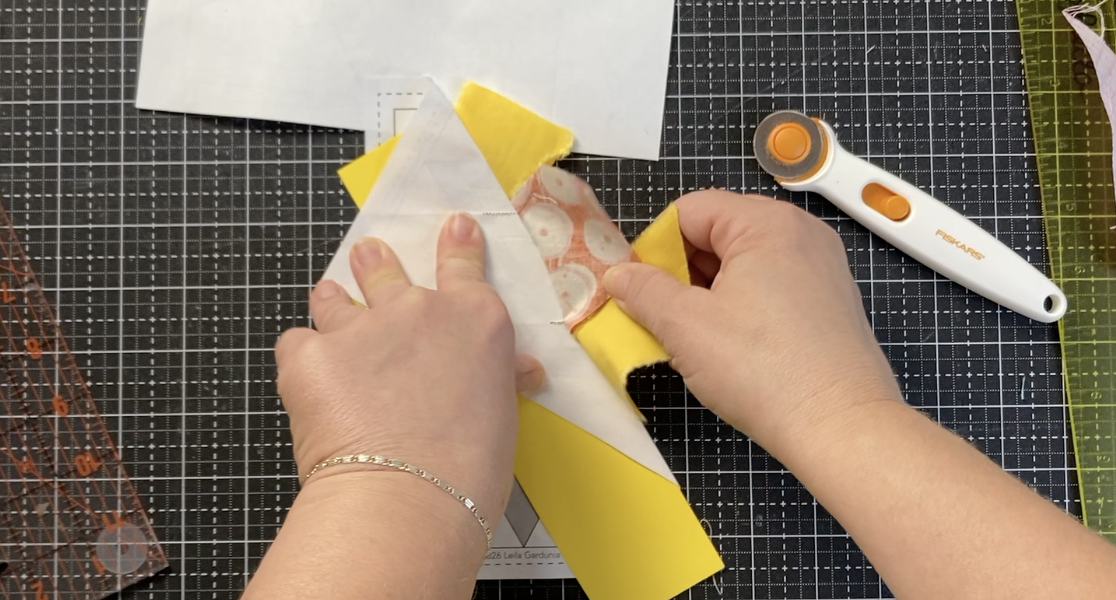
Identify the line that runs between section 3 and sections one and two. Using a piece of card stock, fold the paper back along the line. Some of the fabric will pull up with the paper. Simply pull the fabric down and off the paper so it's laying flat. Trim a quarter inch away from the fold.
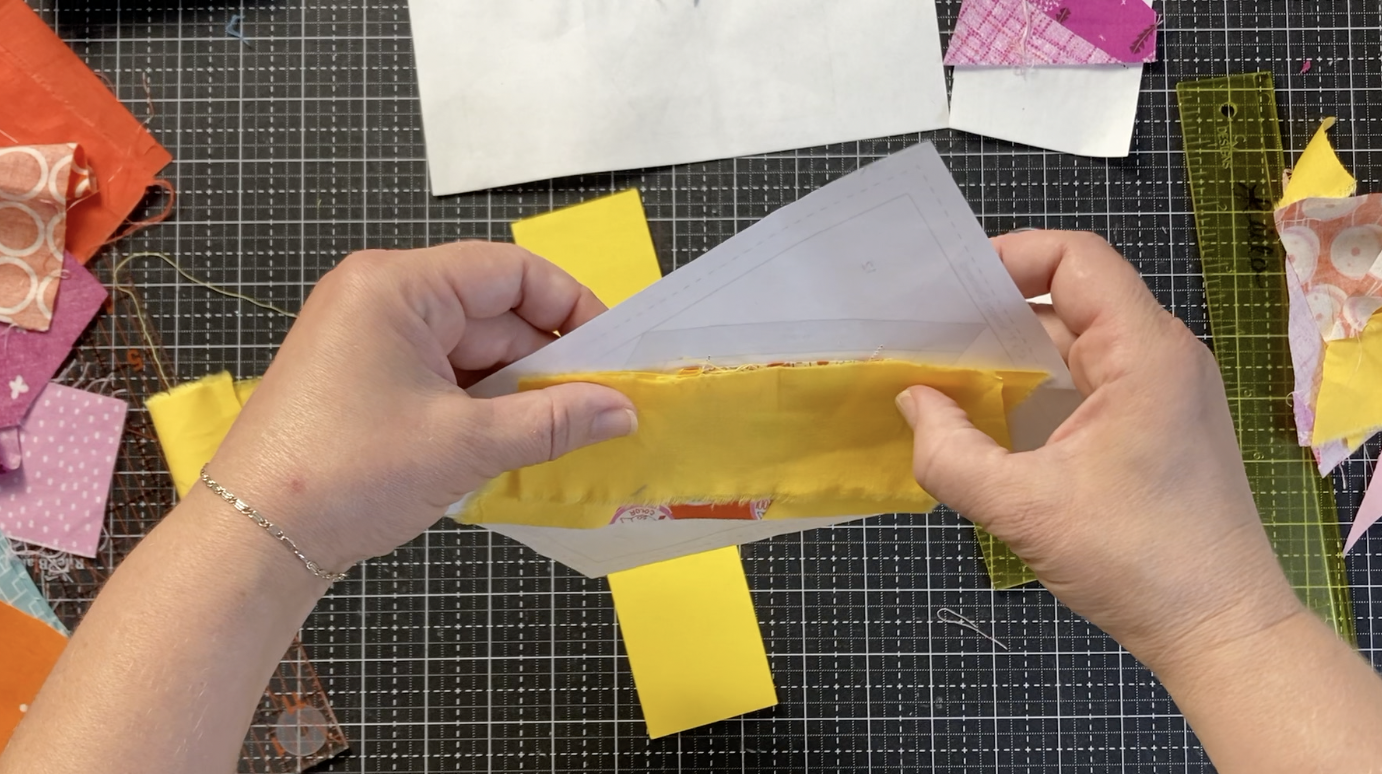
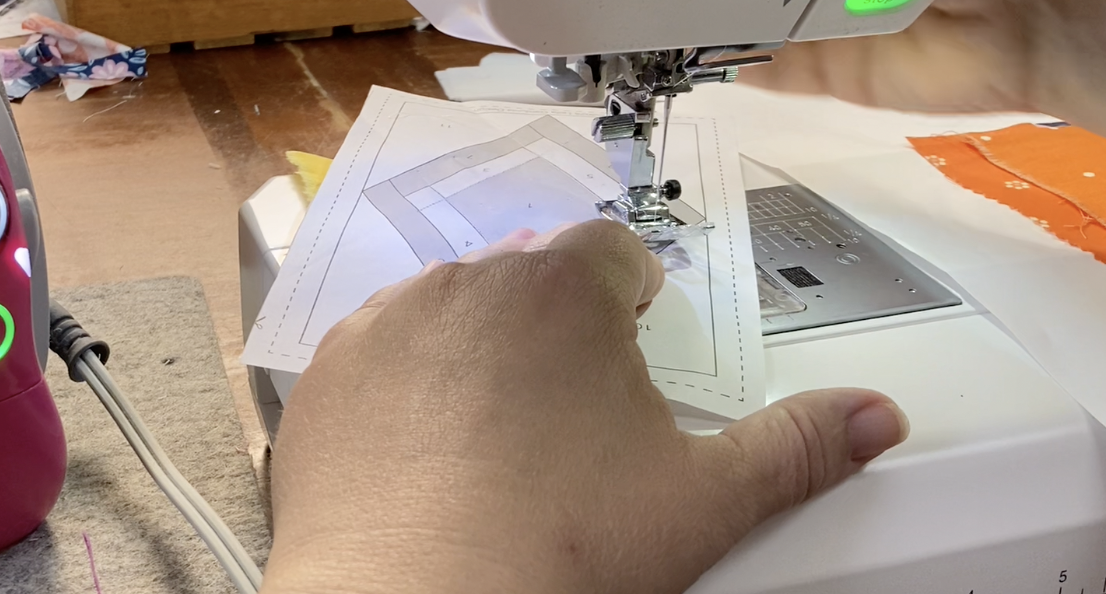
Step 7: Repeat!
Unfold the paper and place the section 3 fabric along the trimmed edge. Pin, then flip over the foundation and sew along the line starting and finishing a half inch before and after. Set seam and press.
We will repeat this process of trimming sewing and pressing until all of the diamond sections are covered.
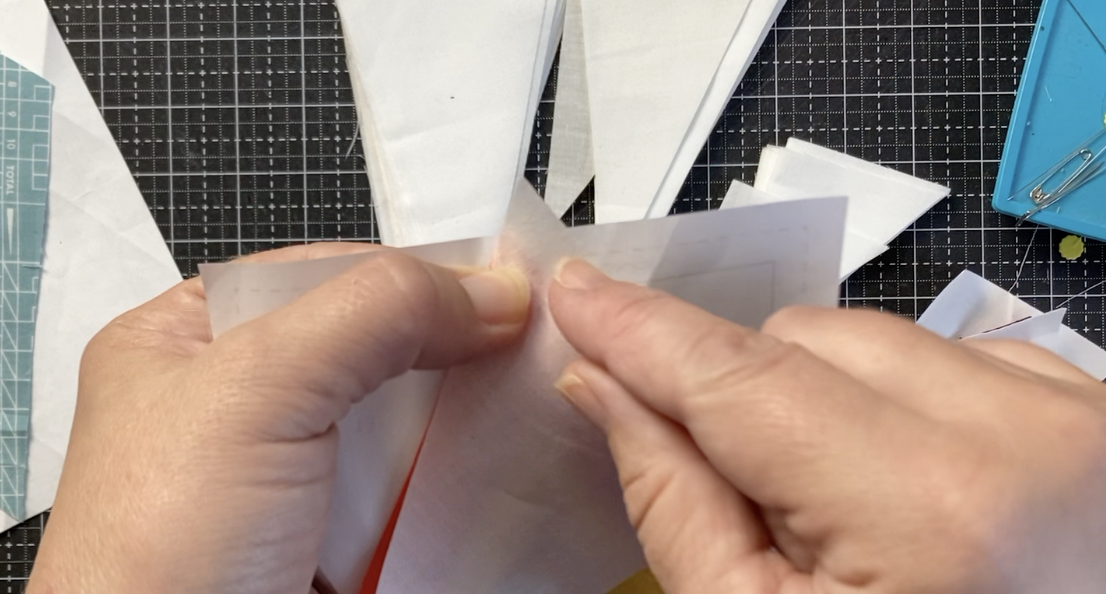
Step 8: Add the background triangles
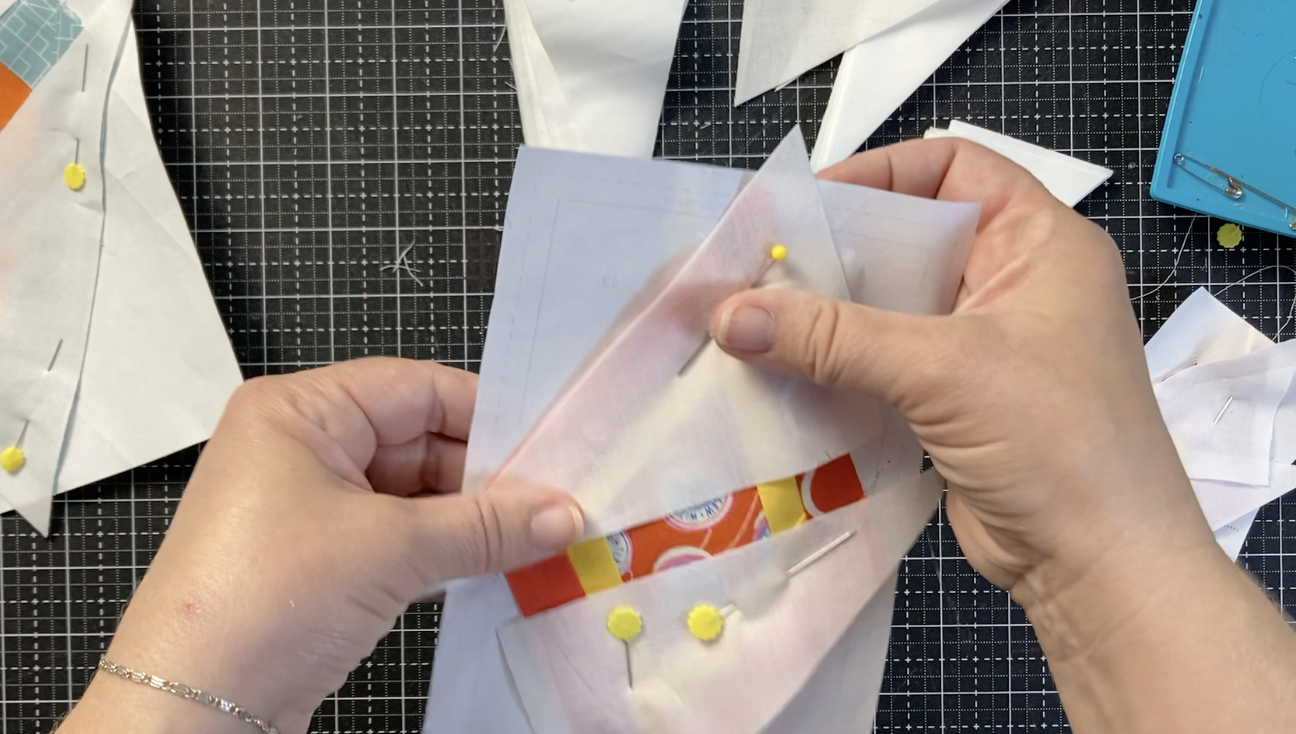
Trim opposite sides of the diamond. Place the background triangle so the thicker point extends about ¾” above the outer dotted line on the foundation. Pin in place. Repeat on the opposite side.
Starting outside of the dotted line, sew along the line and off beyond the dotted line. Press open. Check to make sure that the background triangle covers the entire section and extends past the dotted lines. Repeat for all four sides.
Step 9: Trim the block
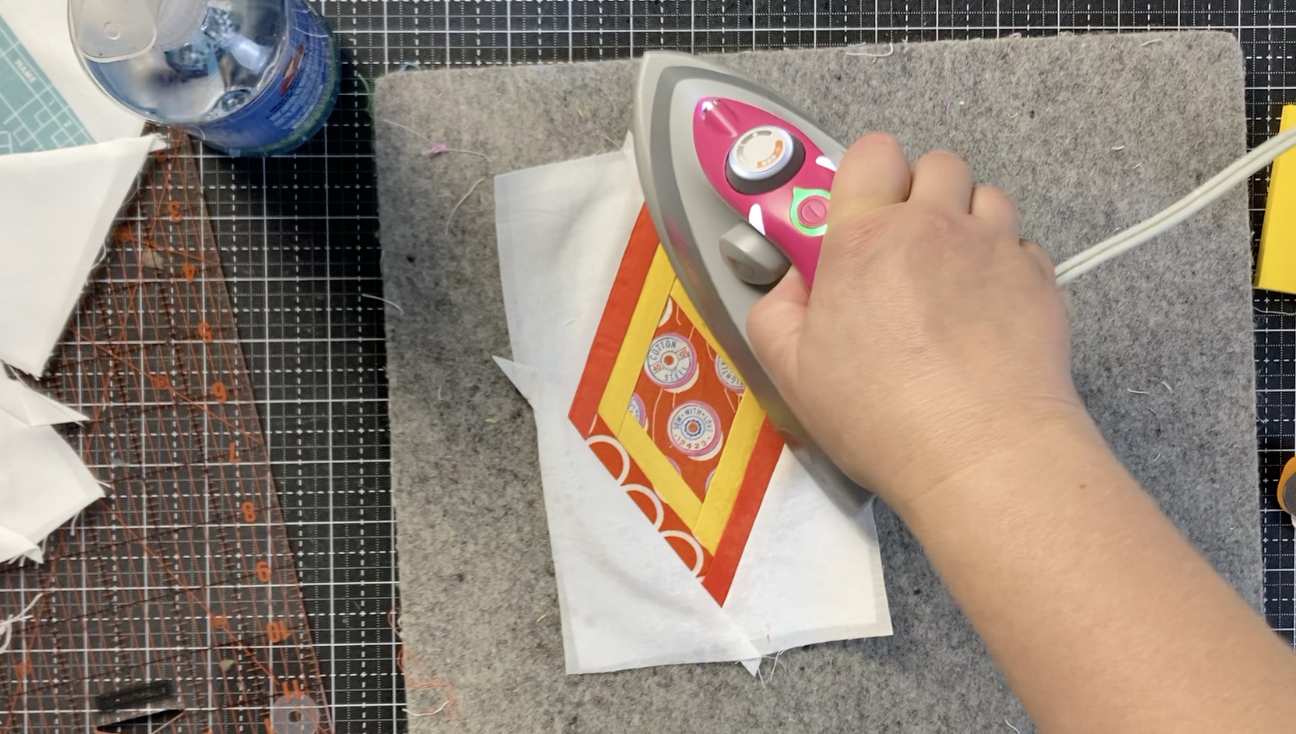
Before trimming, give the block a good press so all the seams are crisp and it is lying flat. You can use a light starch, water or steam if you like. I have not had any issues with in running.
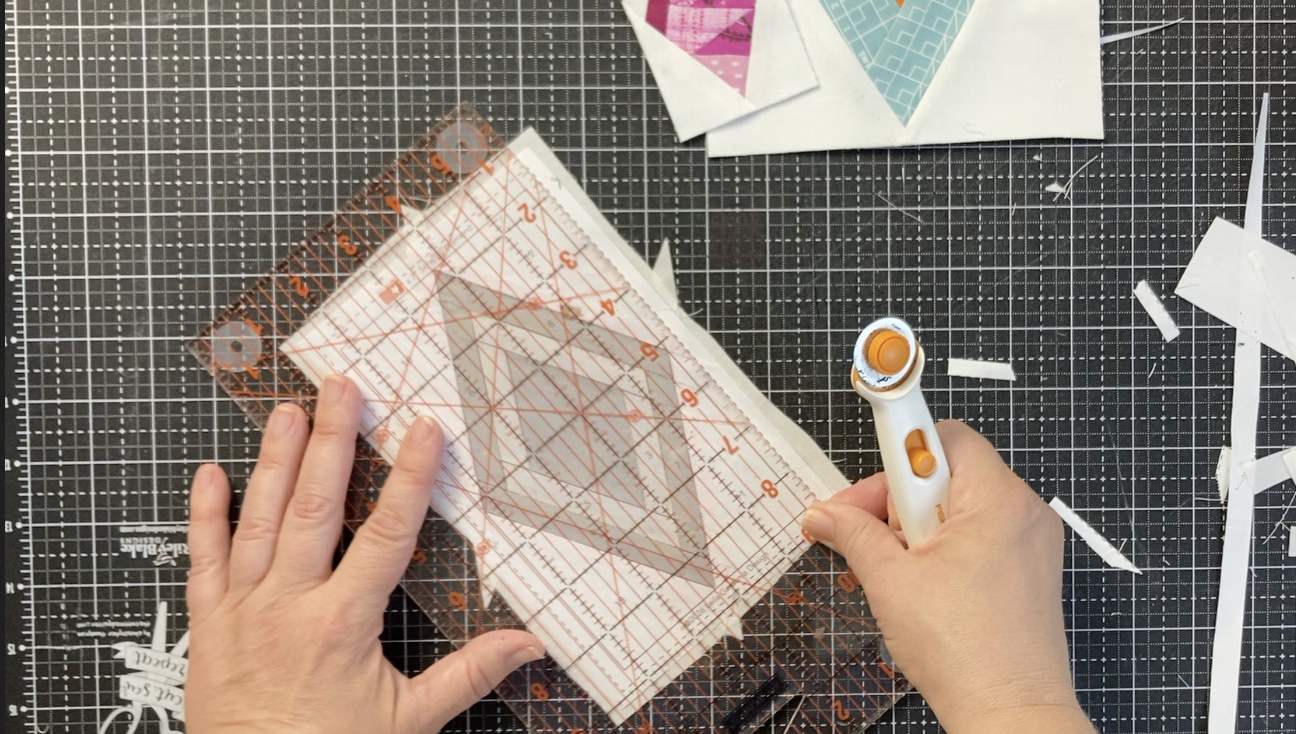
Trim along the outer dotted line. I do this by lining up the quarter inch mark on my ruler with the inner solid line that extends around the outside of the block.
Step 10: sew the blocks together
For layout ideas refer to these free quilt patterns. These are just a few of the ideas of things that you can make. Use the diamonds as borderers or in bag or apparel items.
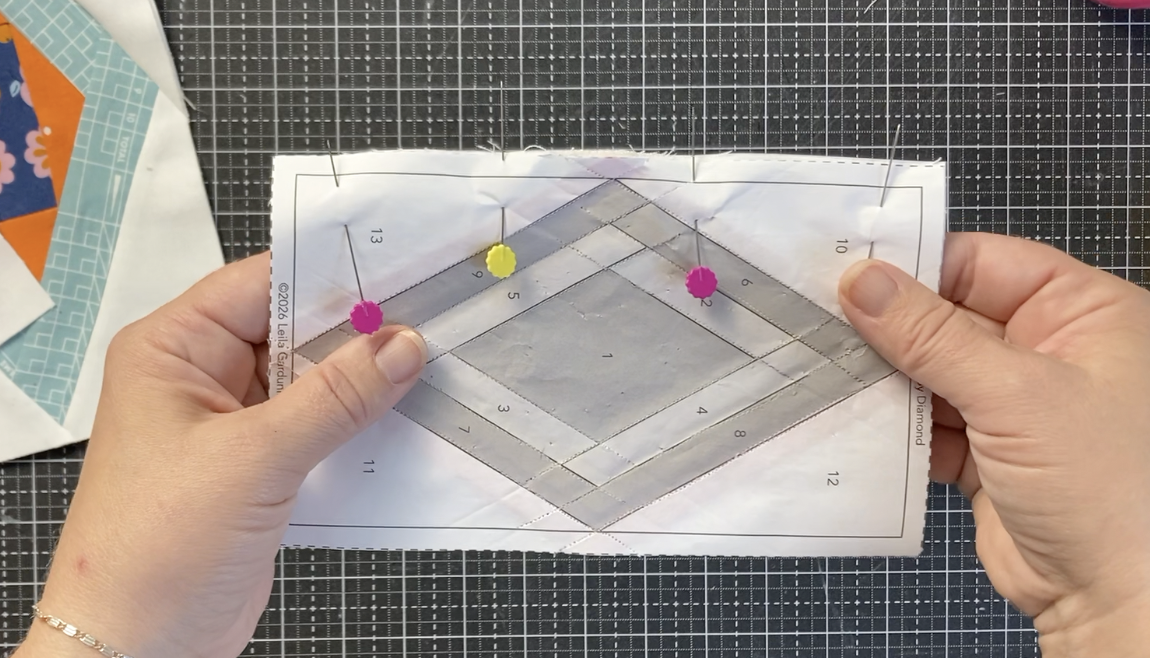
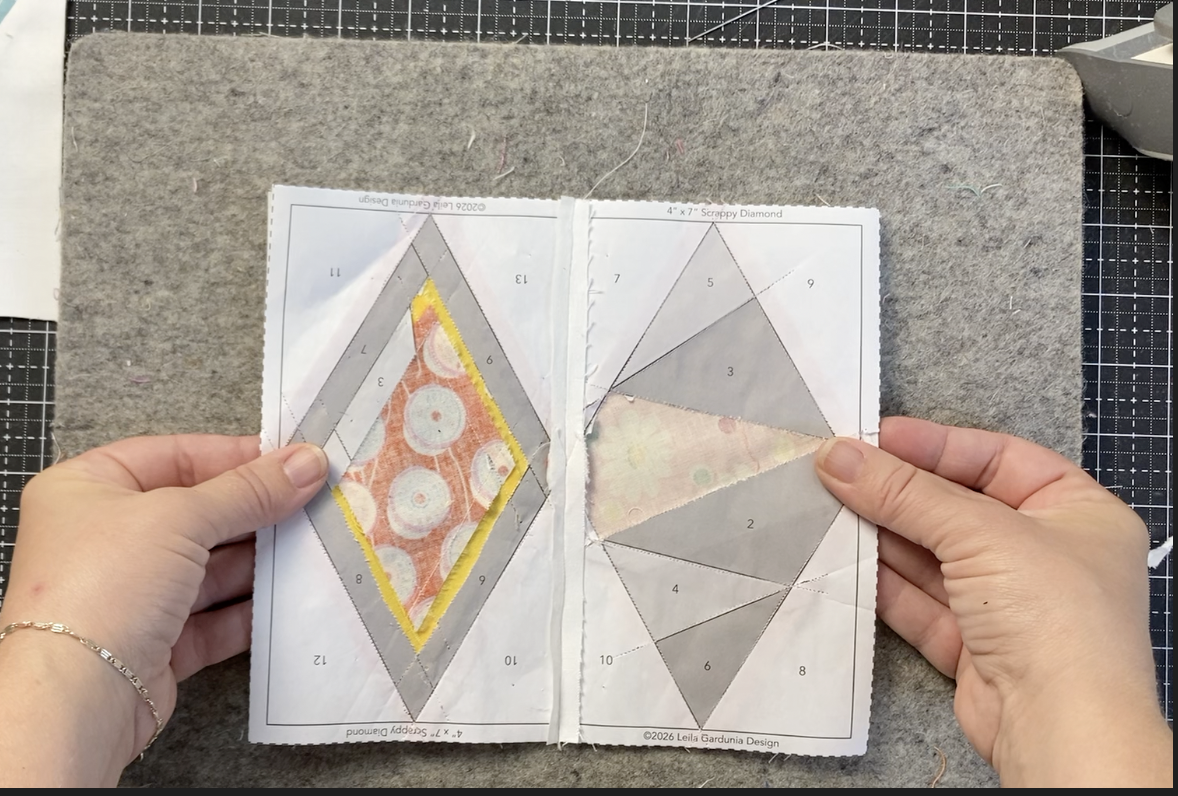
Sew the diamonds together either long or short sides together. Line up the top corners and bottom corners of the block and pin. Match the points in the middle, pin and sew from the top to bottom with the 1.5 stitch length.
TIP: To ensure the points match exactly you can increase the stitch length and baste at the top, middle and bottom of the block. Open the block and check that the diamond points are lined up correctly. If not, remove the basting stitches and baste again. When the blocks are basted correctly, reduce the stitch length and stitch over the whole line. Remove papers and press seams open.
Step 11: remove papers
Remove the papers from the seams and press open.
Once a section of the block is completely surrounded by other fabric, you may remove the paper. The paper helps stabilize all of the odd biased edges and keeps the block nice and square. Do not remove the outer triangles until the block is completely surrounded by other blocks.
Give the quilt top a final press and baste, quilt and bind as desired.
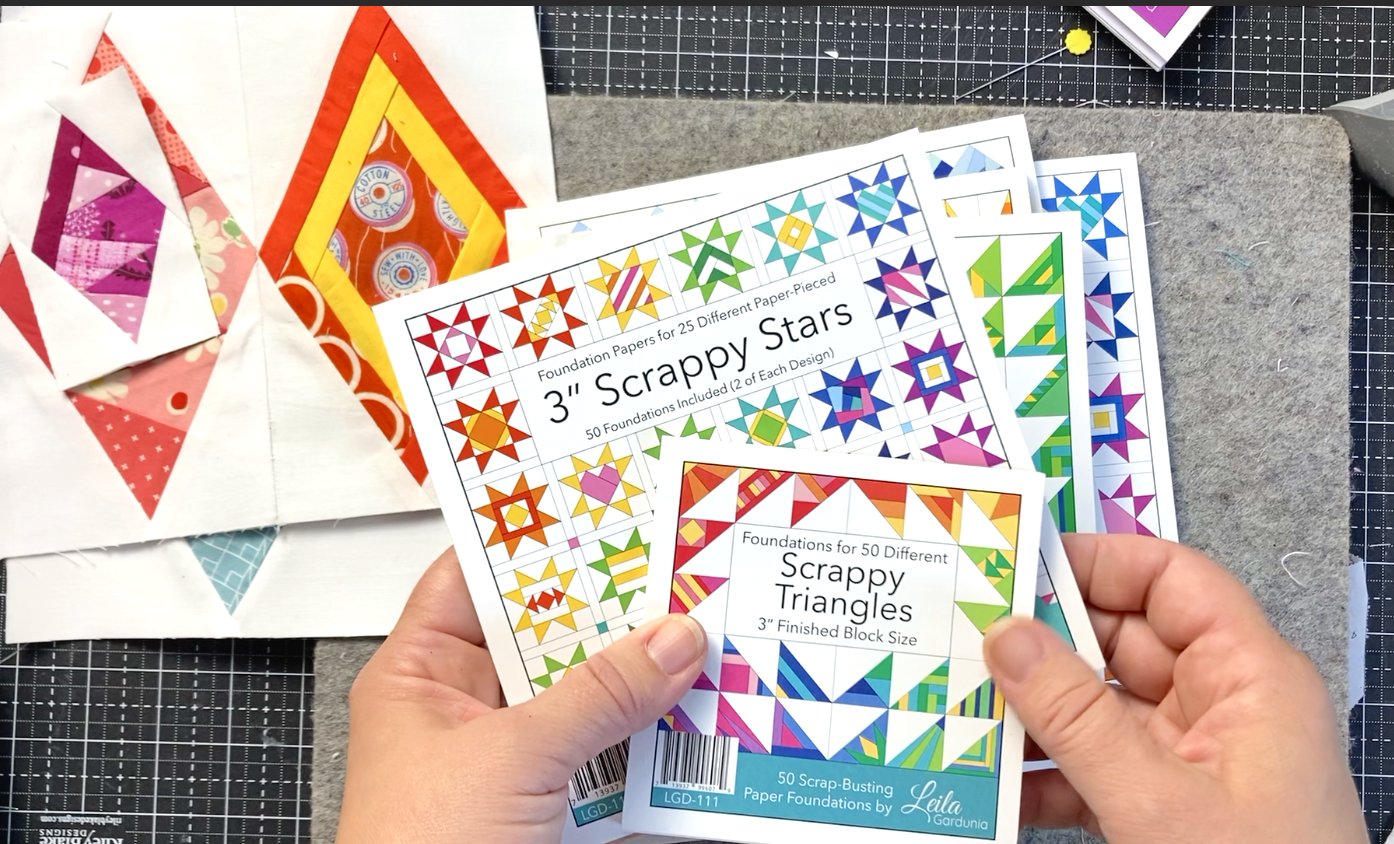
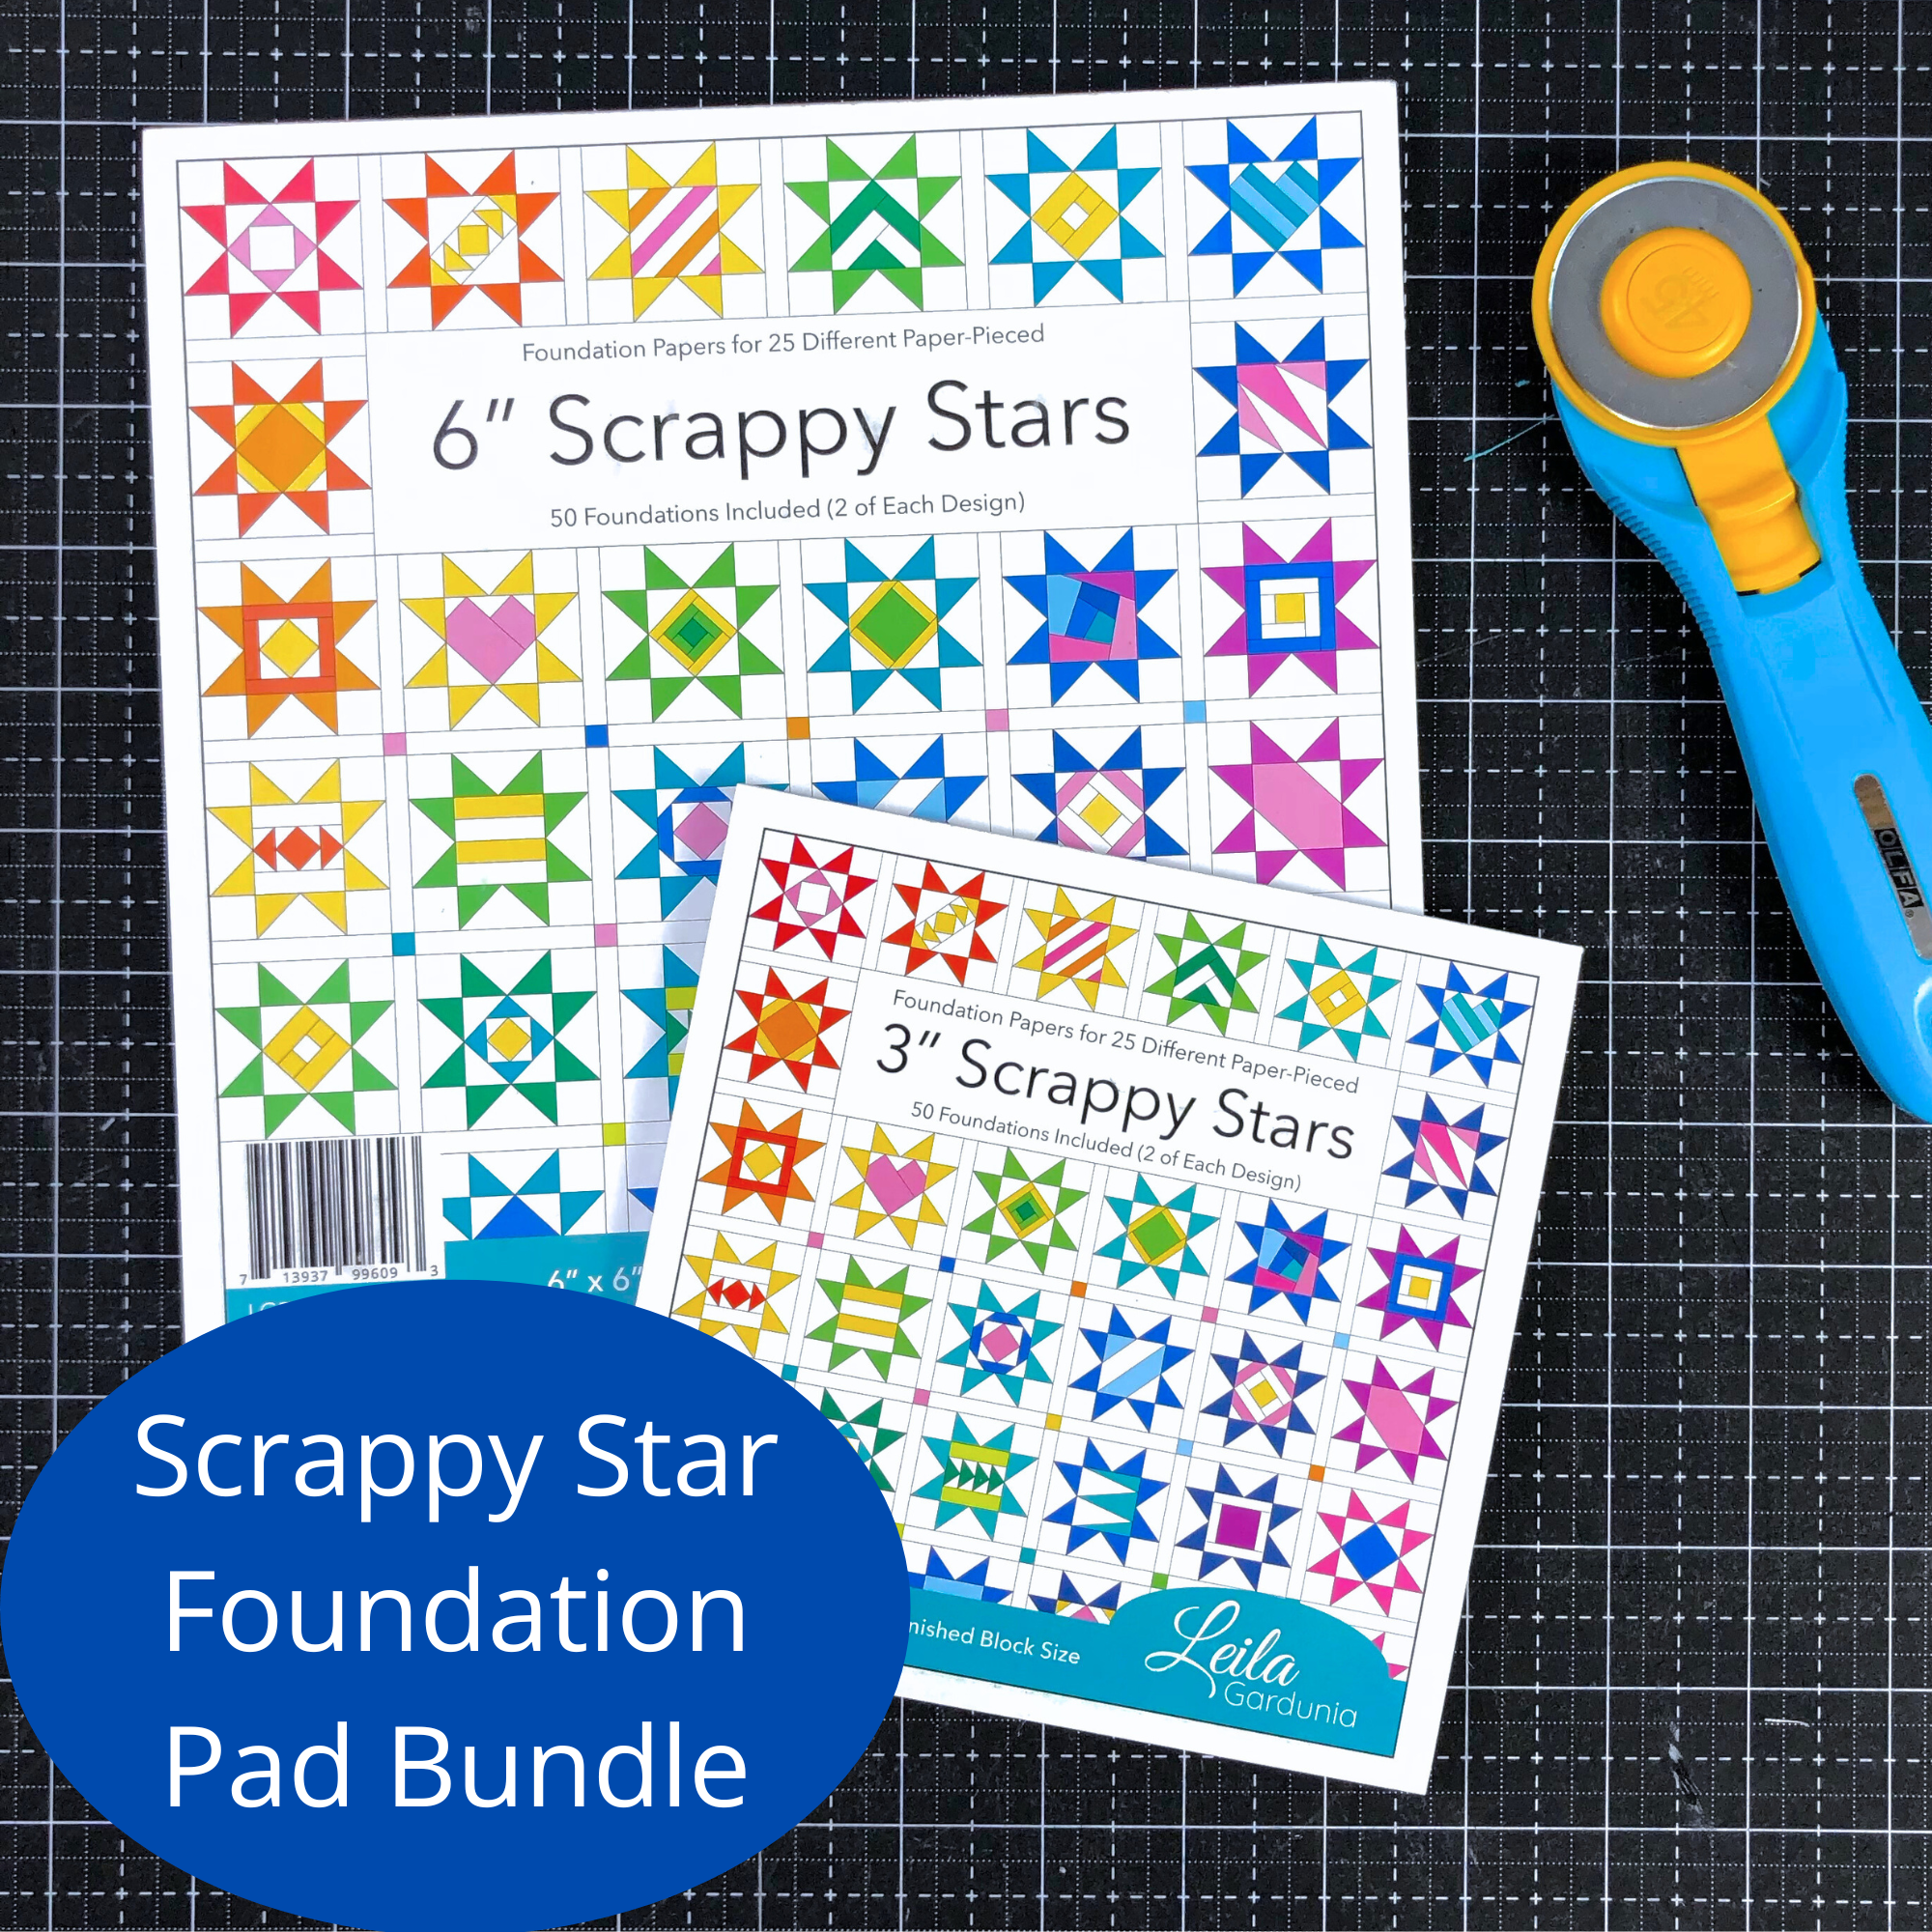
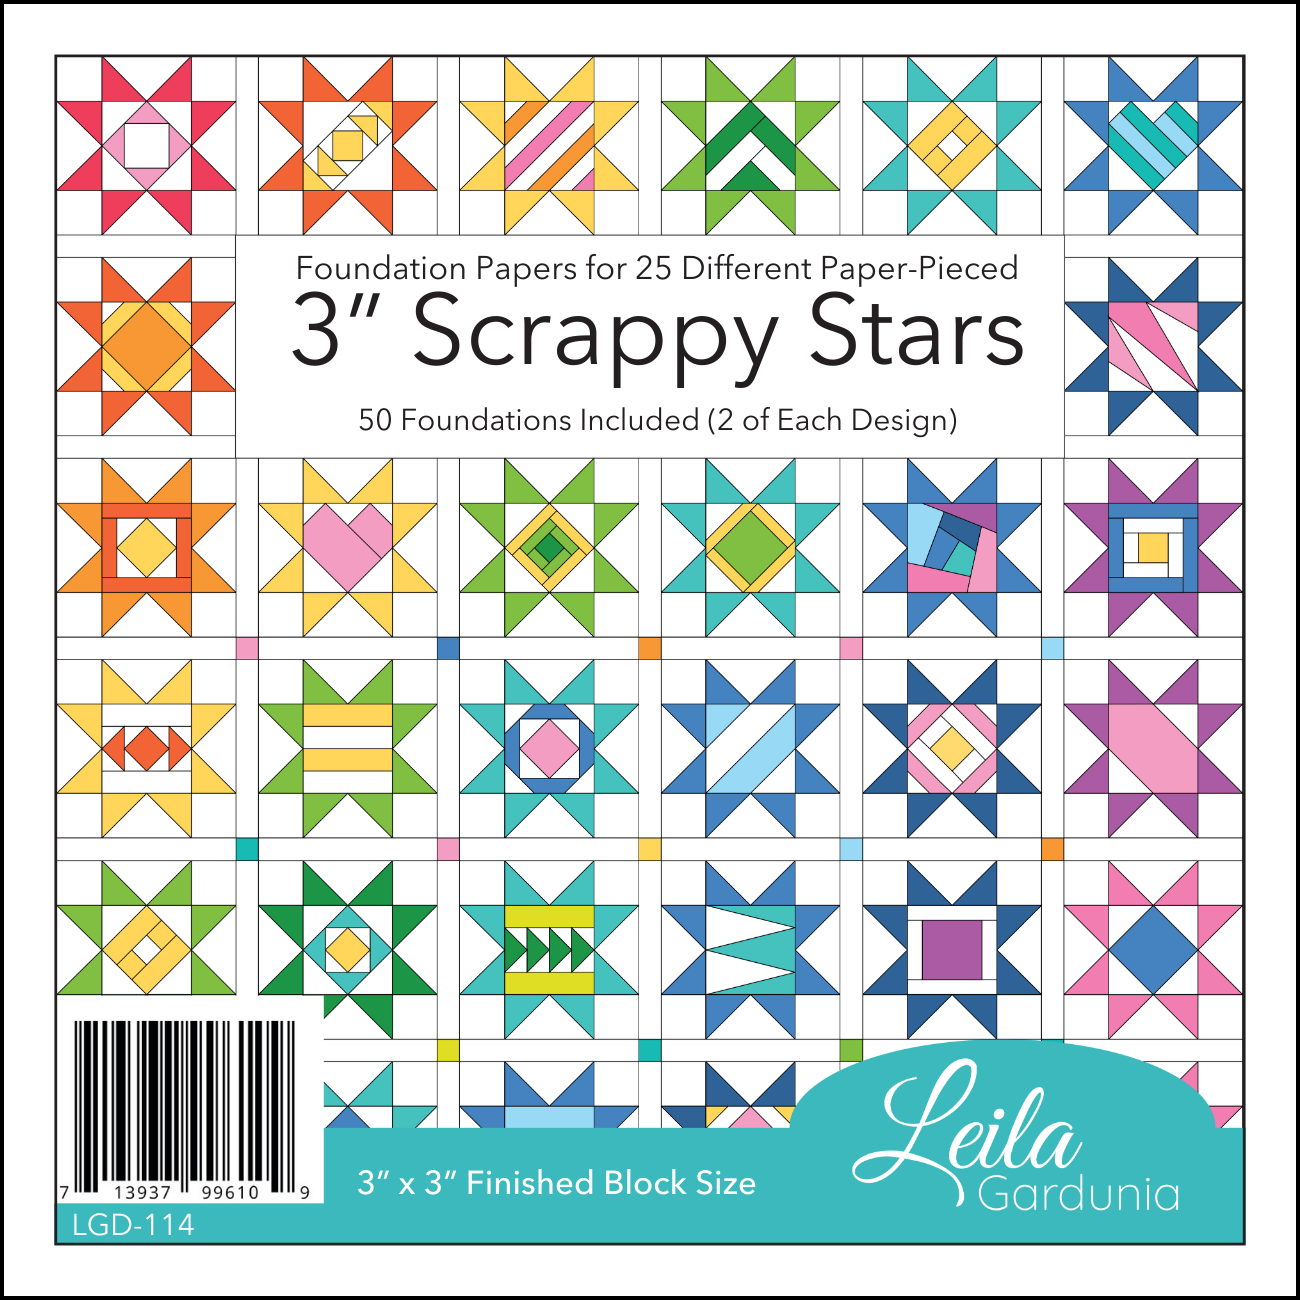
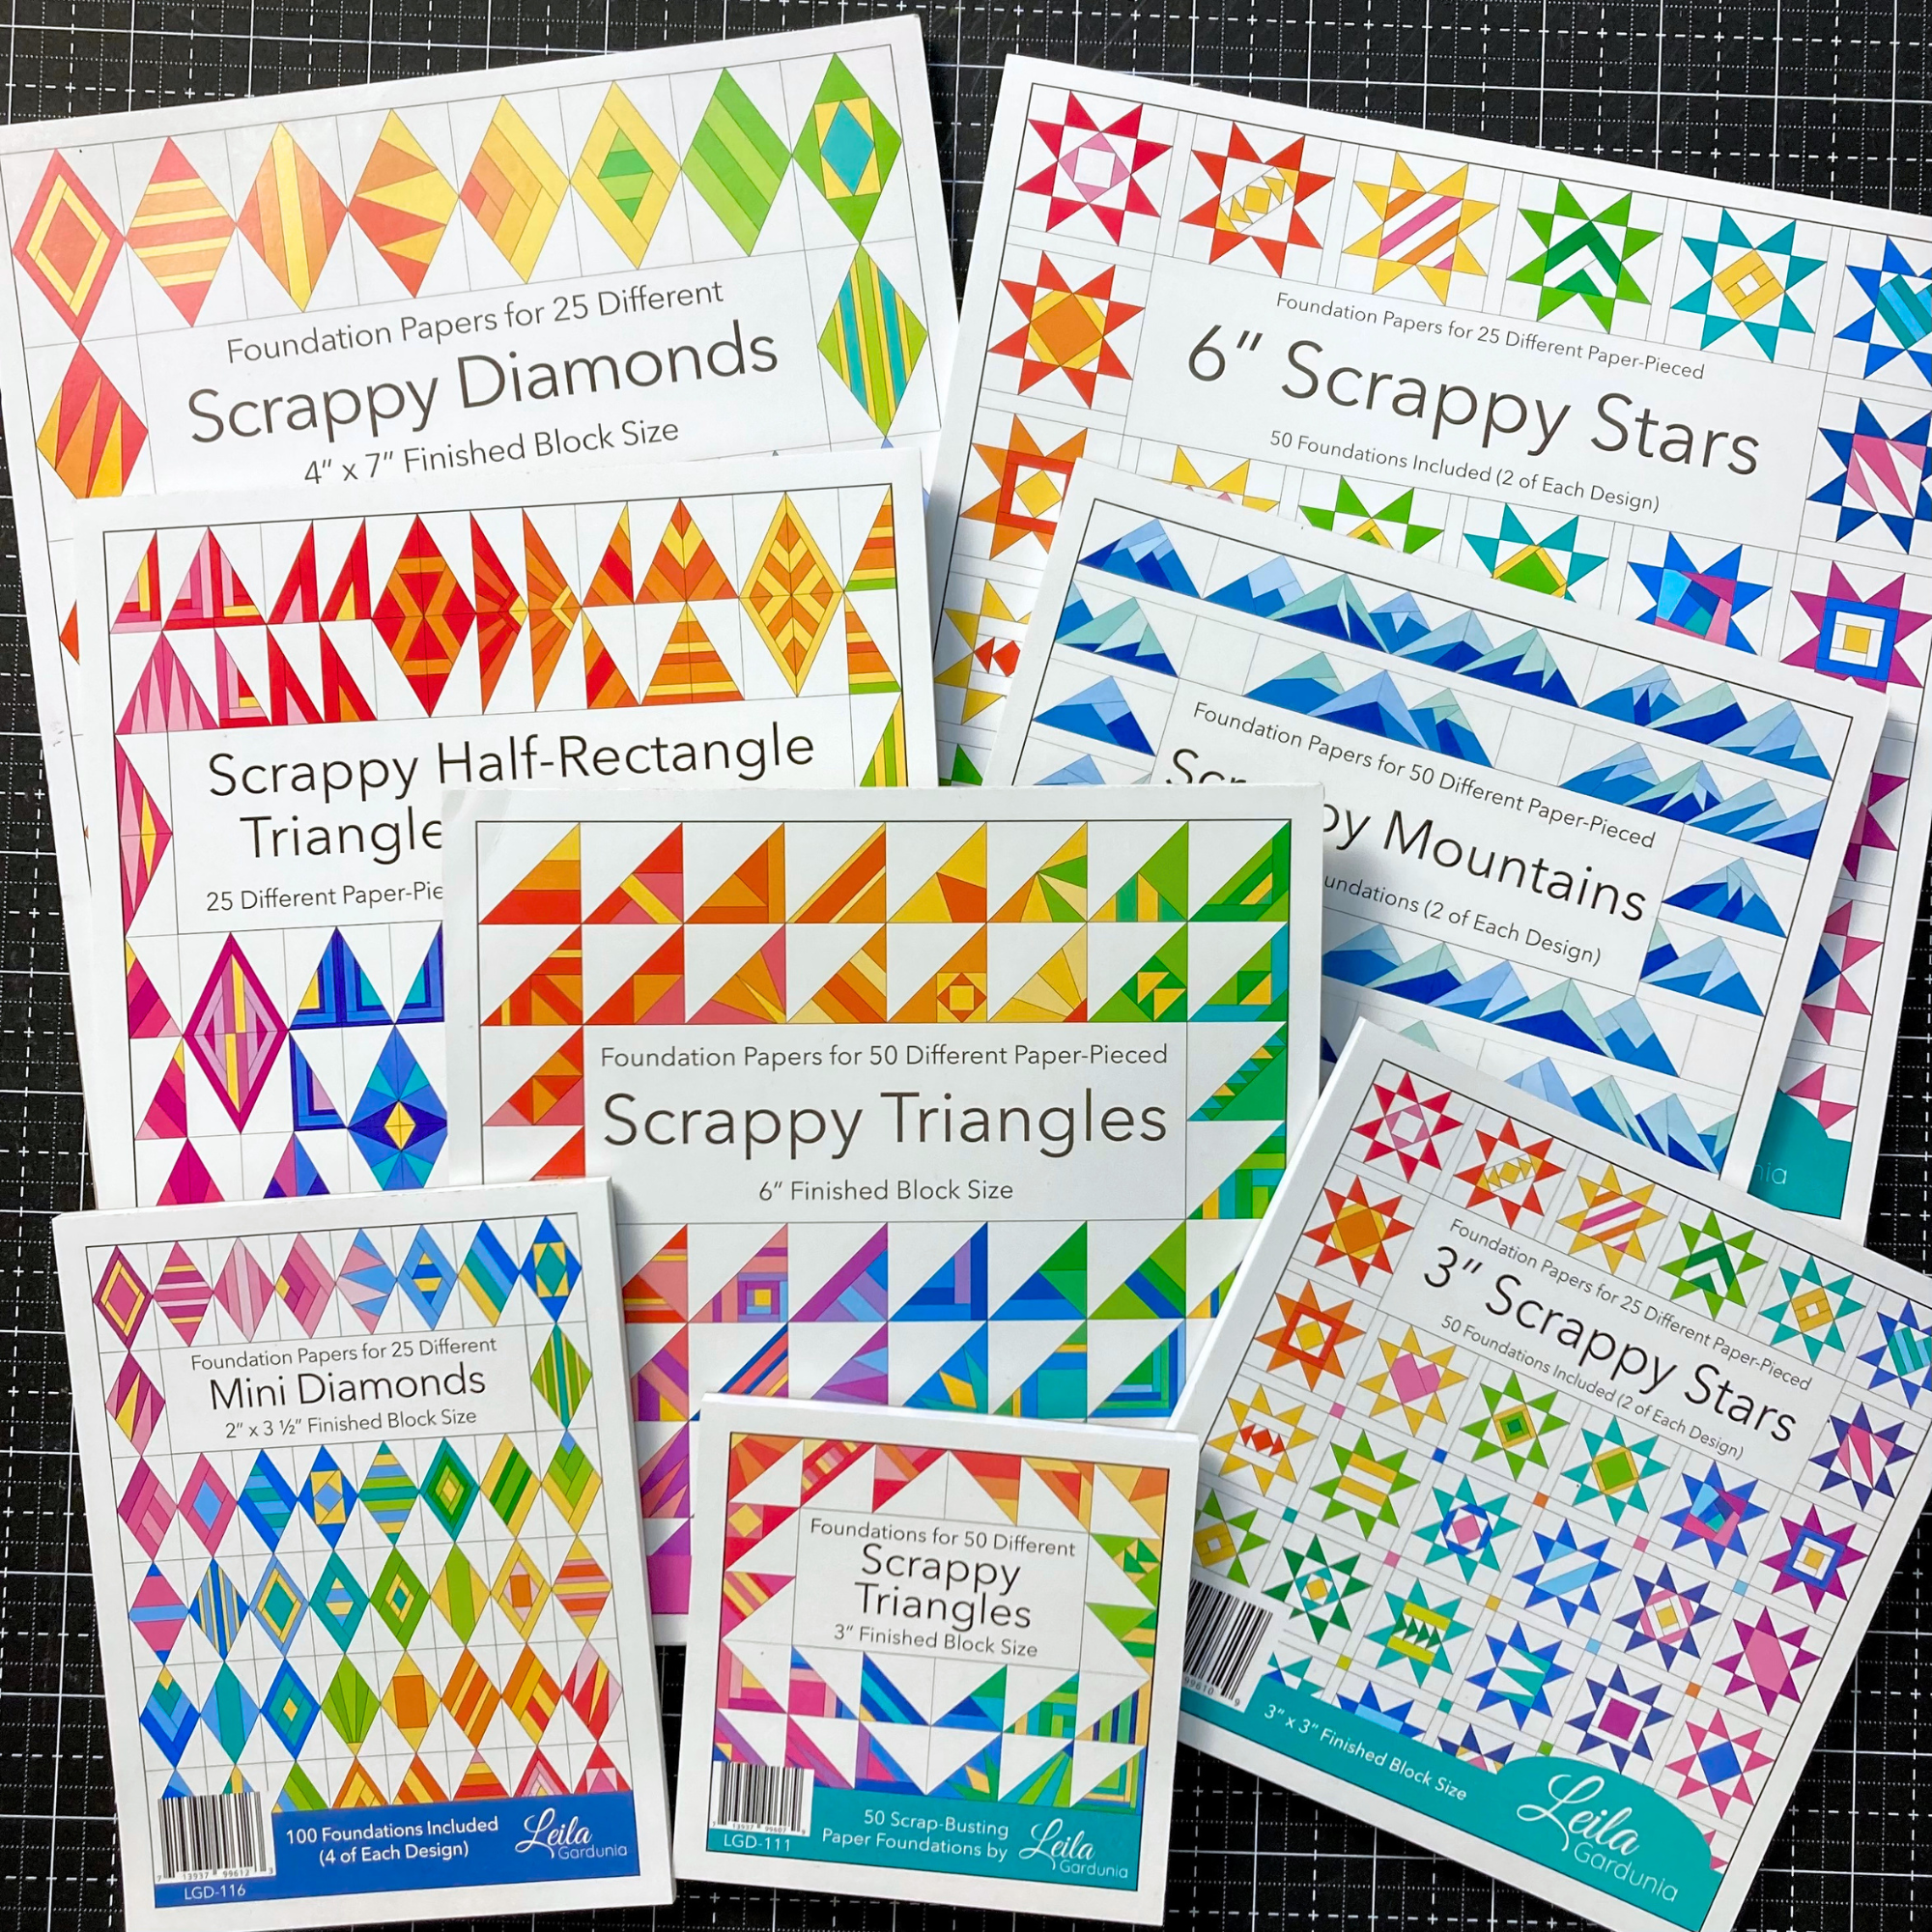
If you like the Scrappy Diamonds you may want to check out my other scrappy foundation paper piece patterns.
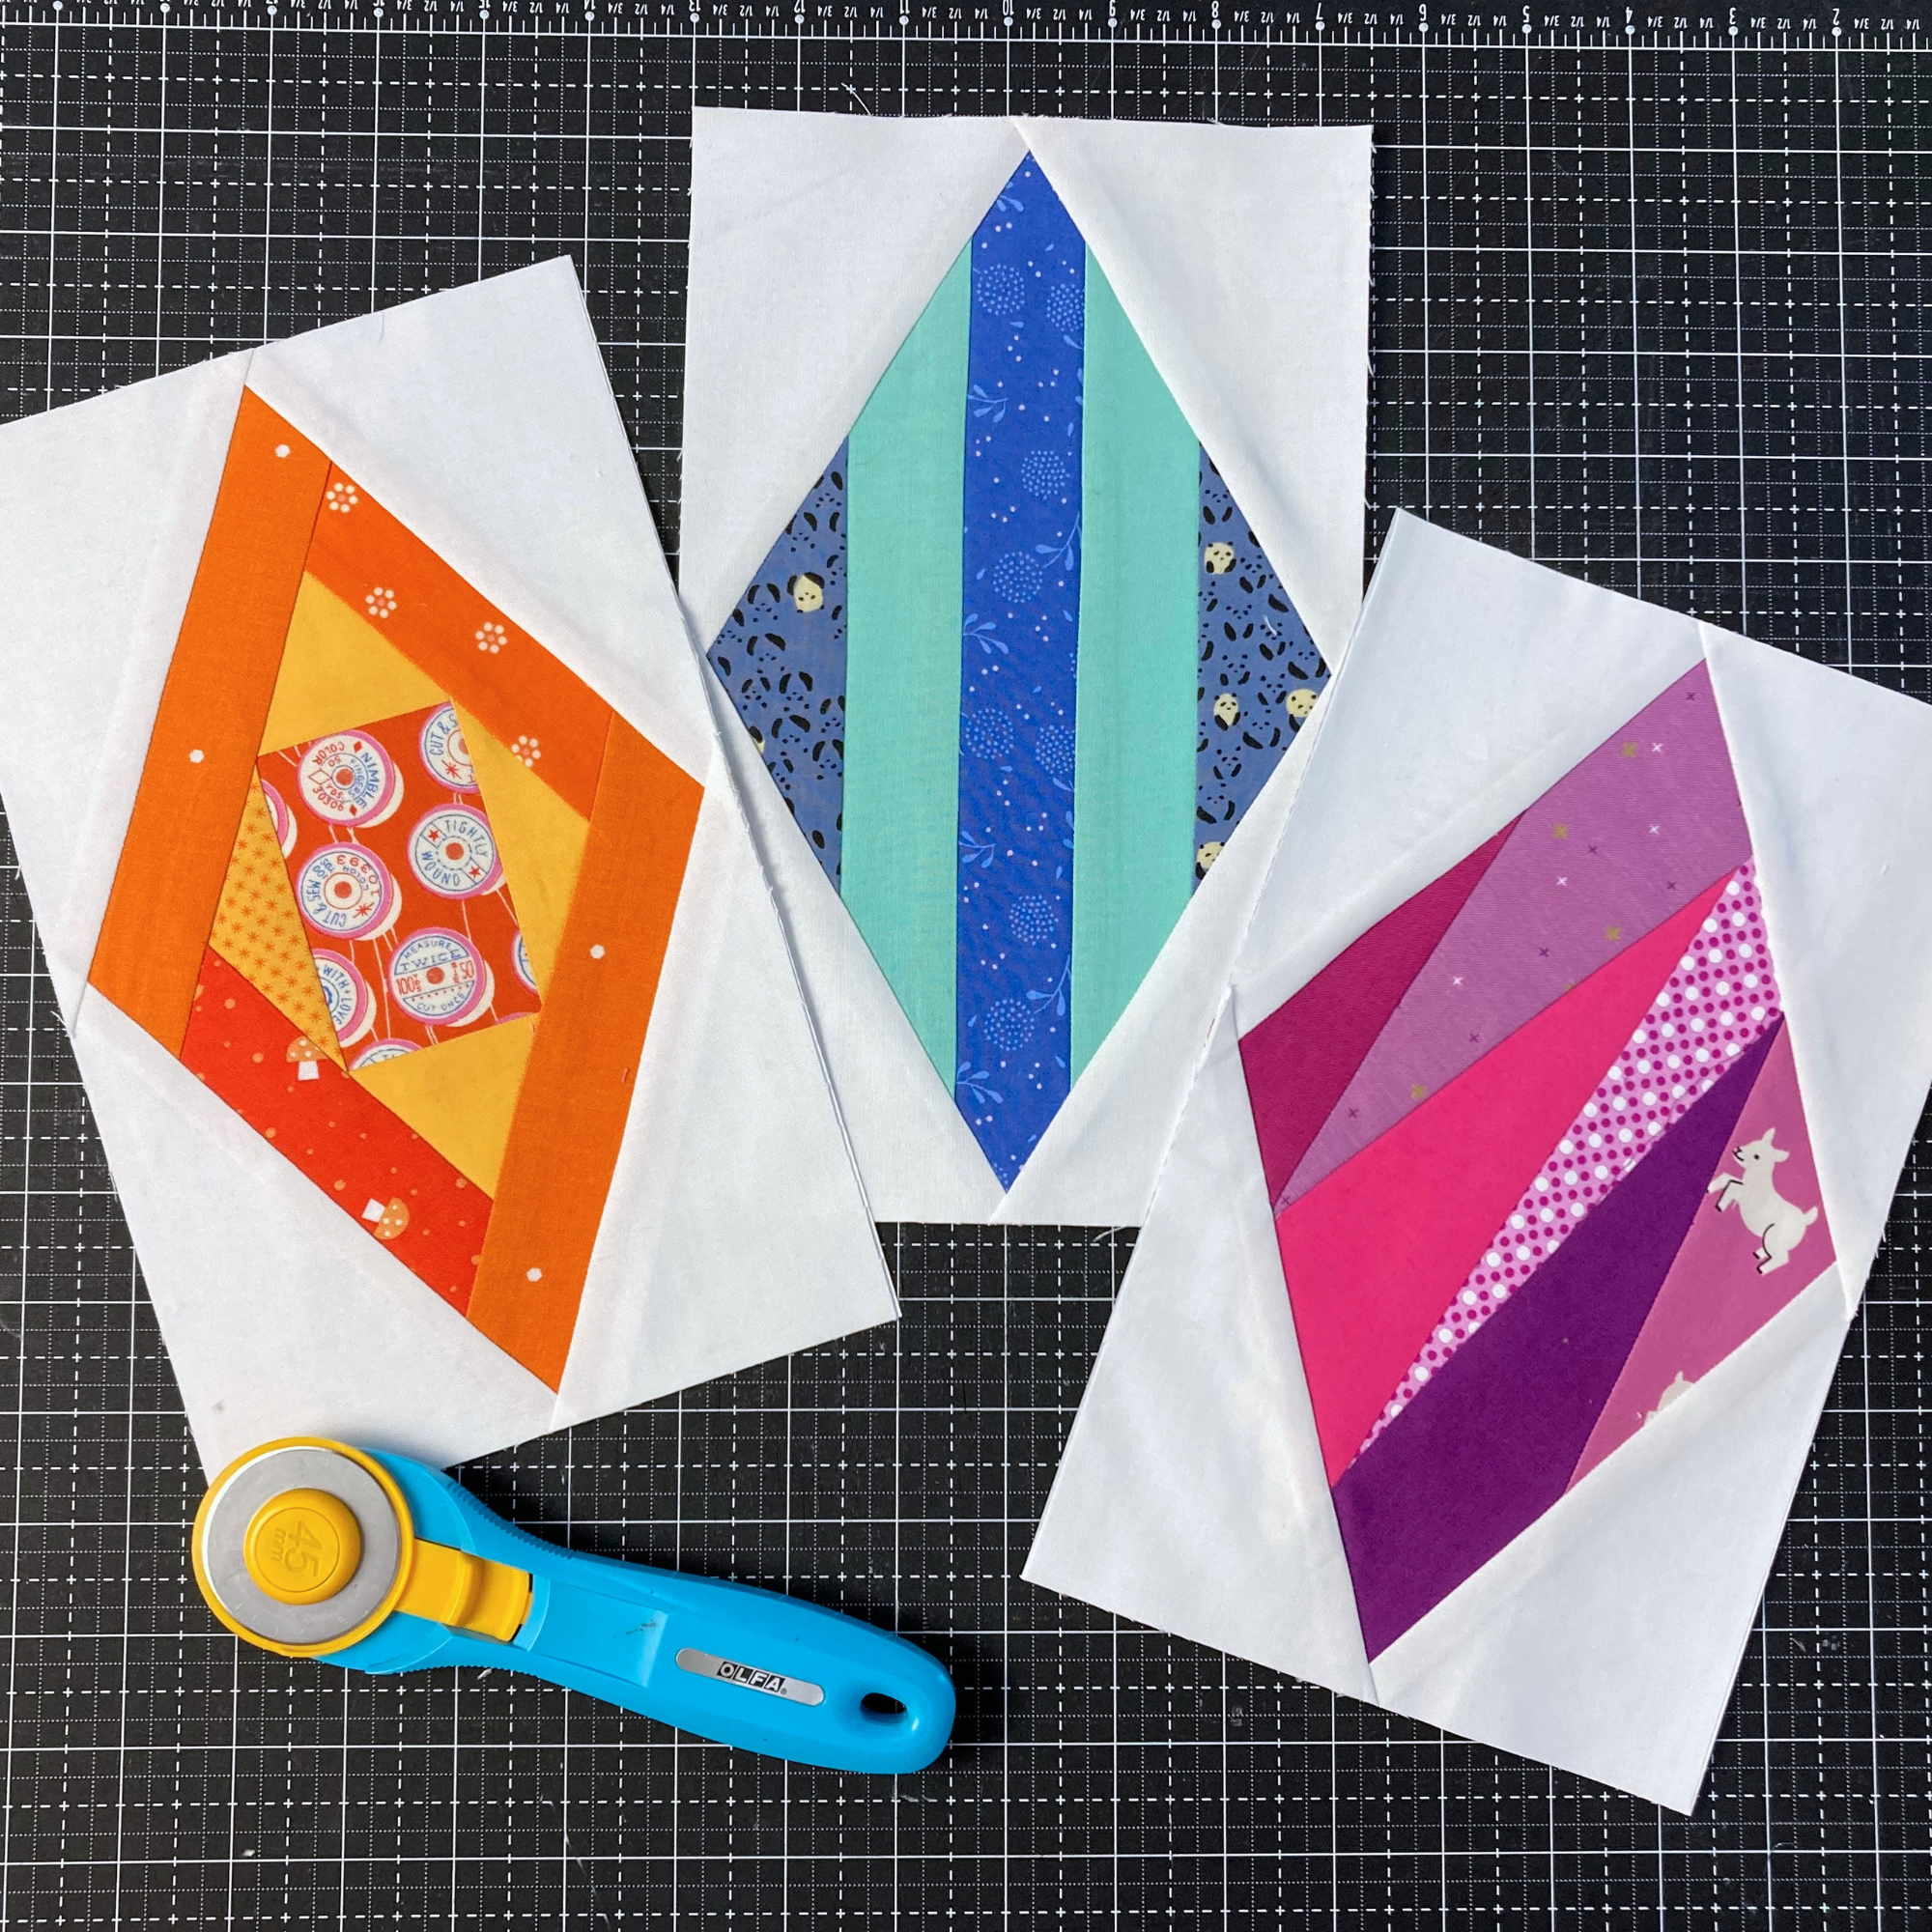
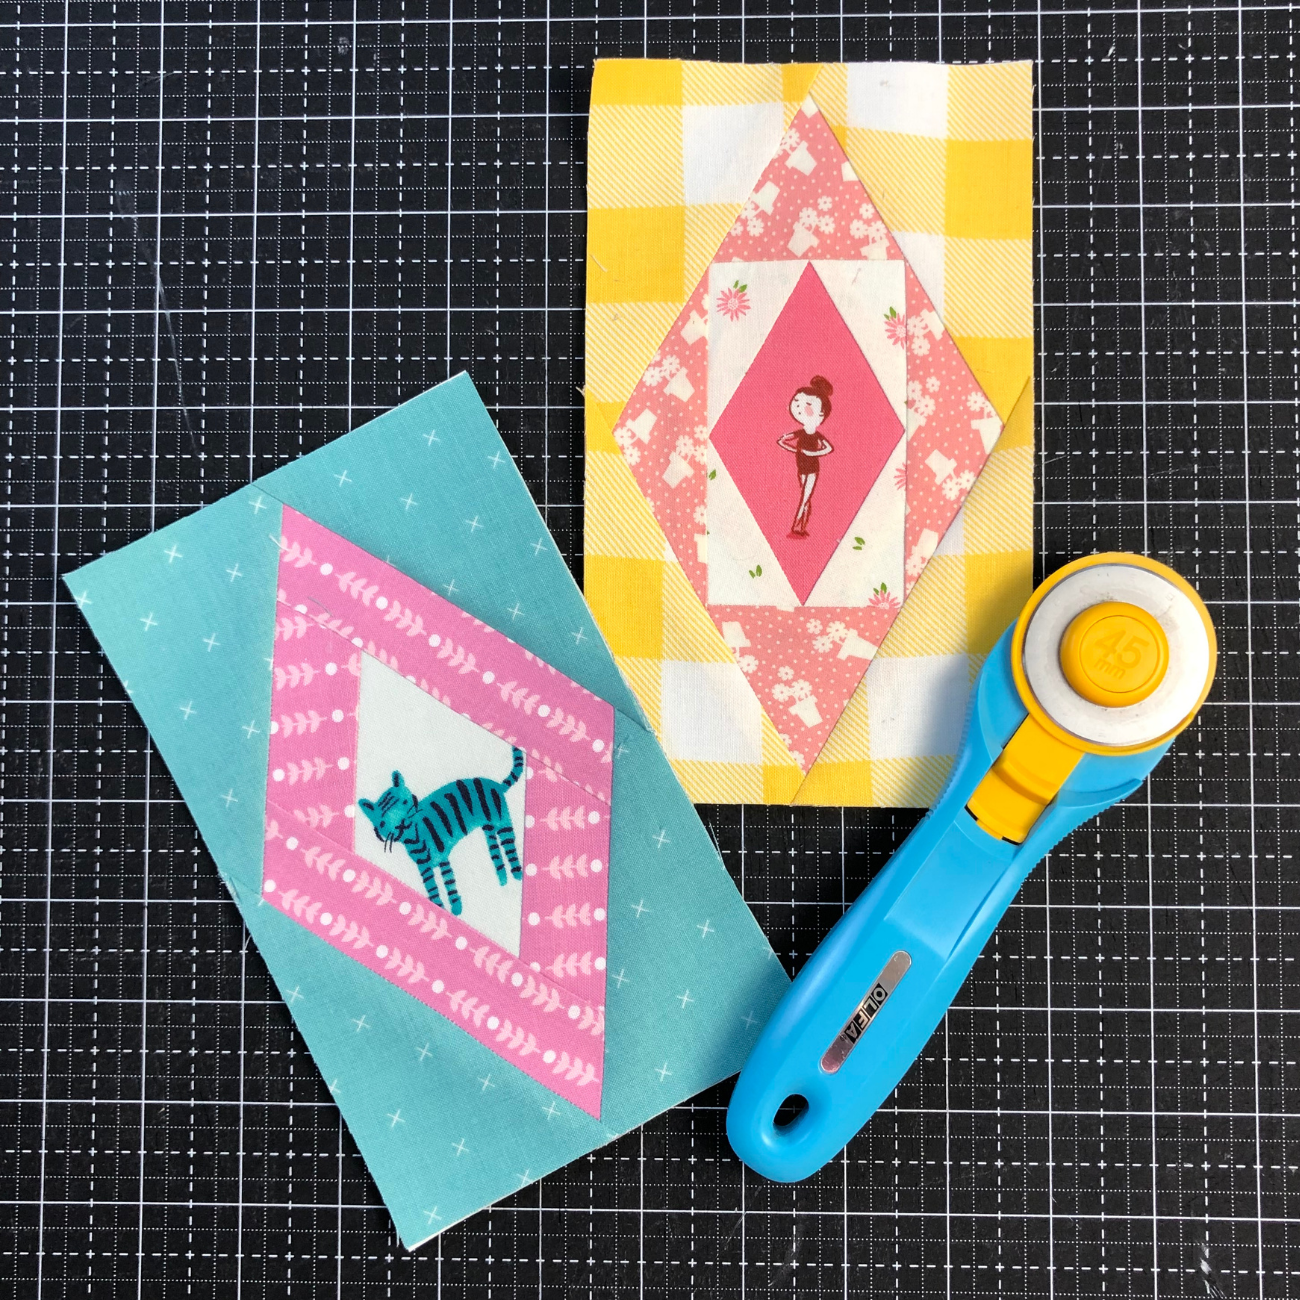
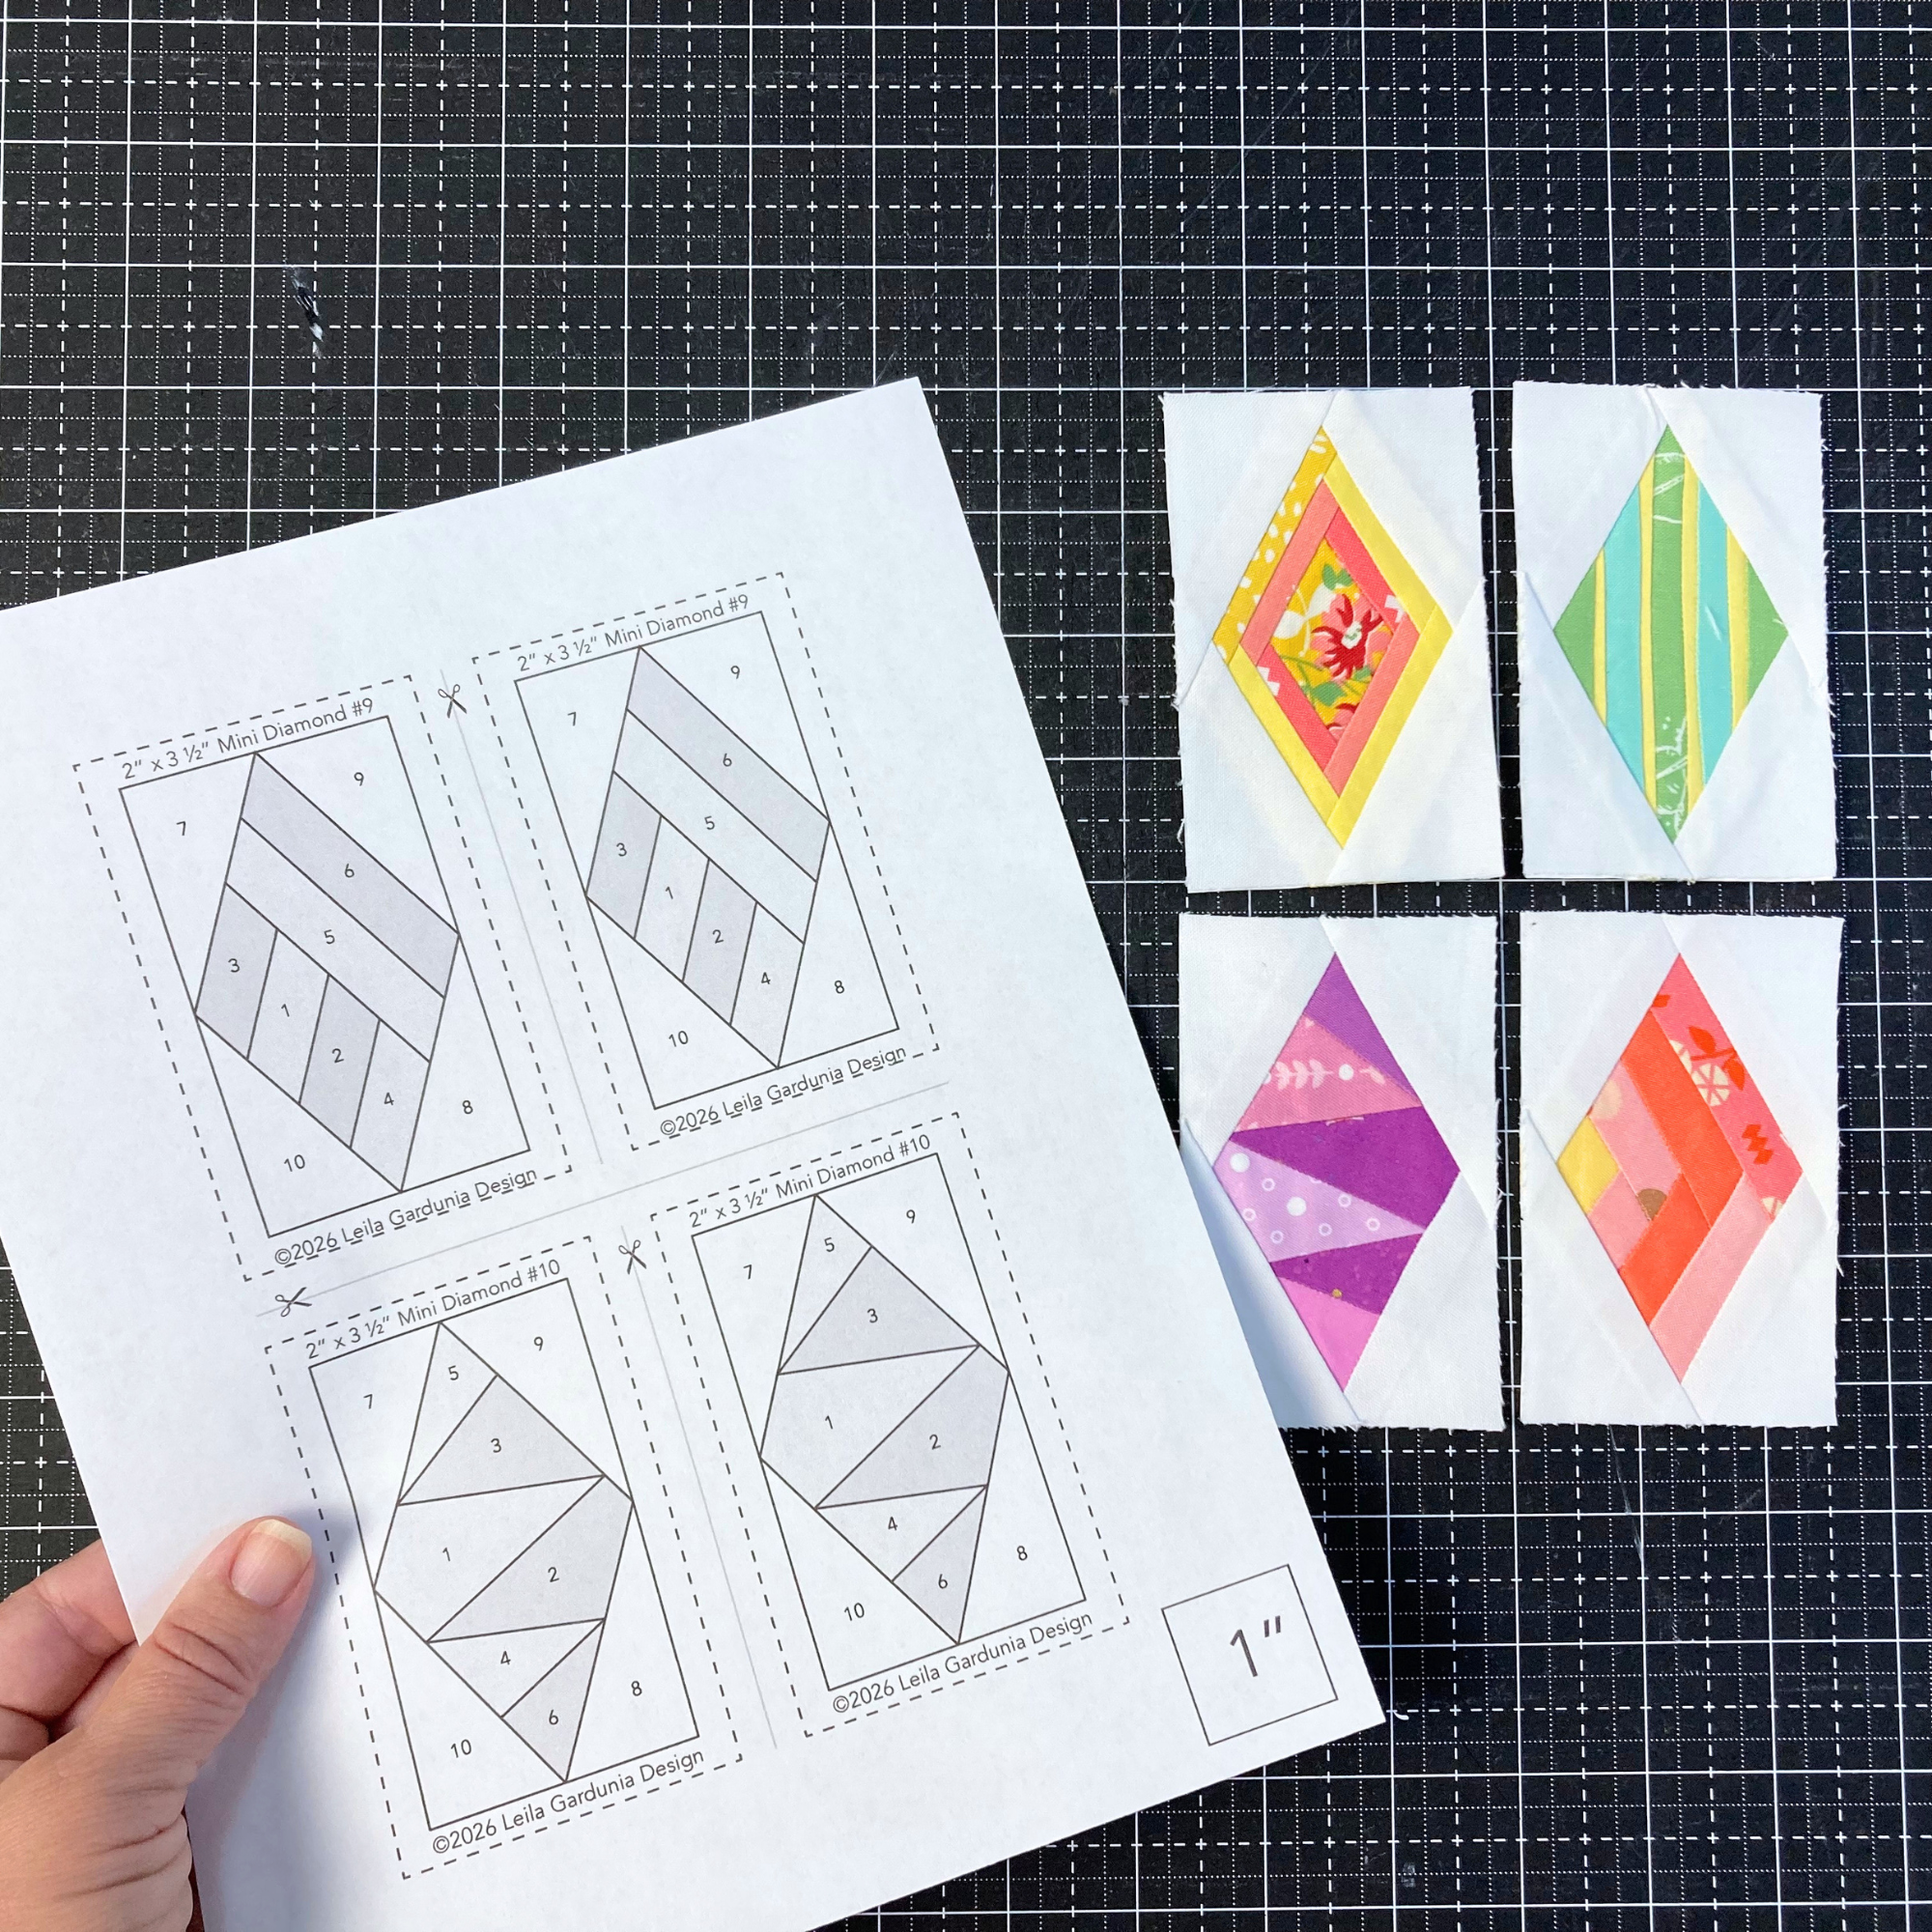
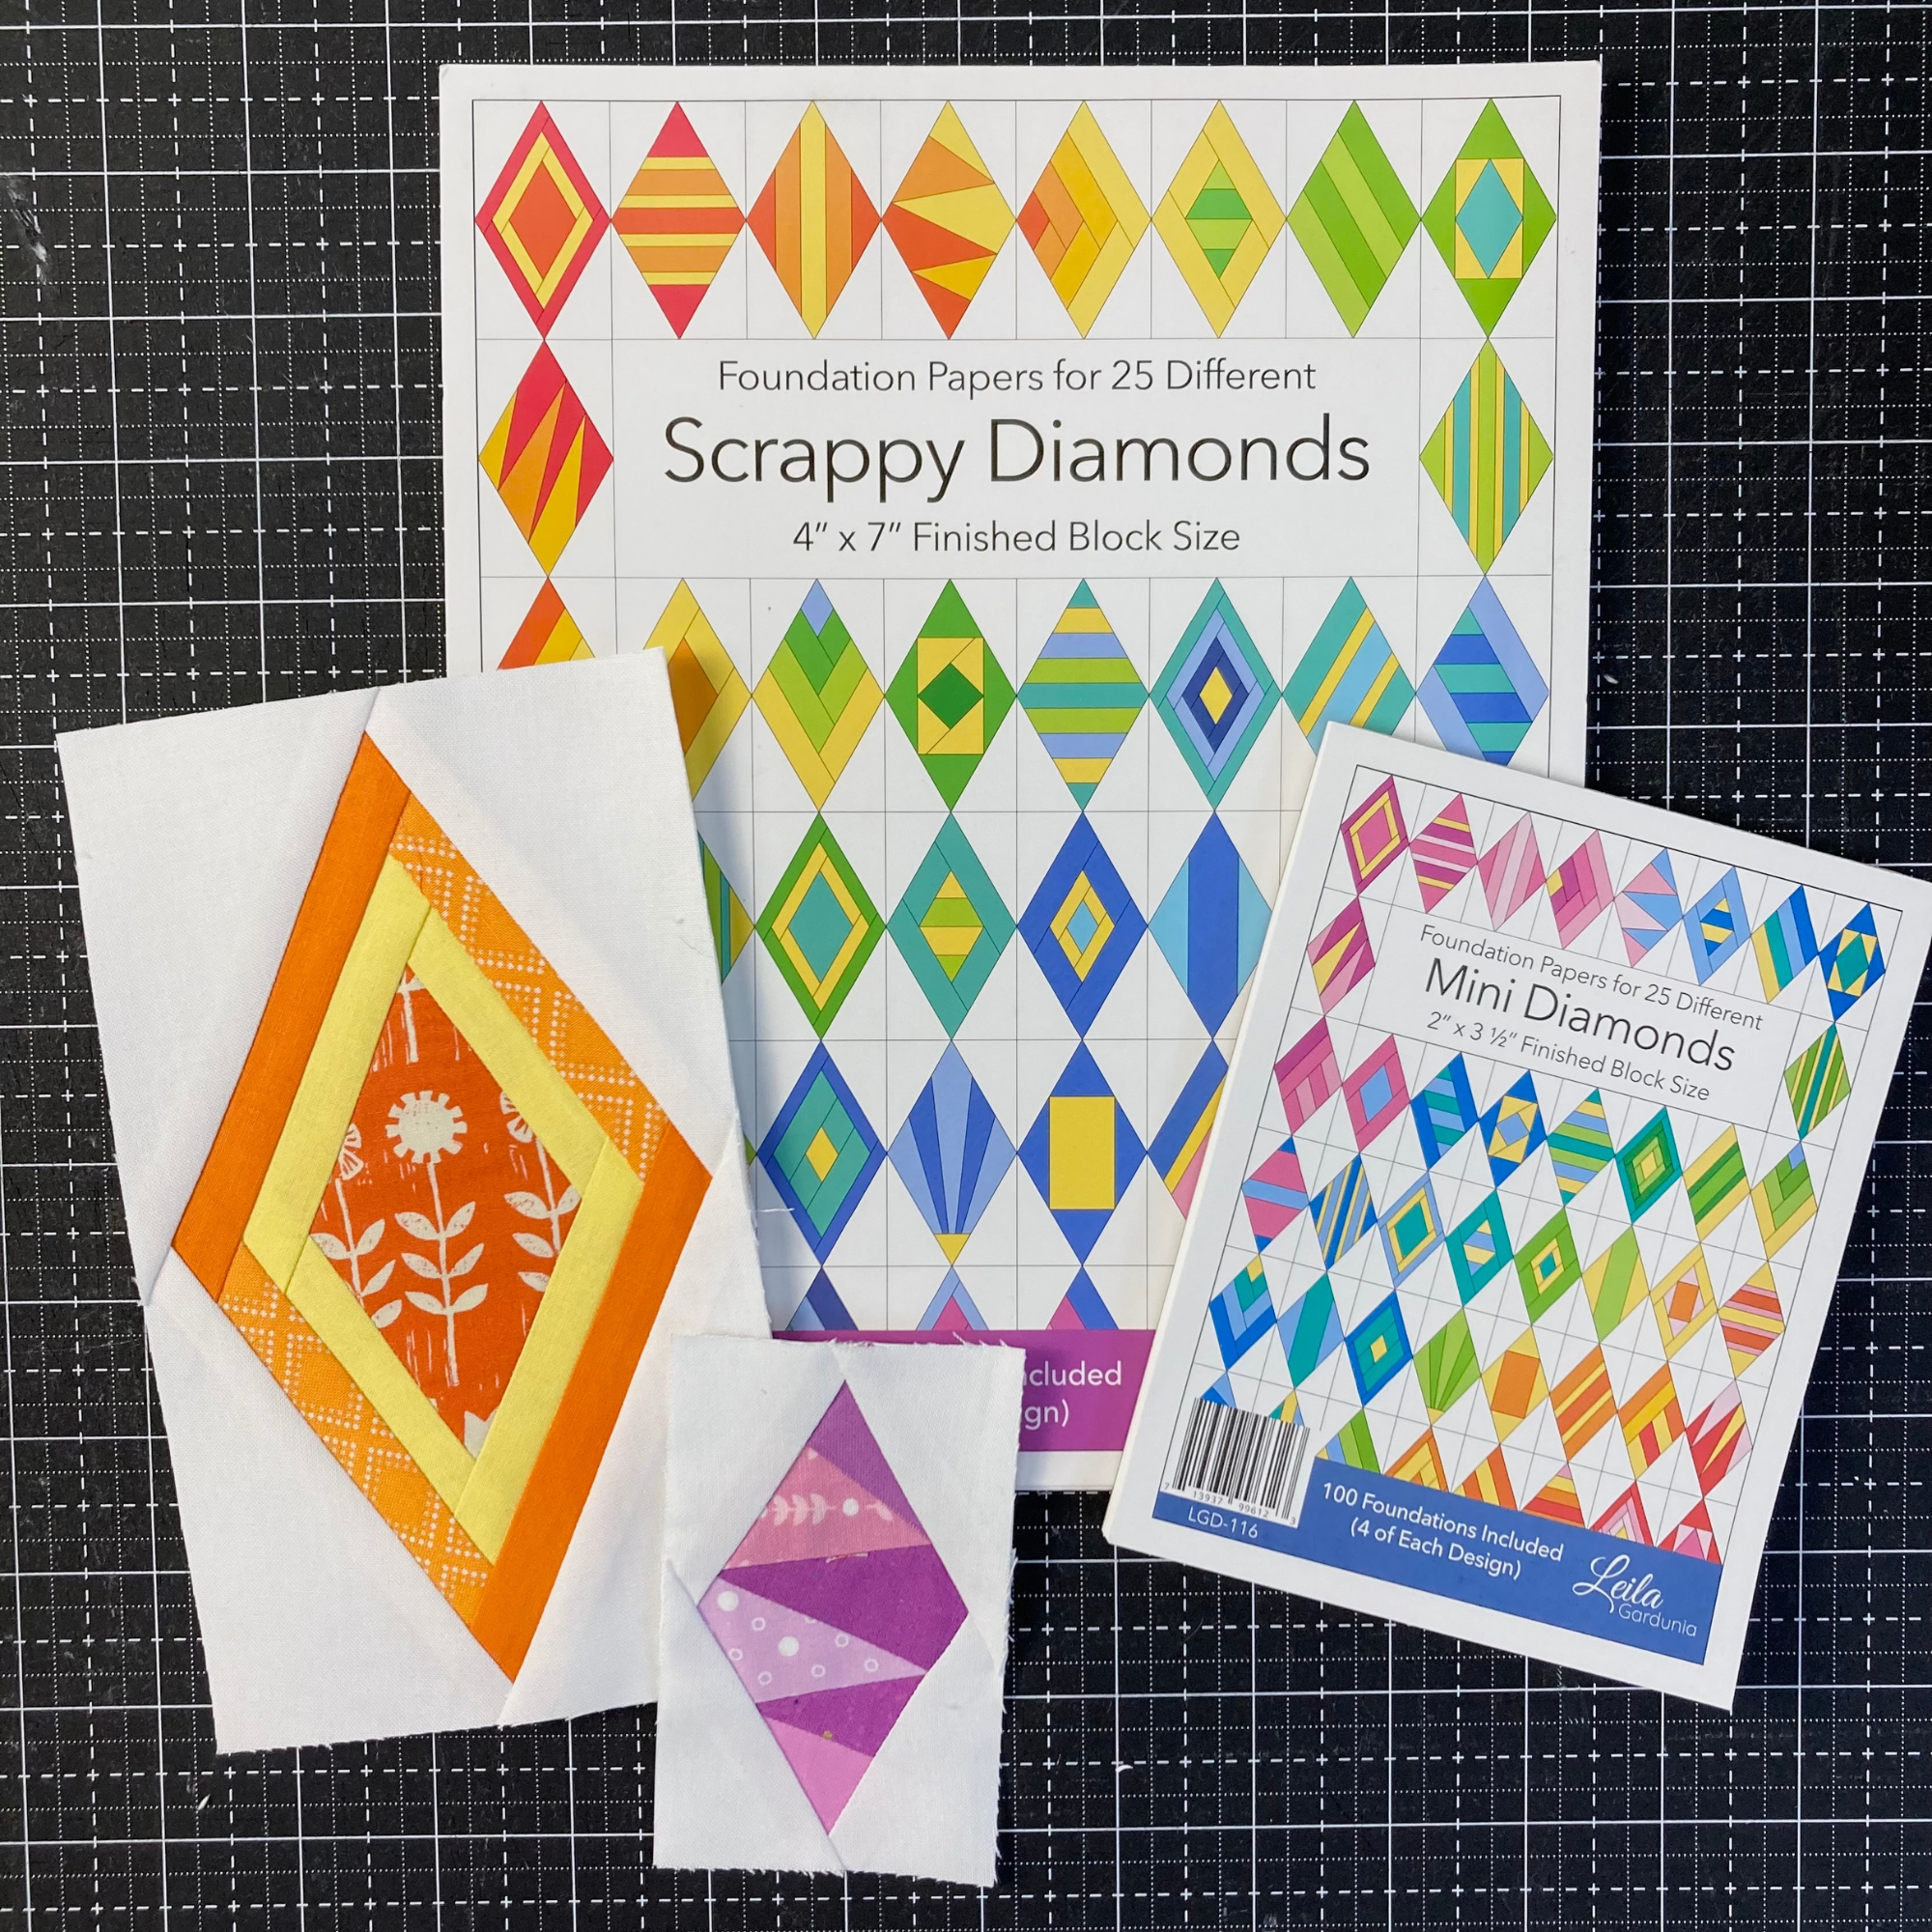
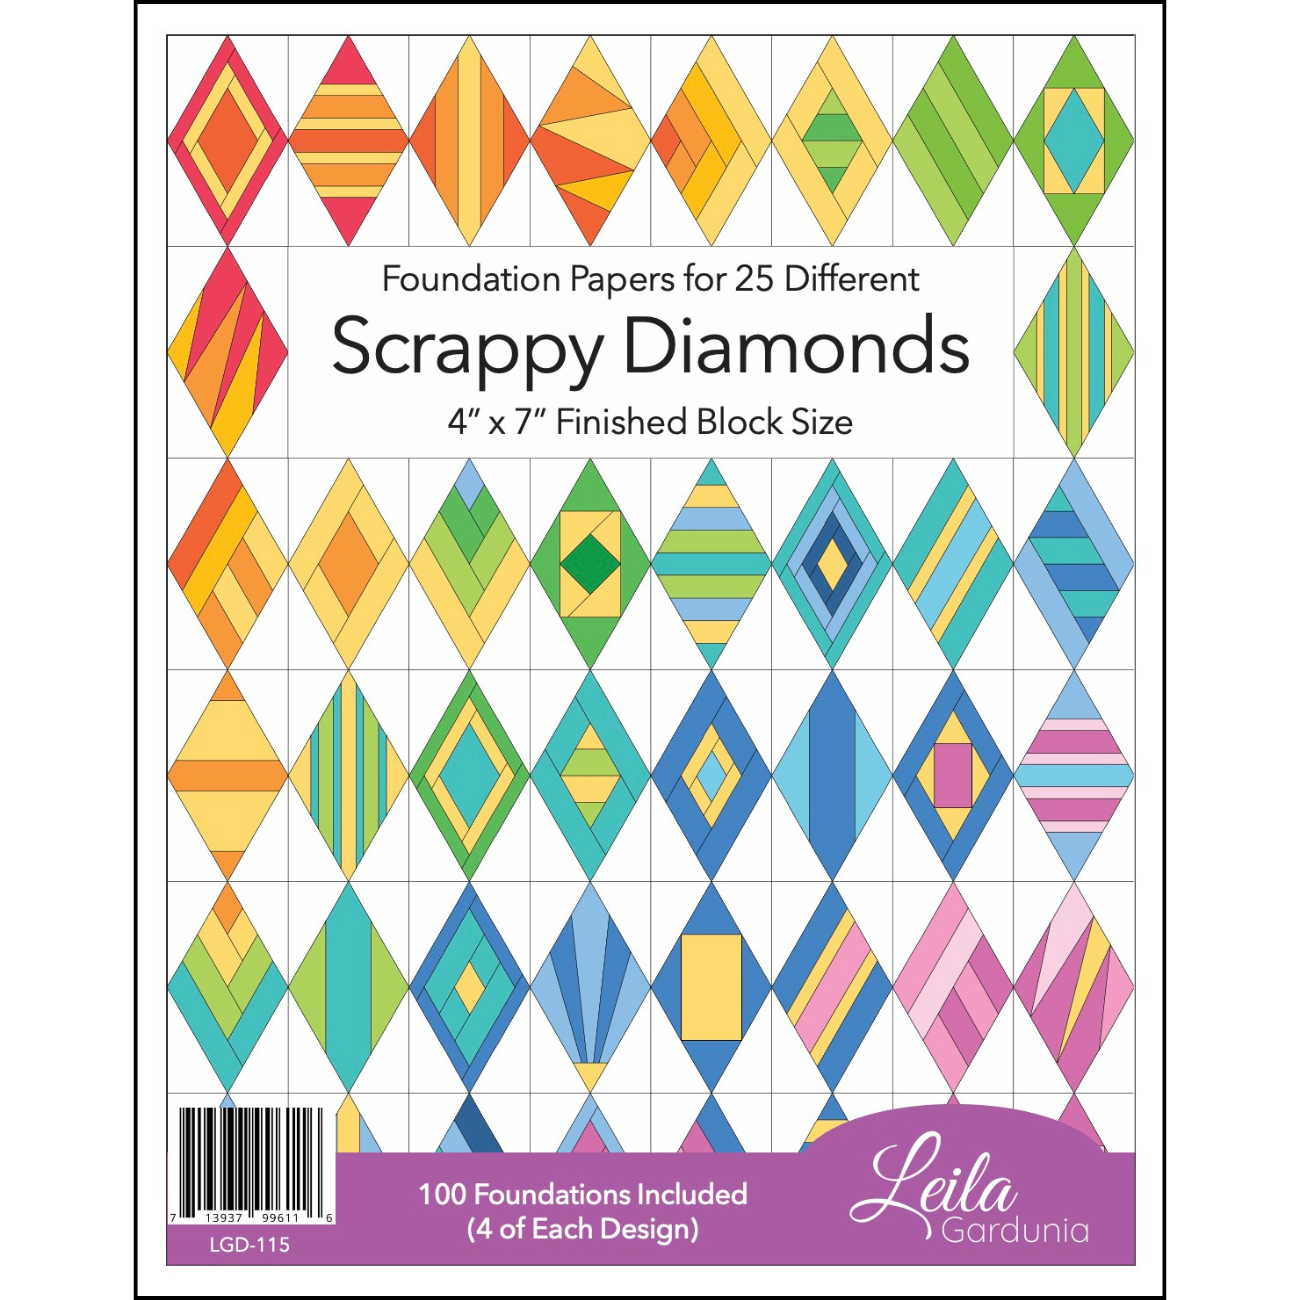
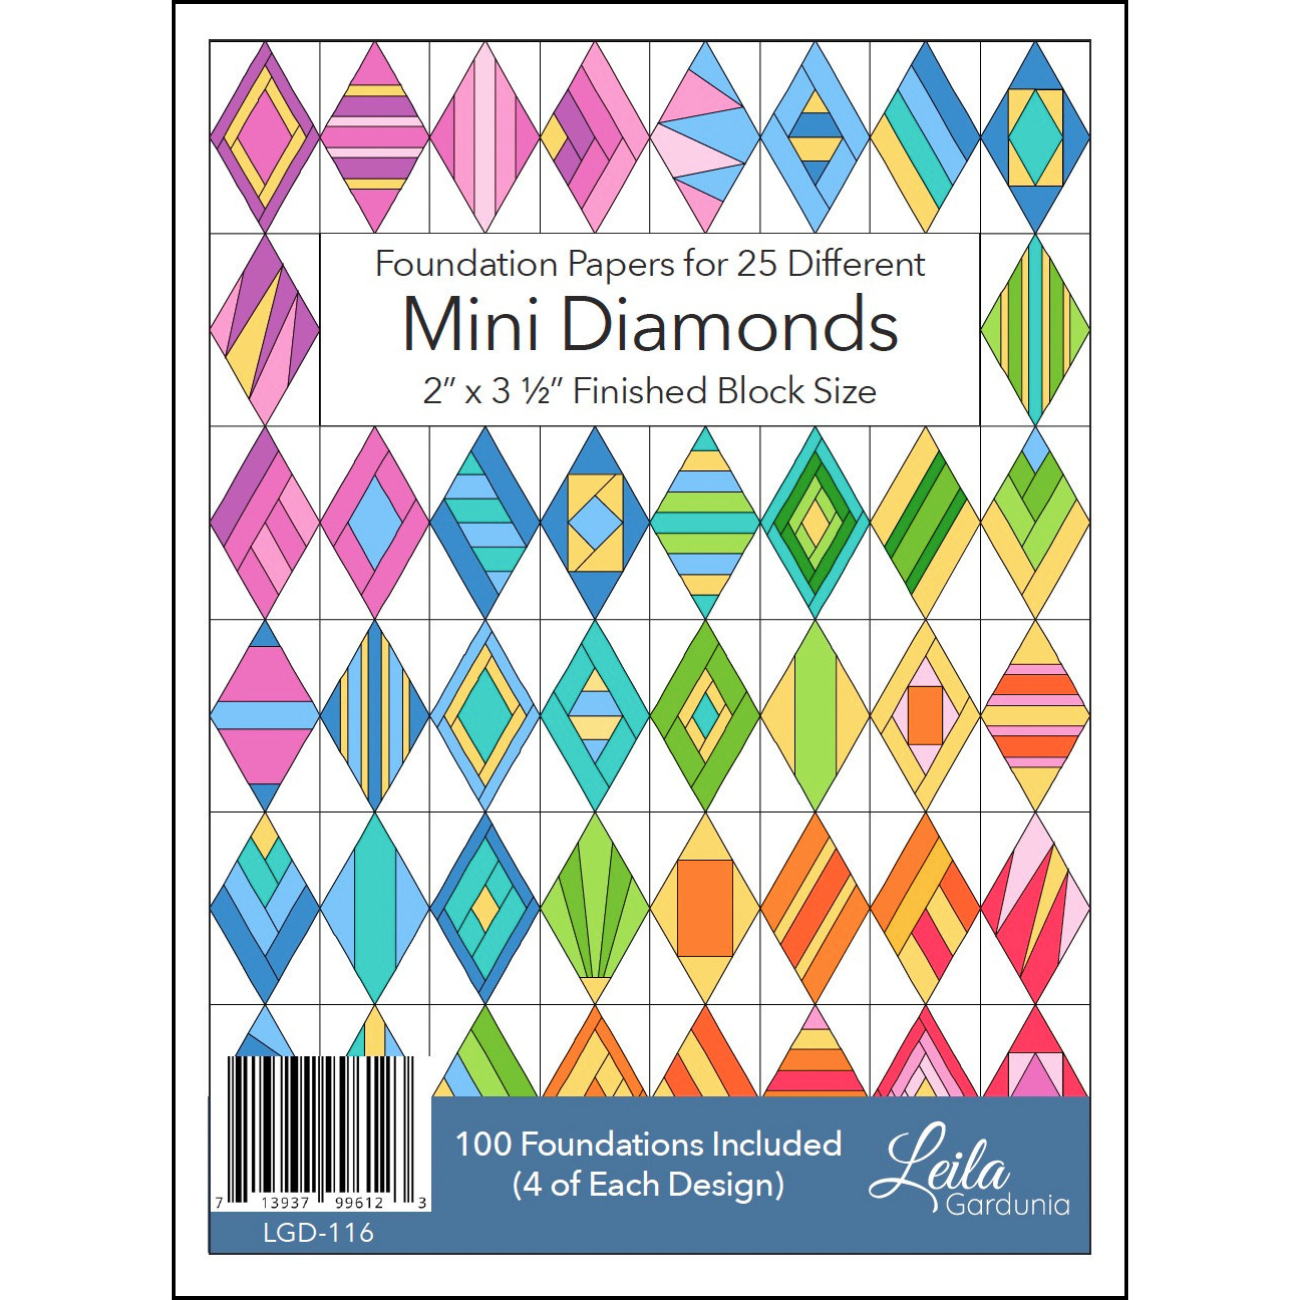
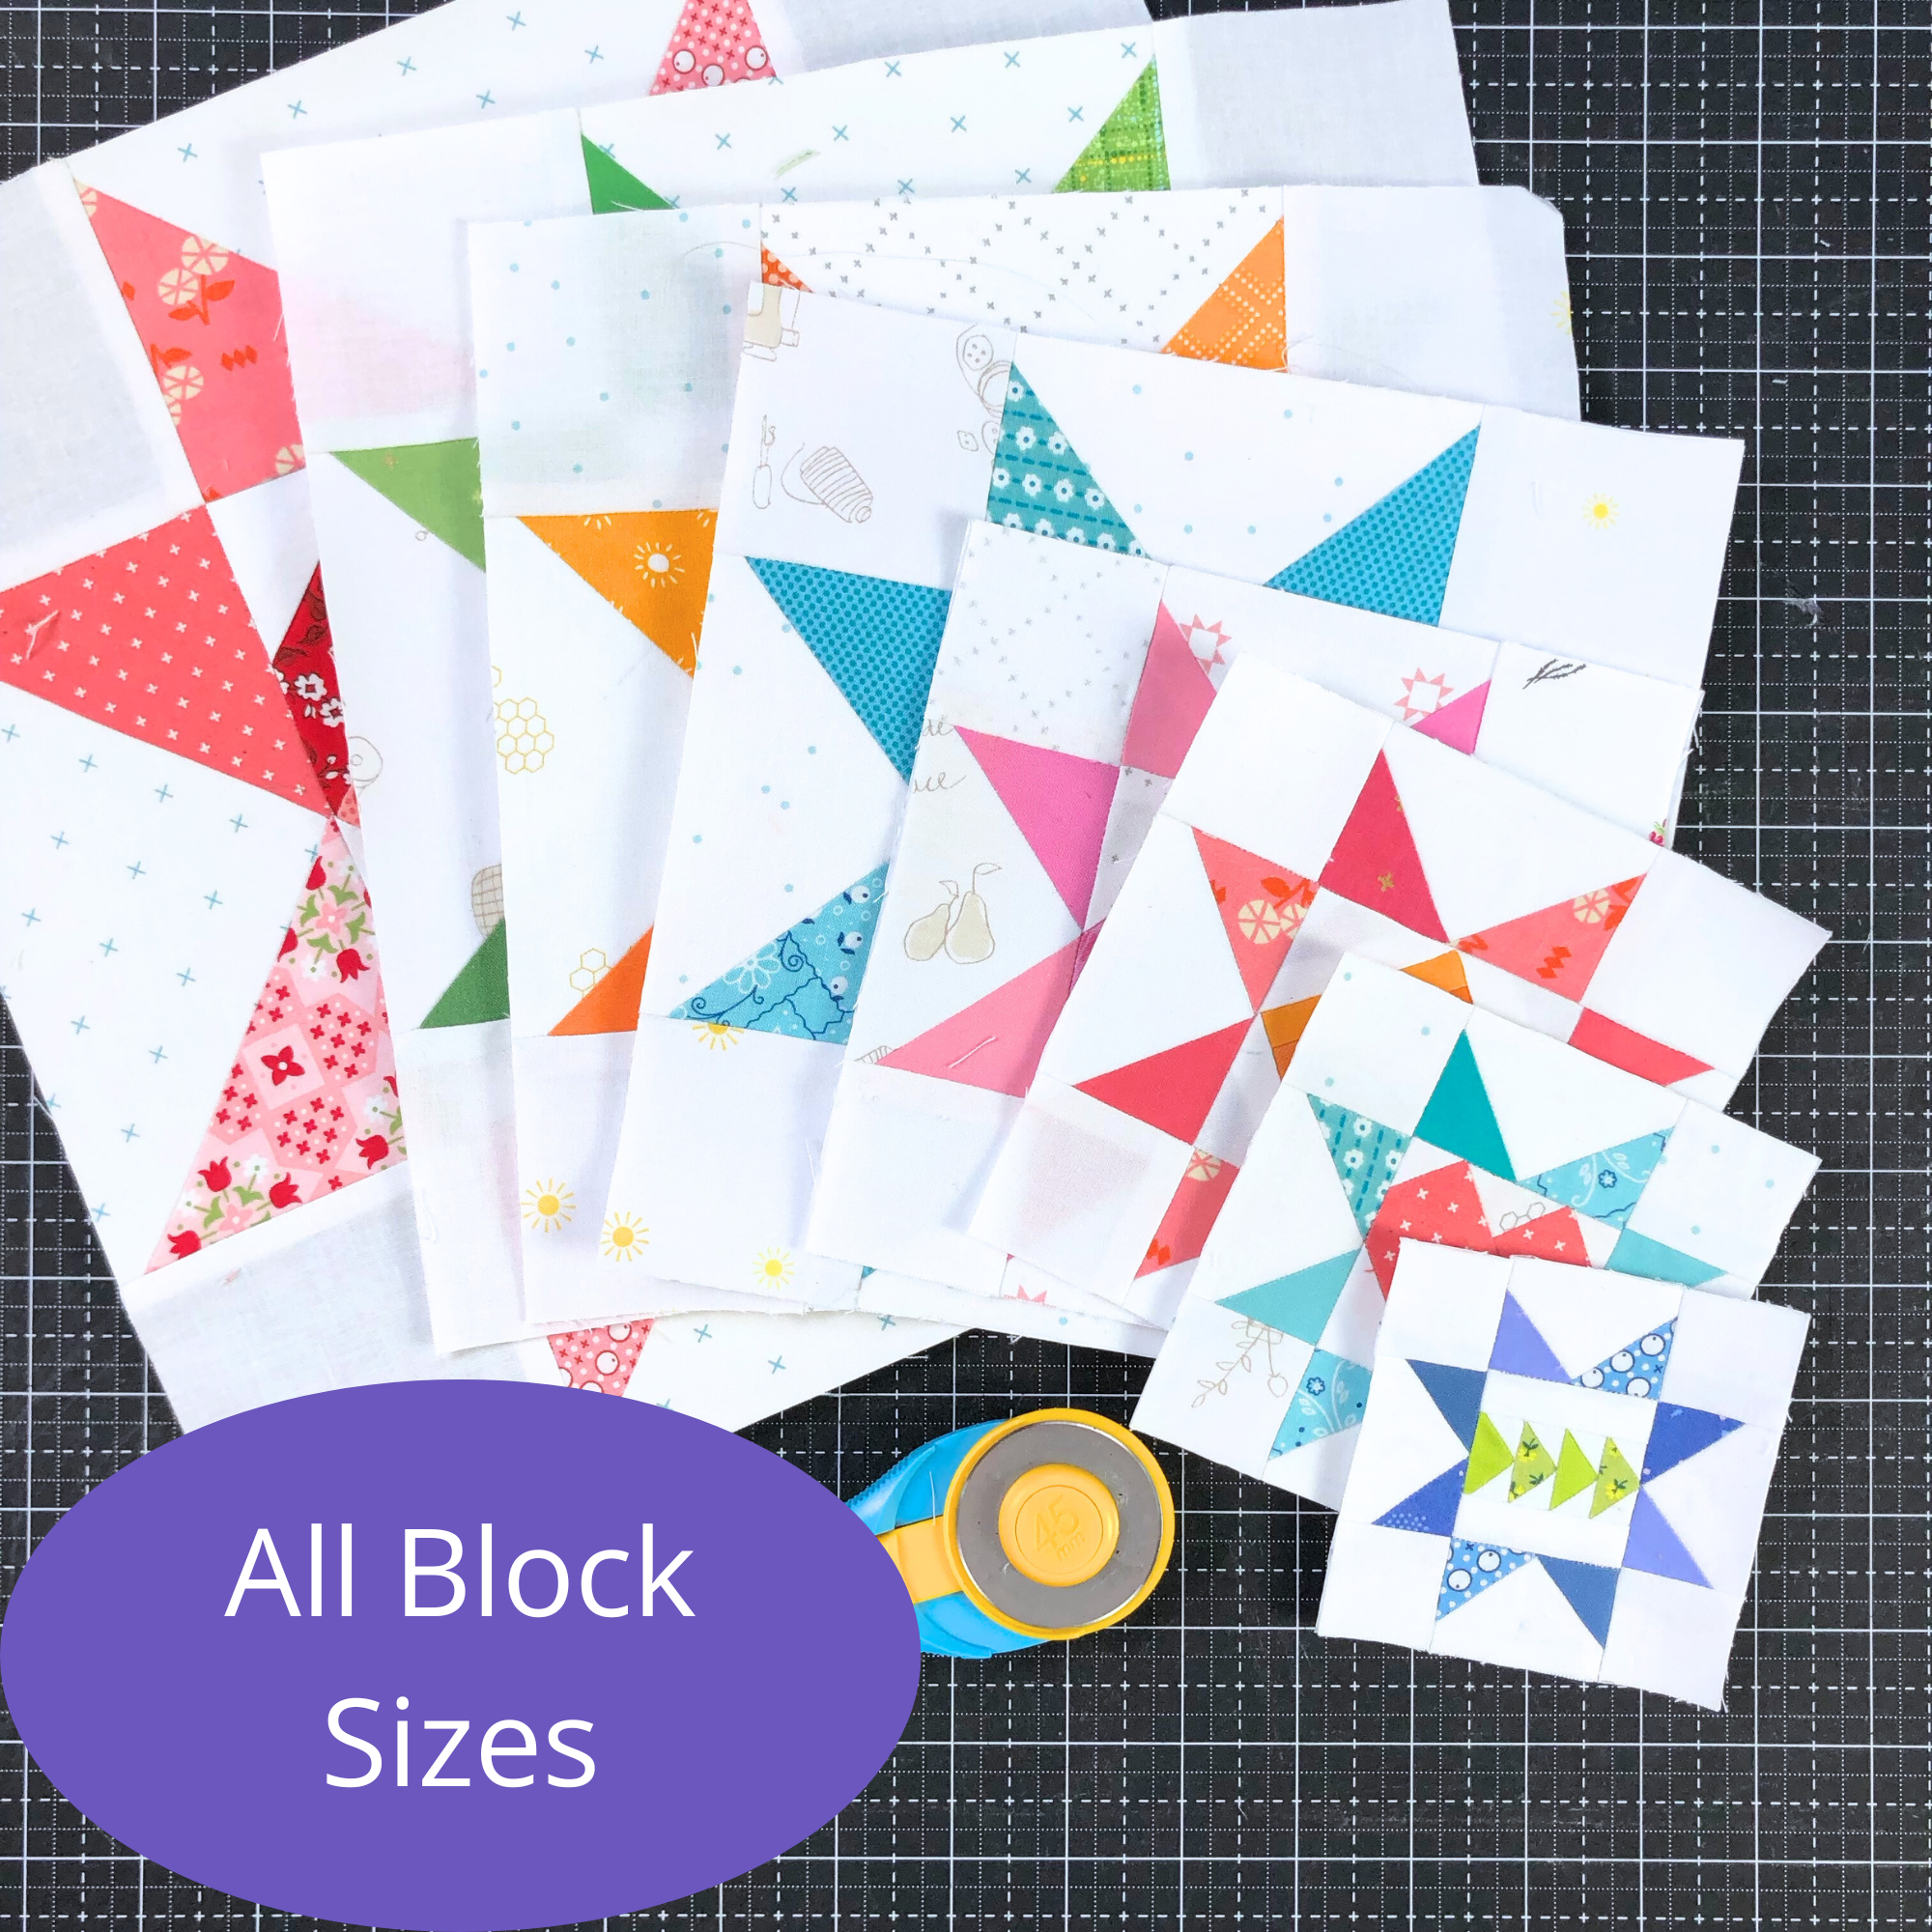
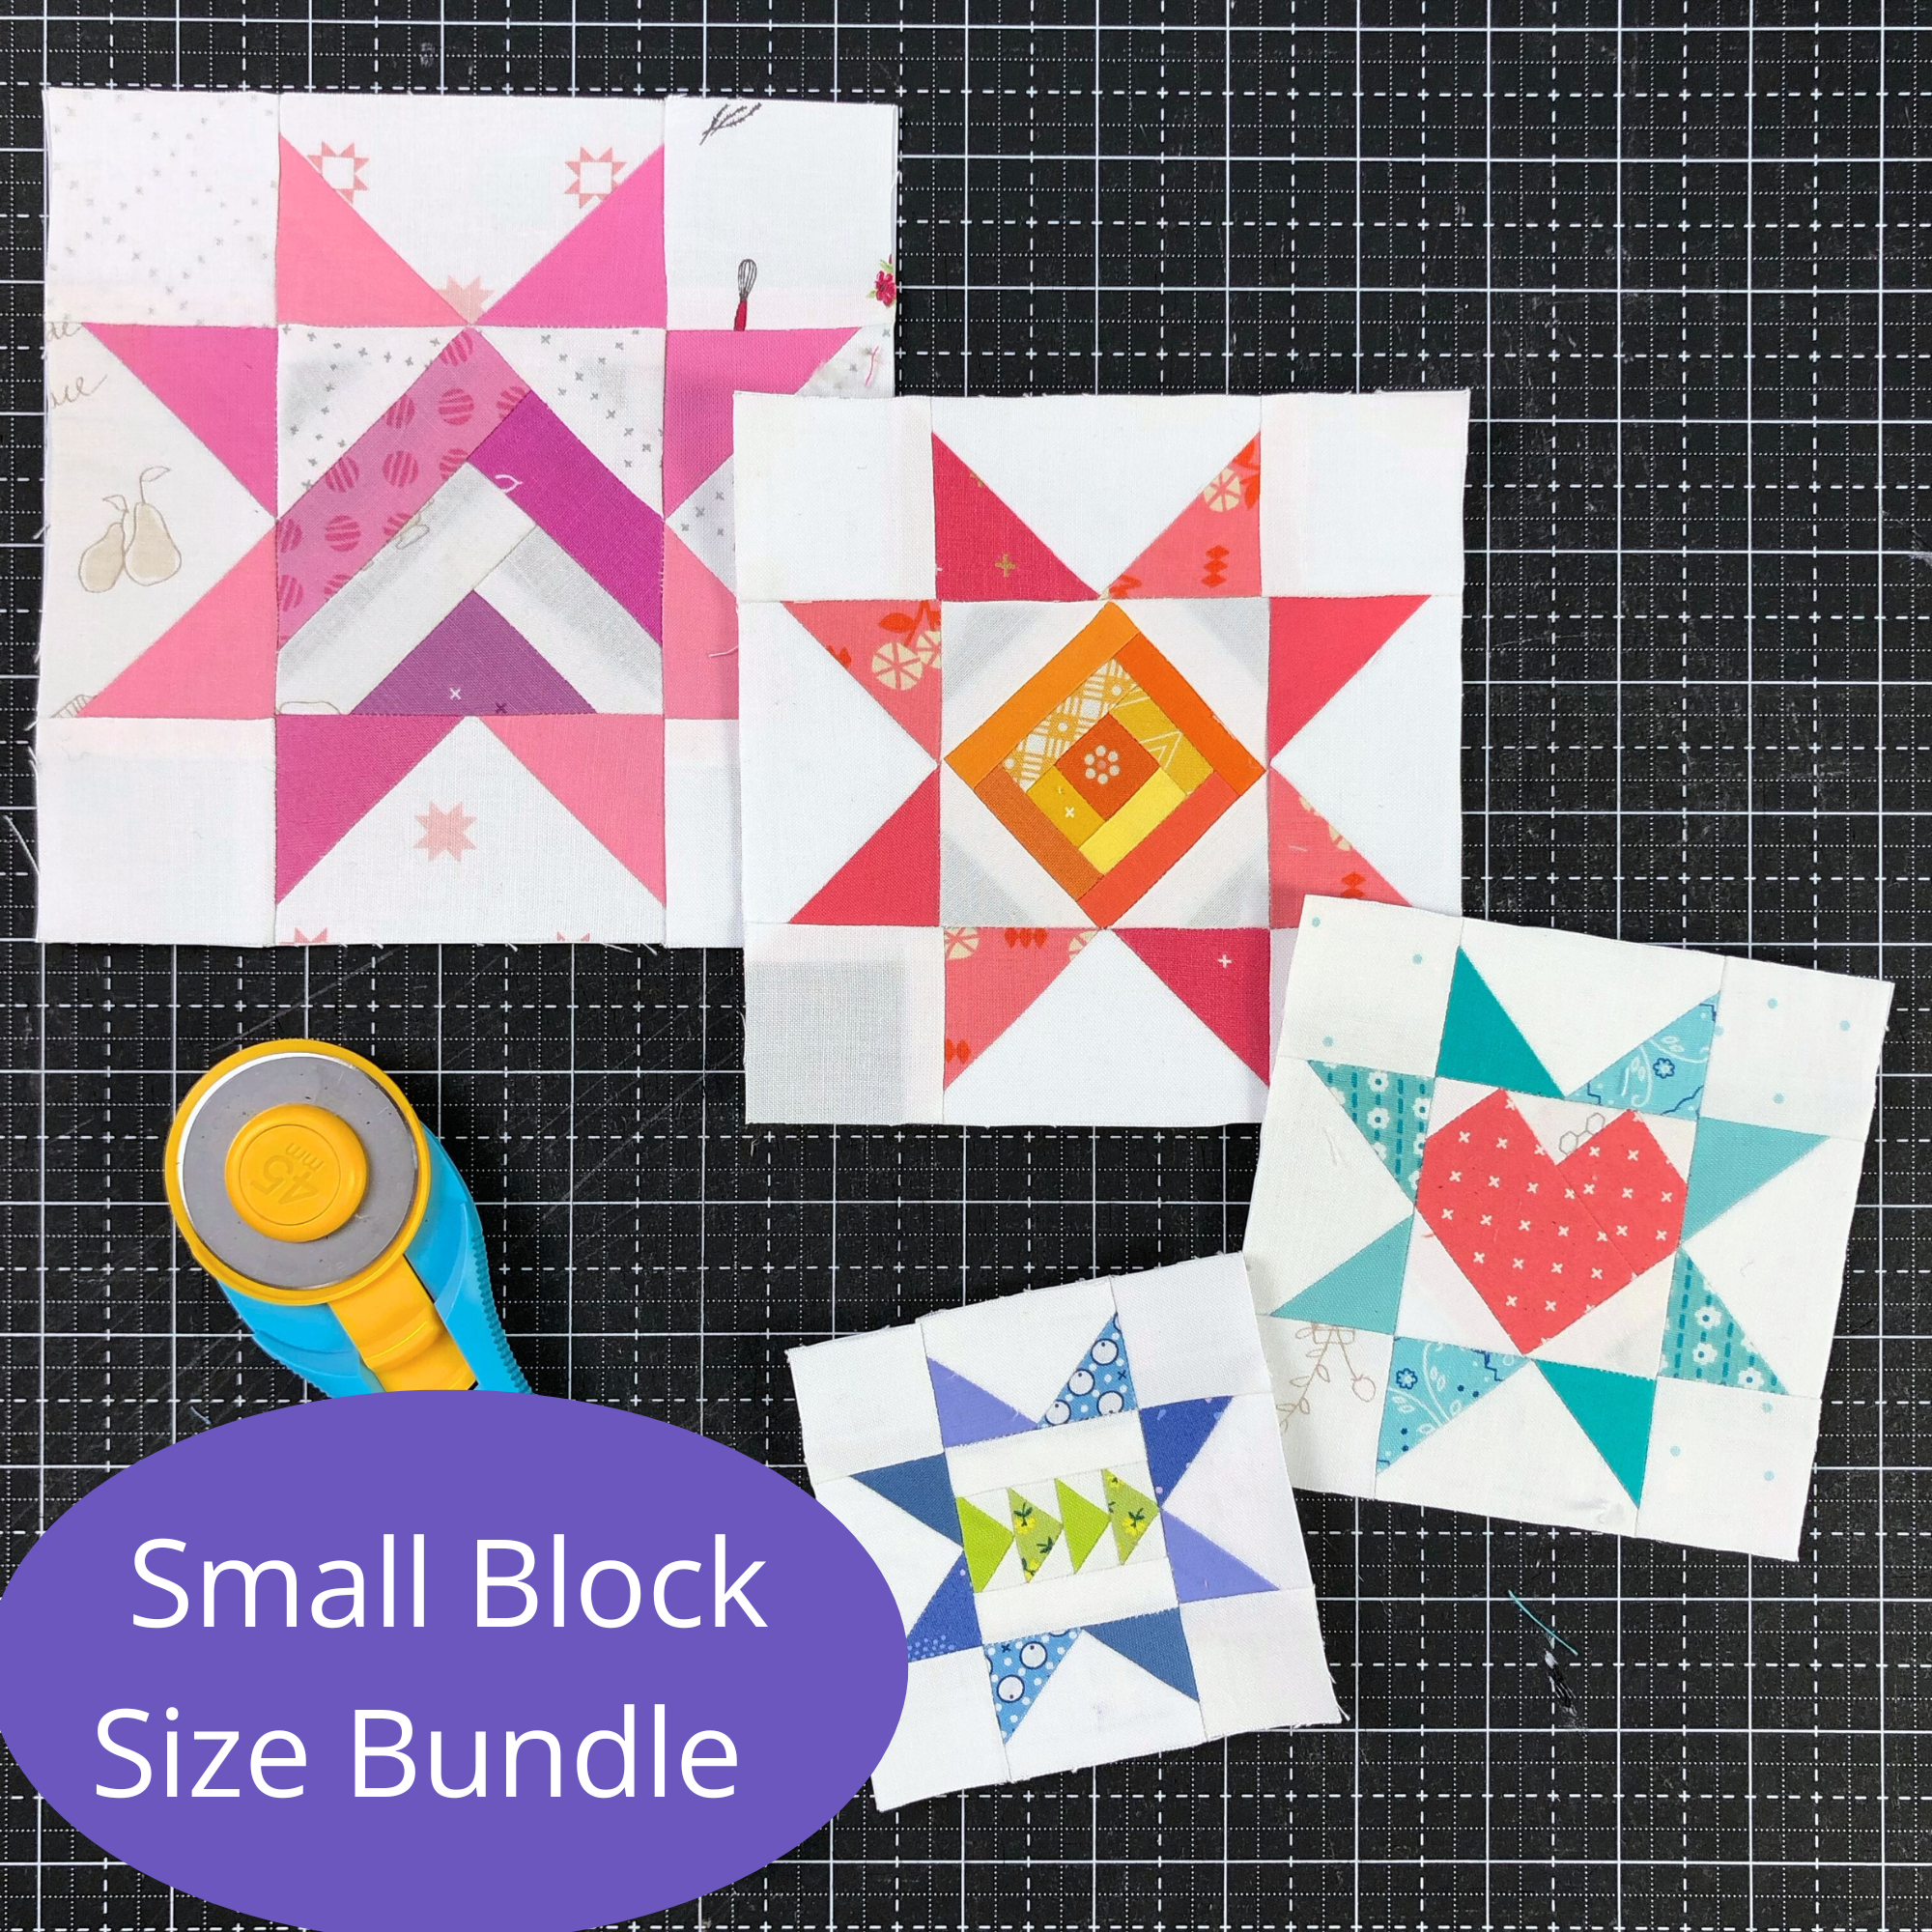

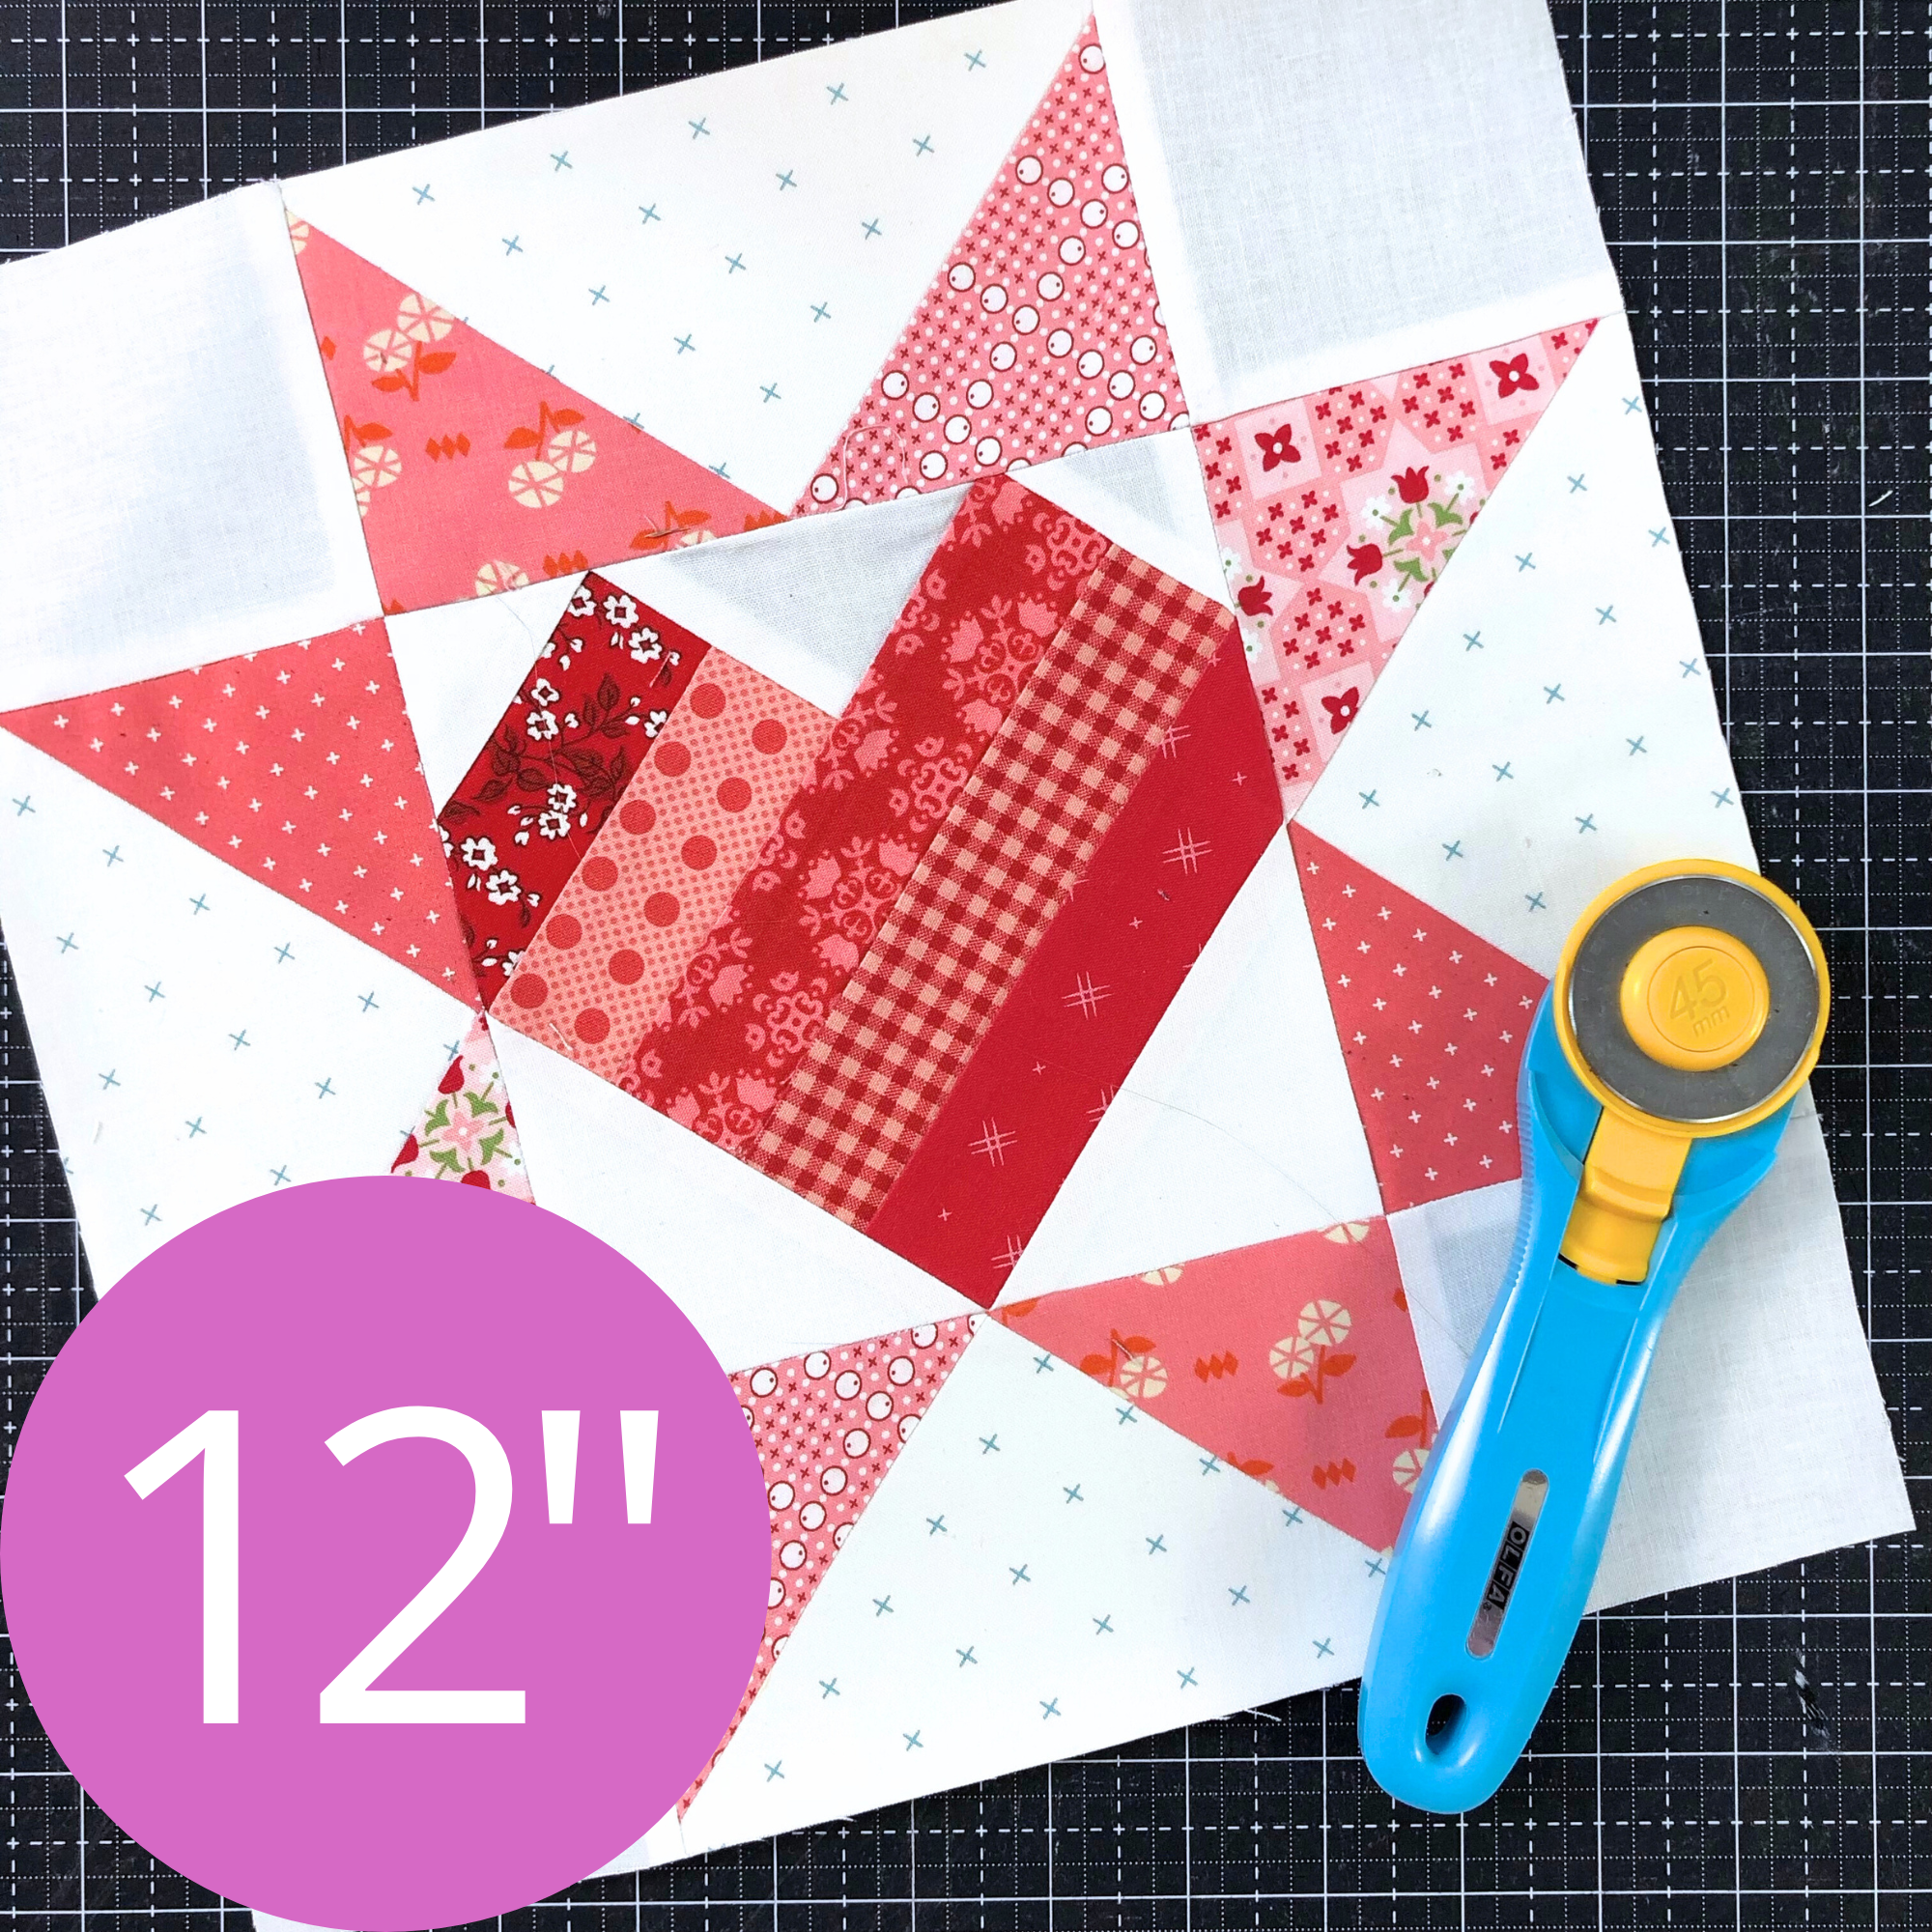
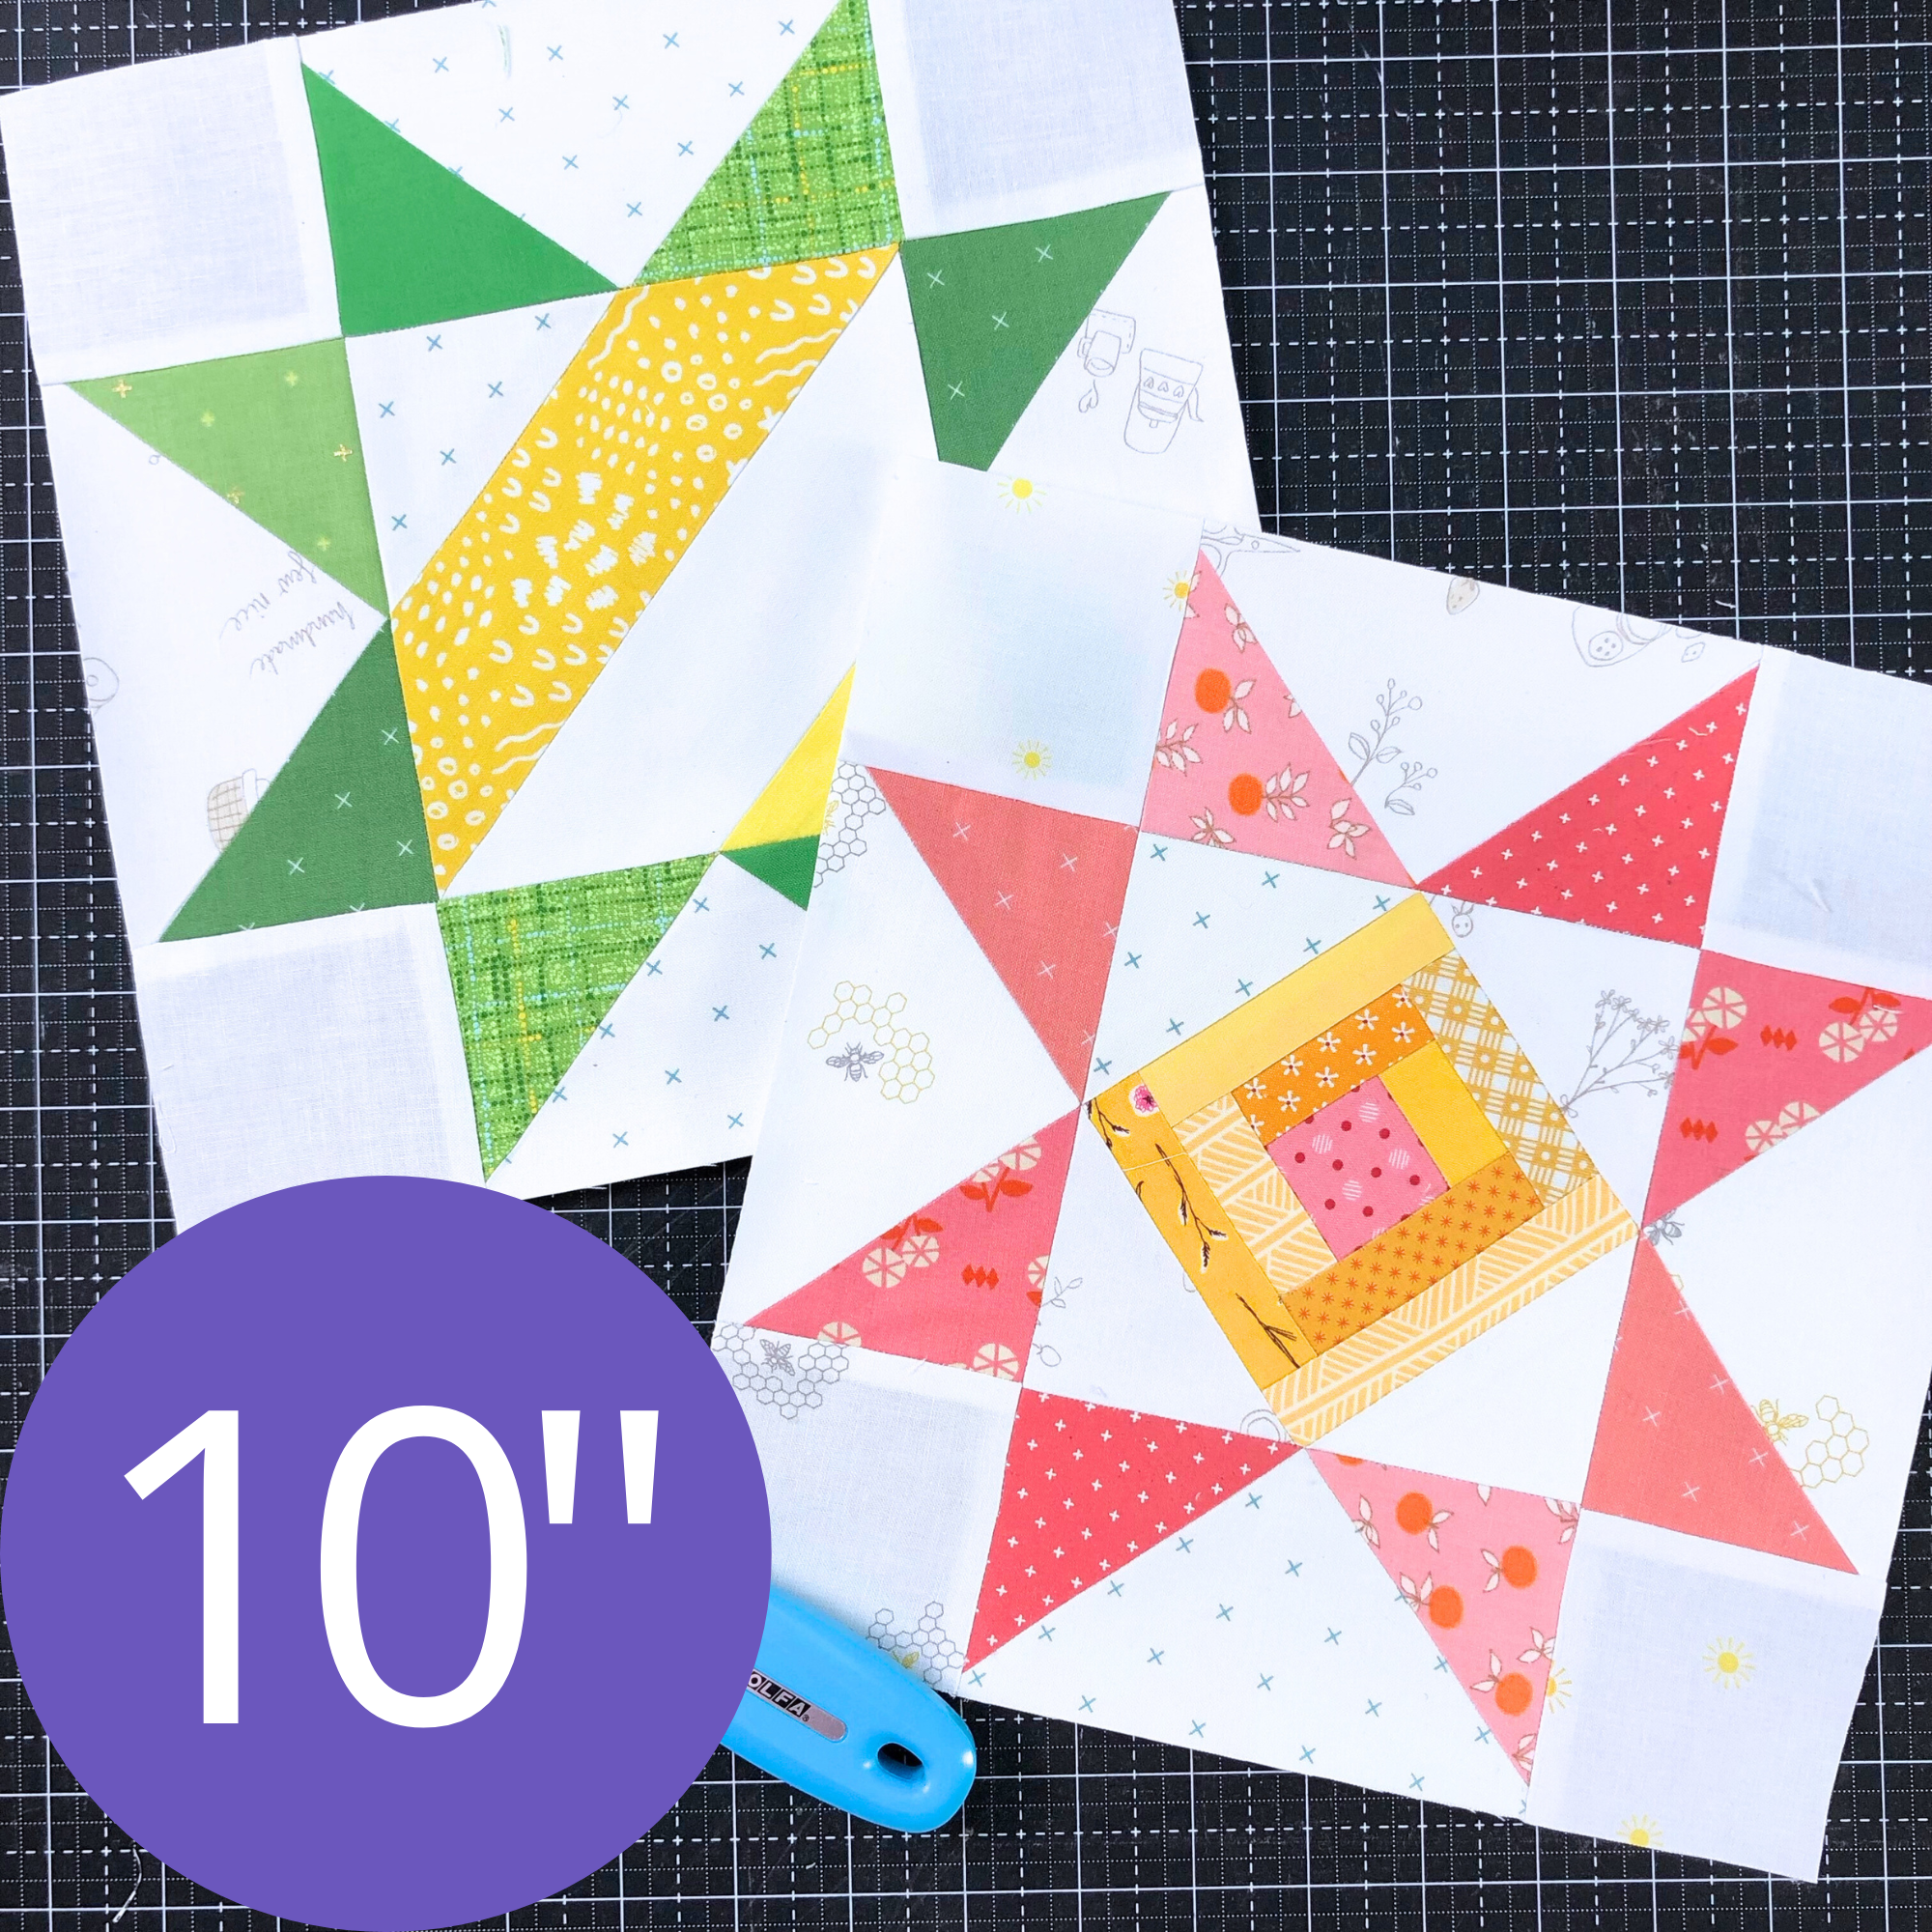
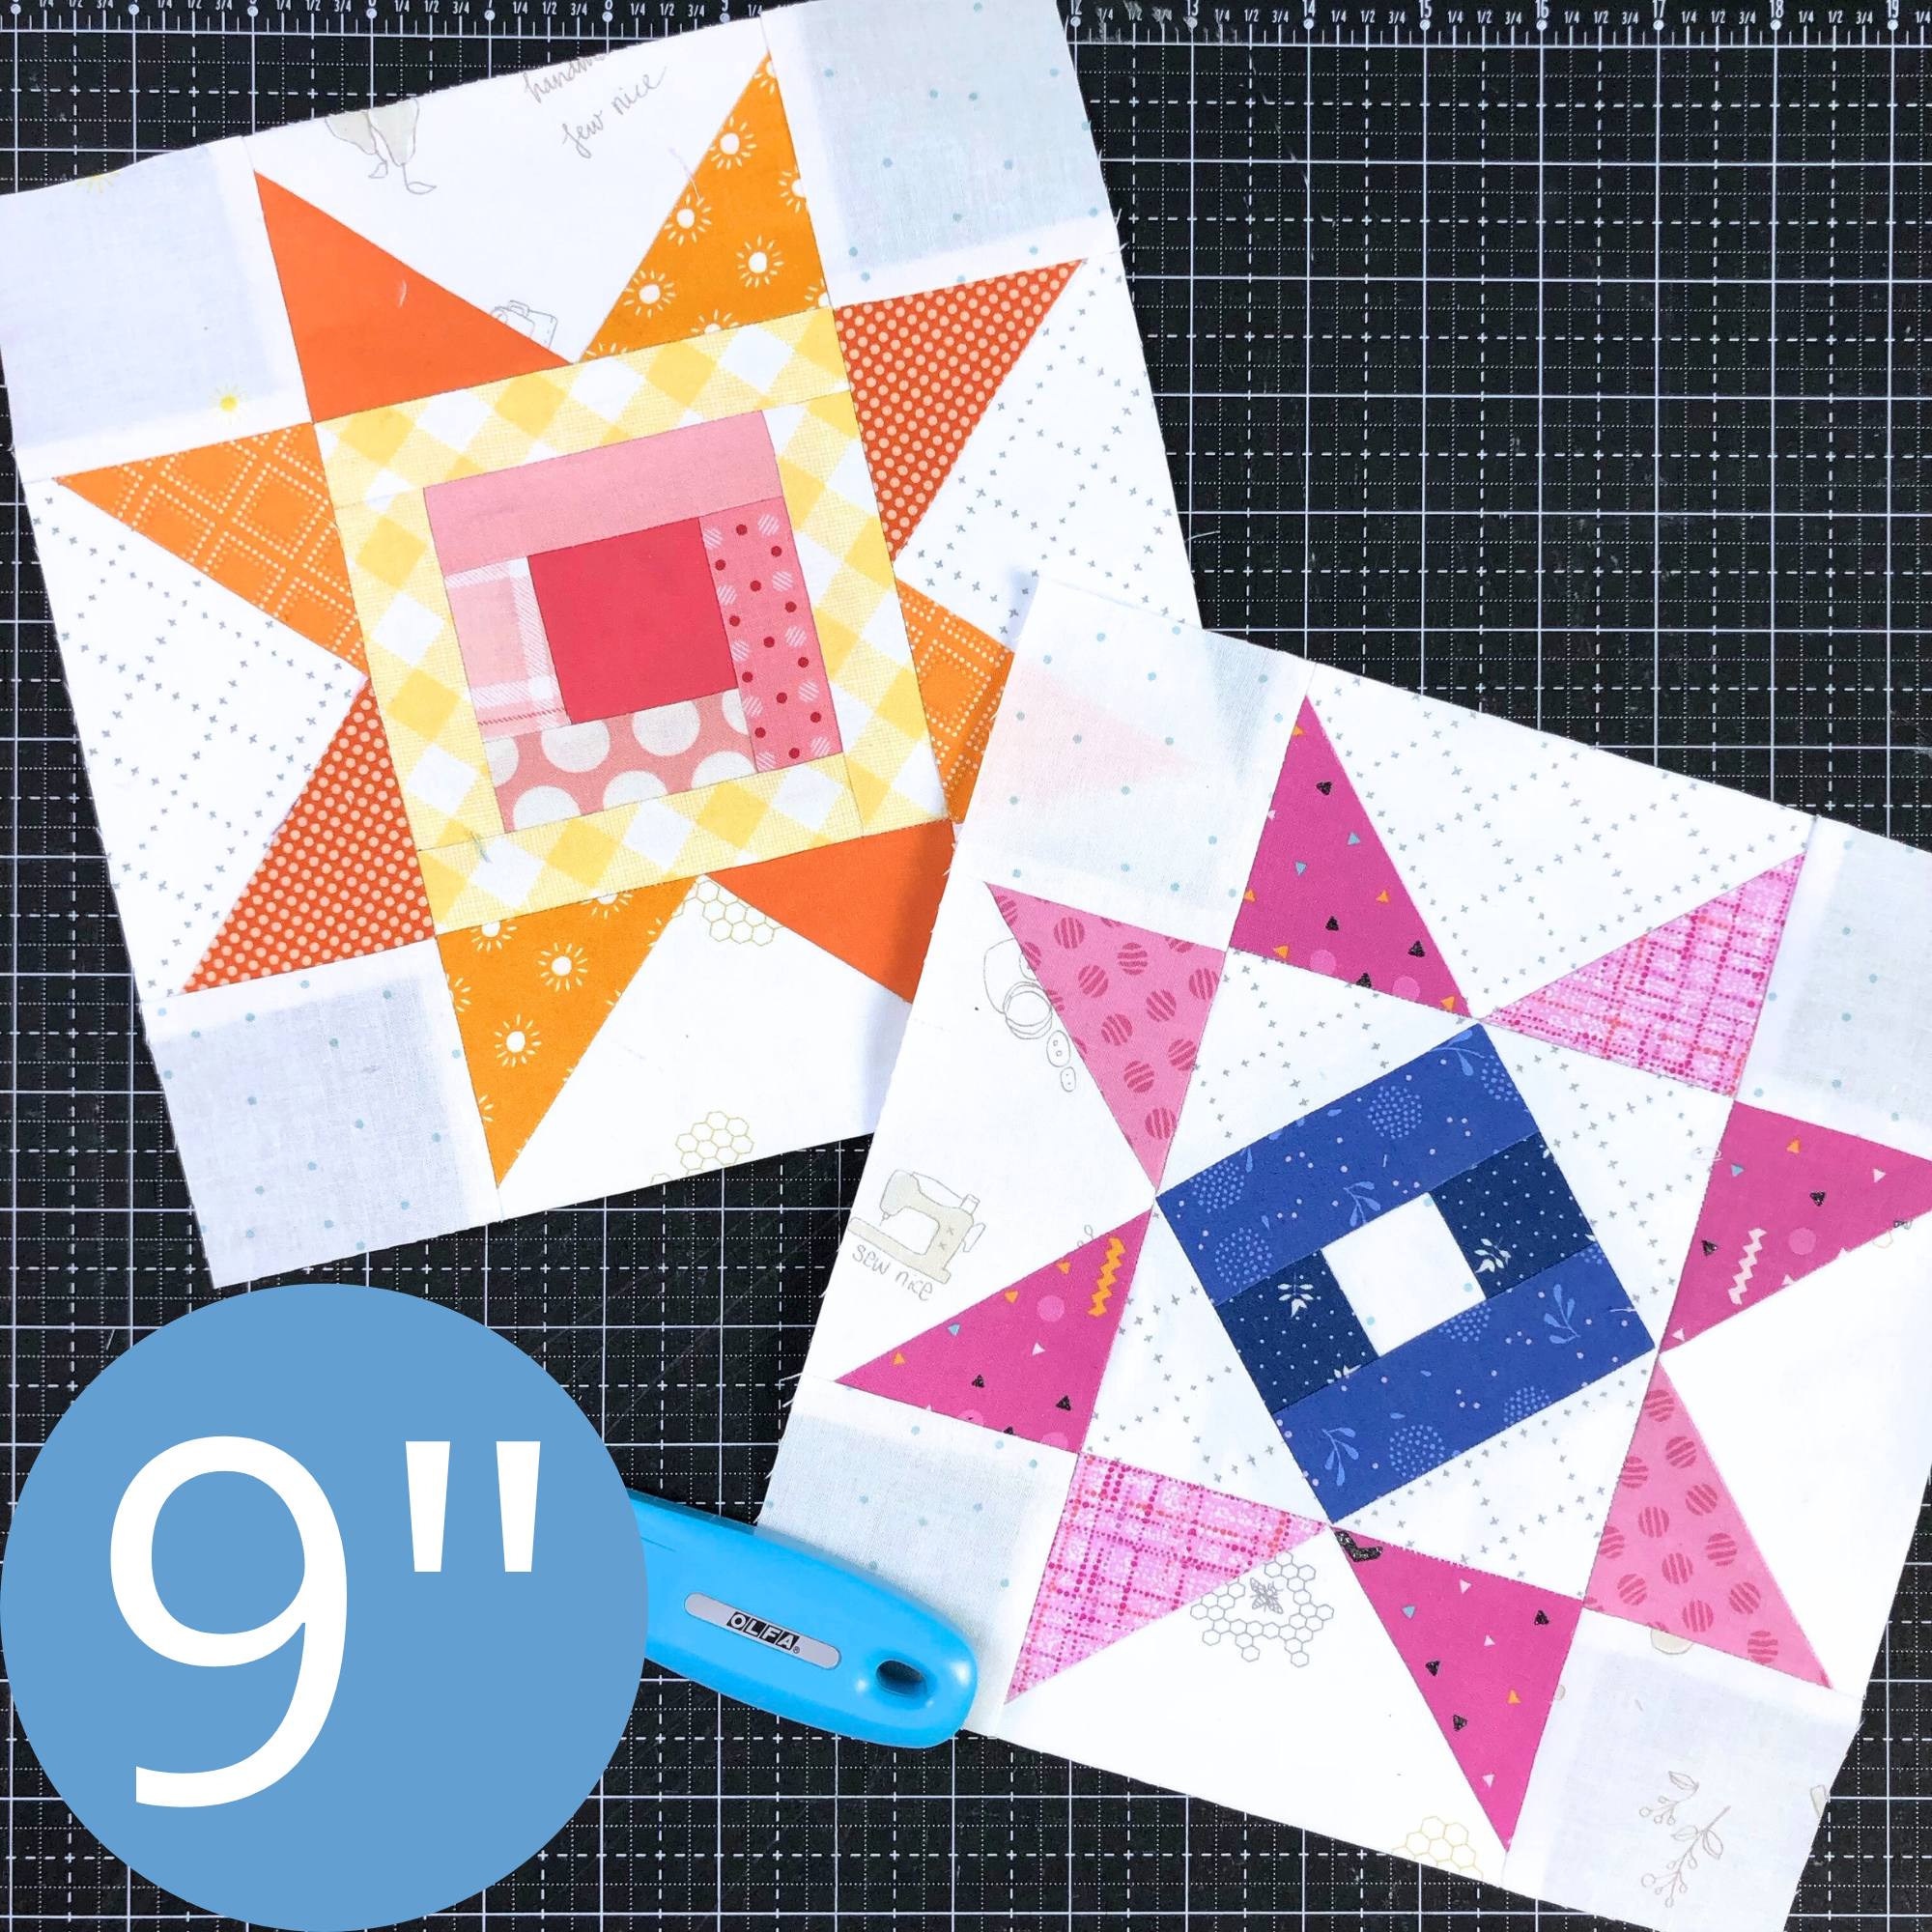
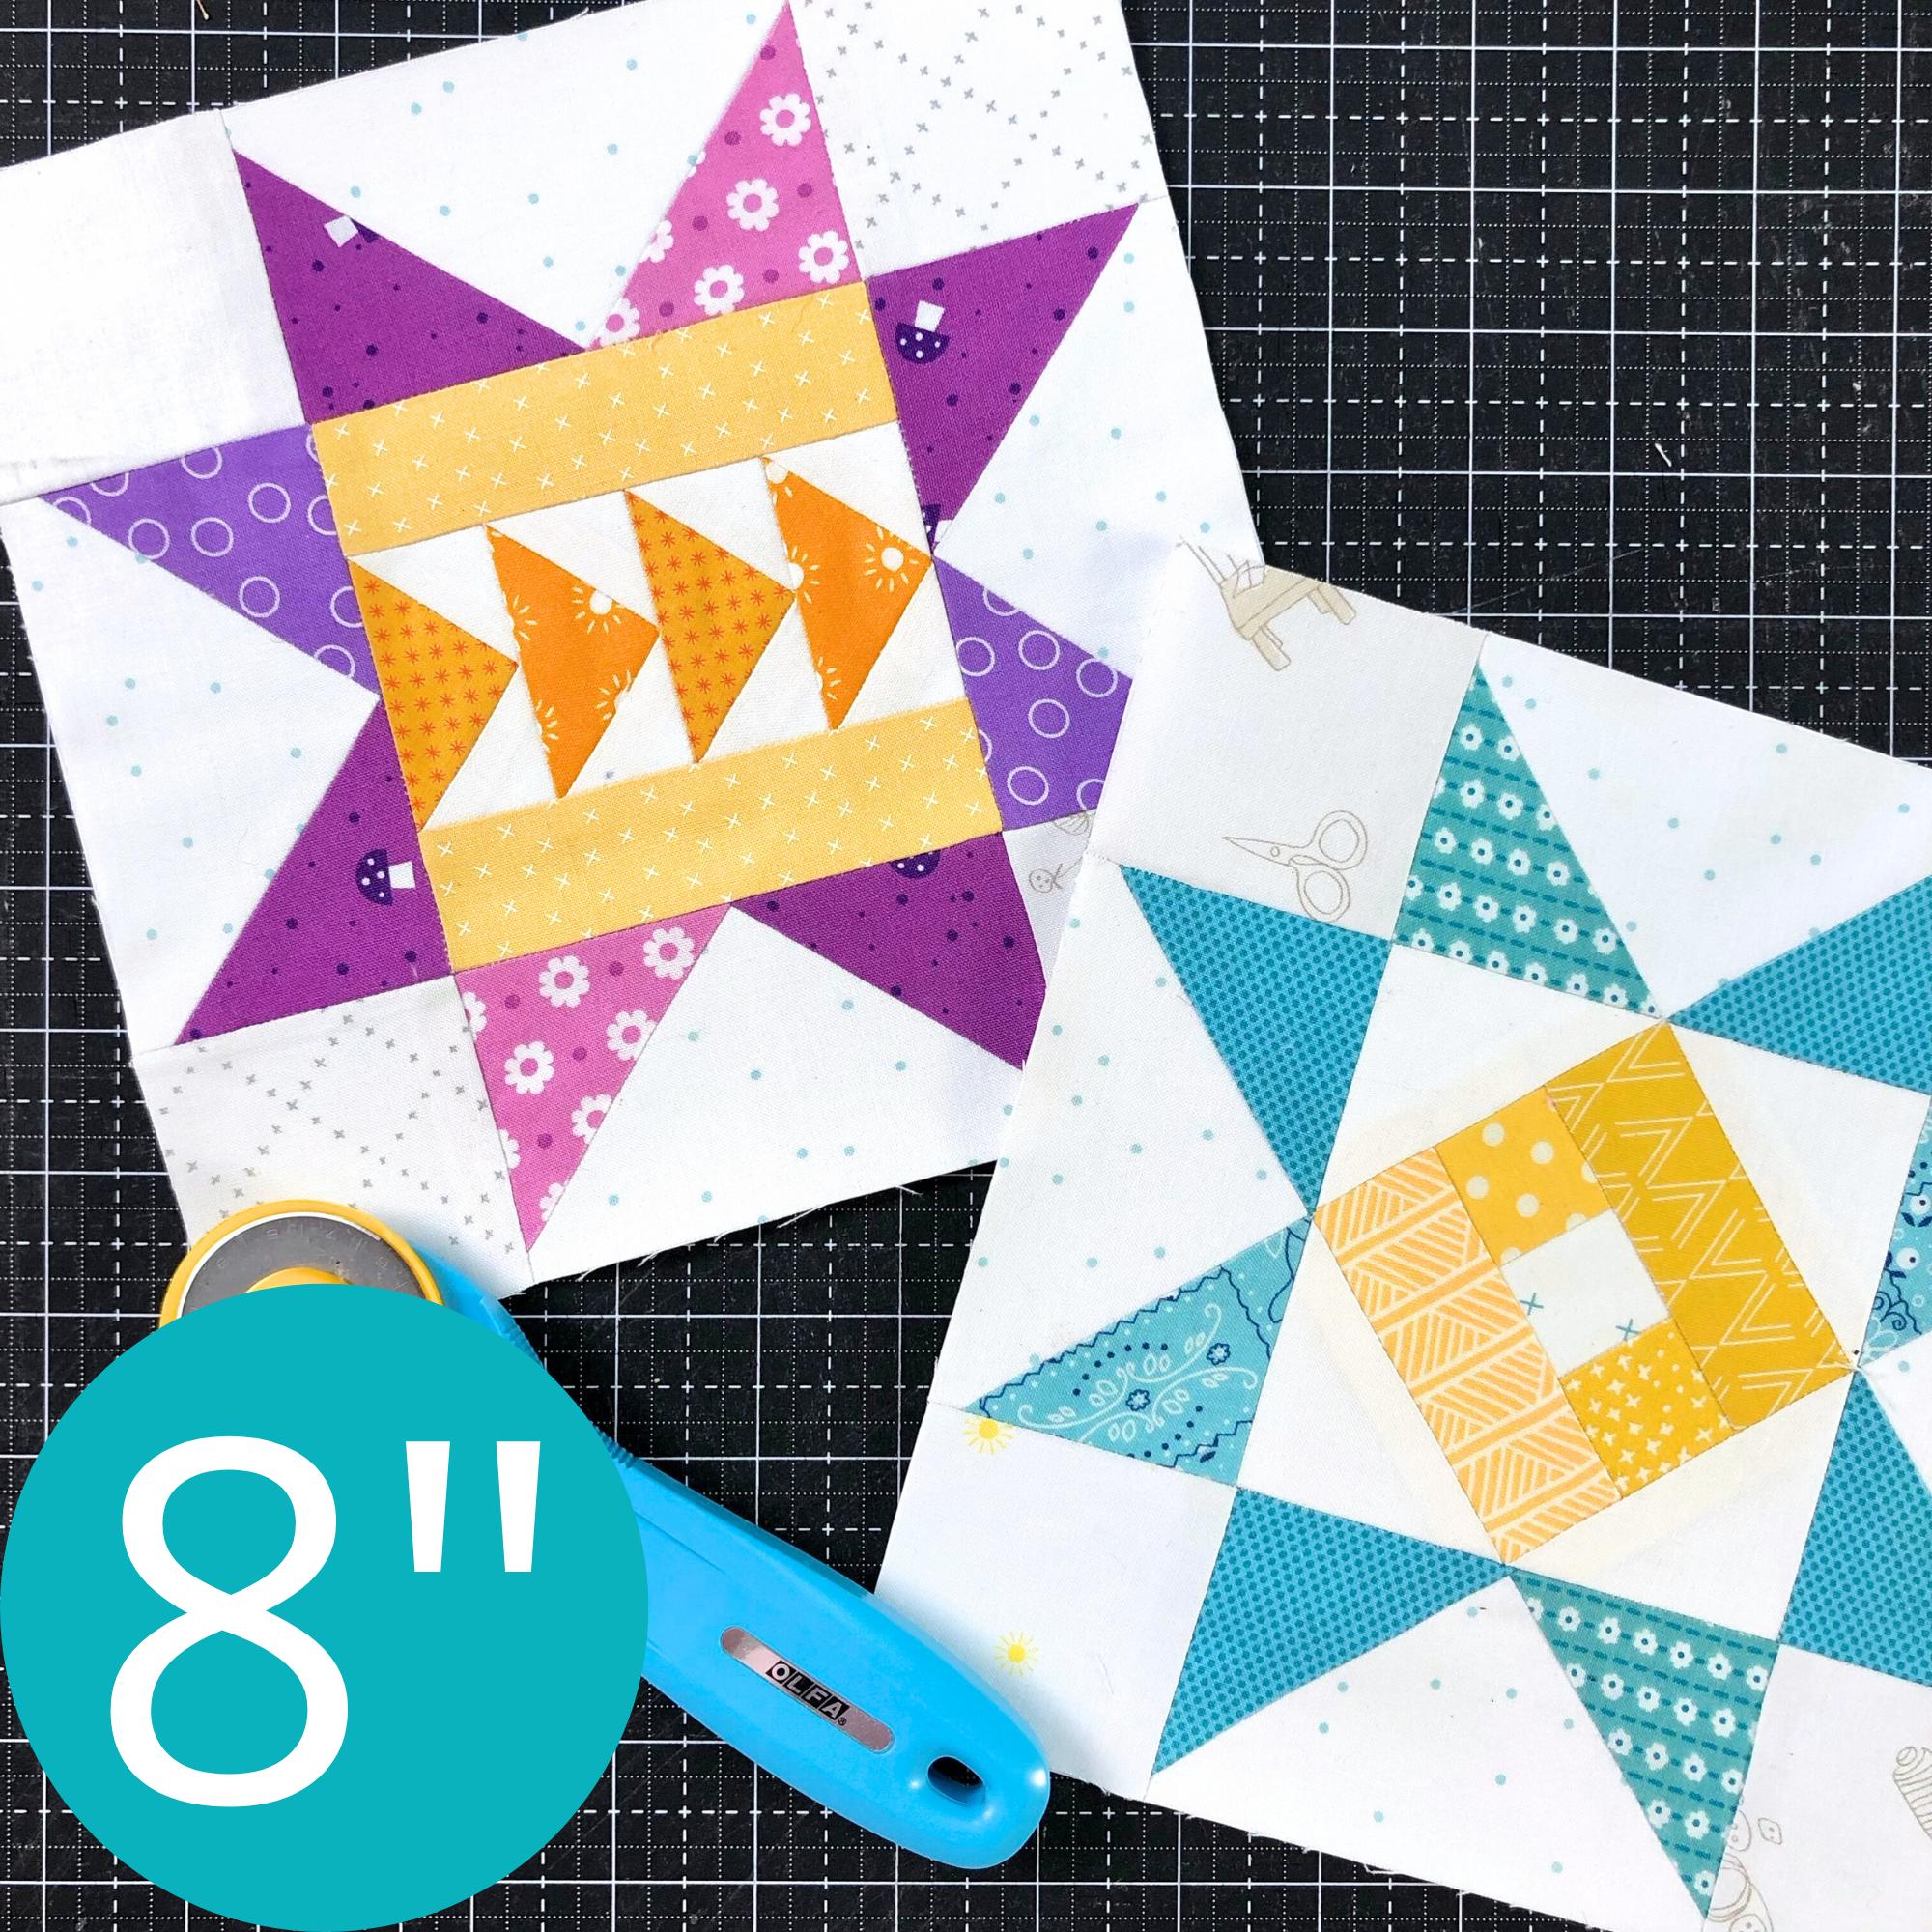
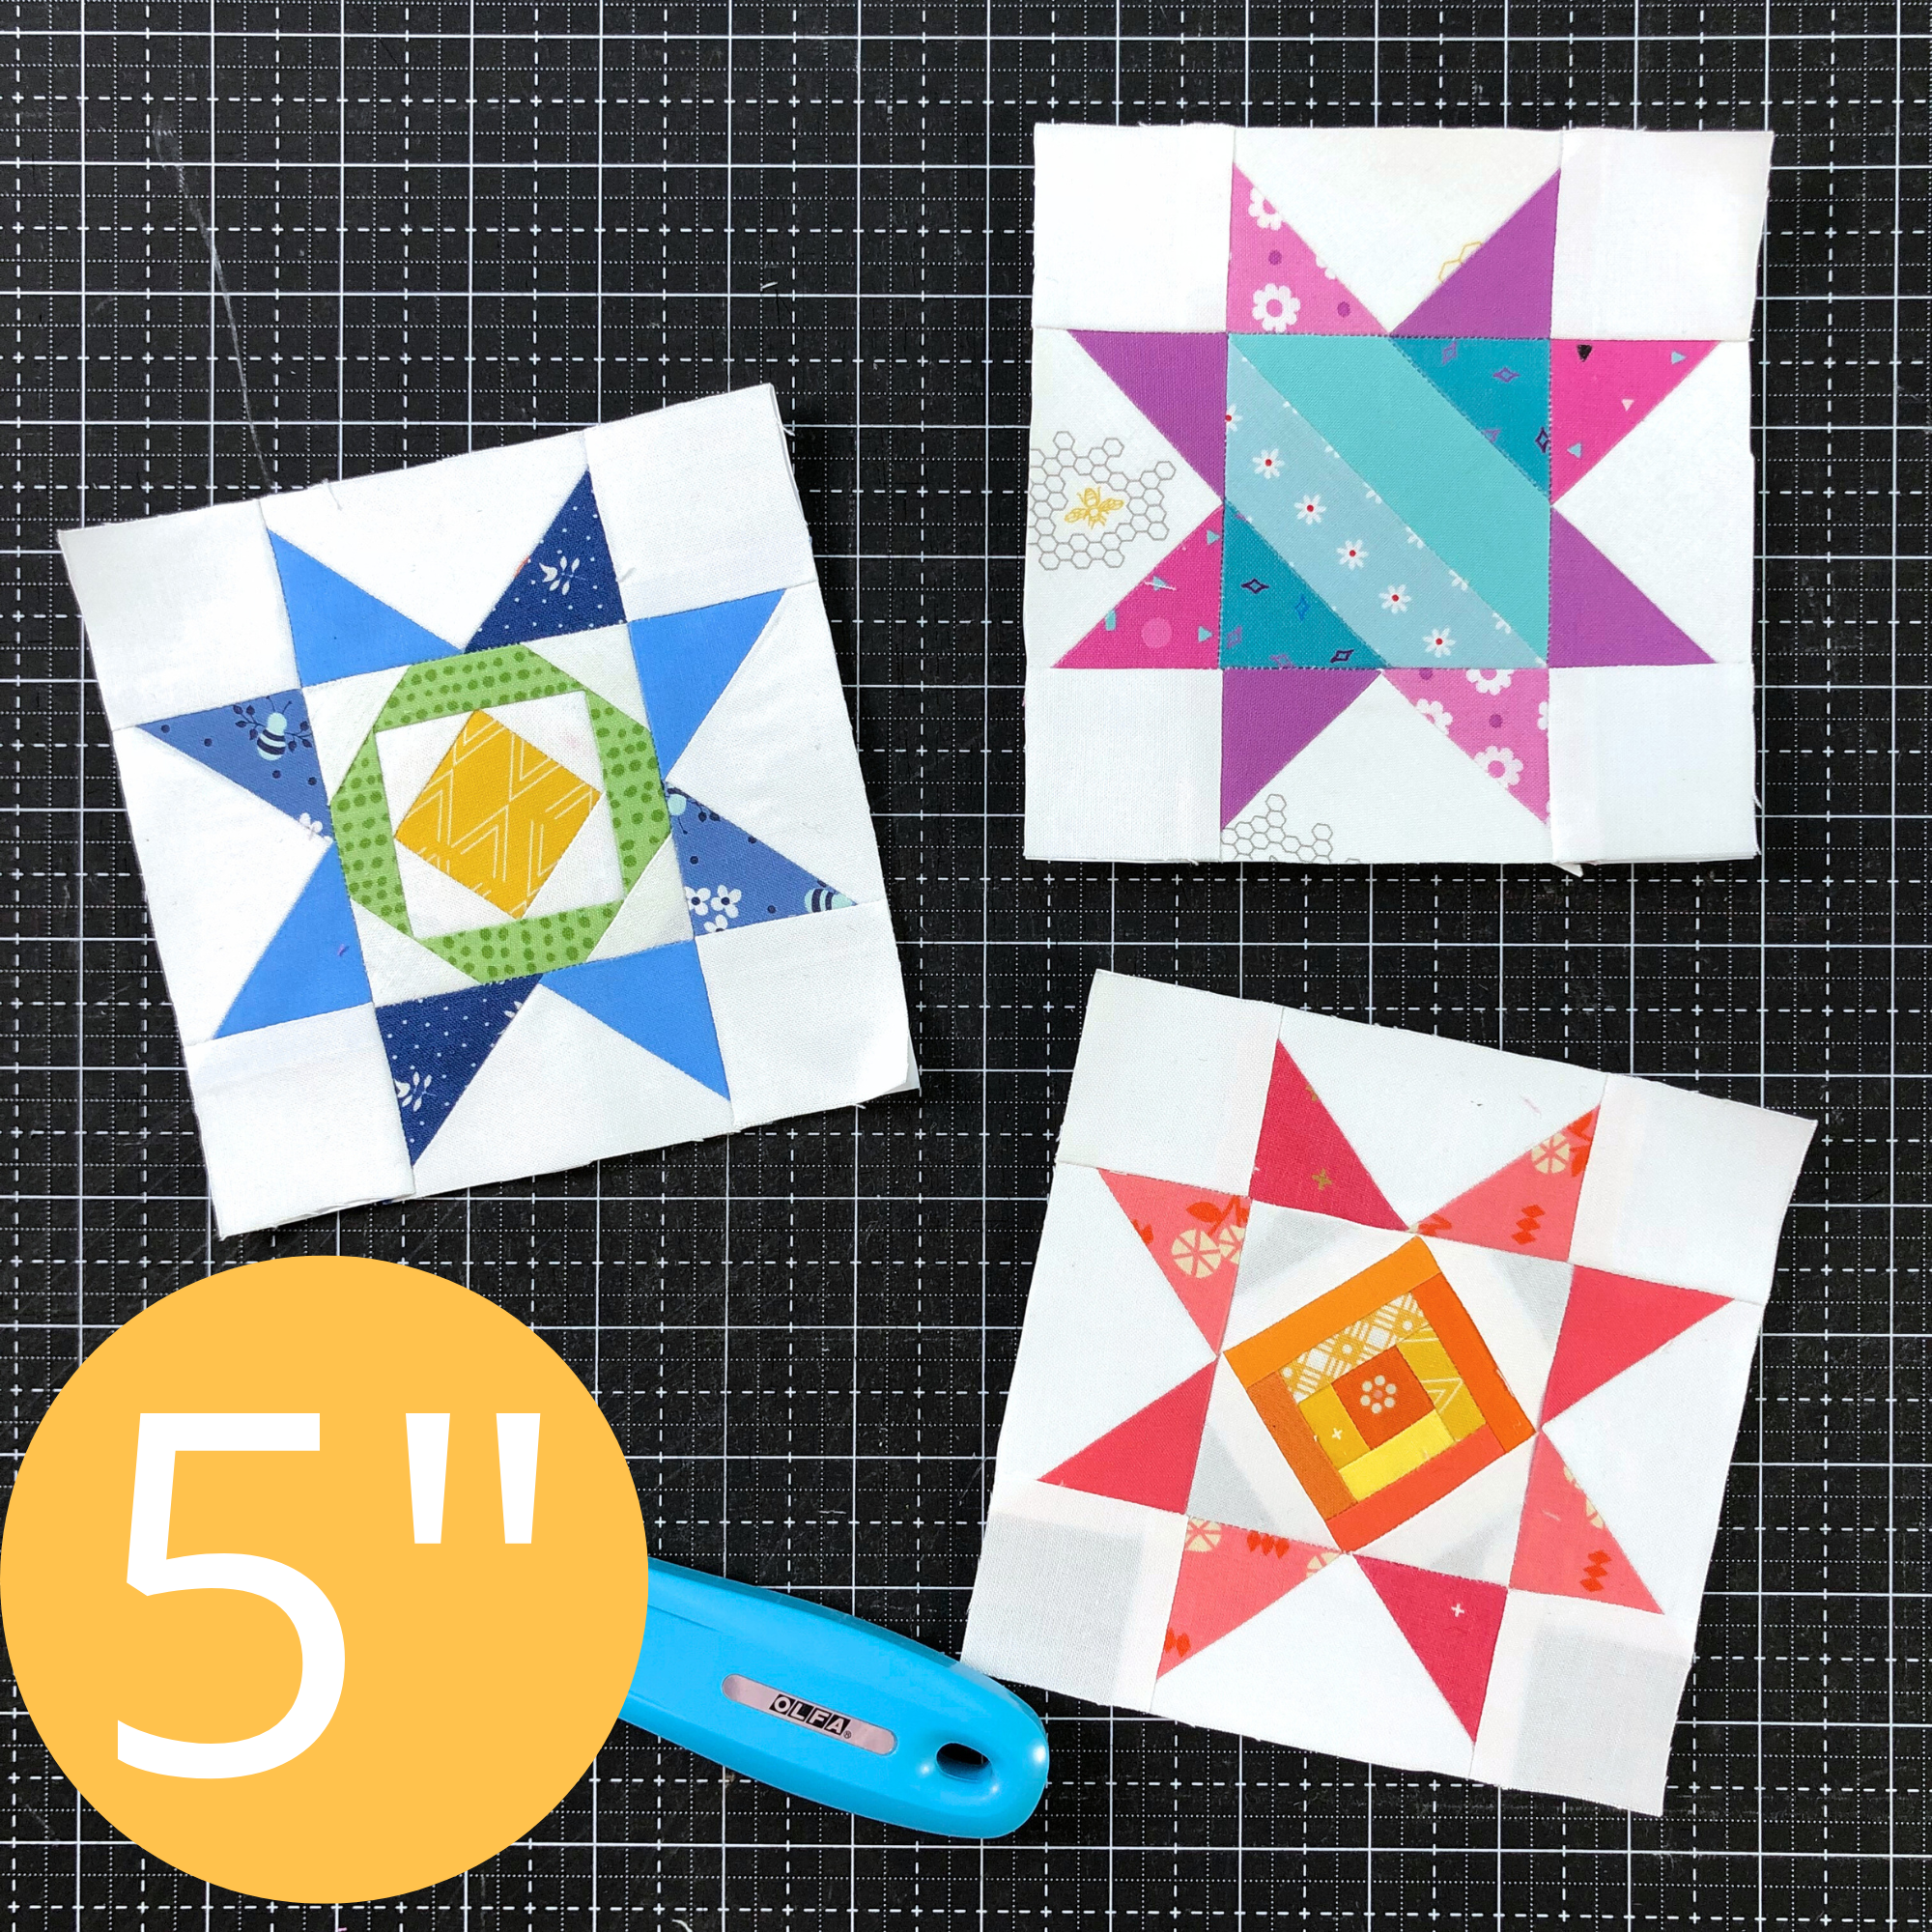
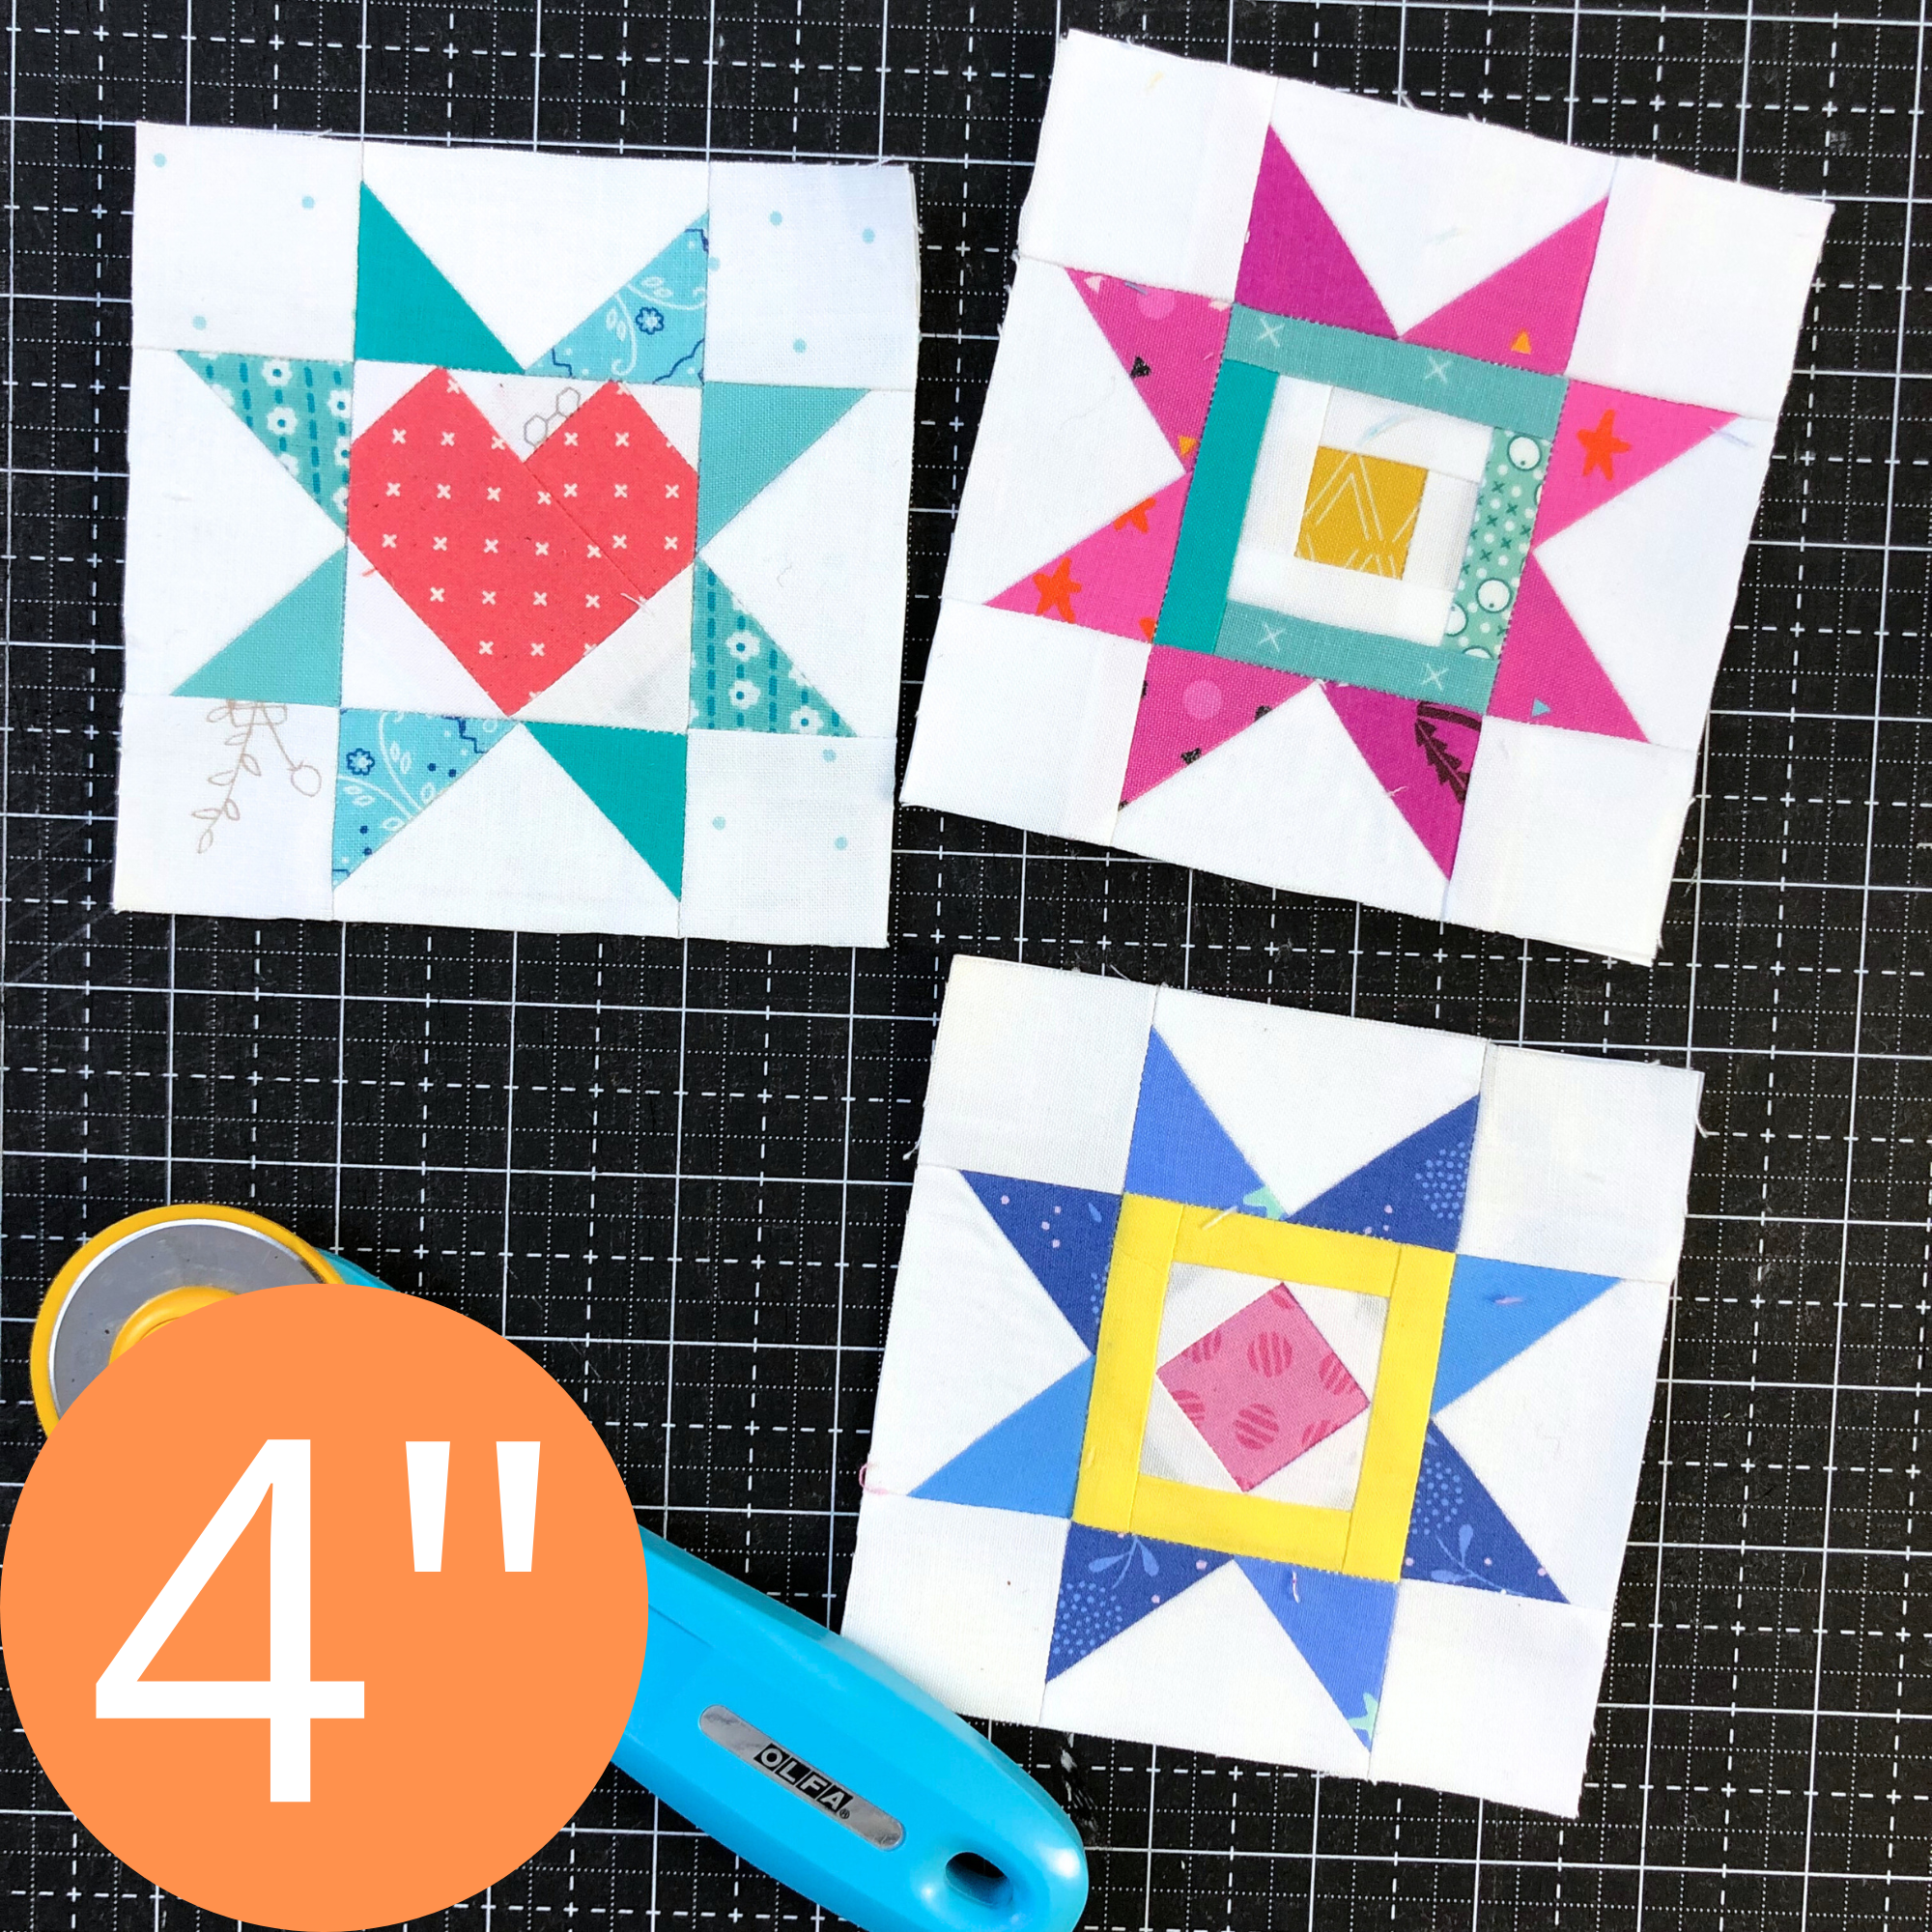
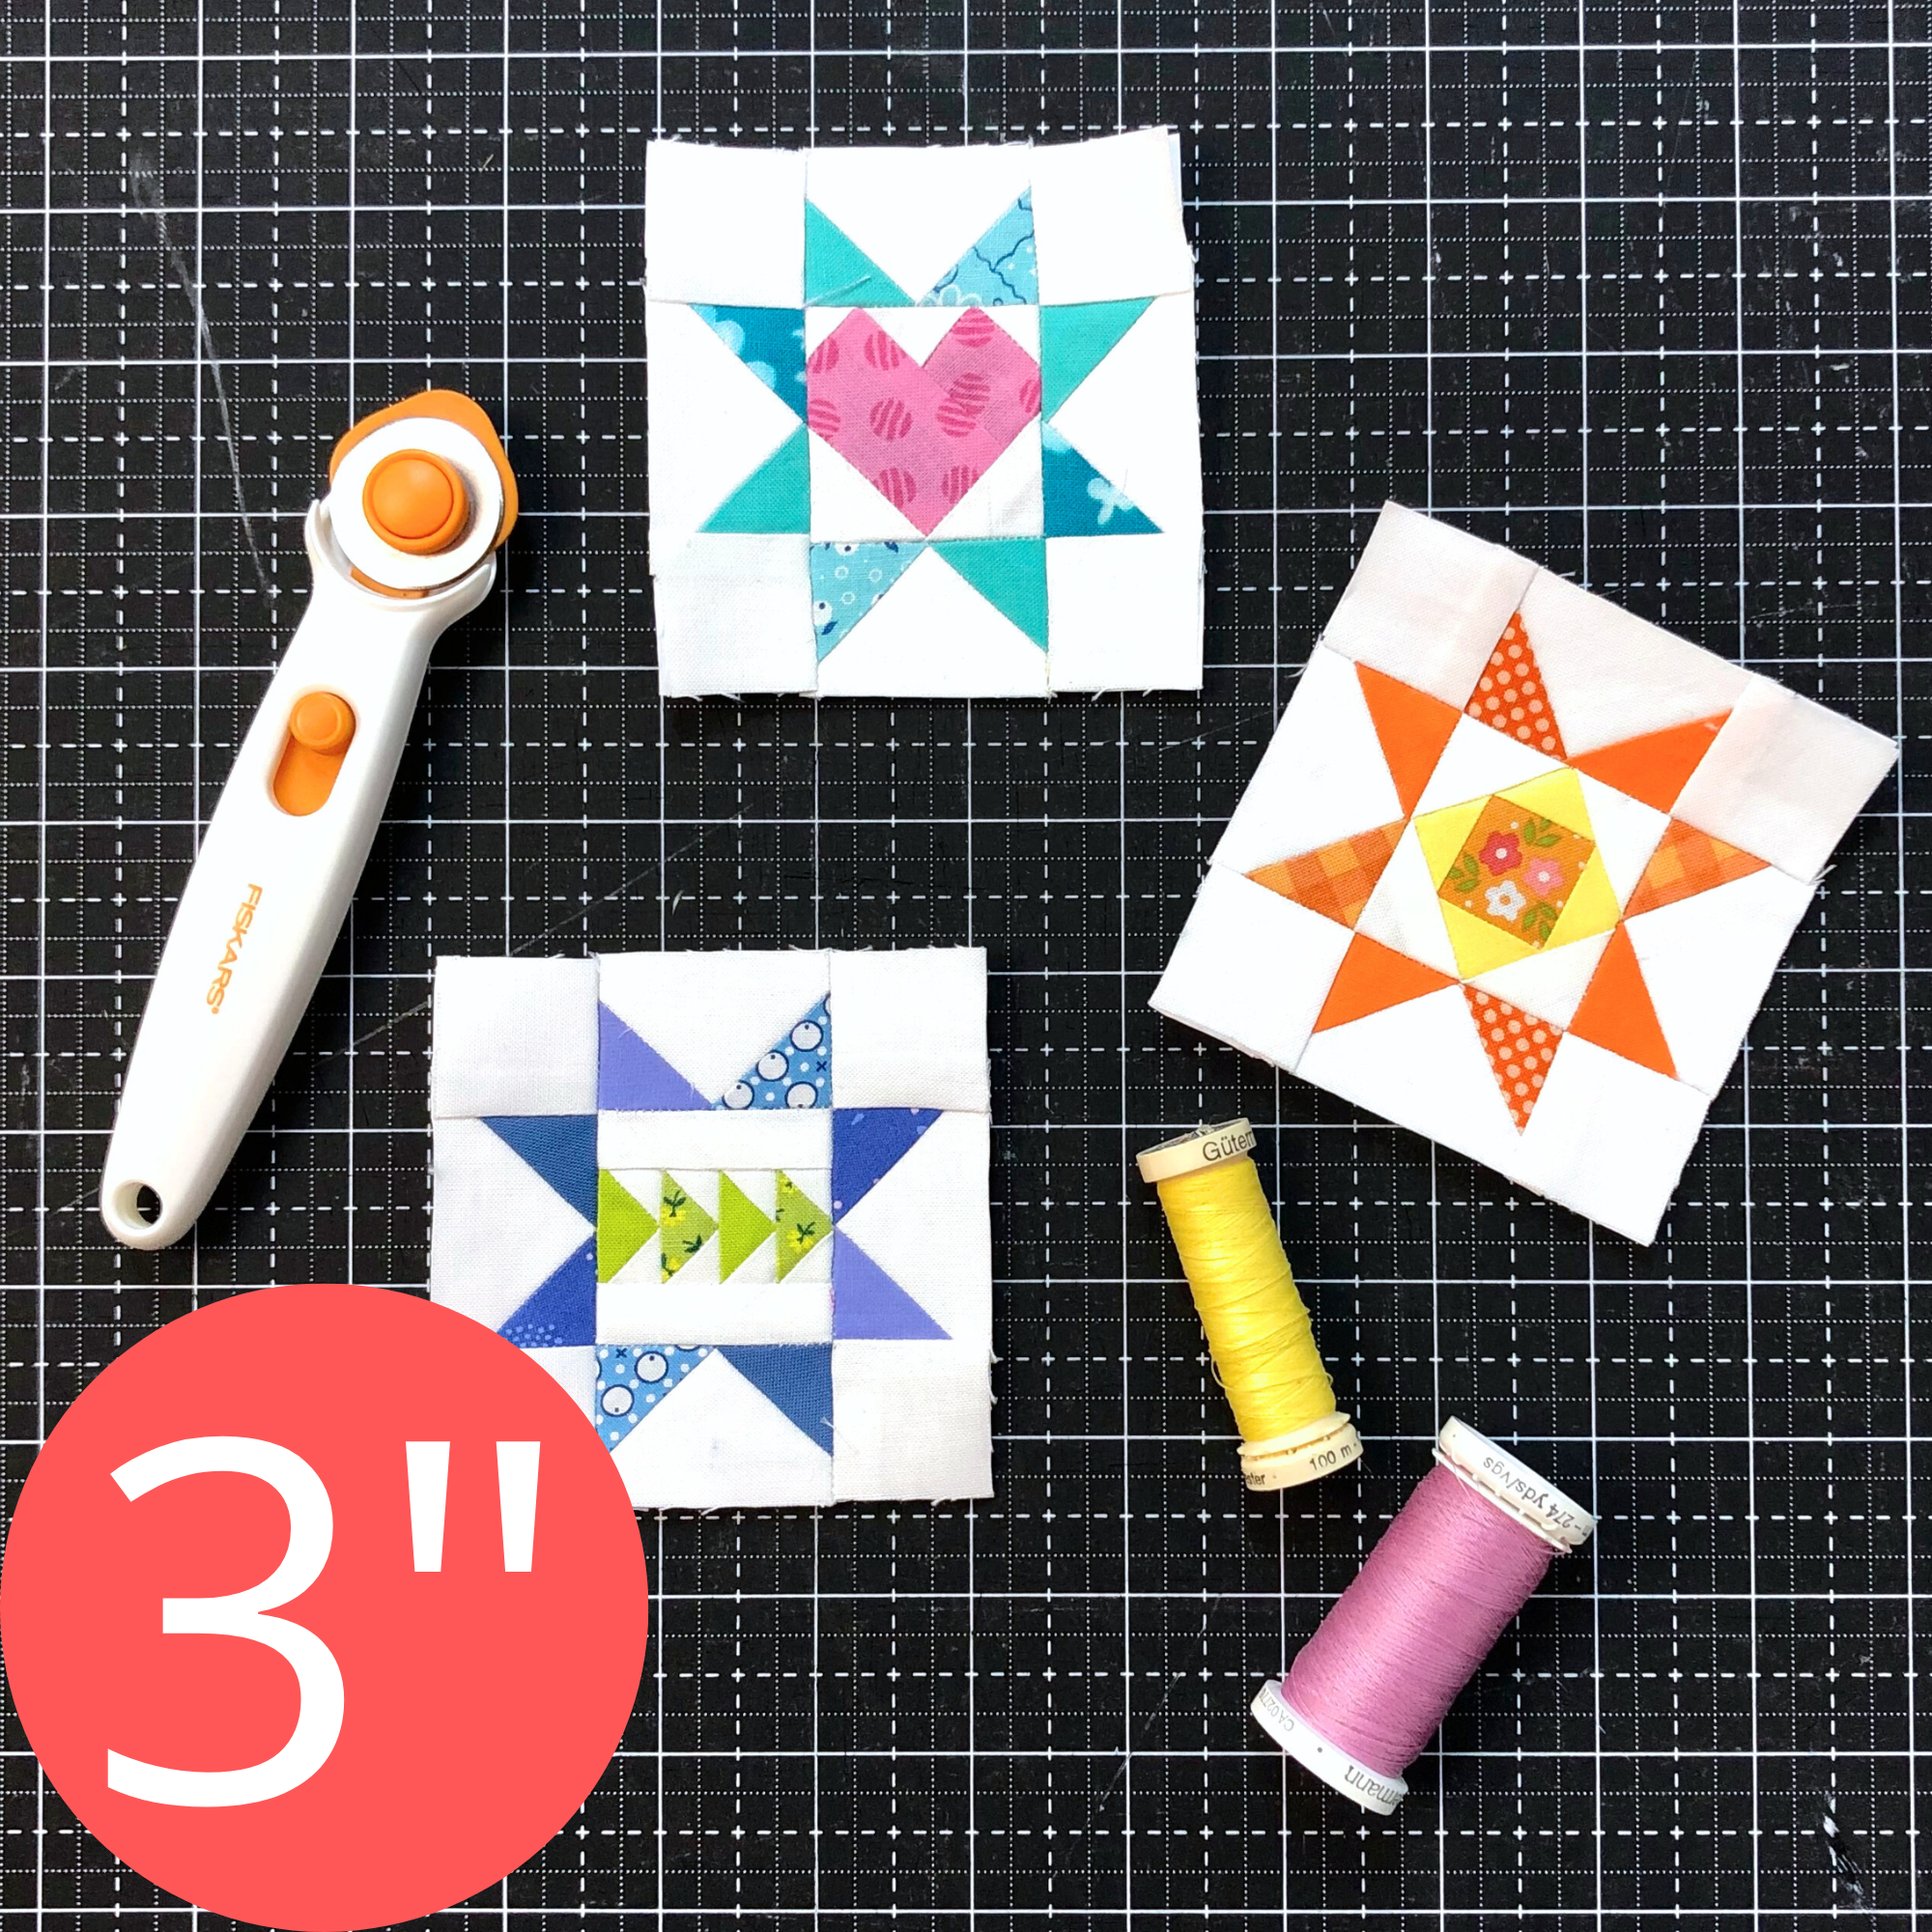
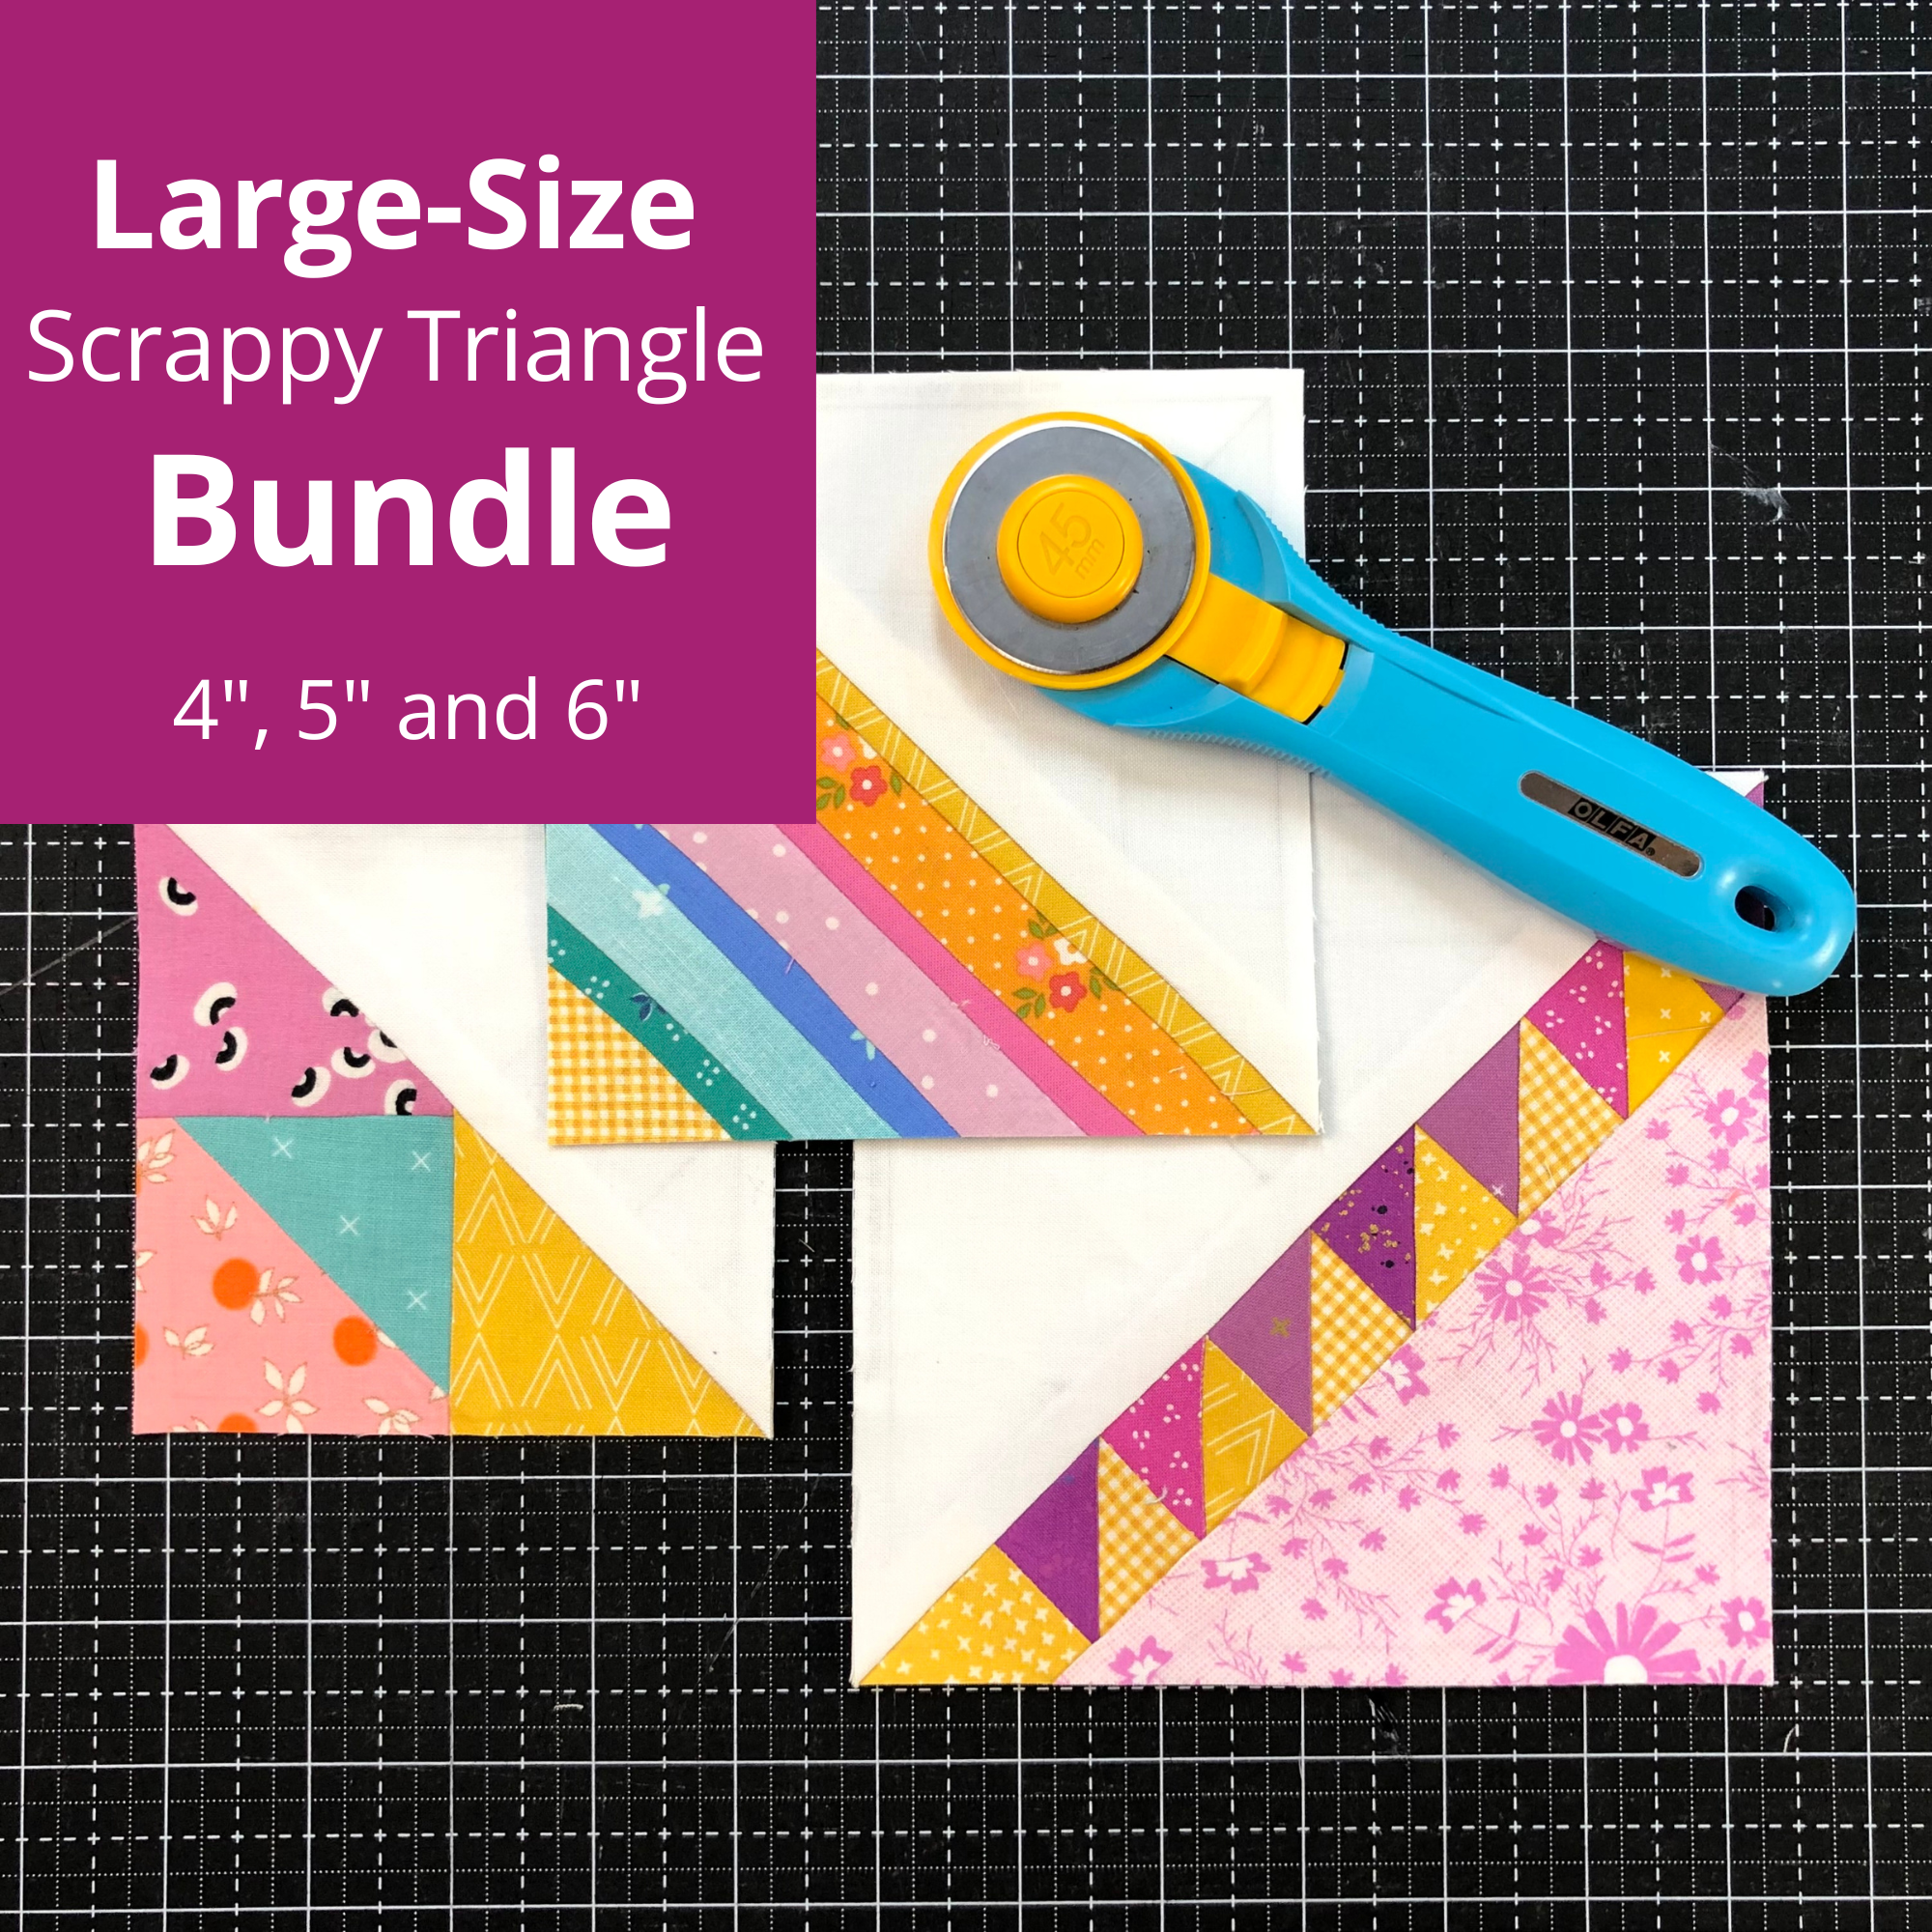
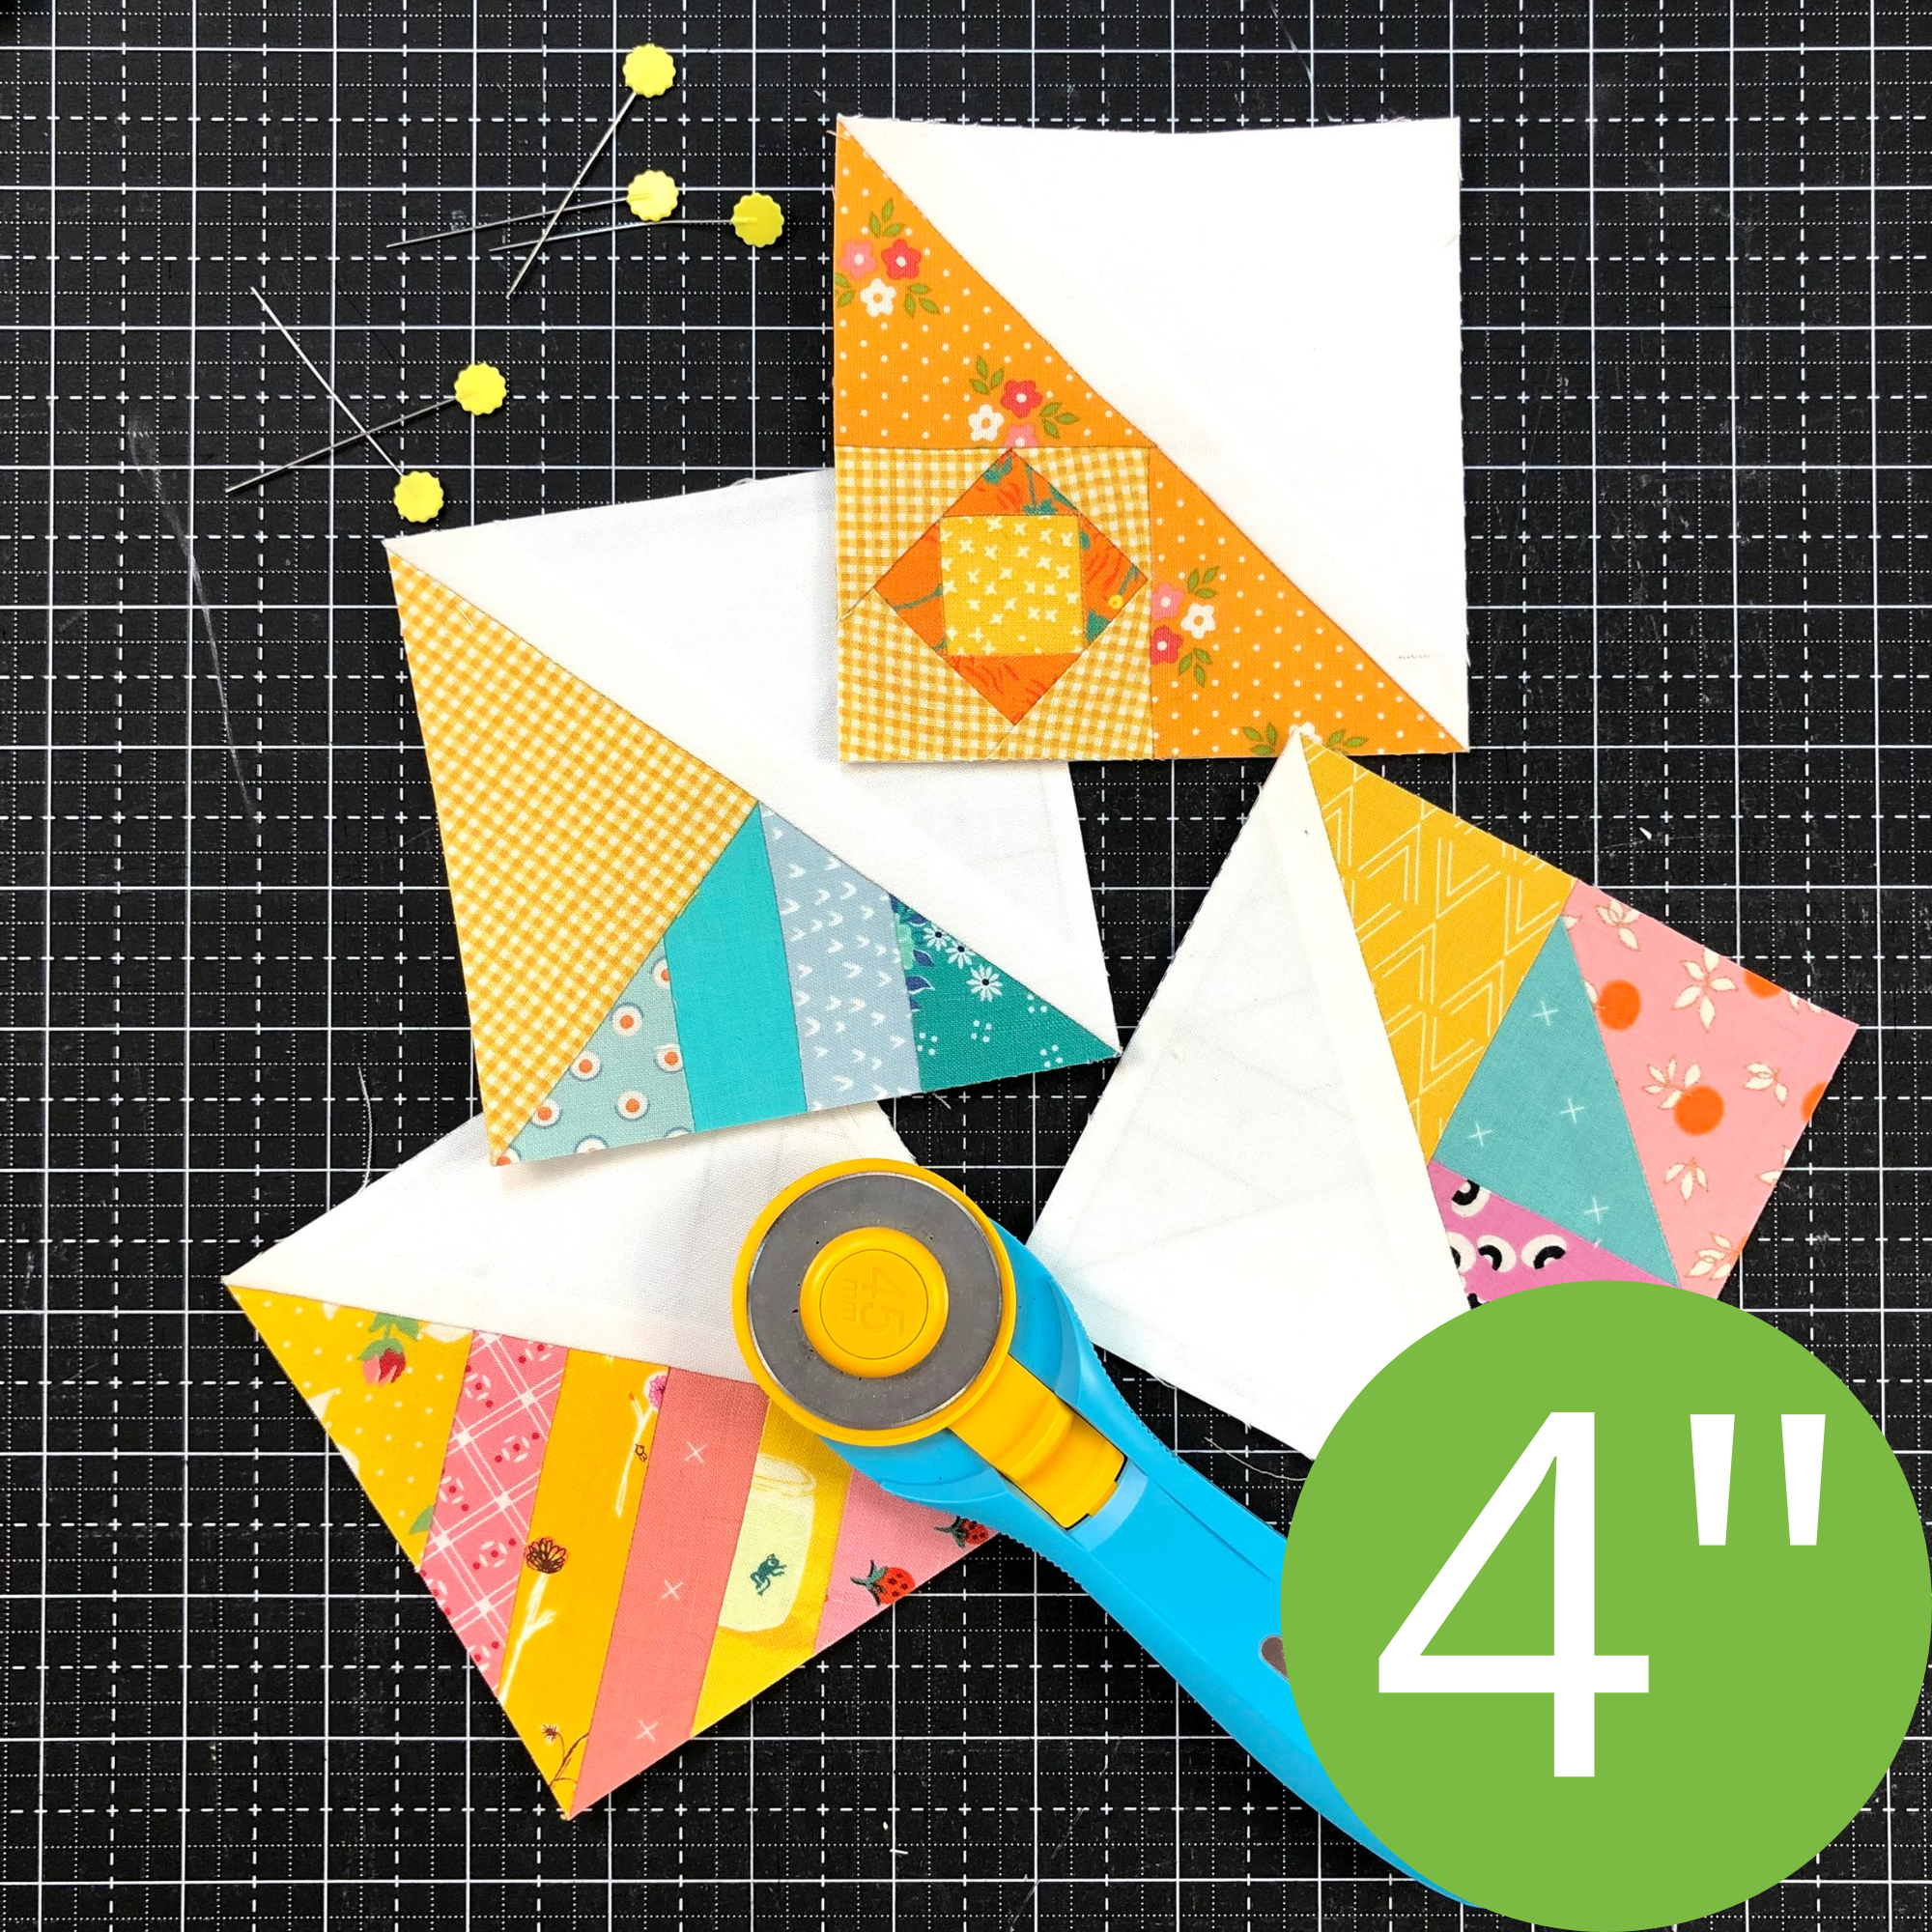
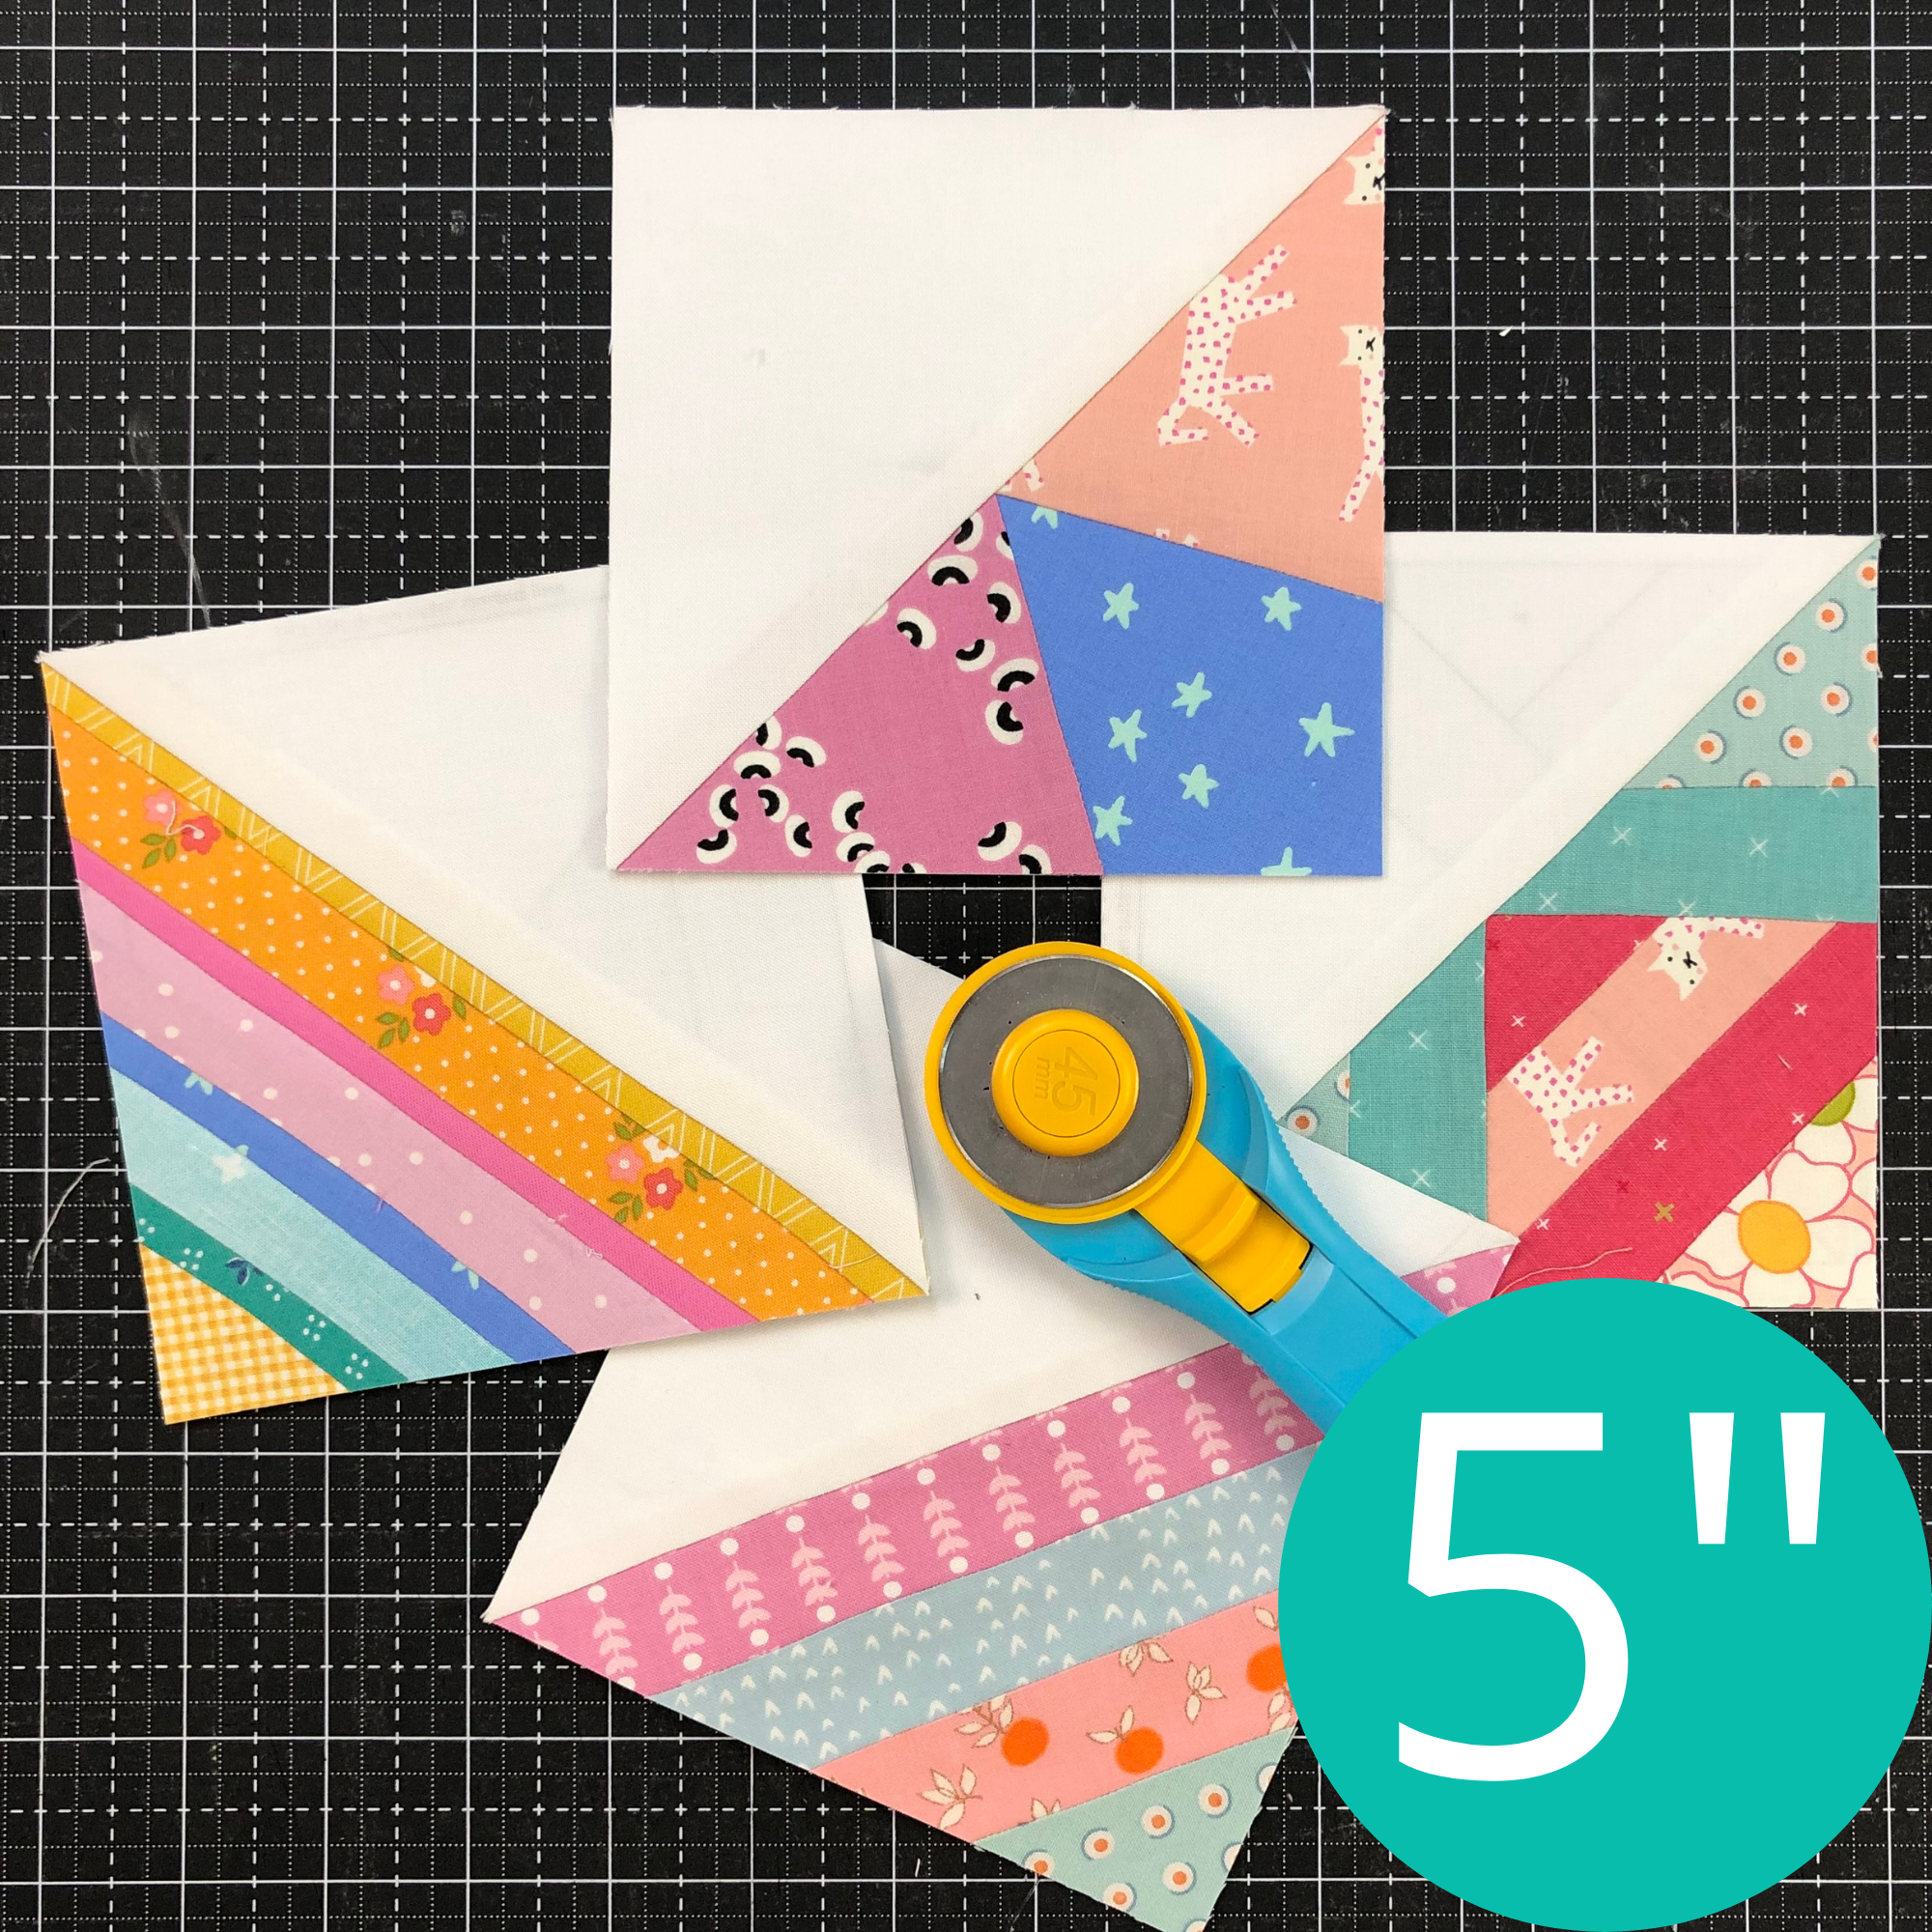



Bust through your scraps with Mini, Regular, and Large Scrappy Diamonds.The digital pdf allows you to print as many foundations as you would like! Use the Scrappy Diamond blocks in quilts, table runners, bags, pillows and more! There are 25 different foundation variations, so you can use a variety of scrap sizes and never get bored.
The Scrappy Diamond Bundle contains:
- 25 different diamond designs in 3 sizes: 2” x 3.5”, 4” x 7” and 6” x 10”.
- Basic cutting and construction instructions
- A link to detailed written and video instructions on how to foundation paper piece the Scrappy Diamond blocks
- A link to free quilt patterns using the Scrappy Diamonds
https://www.leilagardunia.com/how-to-foundation-paper-piece-diamond-quilt-blocks