How to Foundation Paper Piece Scrappy Stars

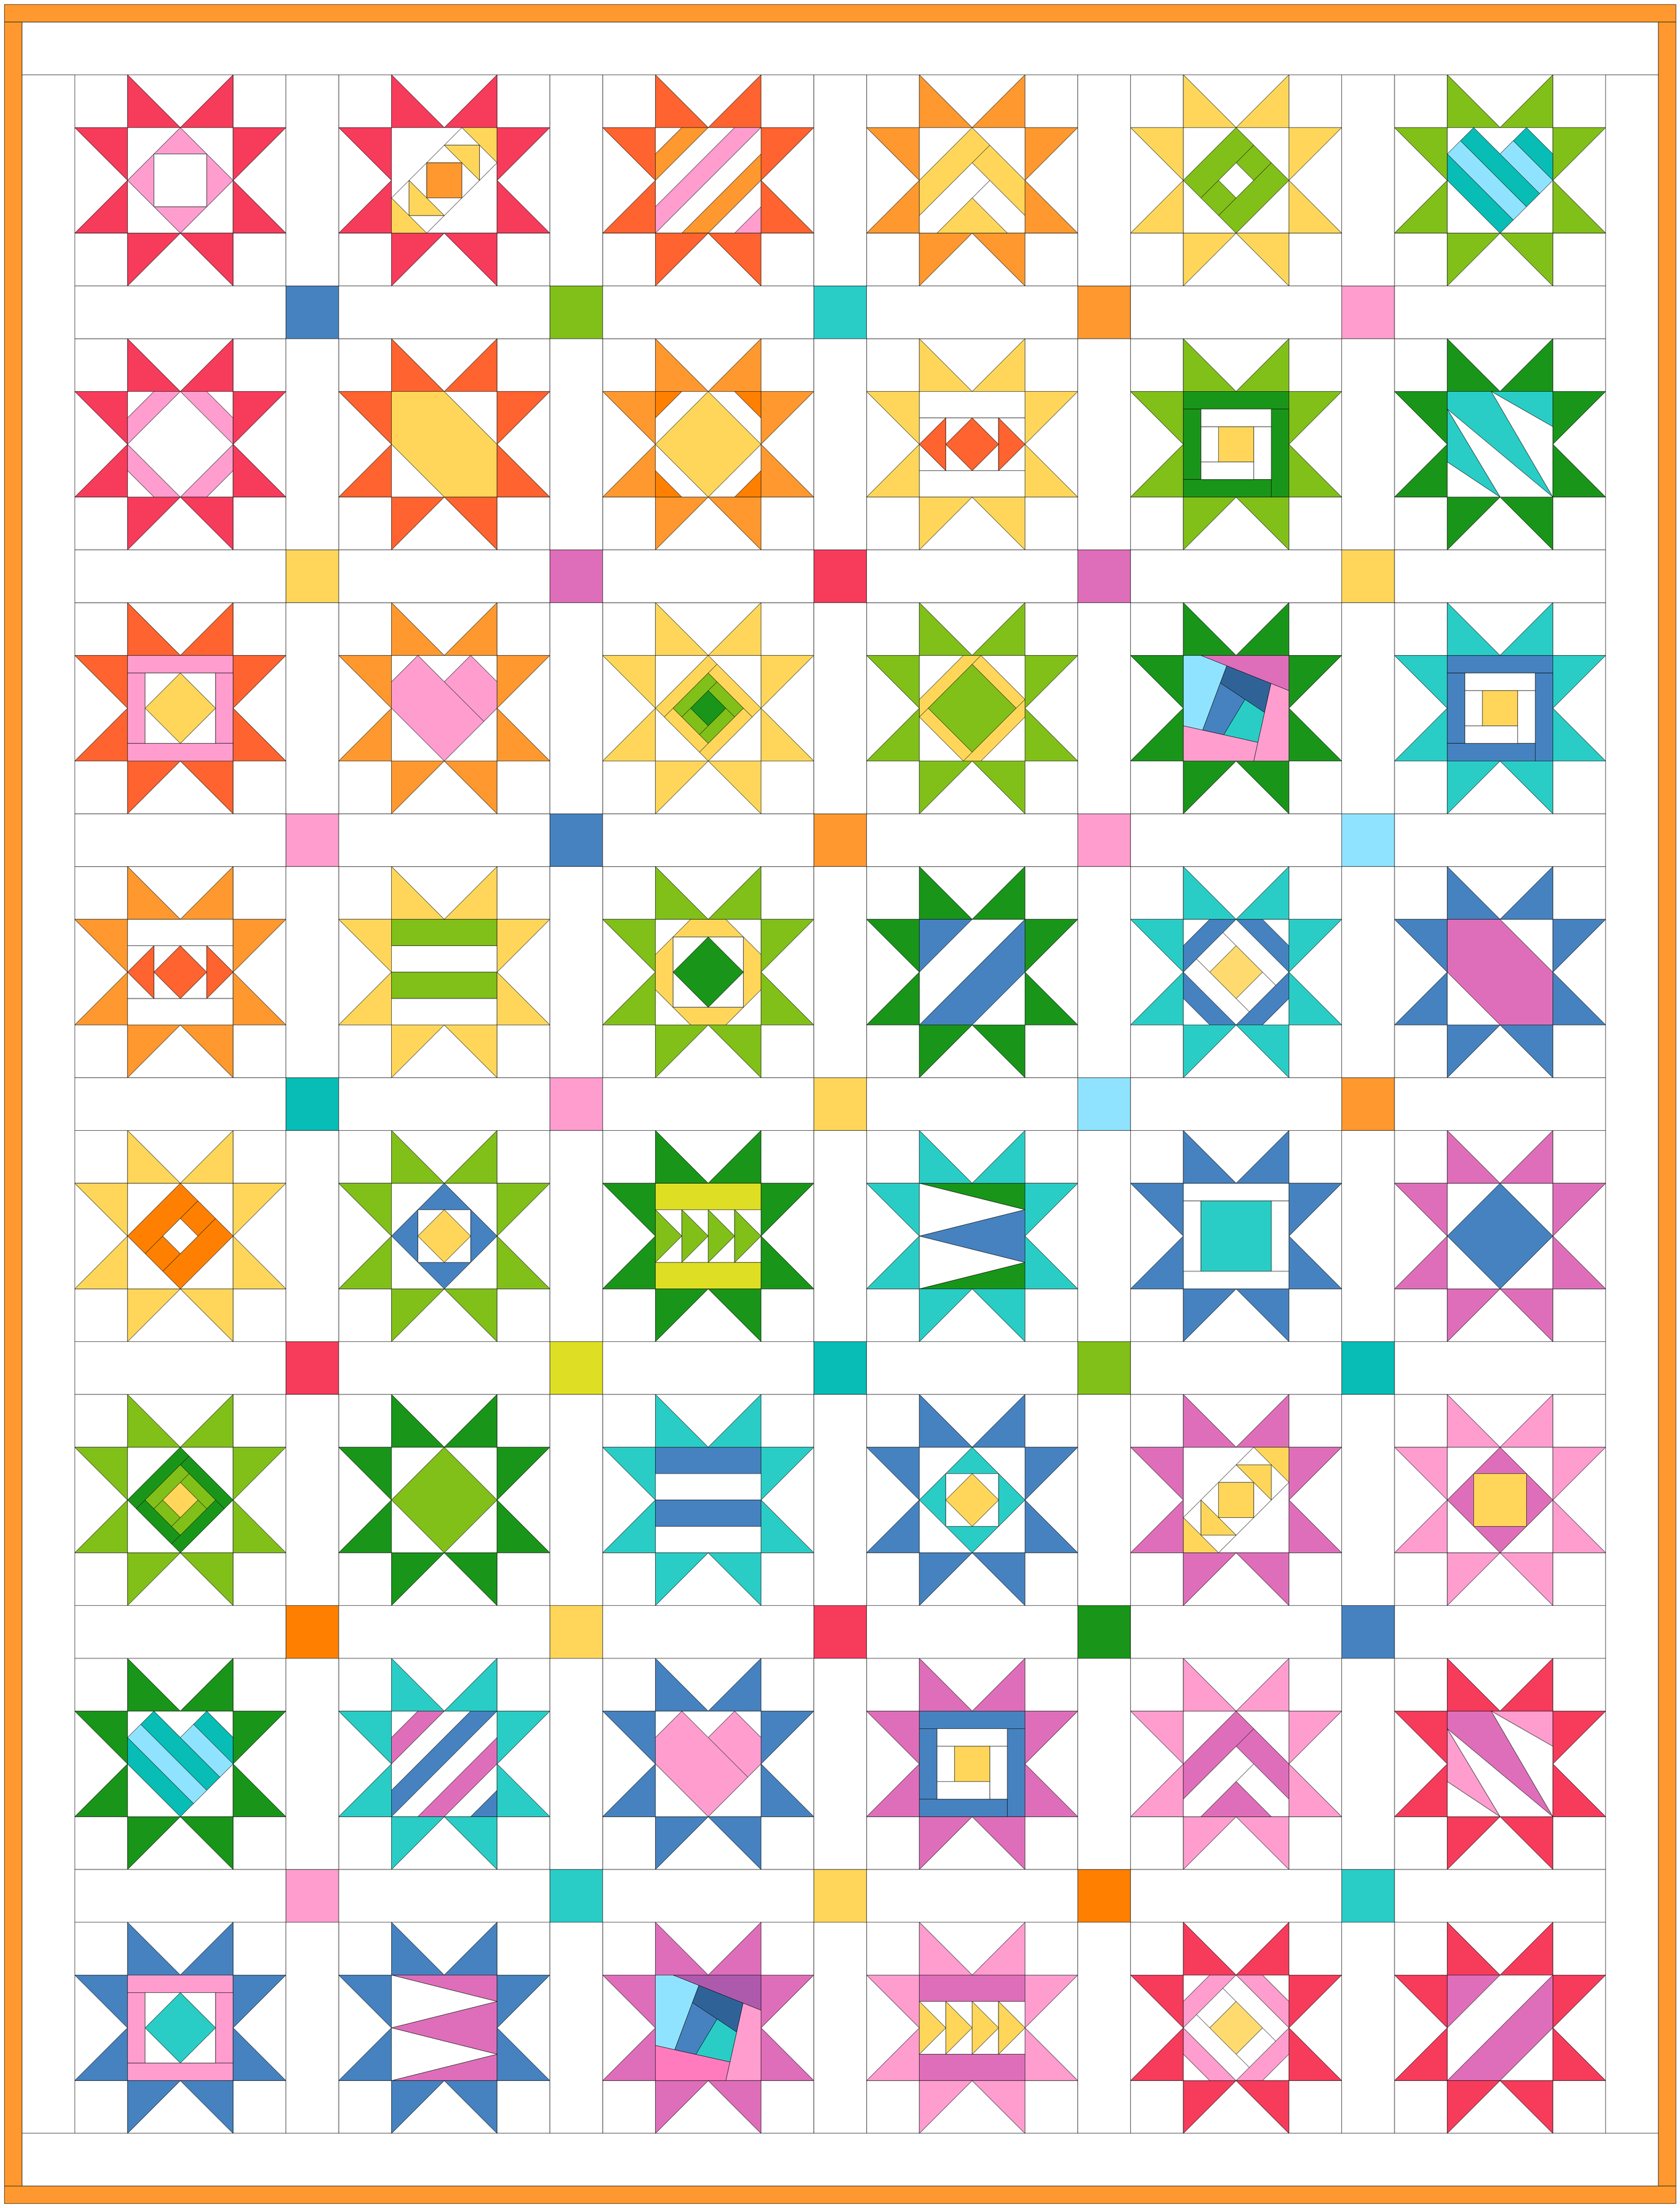
The cute 3” & 6” Scrappy Star quilt blocks are a great scrap-buster and tons of fun to make! The quilt blocks are foundation paper pieced and come together quickly. Foundation paper piecing, using a printed block template as a sewing guide, makes the piecing easy and precise - just sew on the line!
This tutorial will guide you through how to foundation paper piece Scrappy Star quilt blocks.
If you are brand new to paper piecing, making these stars is a great way to learn! If you already have experience, but want a refresher and extra tips, you are in the right place too! My video tutorial goes into tons of detail! If you want a more condensed overview, keep reading. In the tutorials I make the 6” Scrappy Stars, but the same steps and techniques are used to make the 3” or any other size of Scrappy Stars.
But first, here are some quick links to Scrappy Star resources.
Scrappy Star Resources

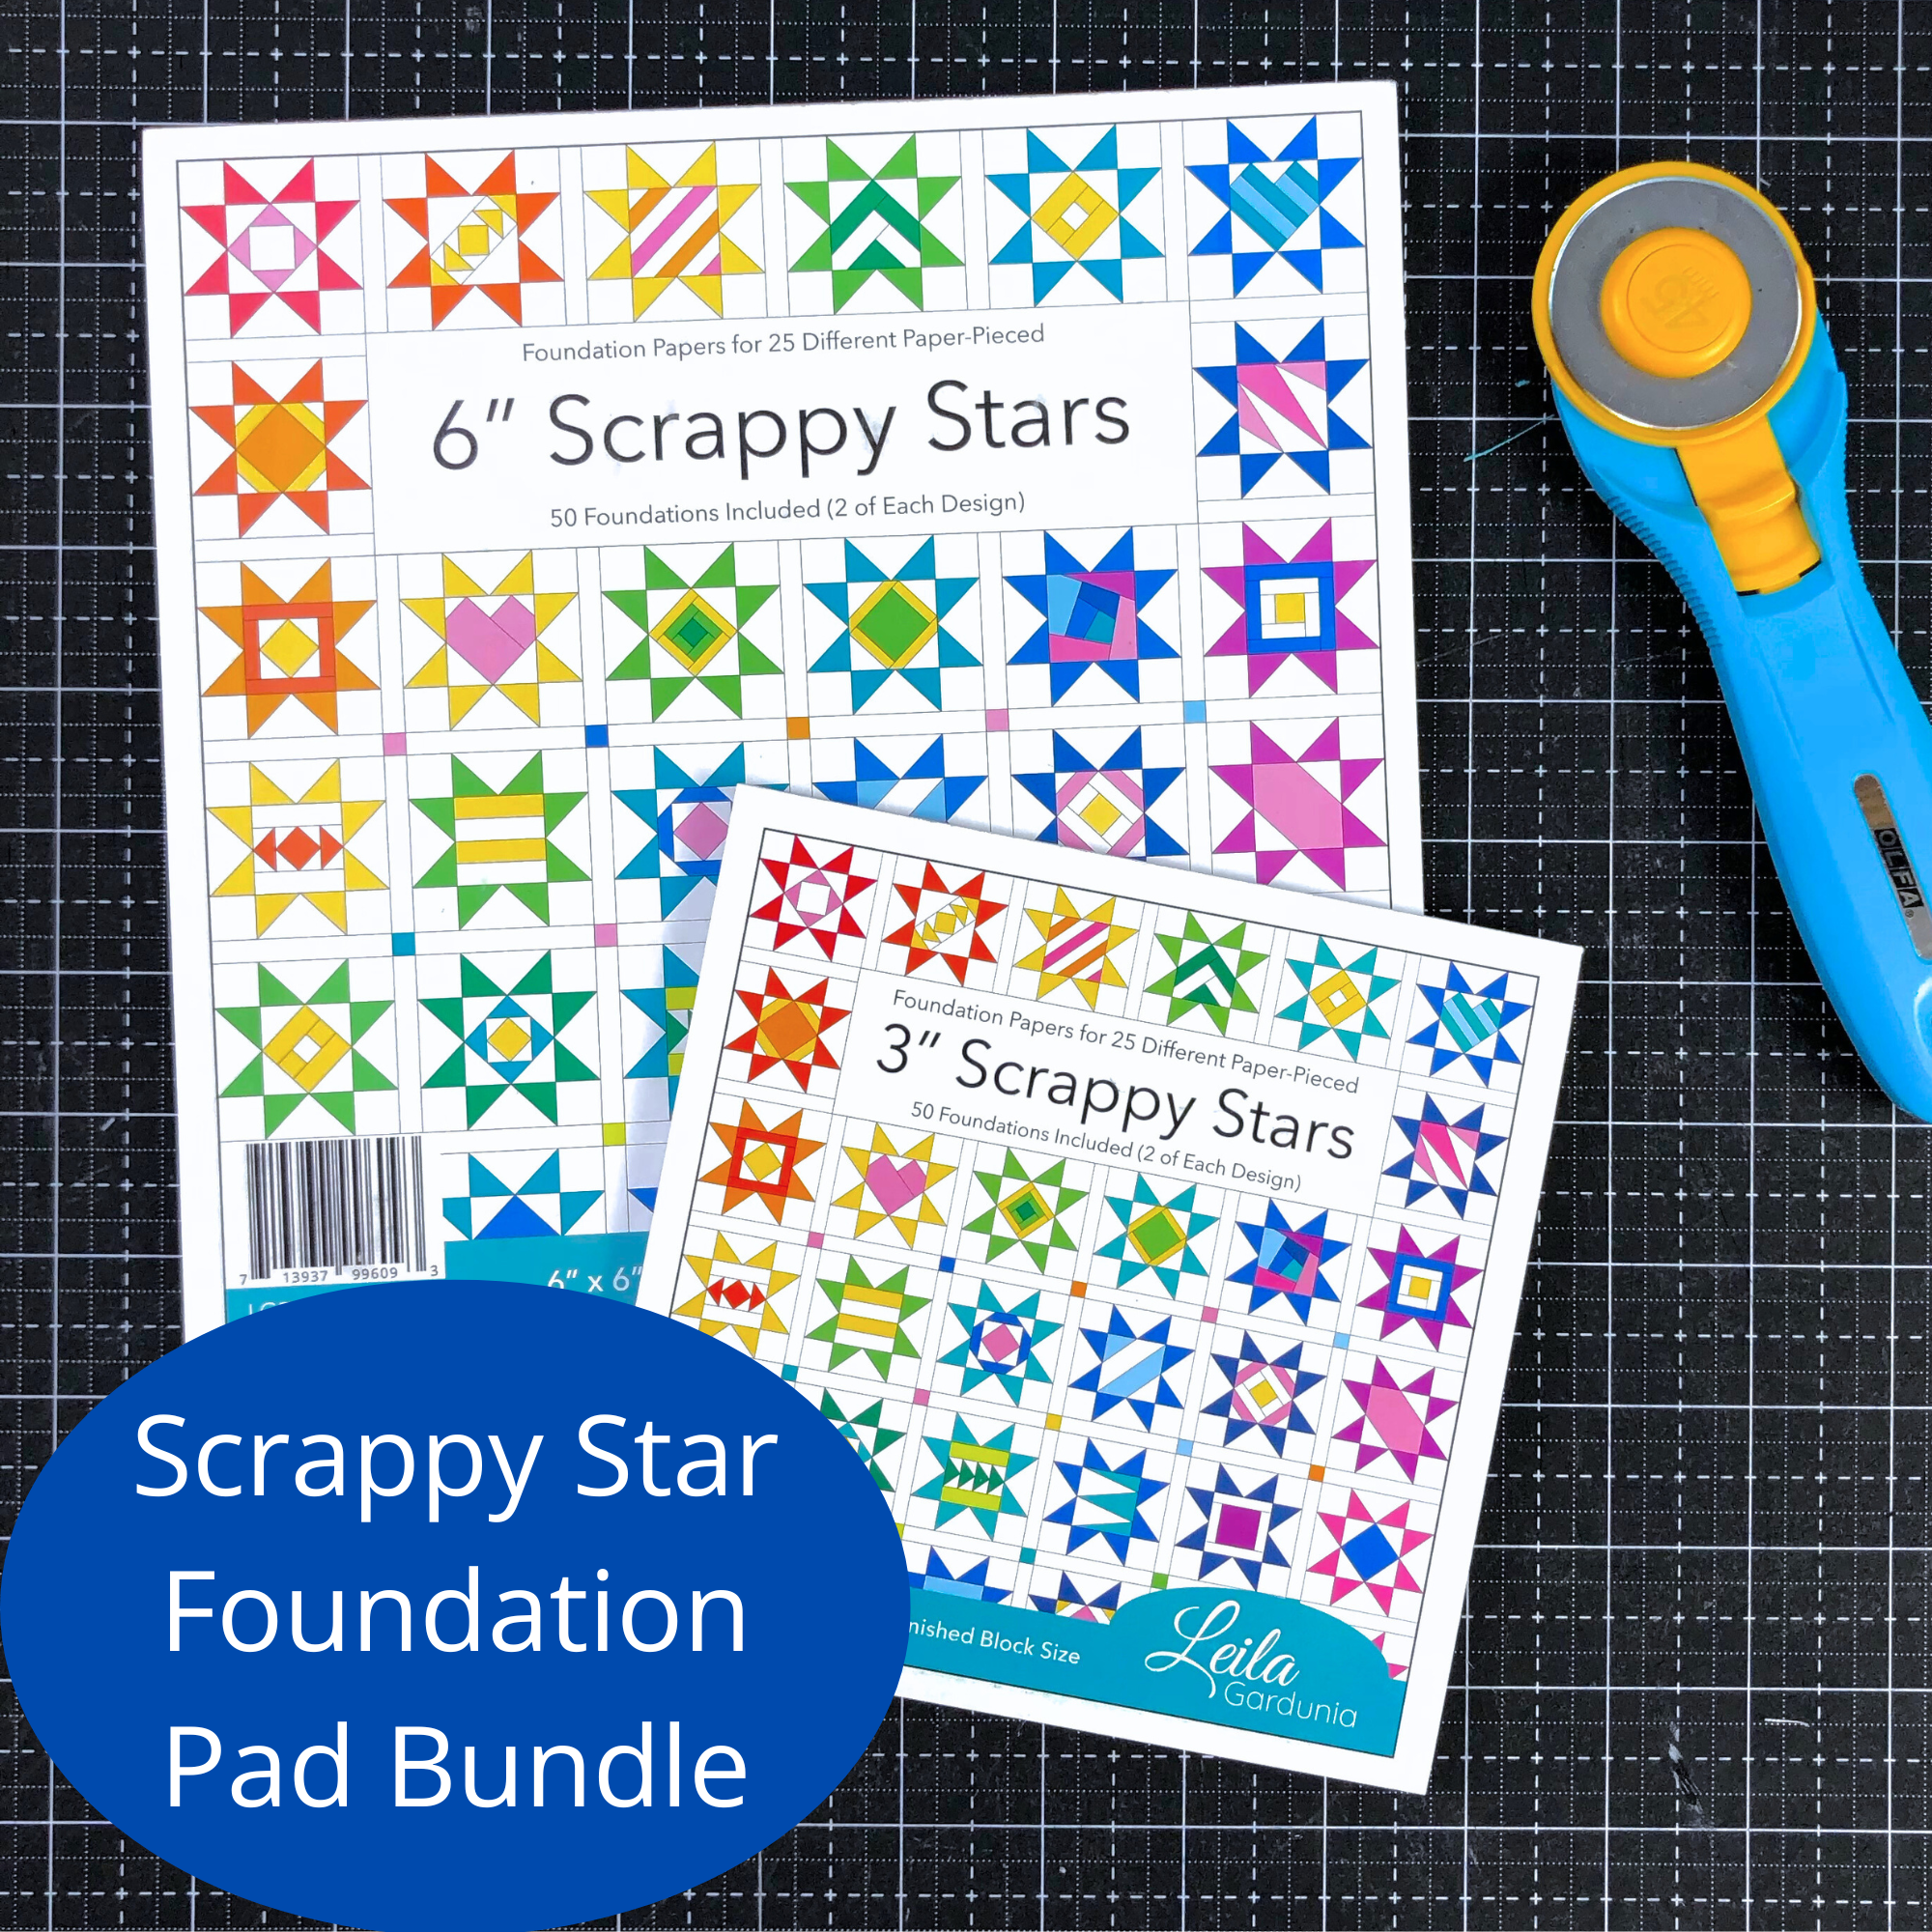
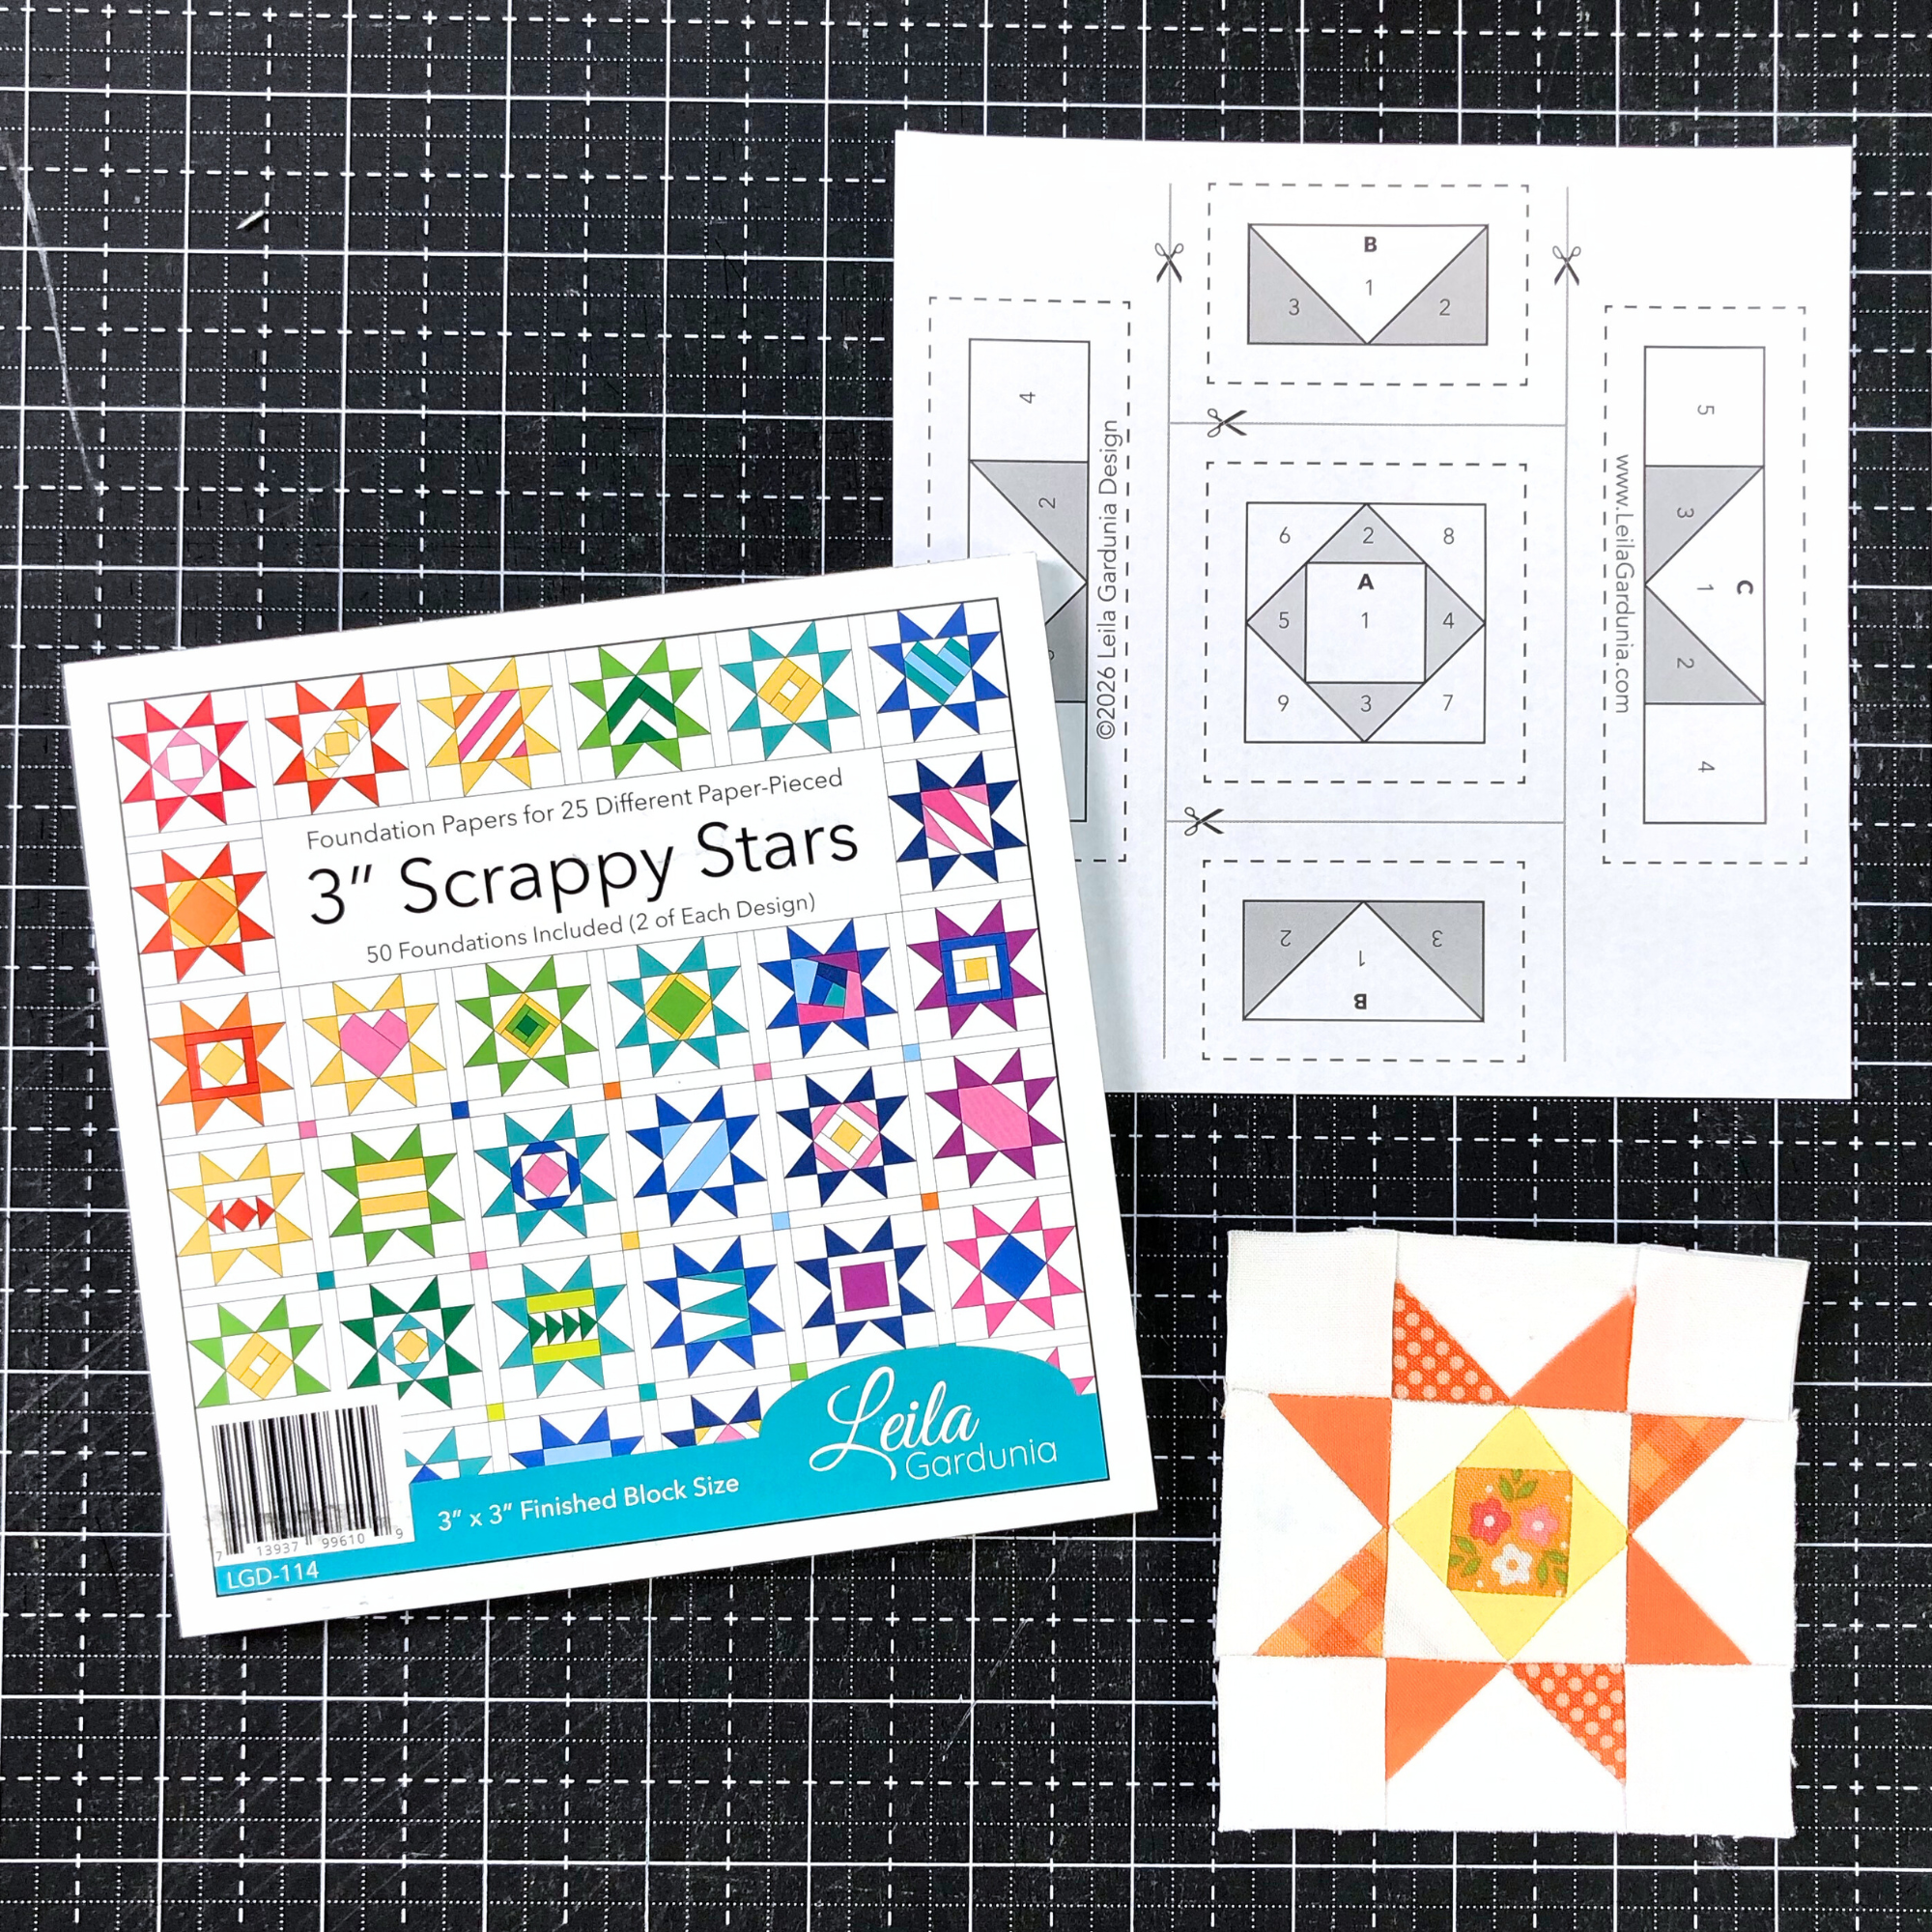
Scrappy Star Foundation Pad
You can purchase 6” Scrappy Star foundation pads or pdf patterns in my shop.
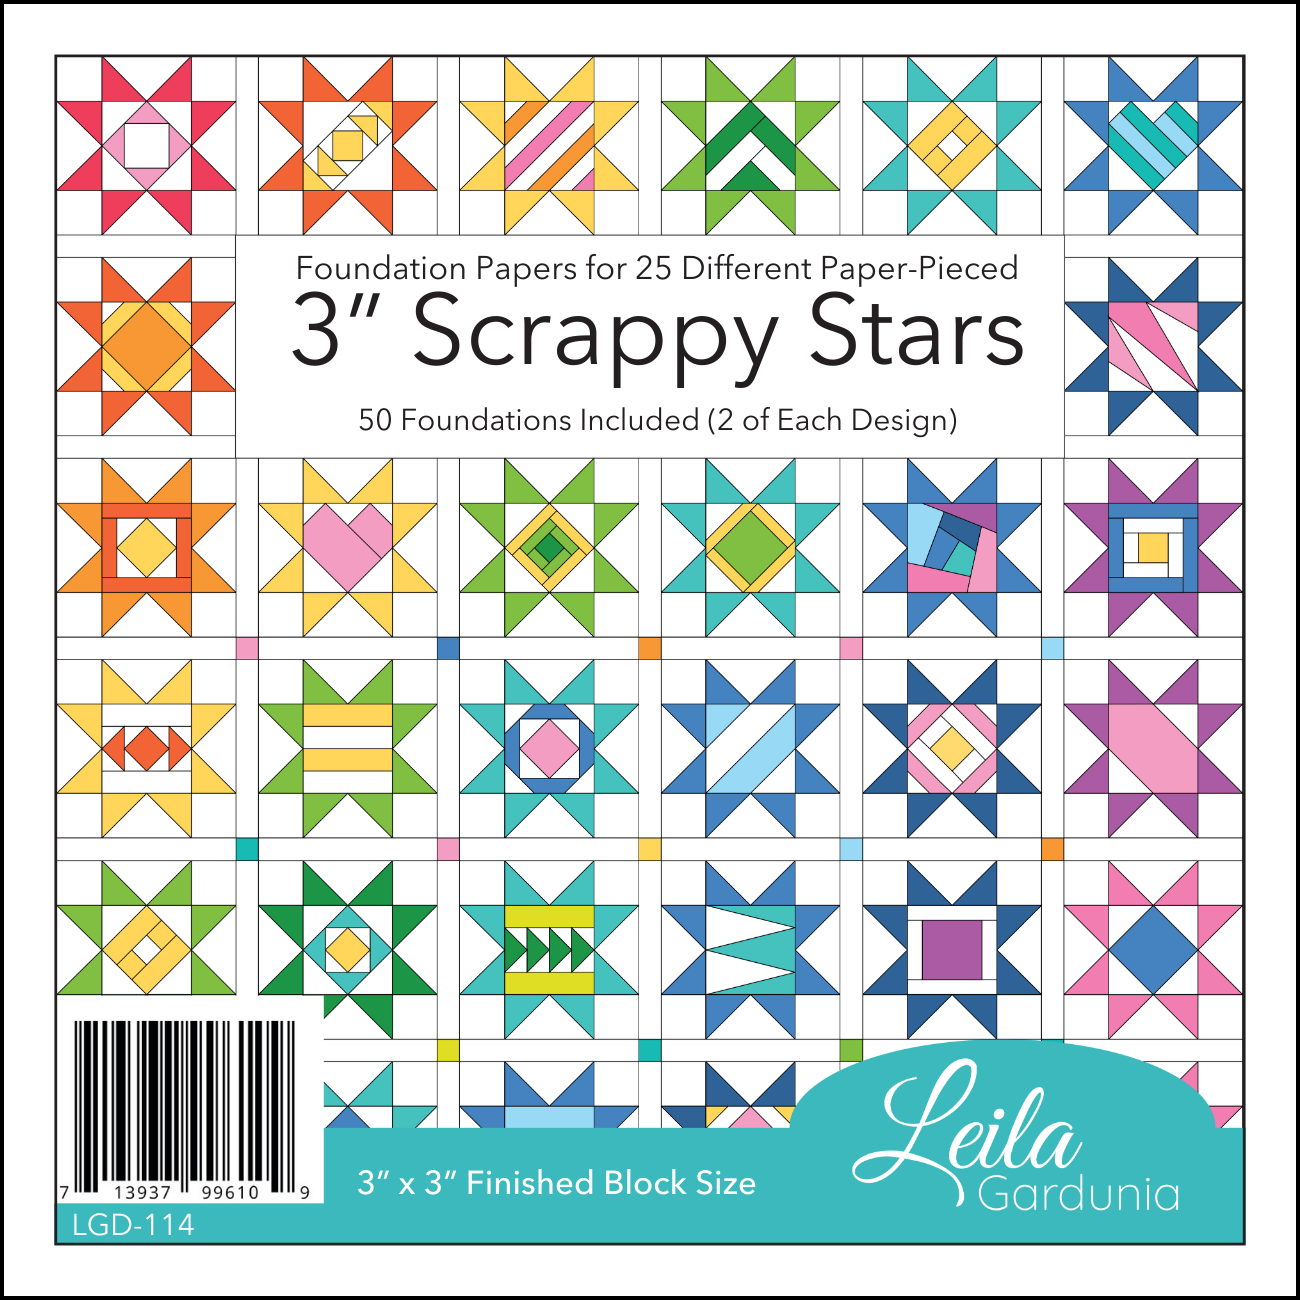
3” Scrappy Star Foundation Pad
You can purchase 3” Scrappy Star foundation pads or pdf patterns in my shop.

Video Tutorial
Are you a visual learner? I’ve got you covered! Get all the step-by-step instructions in this detailed video tutorial.
Free Scrappy Starshine Quilt Pattern
You can use the 6” Scrappy Star blocks in many different projects, but if you are looking for specific guidance, I have you covered! Click here to download the pattern for the Scrappy Starshine lap quilt.
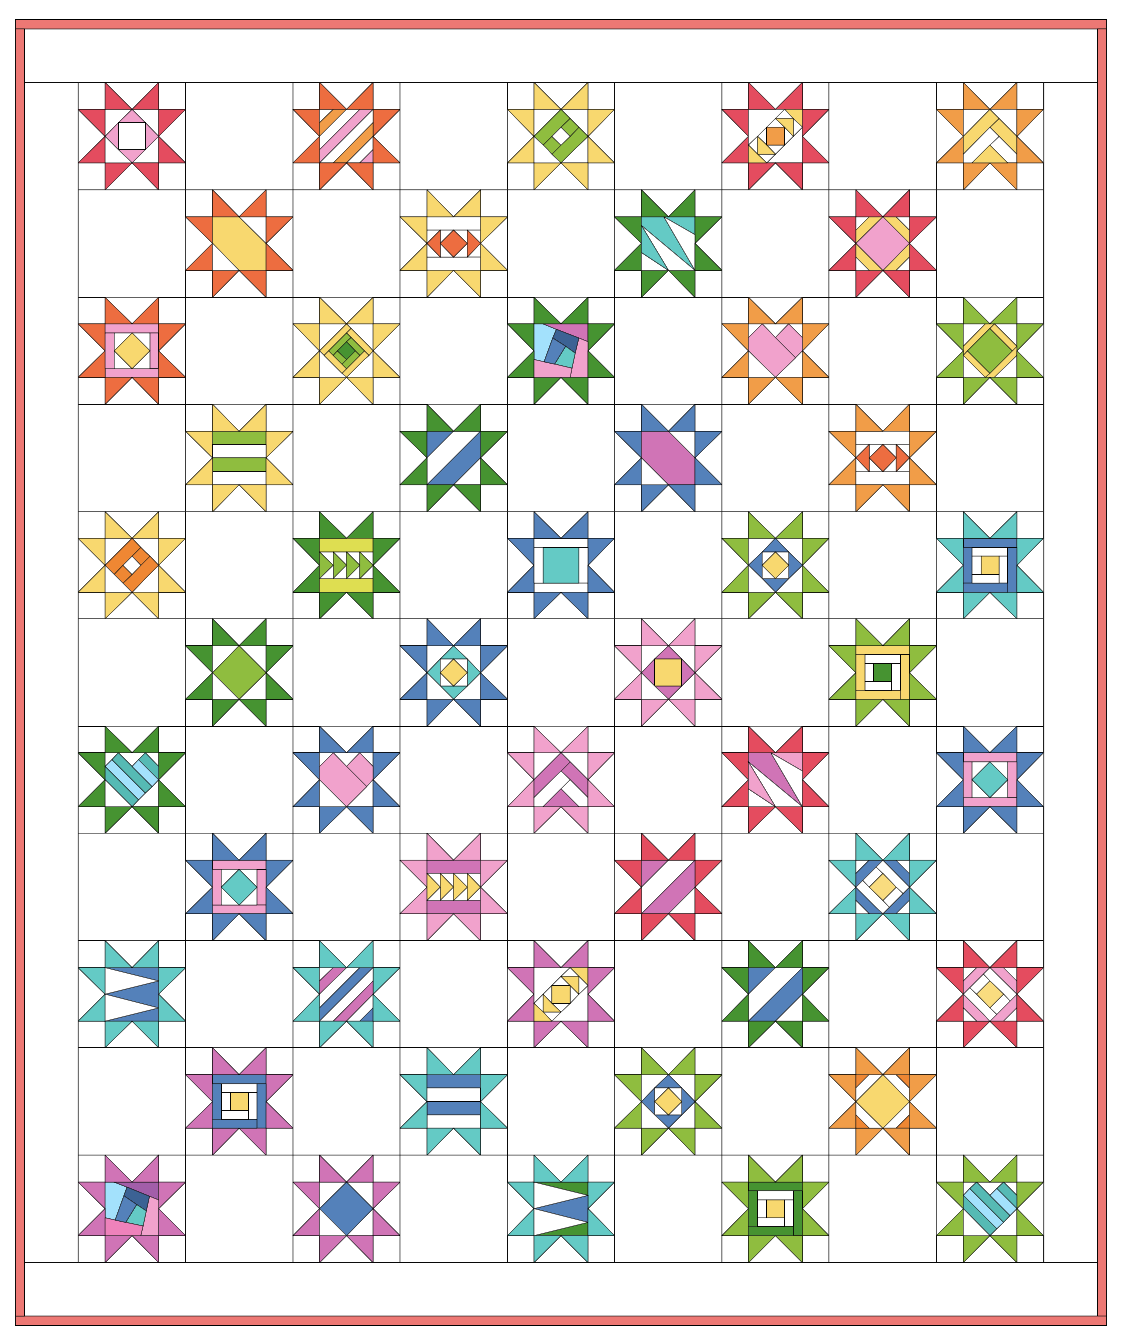
Free Tiny Twinkles Quilt Pattern
This cute mini quilt is made with 3” Scrappy Stars. Click here to download the pattern.

Bonus Stars & Stripes Pattern
Click here for the Stars & Stripes bonus block foundation. This block is perfect for your 4th of July or Quilts of Valor projects!
How to Foundation Paper Piece Scrappy Stars
Please note that this tutorial written overview. For in-depth explanation and visuals, please watch the video. Thanks!
Step 1: Prepare the Foundations
First choose your Scrappy Star foundation (so many cute options!). If you are using the preprinted foundations, just tear one out of the pad. If you are printing from the pdf, make sure to print at 100%. After printing, measure the 1” square to verify that the foundations printed correctly.
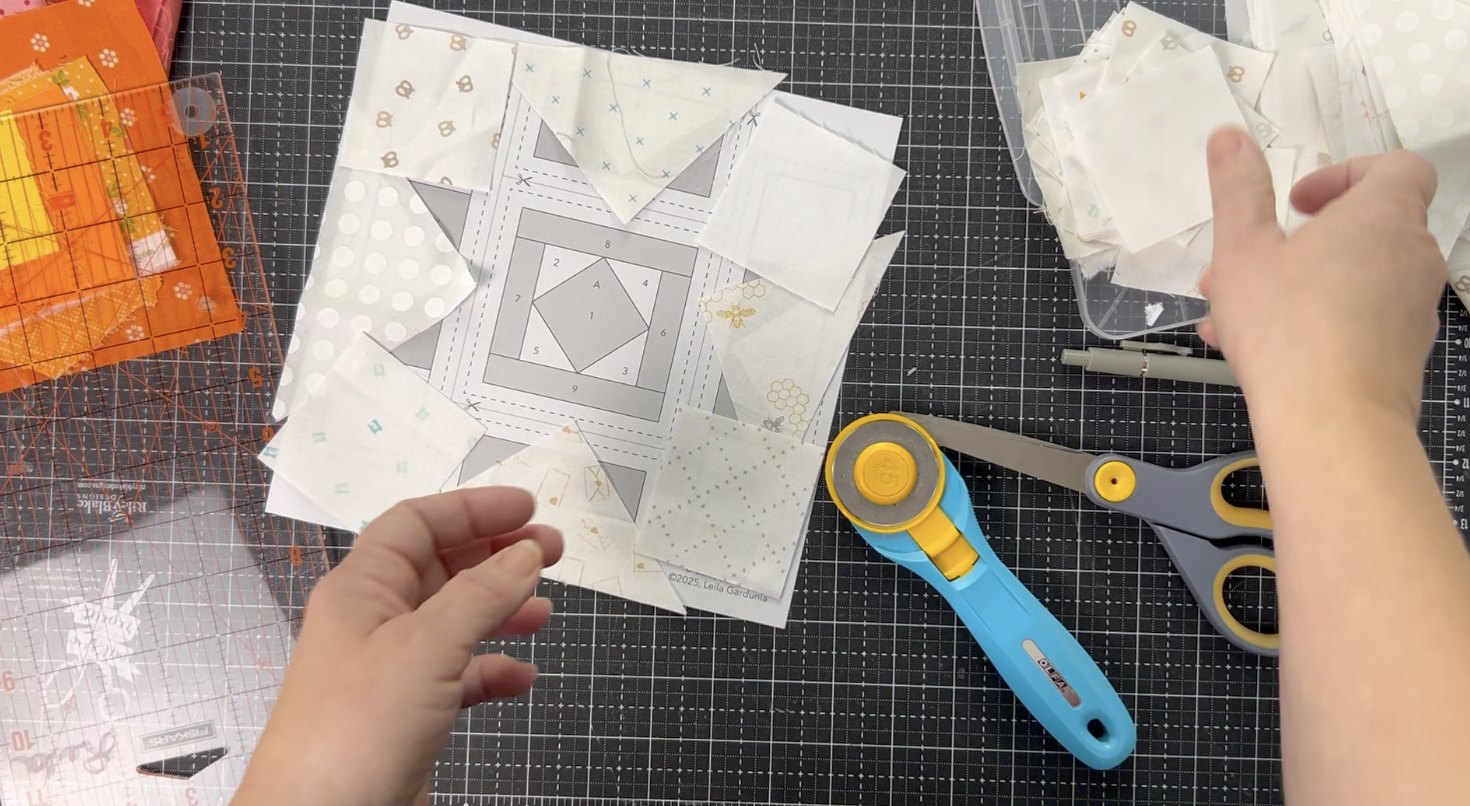
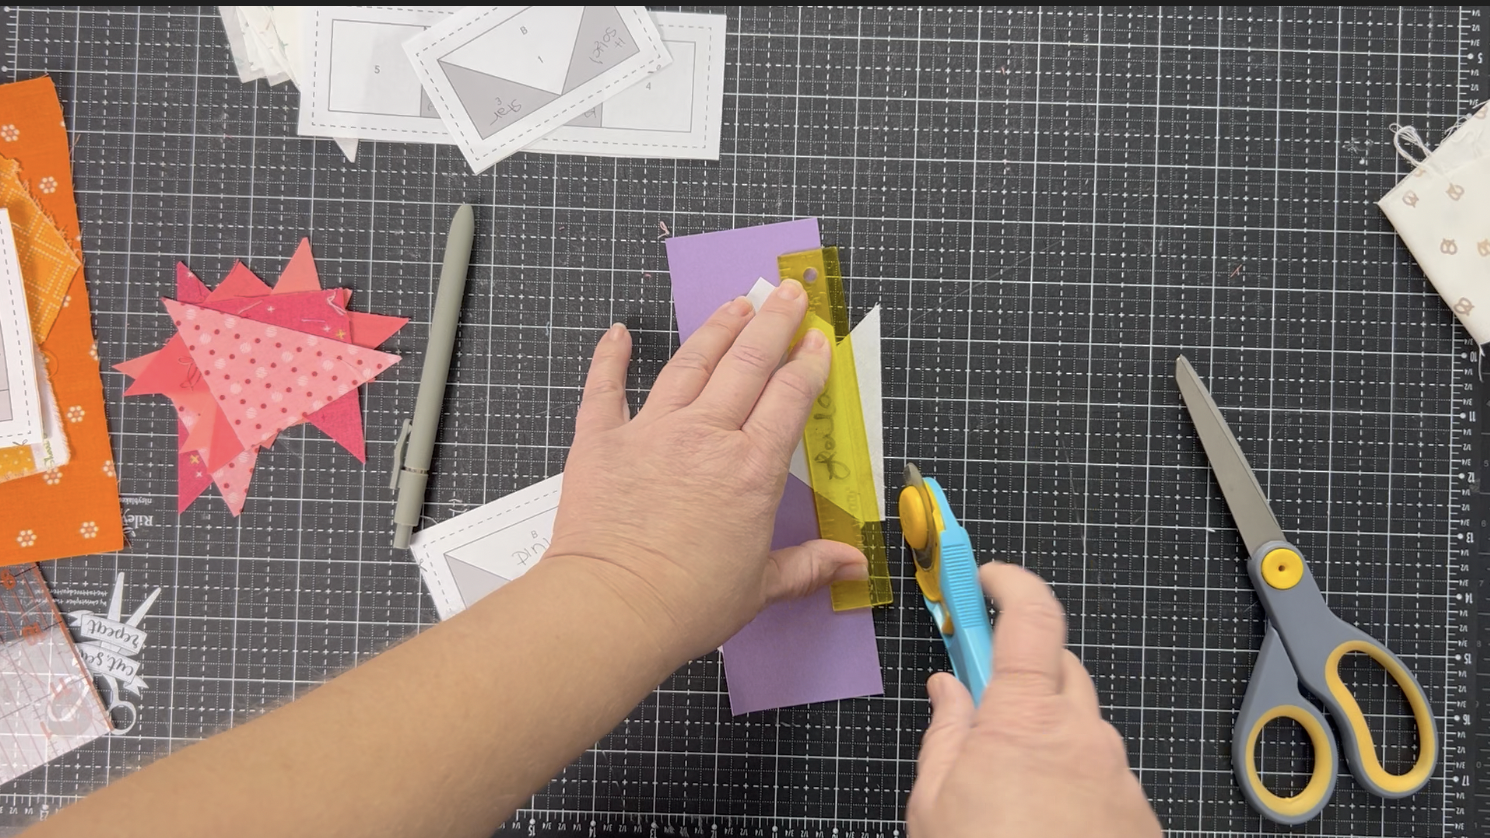
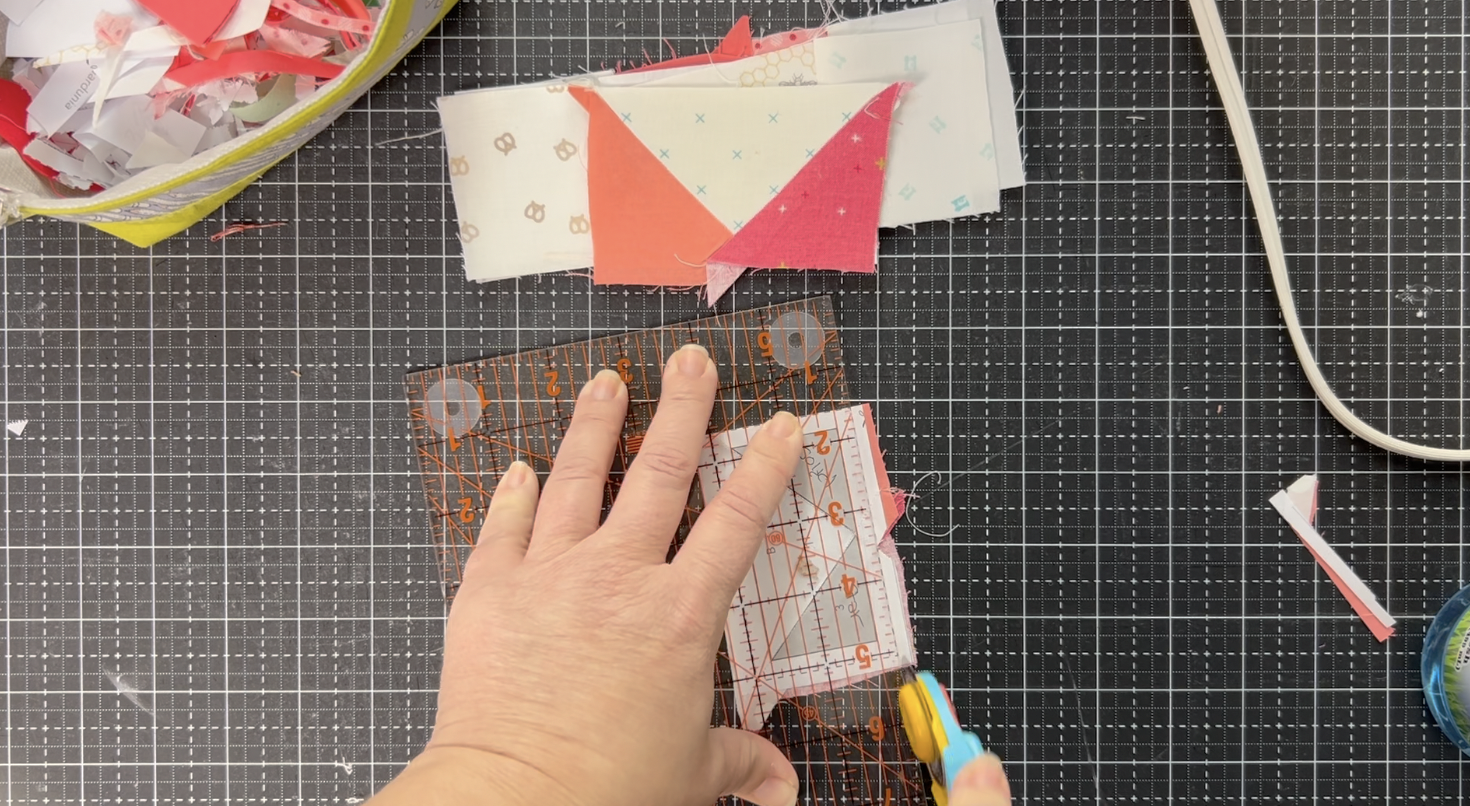
Step 2: Choose and Cut Fabric
Refer to the cutting instructions on page 2 of the pdf and on the back cover of the foundation pad for instructions on how to cut fabric pieces for the star points (foundations B and C).
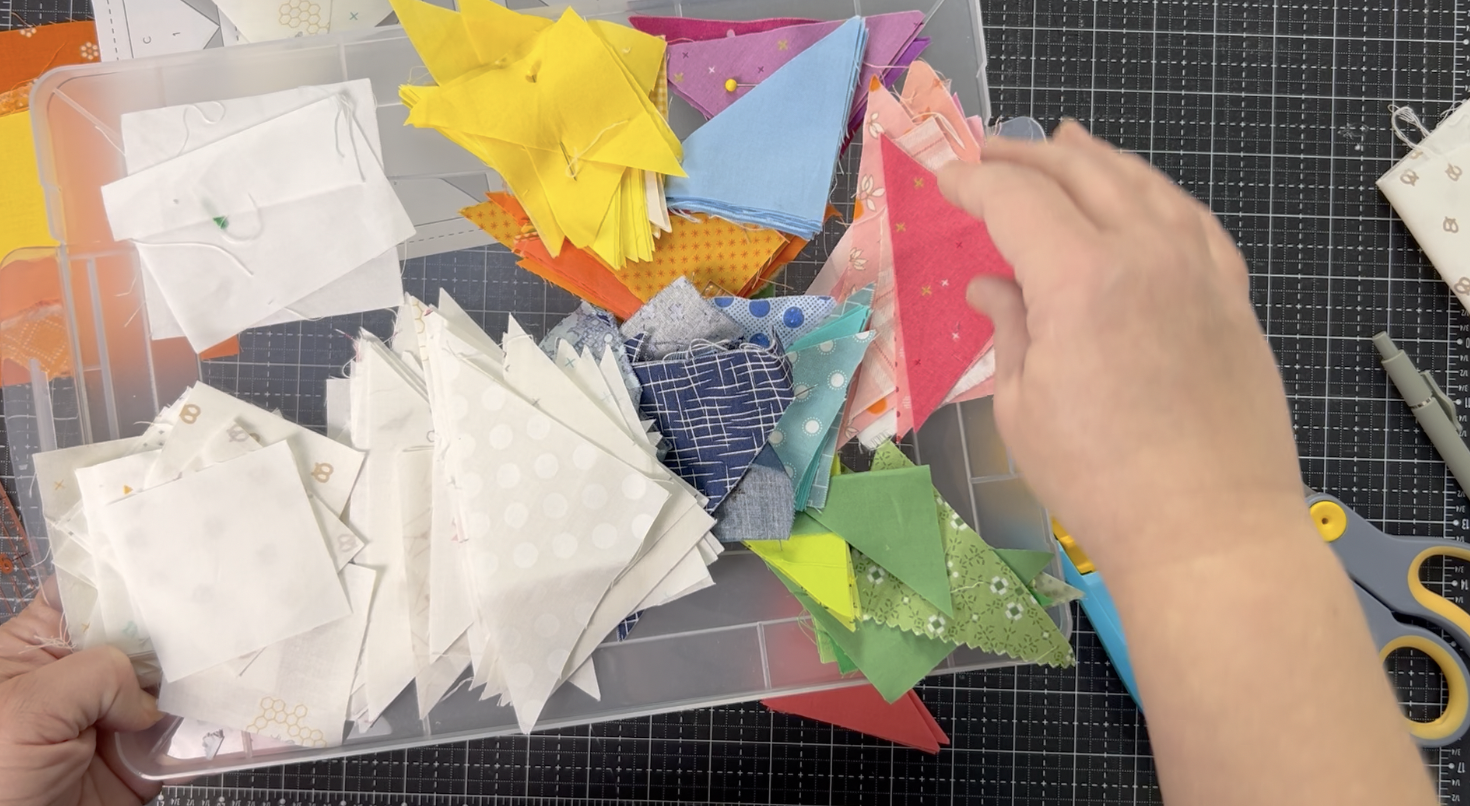
To make the block extra scrappy use many different background and colored prints. You may wish to precut extra fabric pieces and mix and match for a more scrappy feel.
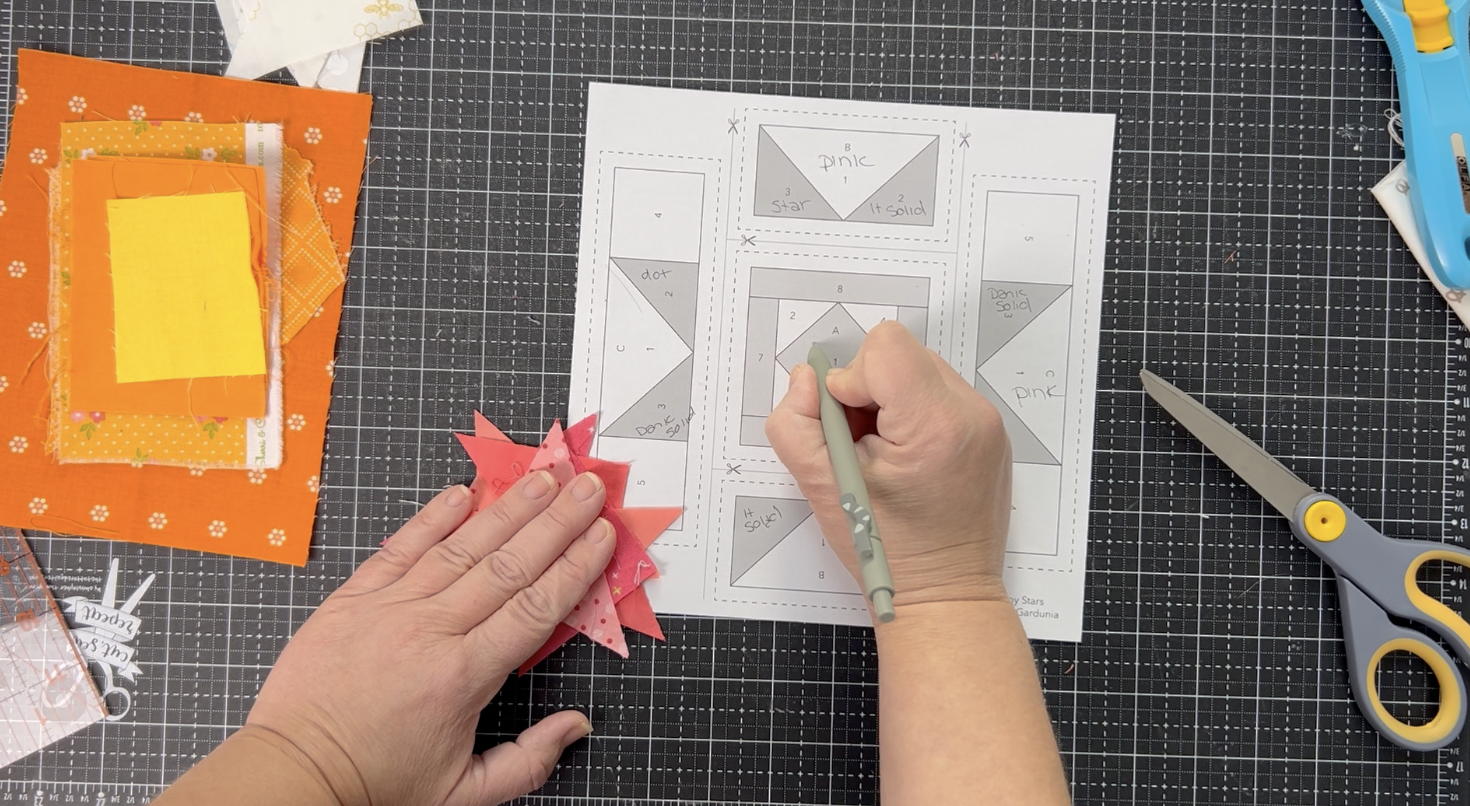
If exact fabric placement is important, label the foundation. You can write directly on the foundation with pen or pencil.
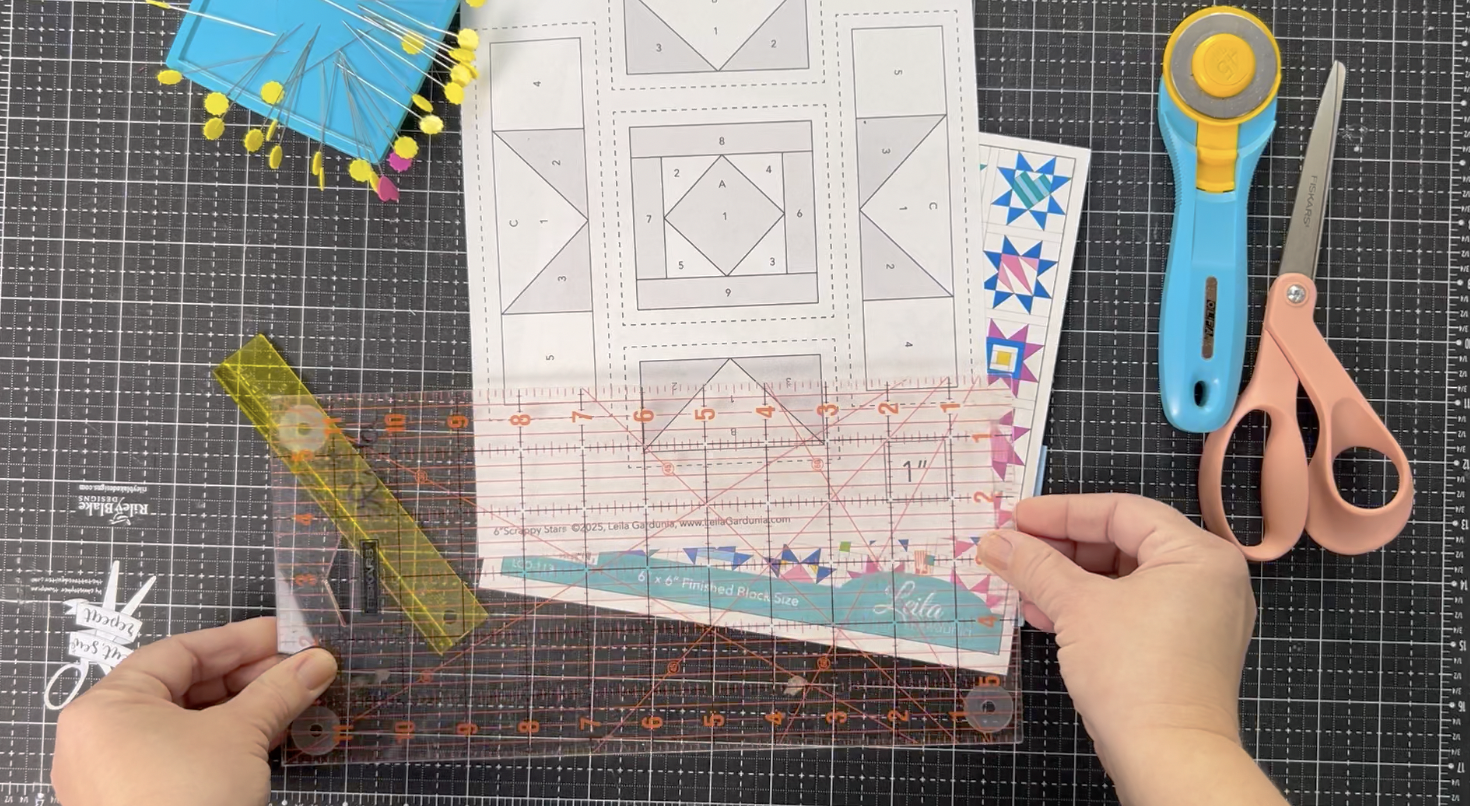
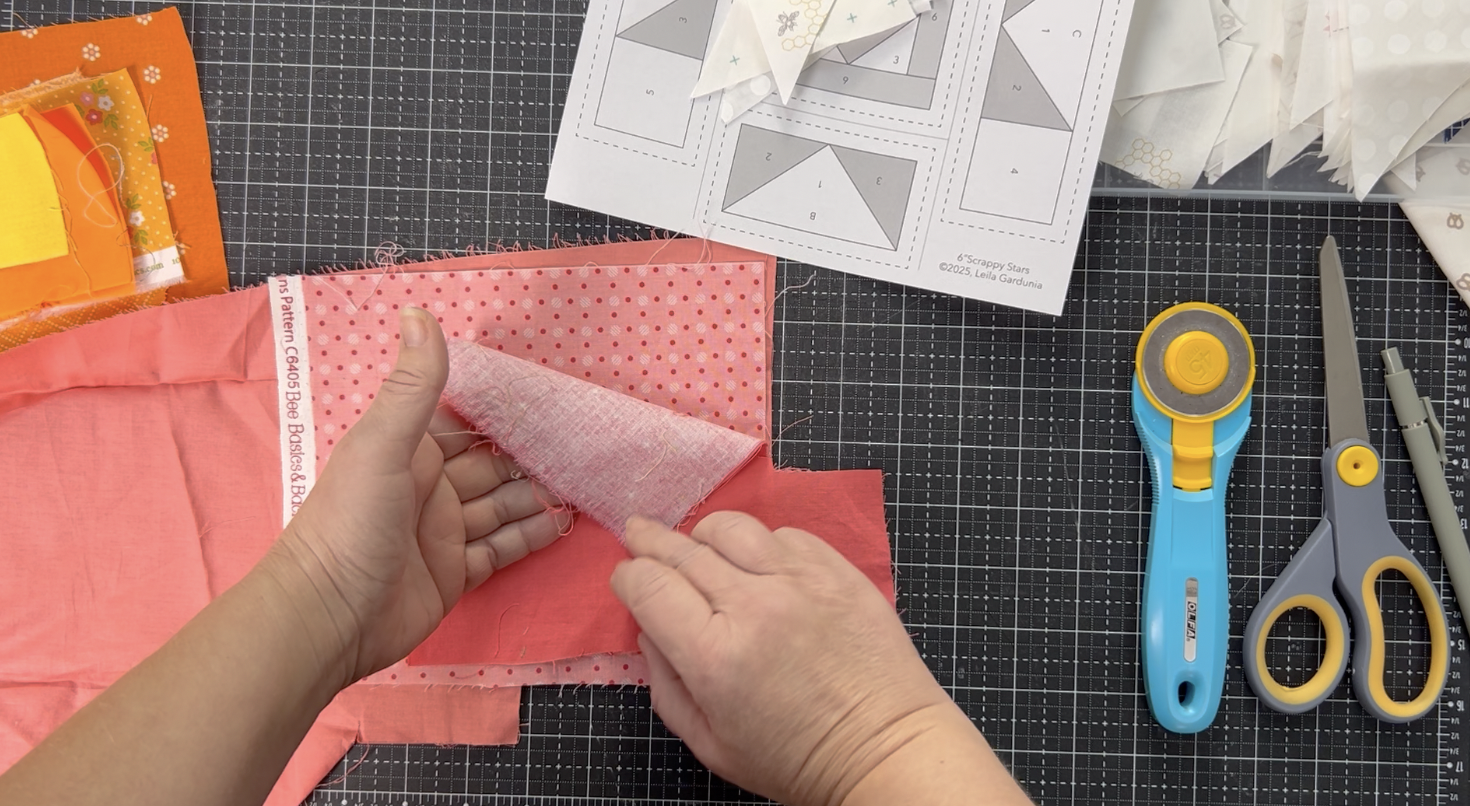
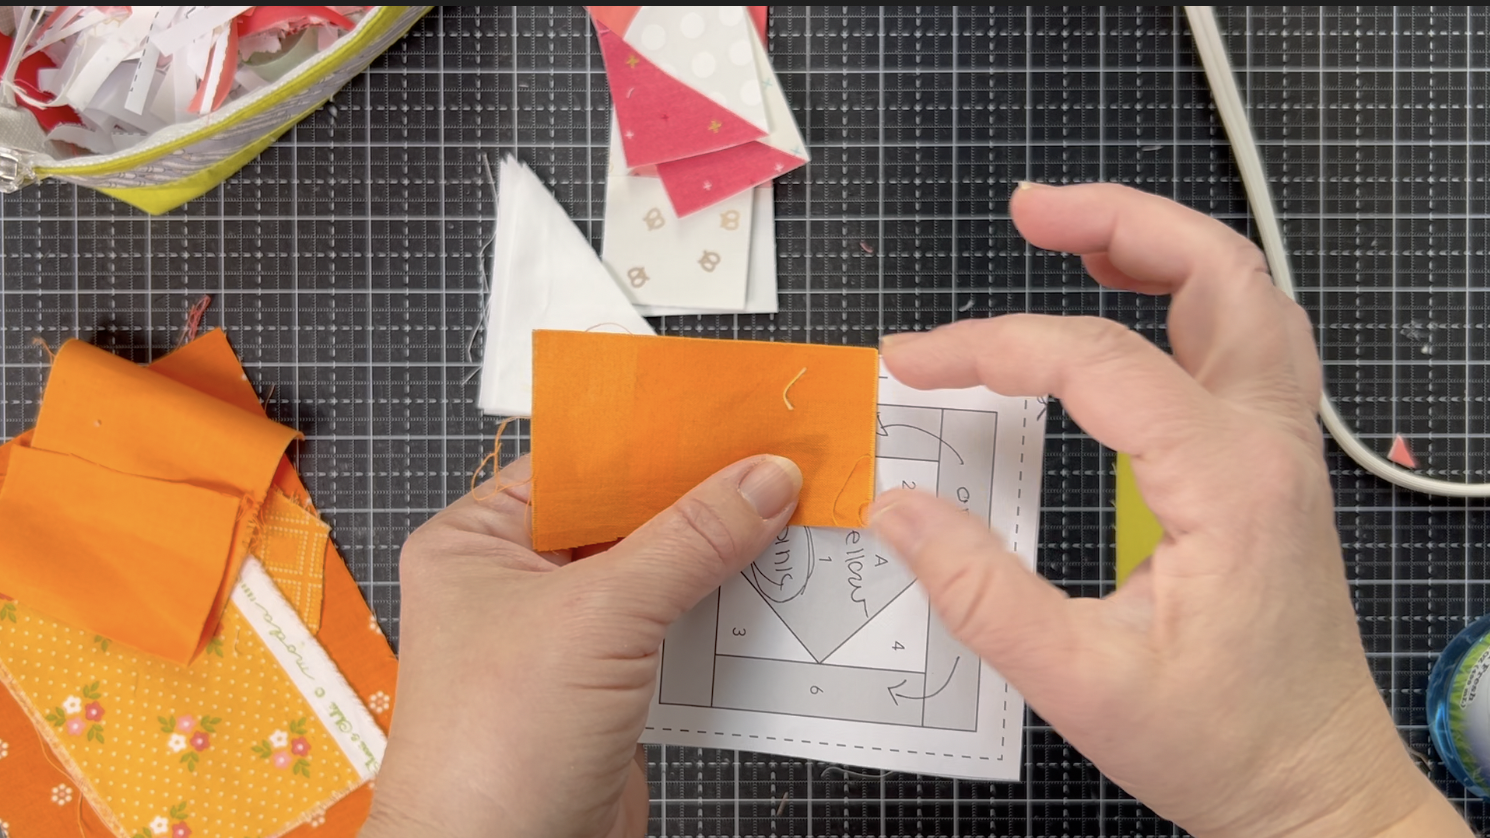
Step 3: Trim and Sew the First Star Point onto the Background
To start, place the wrong side of the background triangle that will go in section 1 on the back side of the paper foundation, the long side of the triangle will be flush with the top of the foundation and centered along the length. Hold up to a light to make sure the fabric covers the entire area of section 1. It should also overlap the other sections by at least ¼” on all sides. Secure the fabric with a flat head pin or a dab of glue stick. (Ball head pins will not work well when it is time to trim.)
Locate the line that runs between section 1 and 2. Using a postcard or piece of cardstock as a guide, fold the foundation back along the line between section 1 and 2.
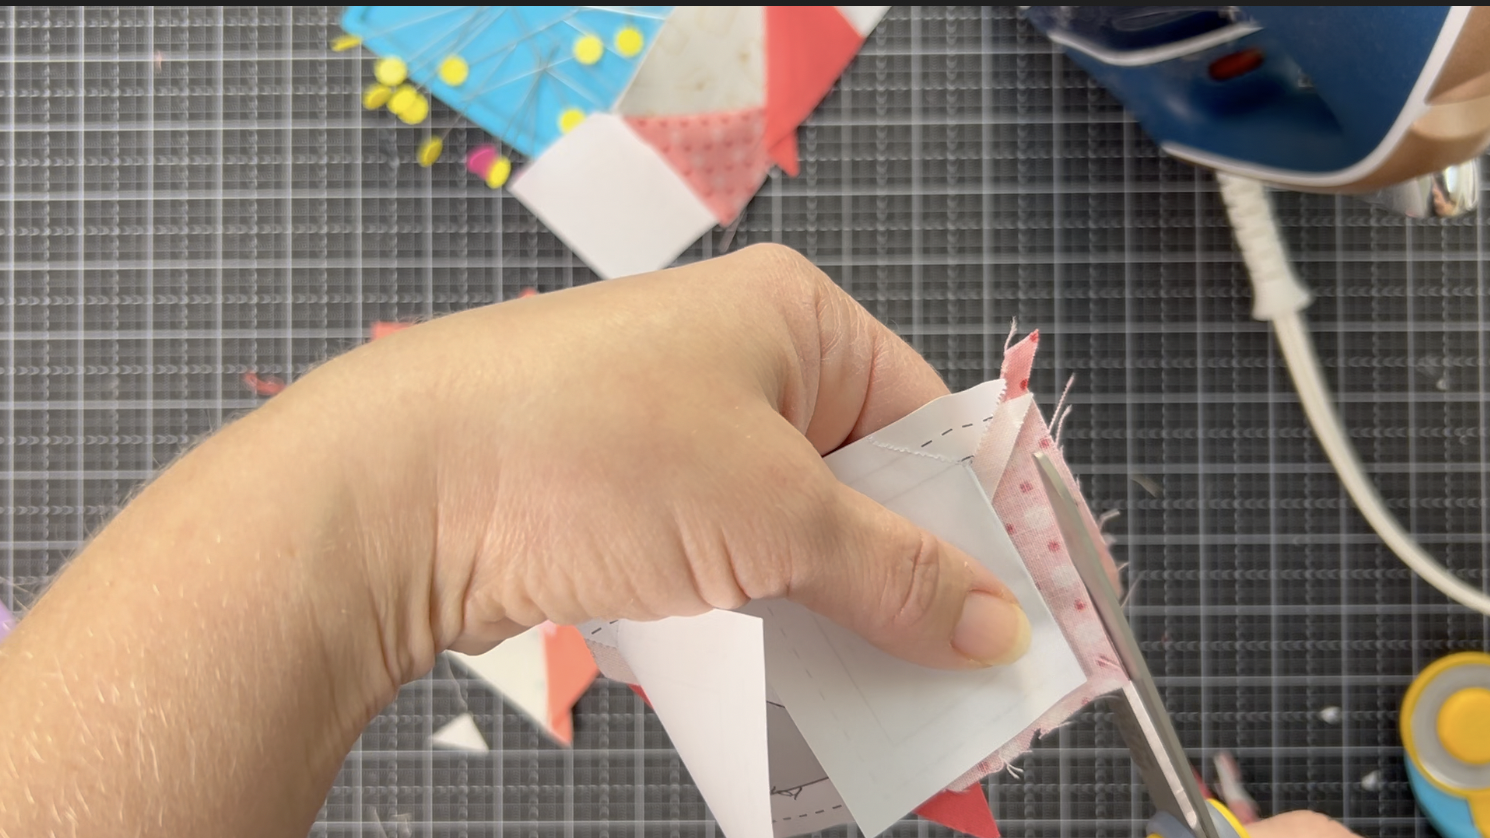
Line up the ¼” line on your ruler with the edge of the paper and trim the exposed fabric to ¼”.
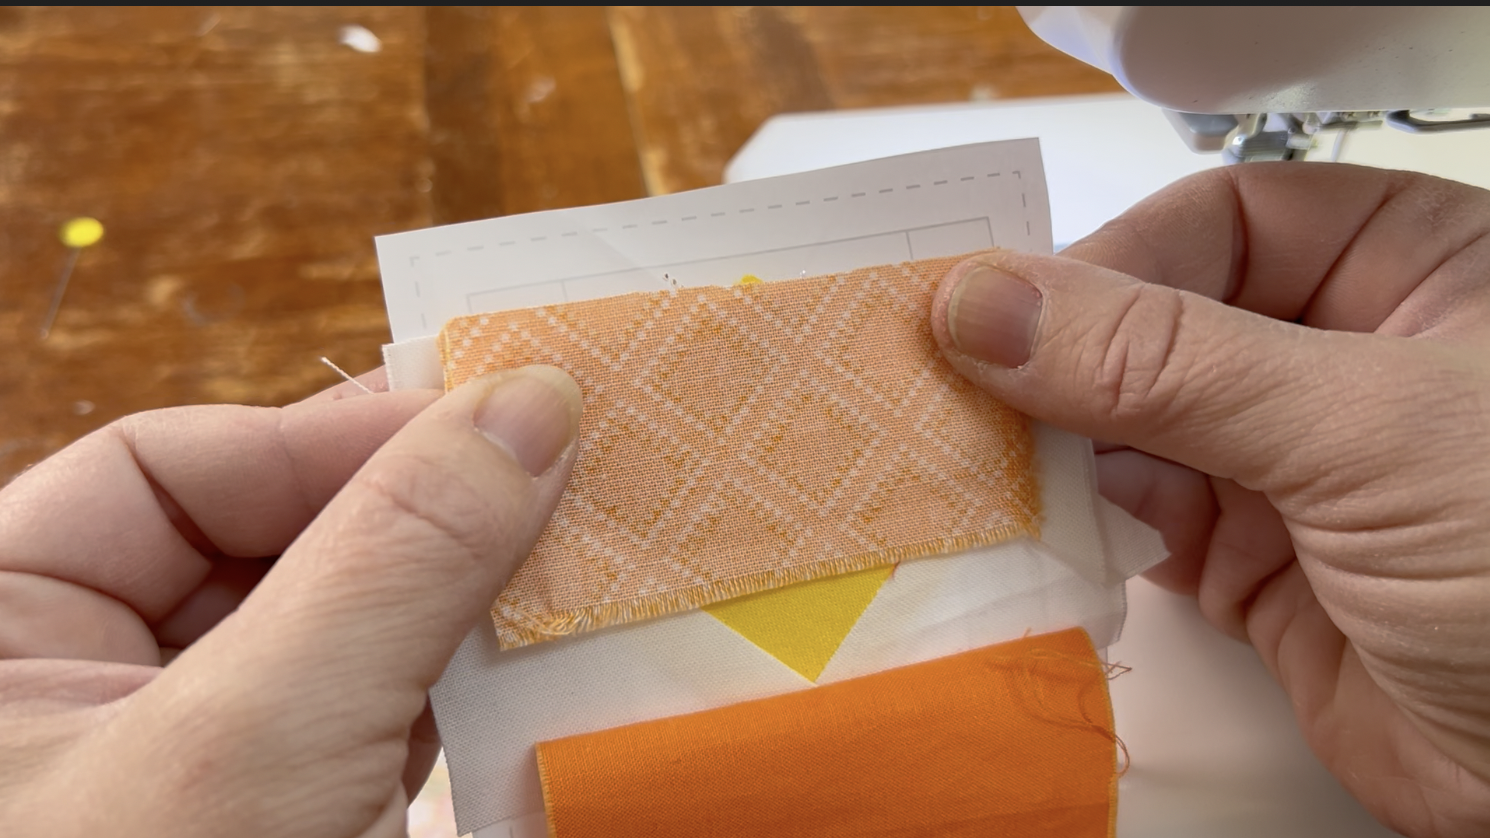
Fold the paper back down and flip the foundation over to the backside. Place the star point triangle on top of the first piece of fabric, right sides together and lined up along the trimmed edge and top of the foundation. Pin in place.
(You may find it easier to fold and trim by hand without a straight edge, ruler or rotary cutter.)
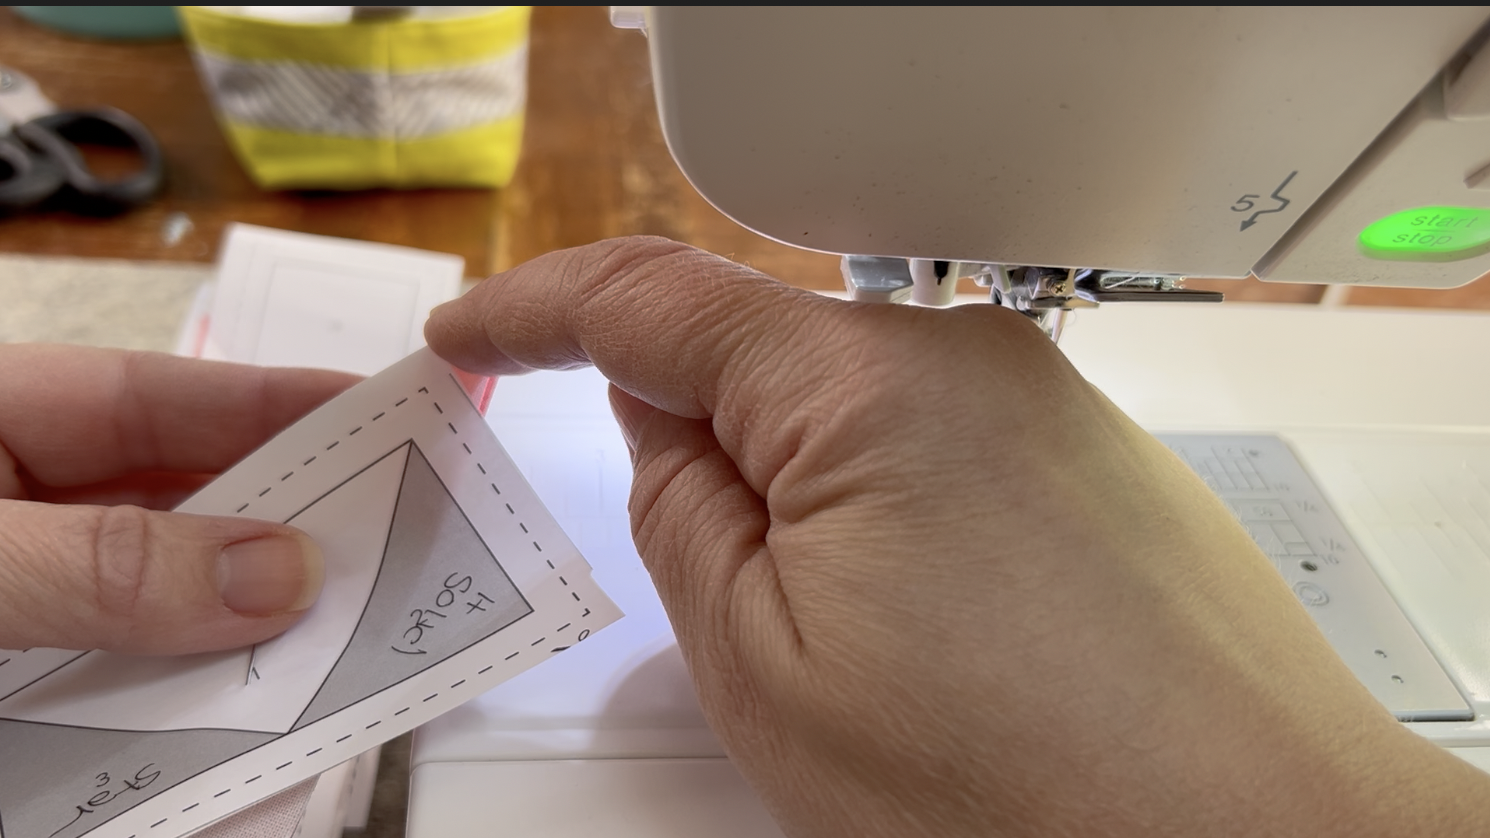
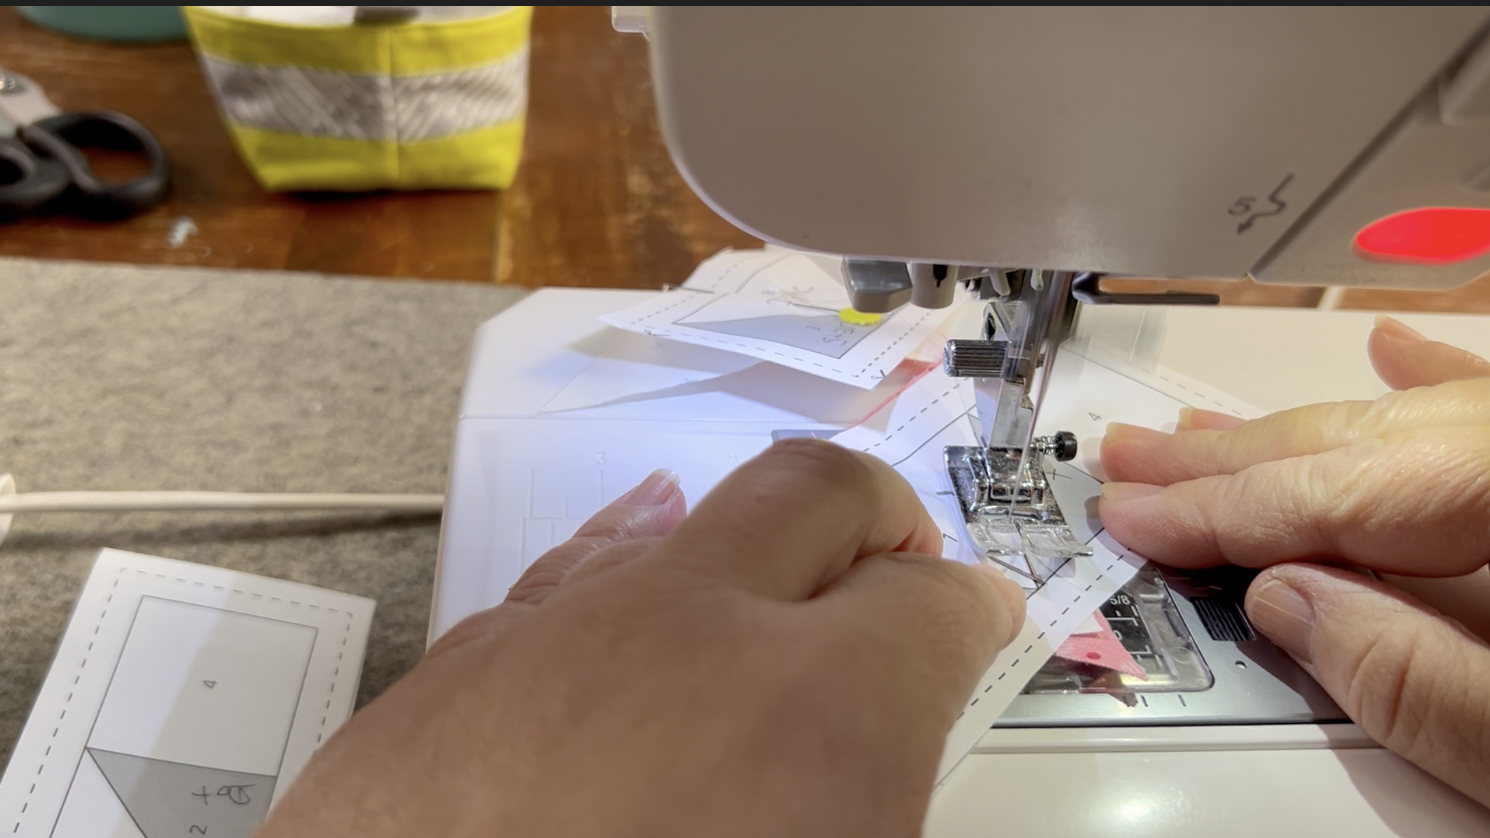
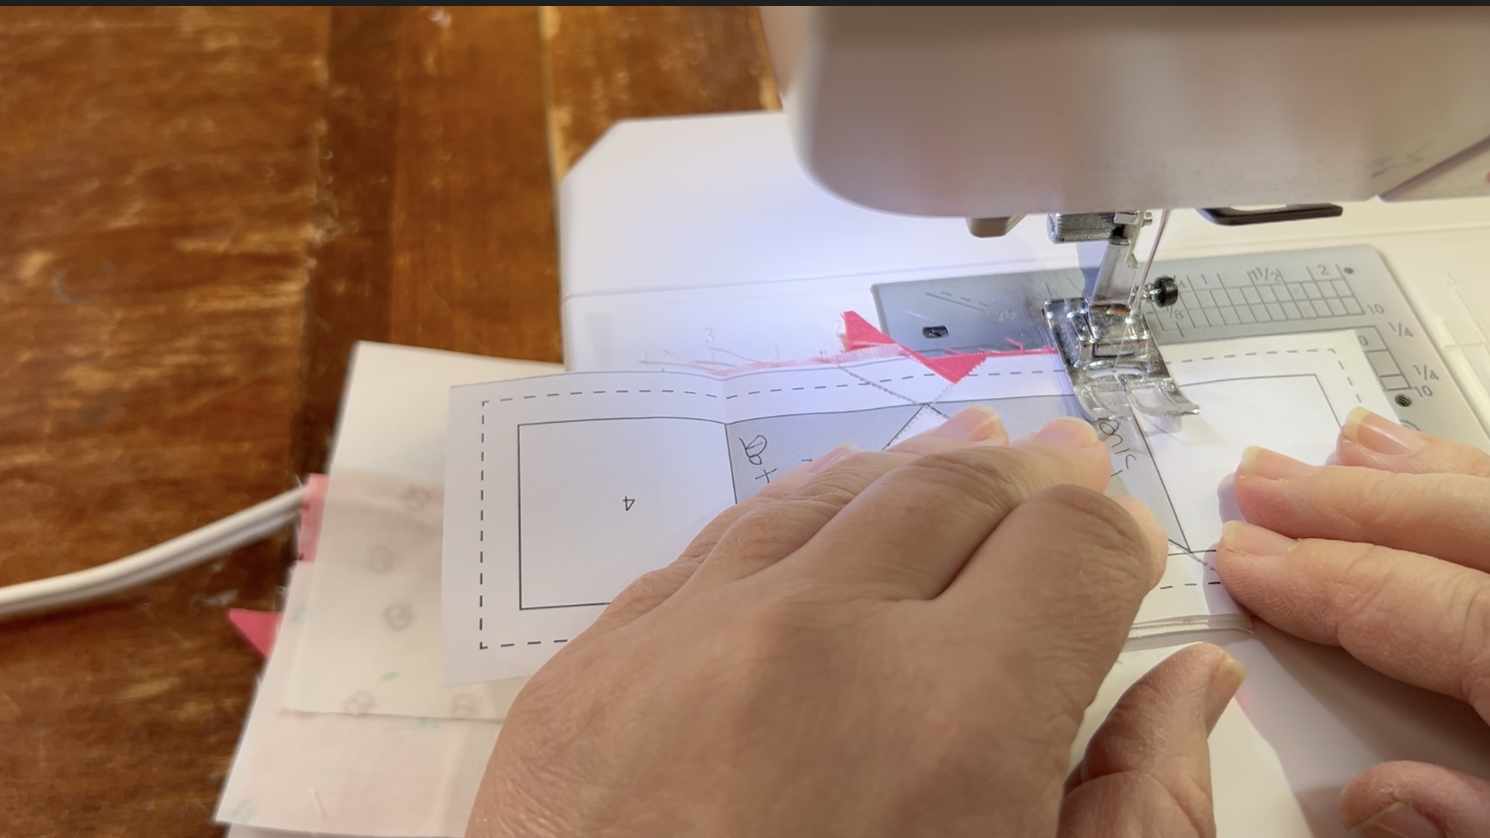
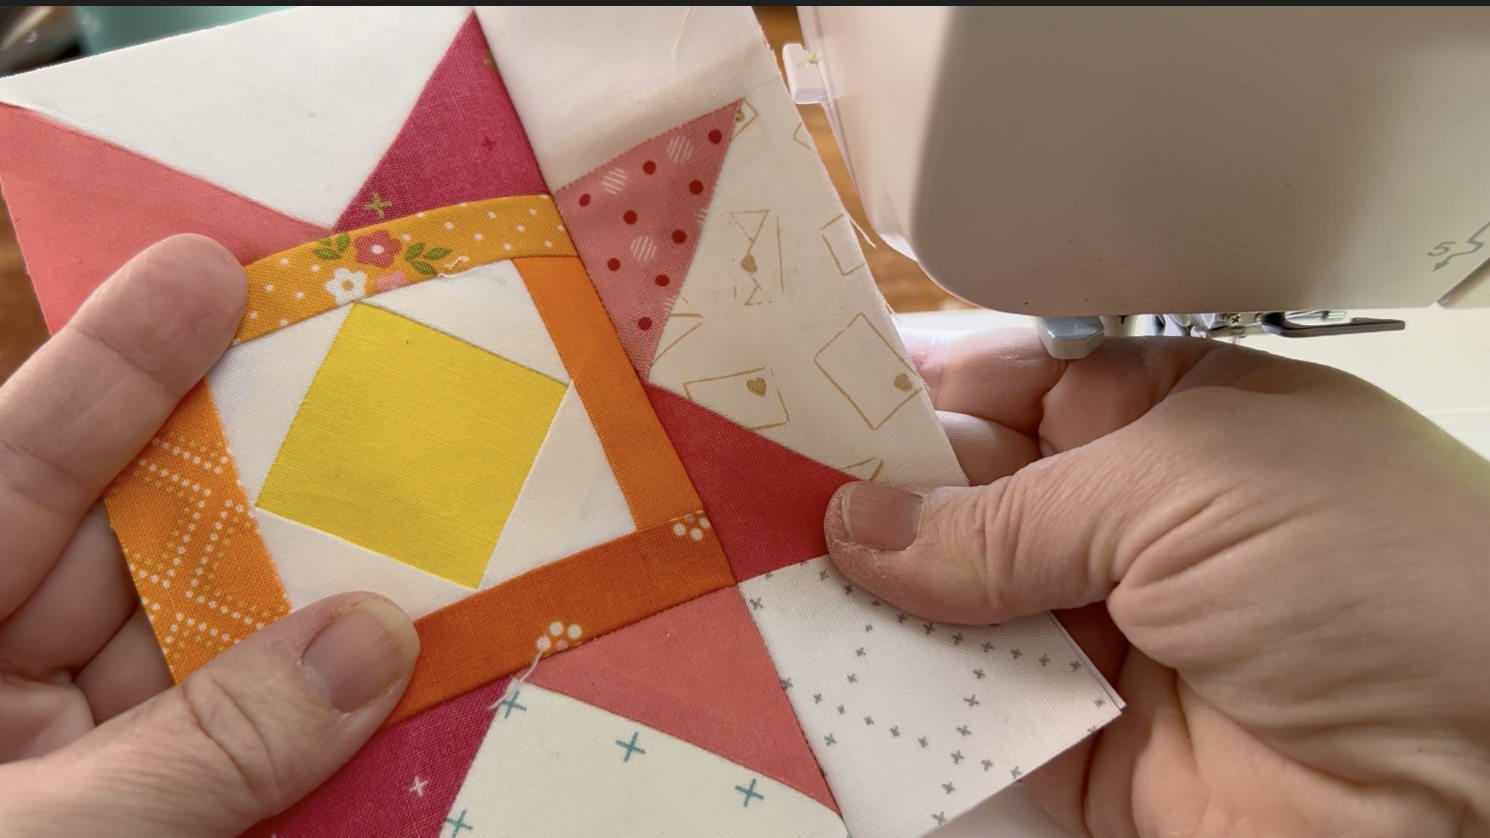
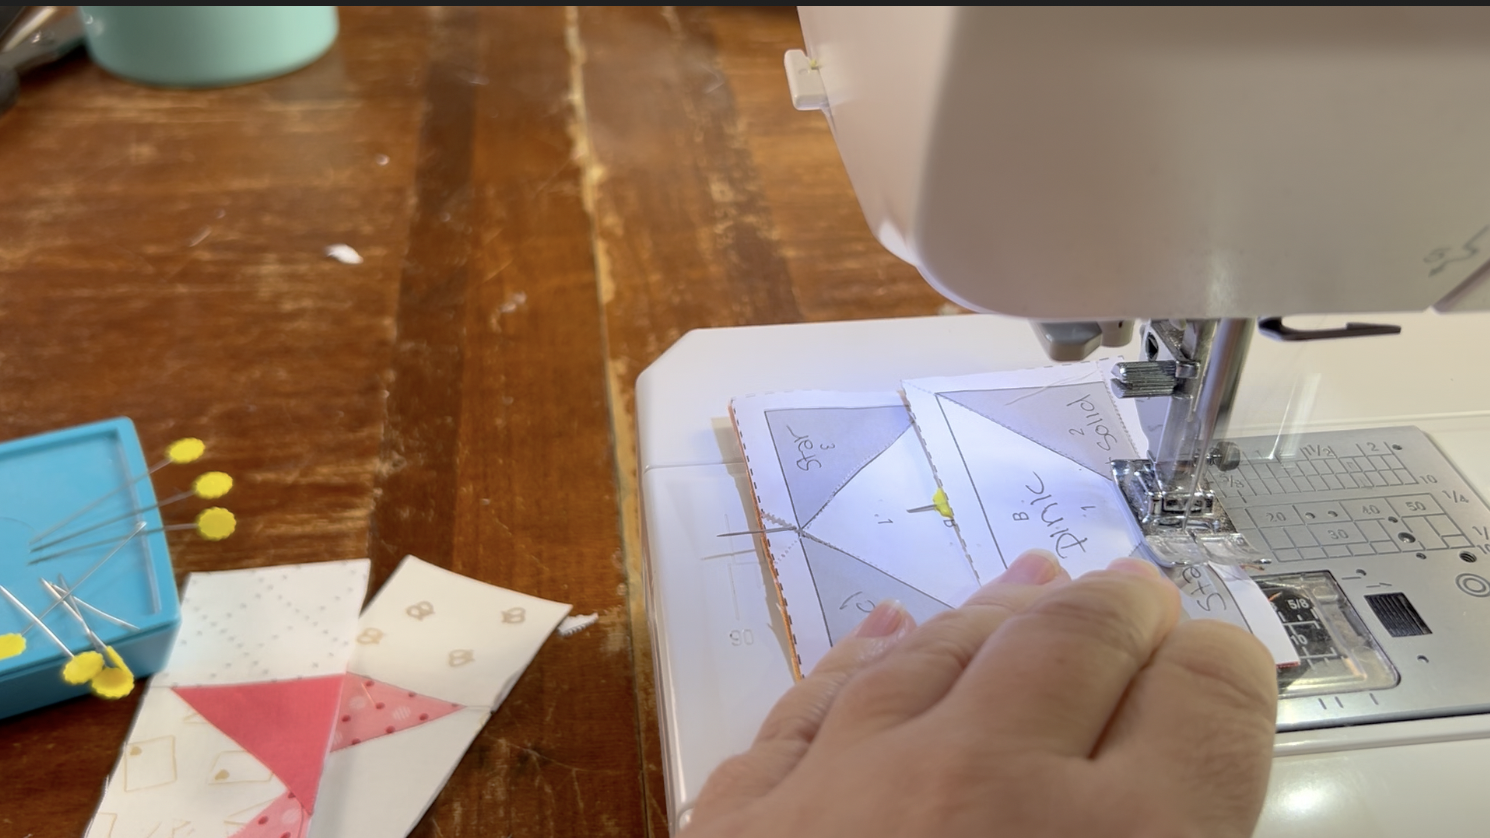
Flip the foundation over to the printed side. Double check that the stitch length is reduced to 1.5 and sew along the line between sections 1 and 2. Start at the corner, just outside the dotted lines. You can use the fold as a sewing guide until you hit the line. Continue sewing and stop ½” past the end of the line.
TIP: Sew all of the 2 pieces onto the 1 pieces on foundations B and C. Trimming, pinning, and sewing the same numbered section to all the foundations at the same time speeds the piecing process.
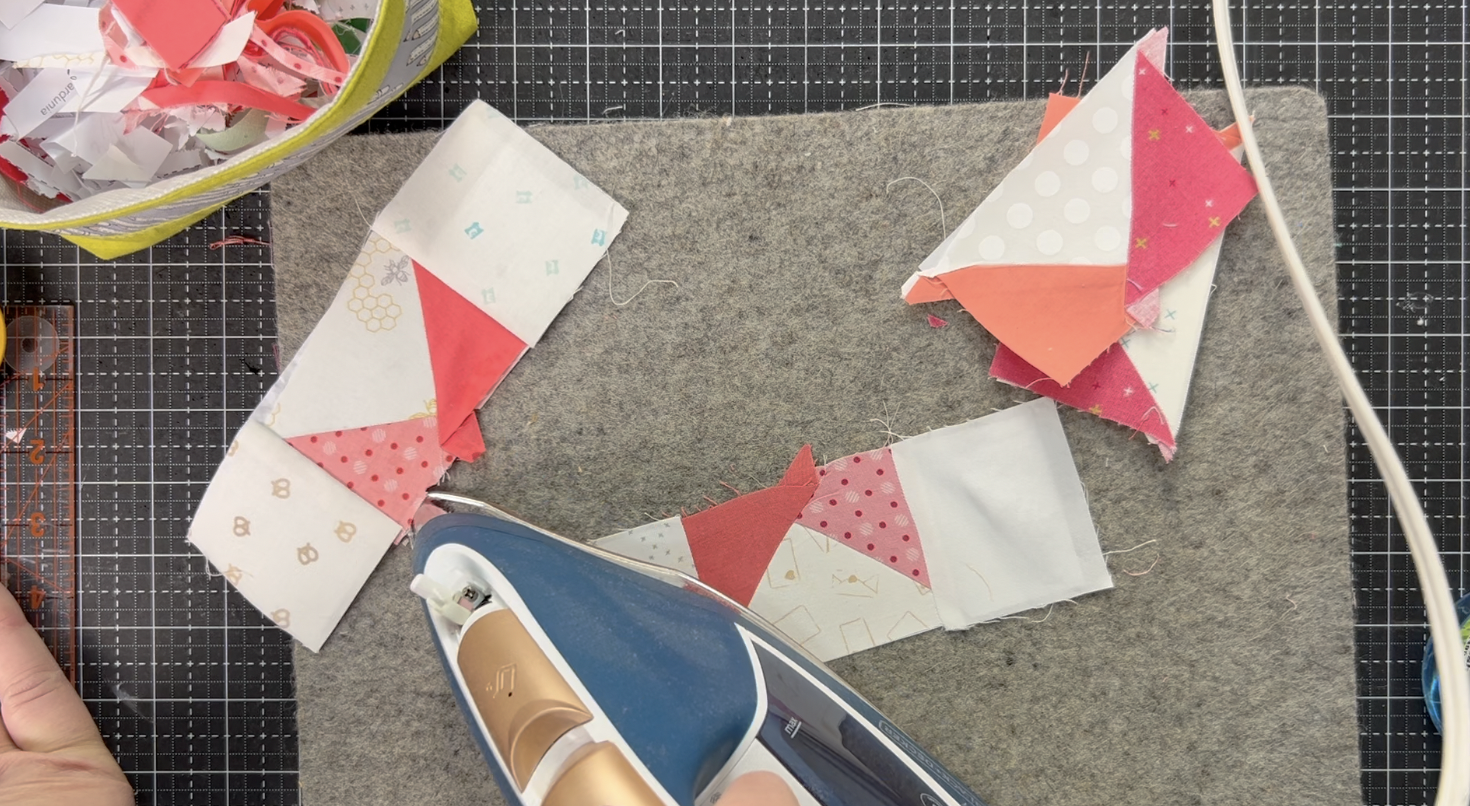
Step 4: Press and Repeat
Press the star fabric open. You can use an iron or finger(nail) press.
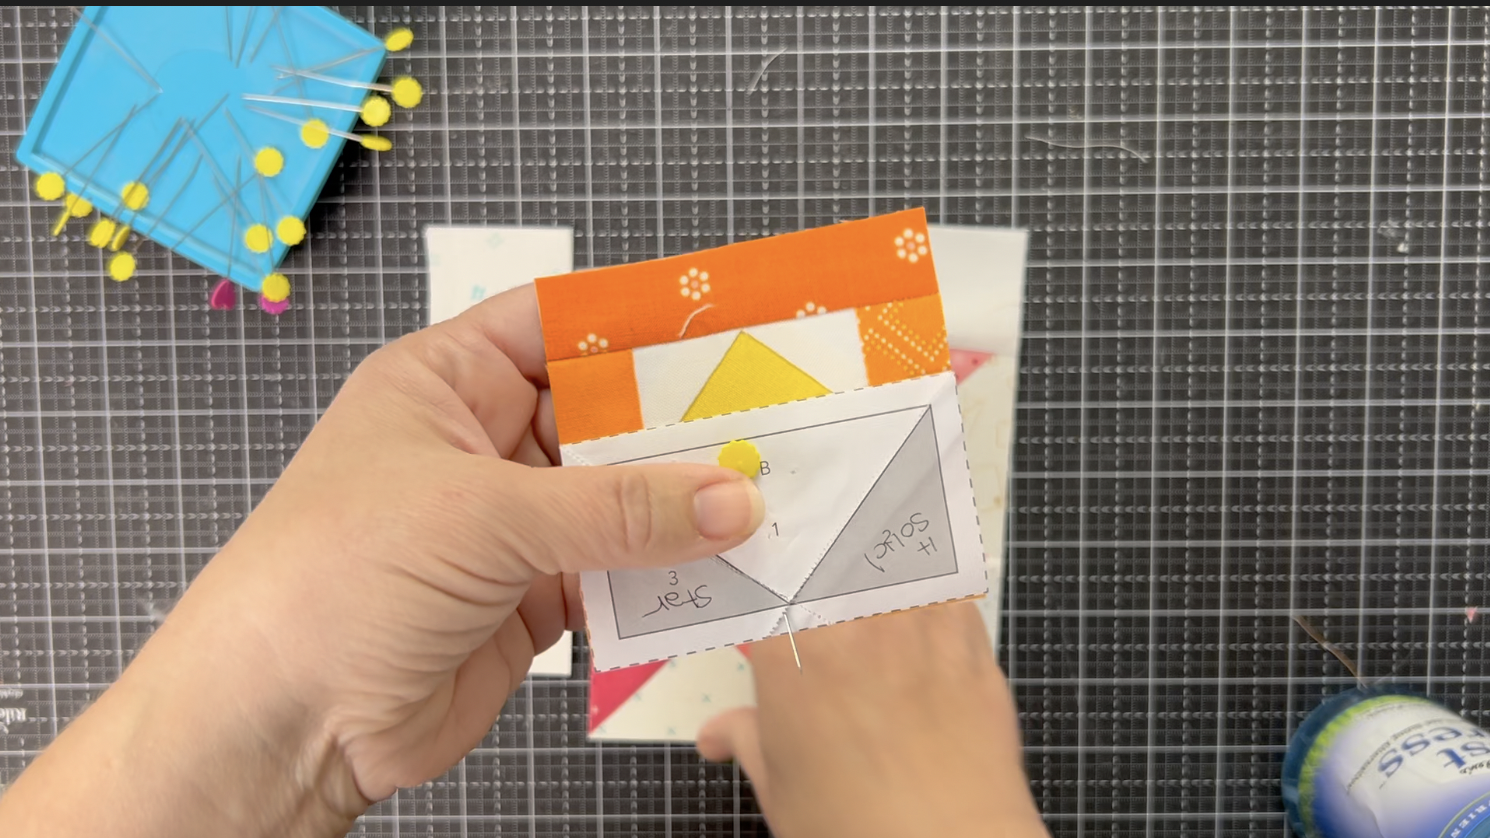
Repeat the previous step, trim and add the second star fabric in section 3. Press and add the corner squares on foundation C. See the video for more tips on timing and lining up the pieces.

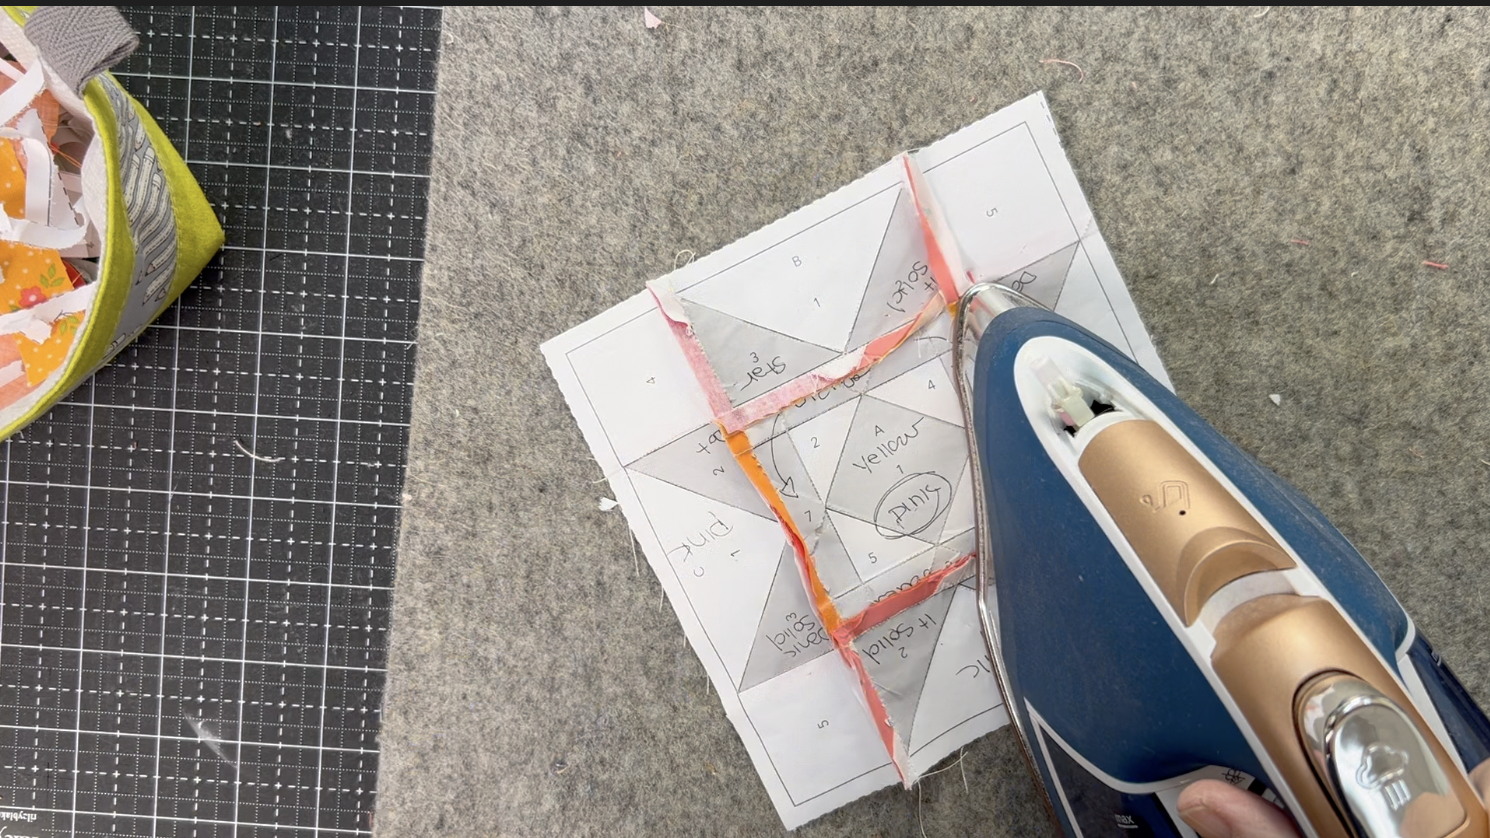
Step 7: Press and Trim
I like to give the foundations a good press before trimming. This keeps everything nice and neat and the fabric from shifting while trimming. Use a light starch like Best Press if desired.
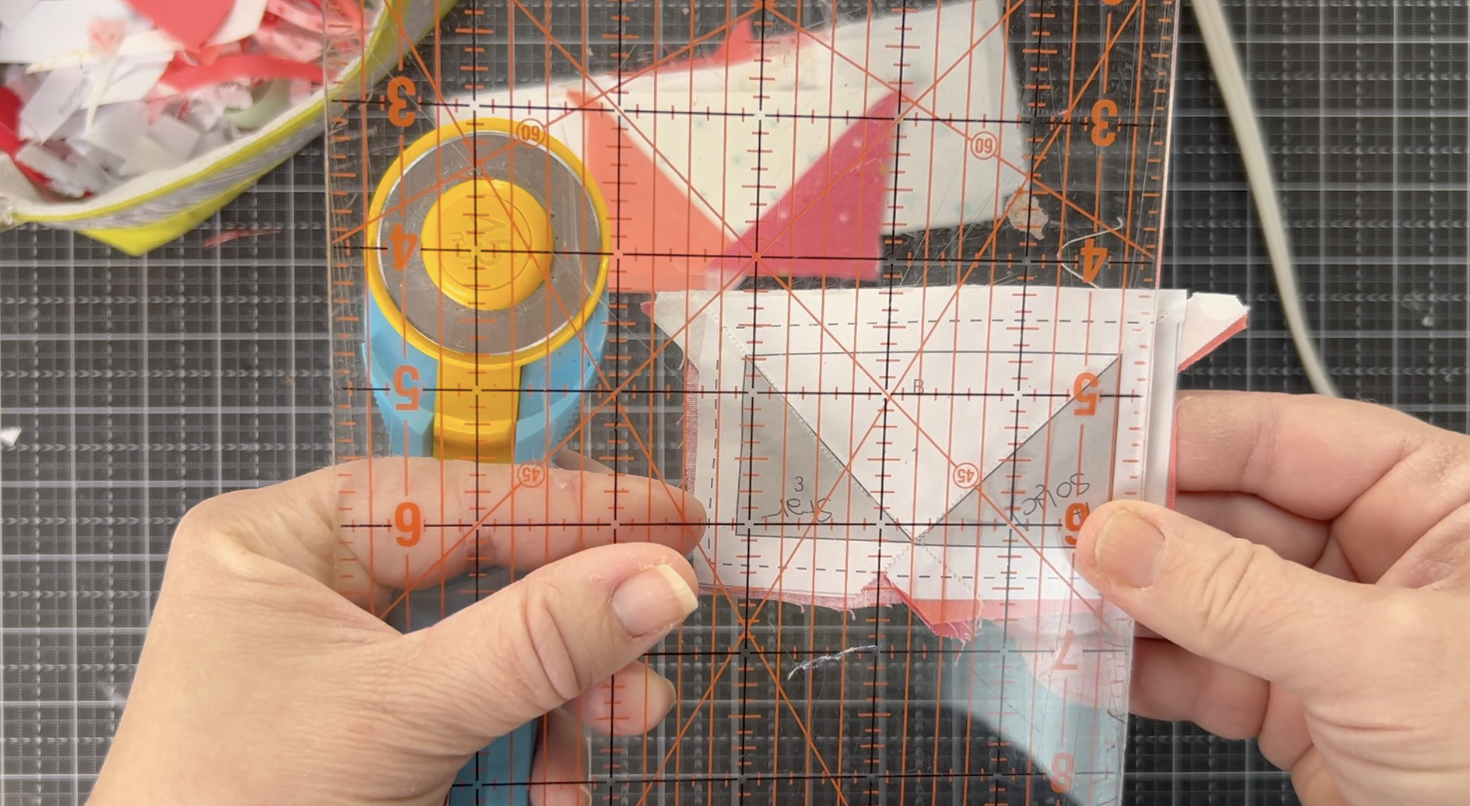
Trim off the excess fabric and foundation on the dotted line. The easiest way to do this is to line up the inner solid line of the foundation with the 1/4” line on the ruler and trim. Trim all B and C foundations.
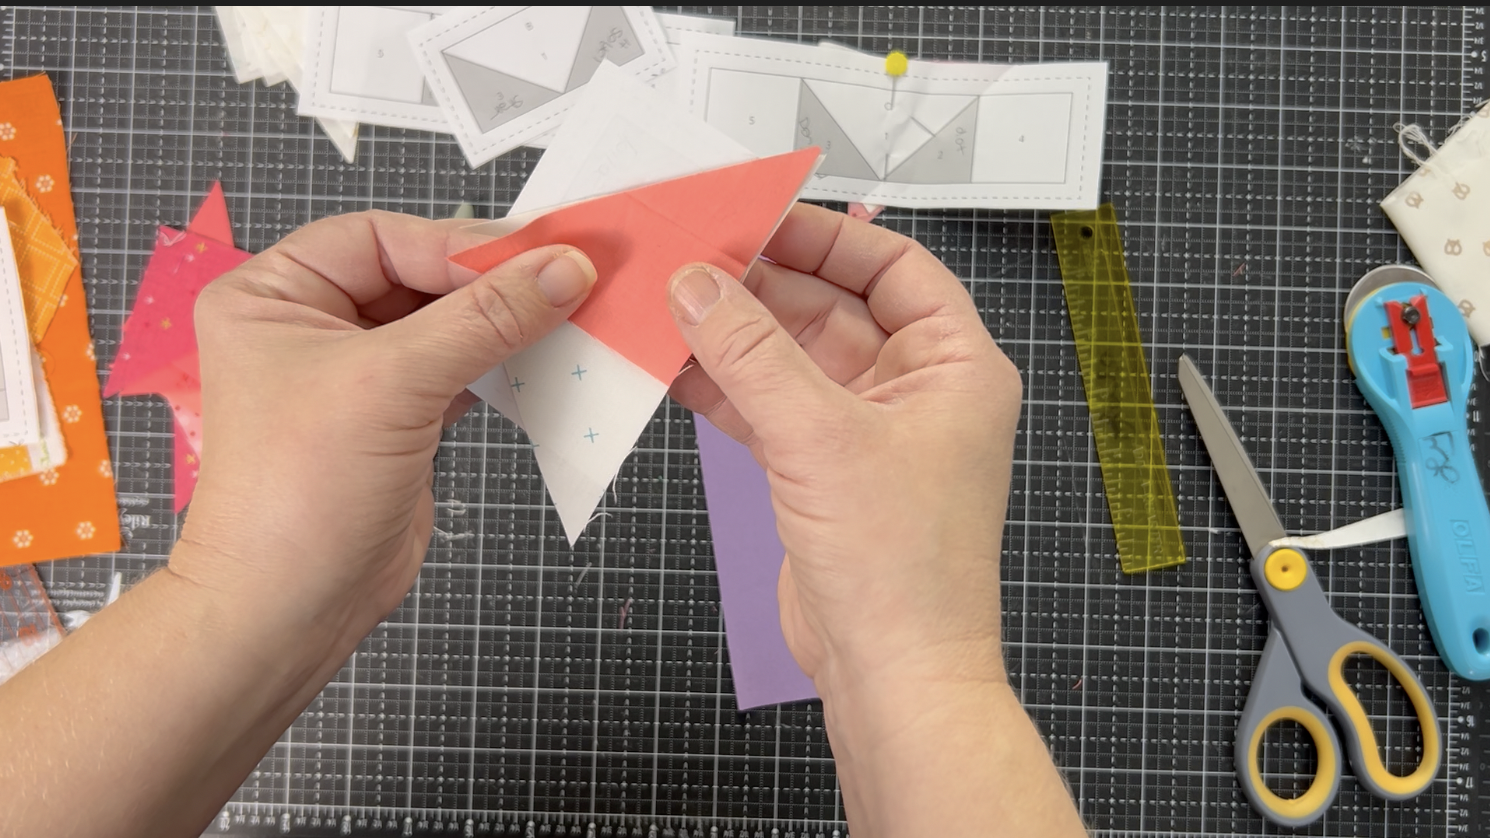
Step 8: Piece and Trim the Center
Following the steps above, foundation paper piece foundation A. The center foundations will be different, so fabric piece size will vary. Choose scrap pieces that are at least 1/2” larger than the section they will cover.
To determine the needed fabric size for triangular sections, measure the short side of the triangle and cut a fabric square that is 1.5-2” longer. Cut the square in half on the diagonal.
Step 9: Sew the Star Points onto the Center Foundation
Sew the B foundations to the top and bottom of the A foundation. Remove the papers from the seams and press toward the center. Then sew the C foundations to either side of the AB unit. Remove the papers from the seams and press the seams open.
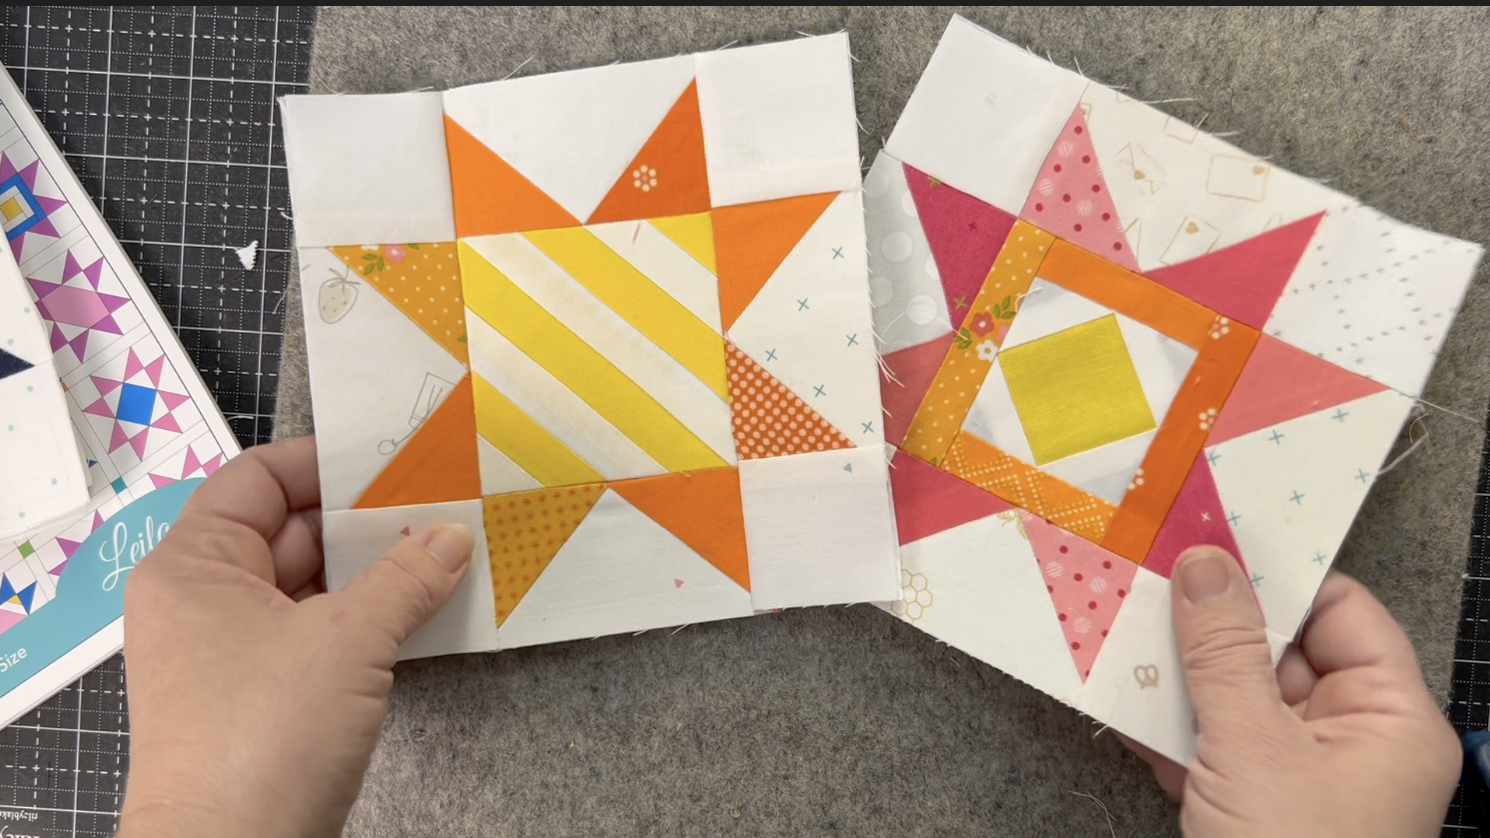
Give the block a final press and you are done!
Then choose out another foundation and keep the fun going!