How to Foundation Paper Piece Scrappy Half-Rectangle Triangle Quilt Blocks
Ready to learn how to foundation paper piece Scrappy Half-Rectangle Triangles? You are in the right place! I’m going to guide you through the process step by step. I will be using my pre-printed Scrappy Half-Rectangle Triangle (HRT) foundations, but the steps apply to any other foundation paper-pieced quilt block.
In addition to this tutorial, I have a YouTube video that walks you through the same steps in even more detail. You can watch it here.
Foundation Paper Piecing
What is Foundation Paper Piecing? (sometimes called paper piecing) Foundation paper piecing is when the outline of a quilt block is printed on a paper foundation and fabric is sewn together on the paper using the outline as a sewing guide. When the block is complete the paper foundation is removed. Amazingly accurate piecing is possible with FPP, even with the smallest of pieces. Each foundation paper-pieced block is different, but same basic steps and techniques apply to all.

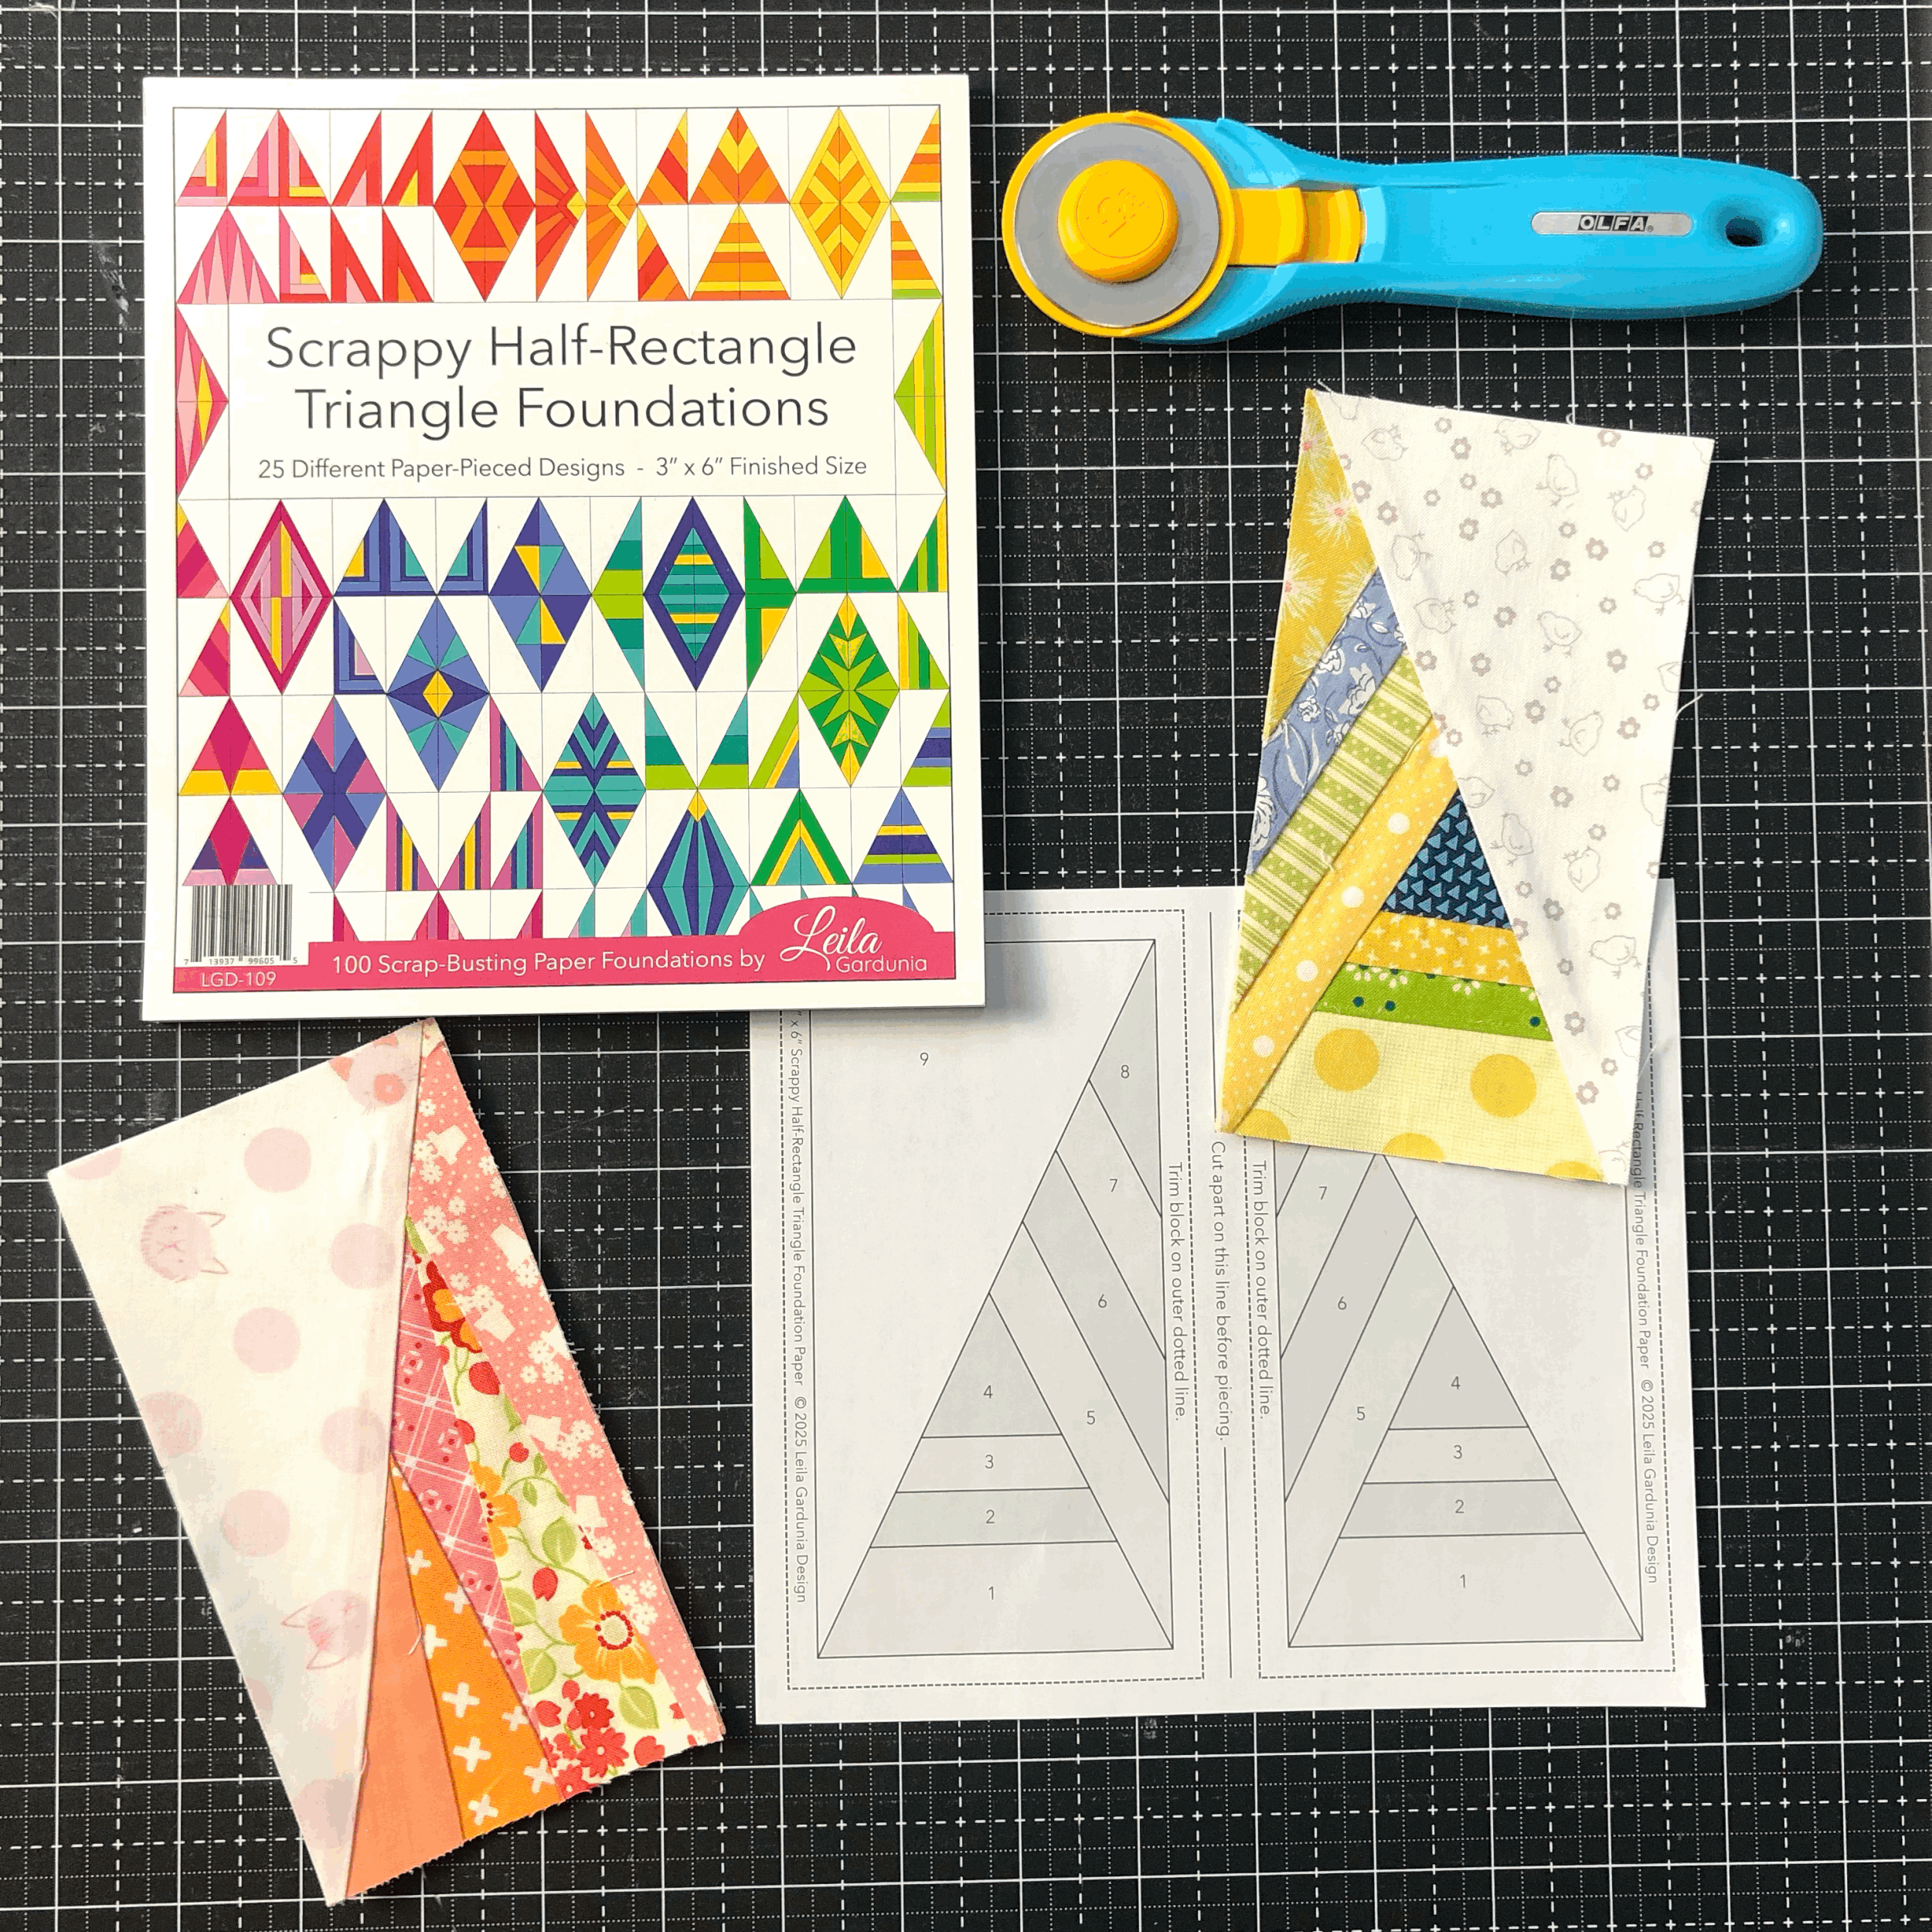
Supplies:
Necessary:
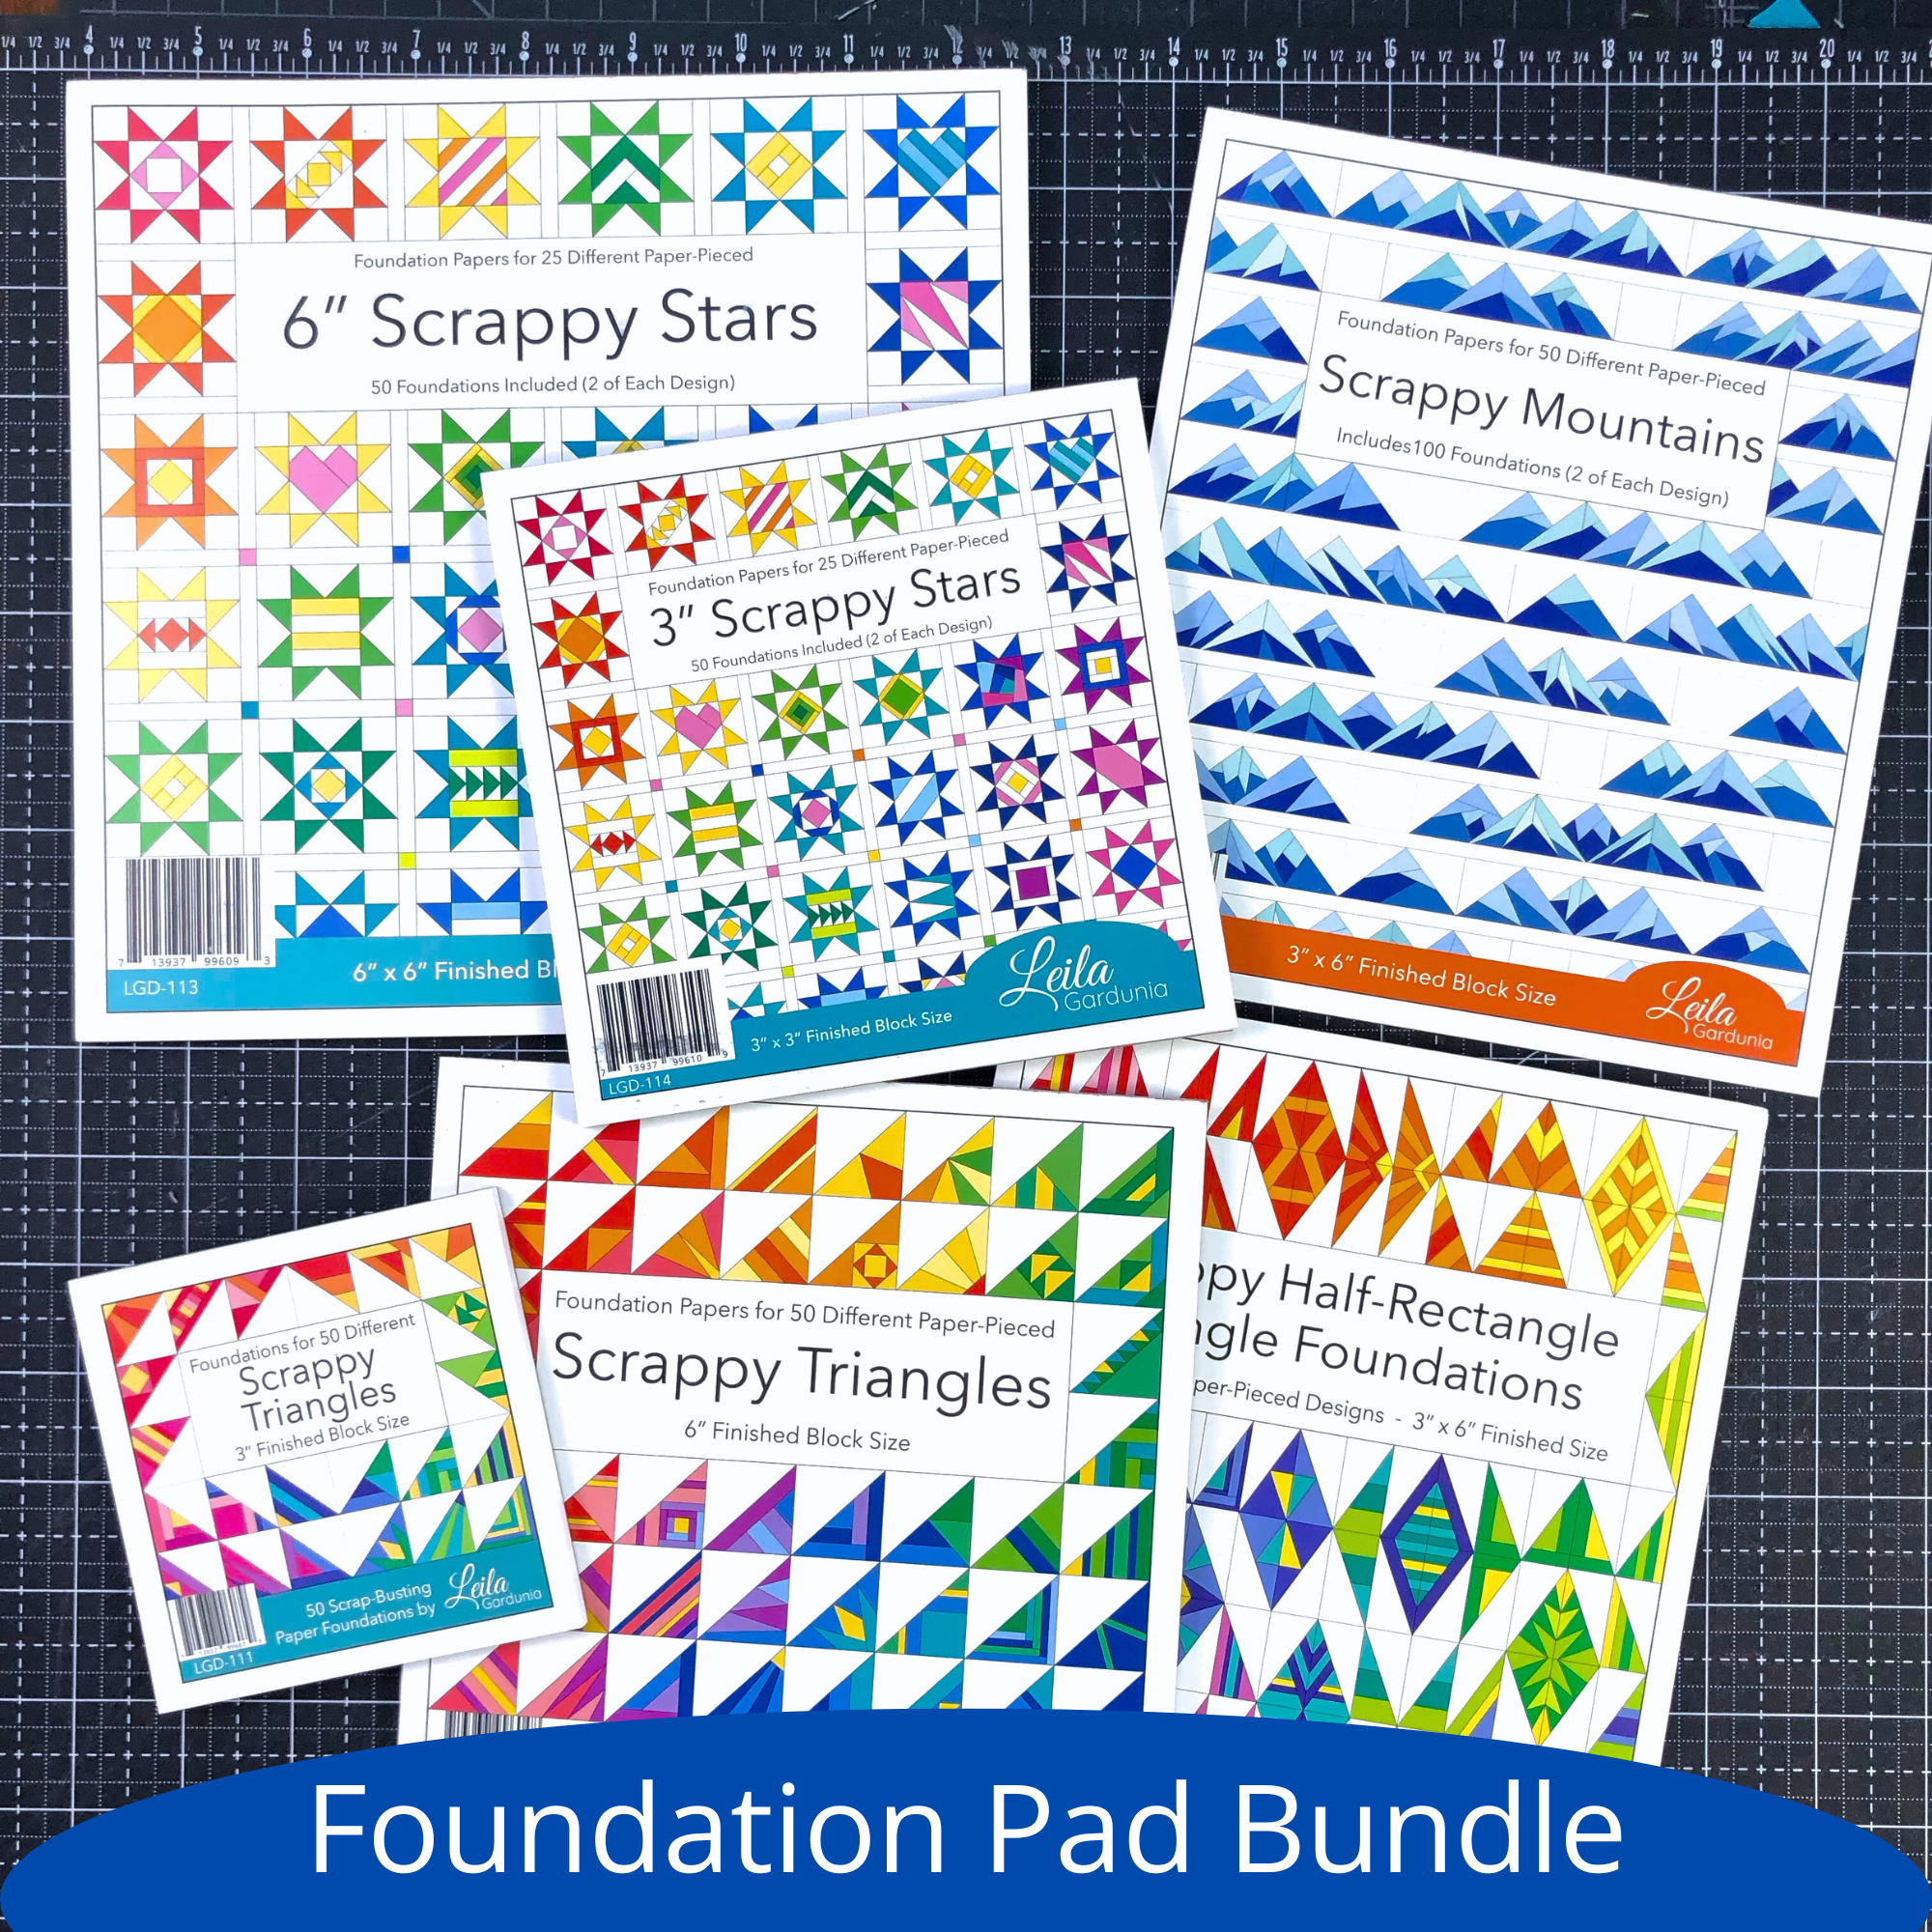
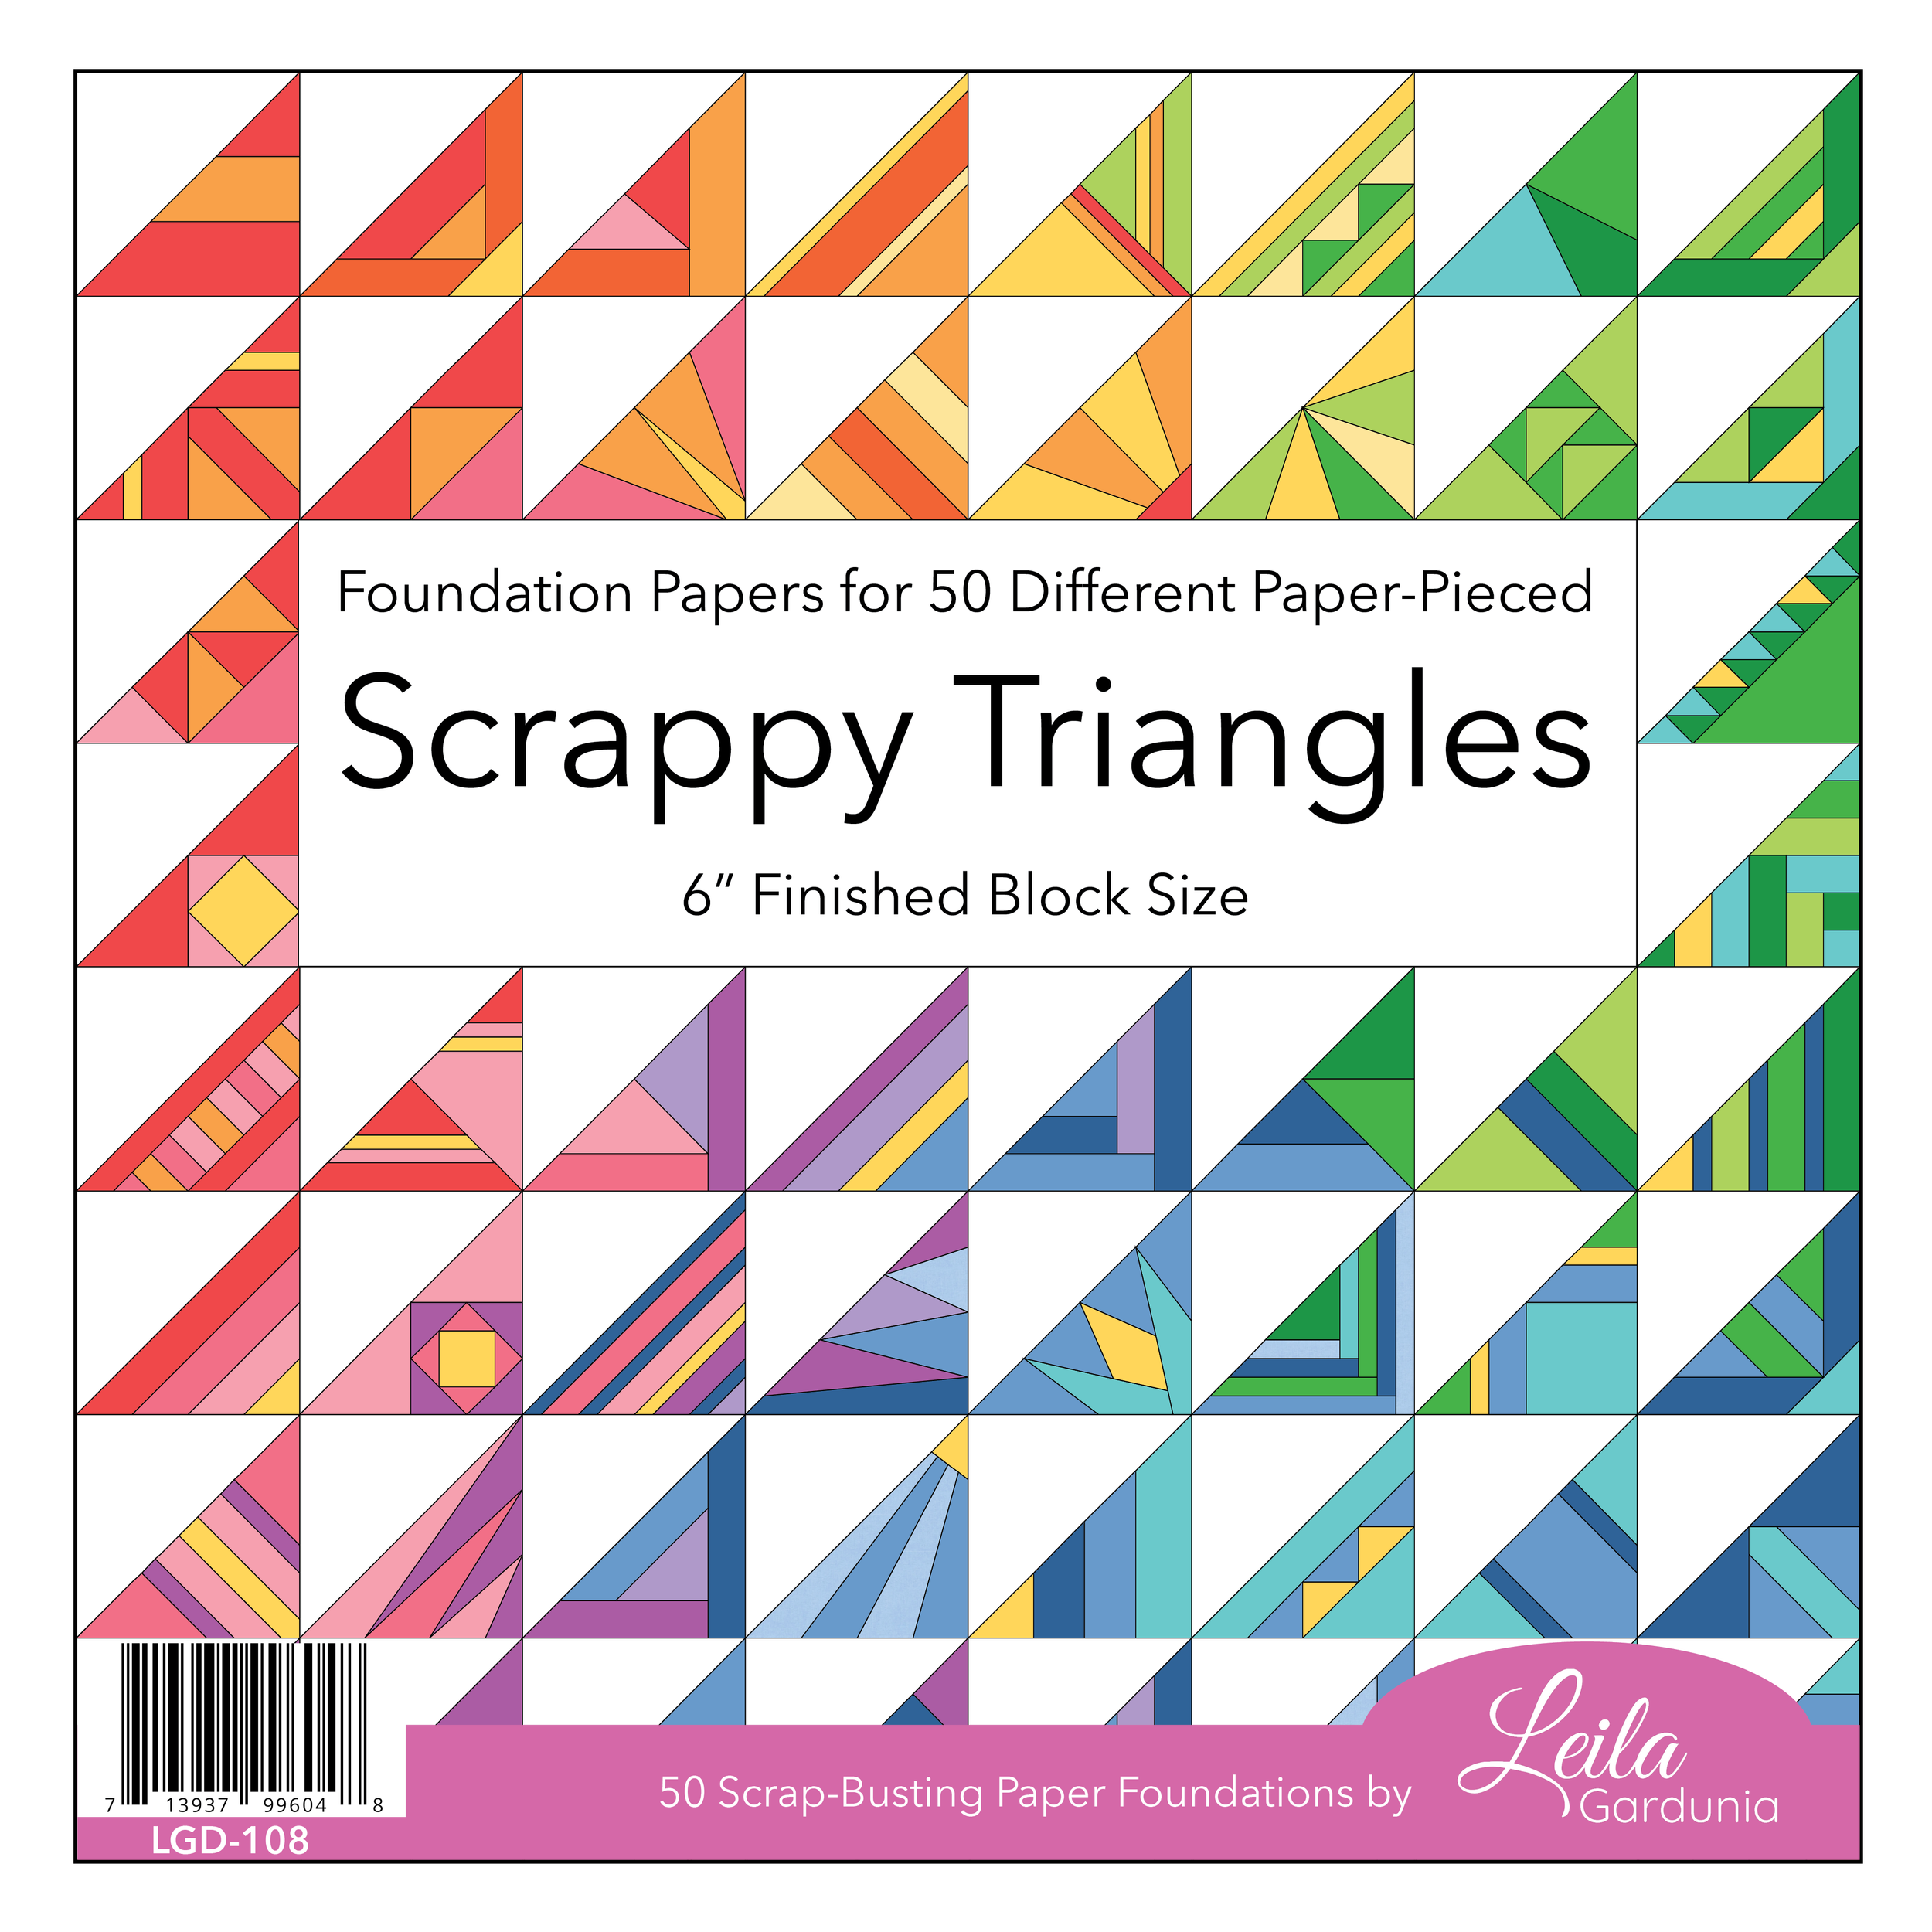
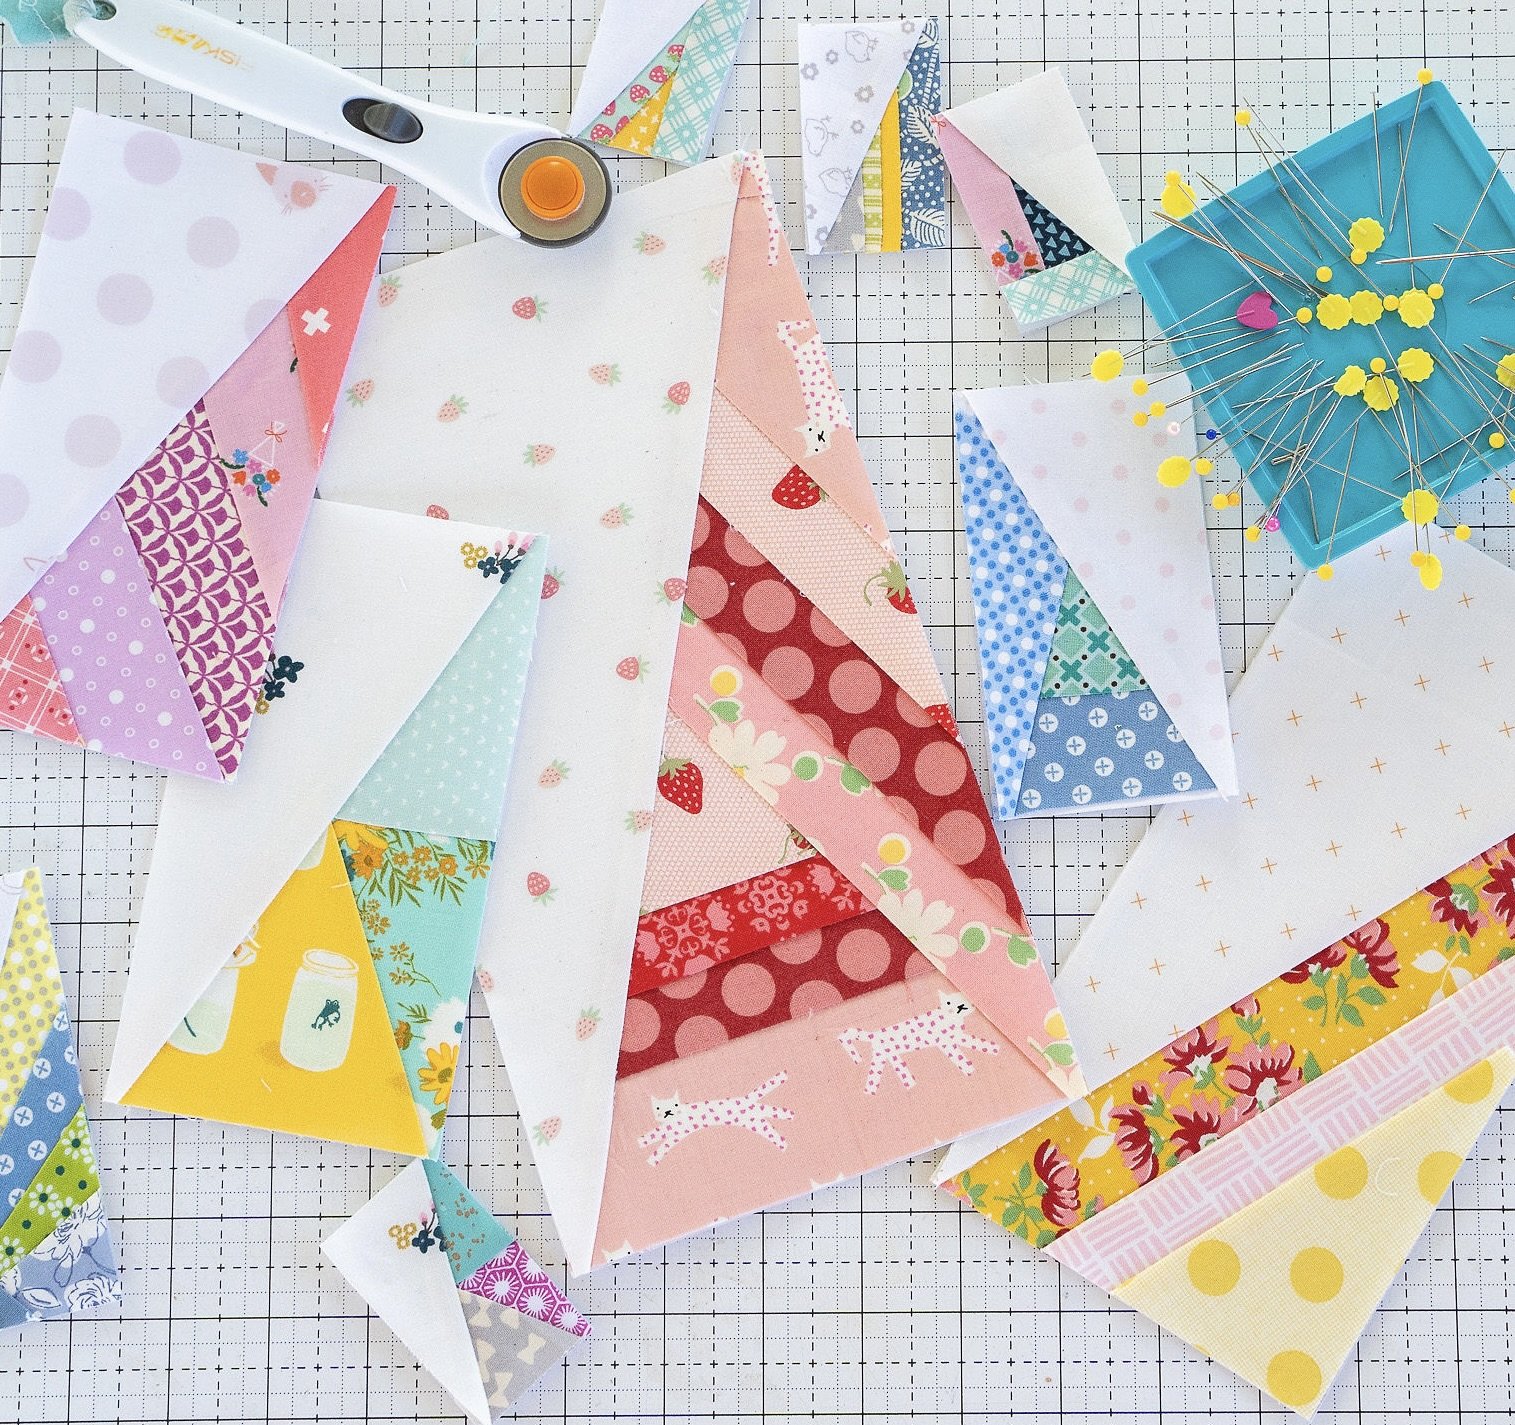
Foundations - I’m demonstrating with the foundations in my Scrappy Half-Rectangle Triangle foundation pad. But, you can also print your own foundations on regular copy paper or specialty foundation paper
Basic sewing supplies including: sewing machine, thread, seam ripper, cutting mat, and ruler.
Flat head pins or glue stick (school or specialty)
Add-a-quarter ruler (optional)
Seam roller (optional)

Step 1: Select the Foundation
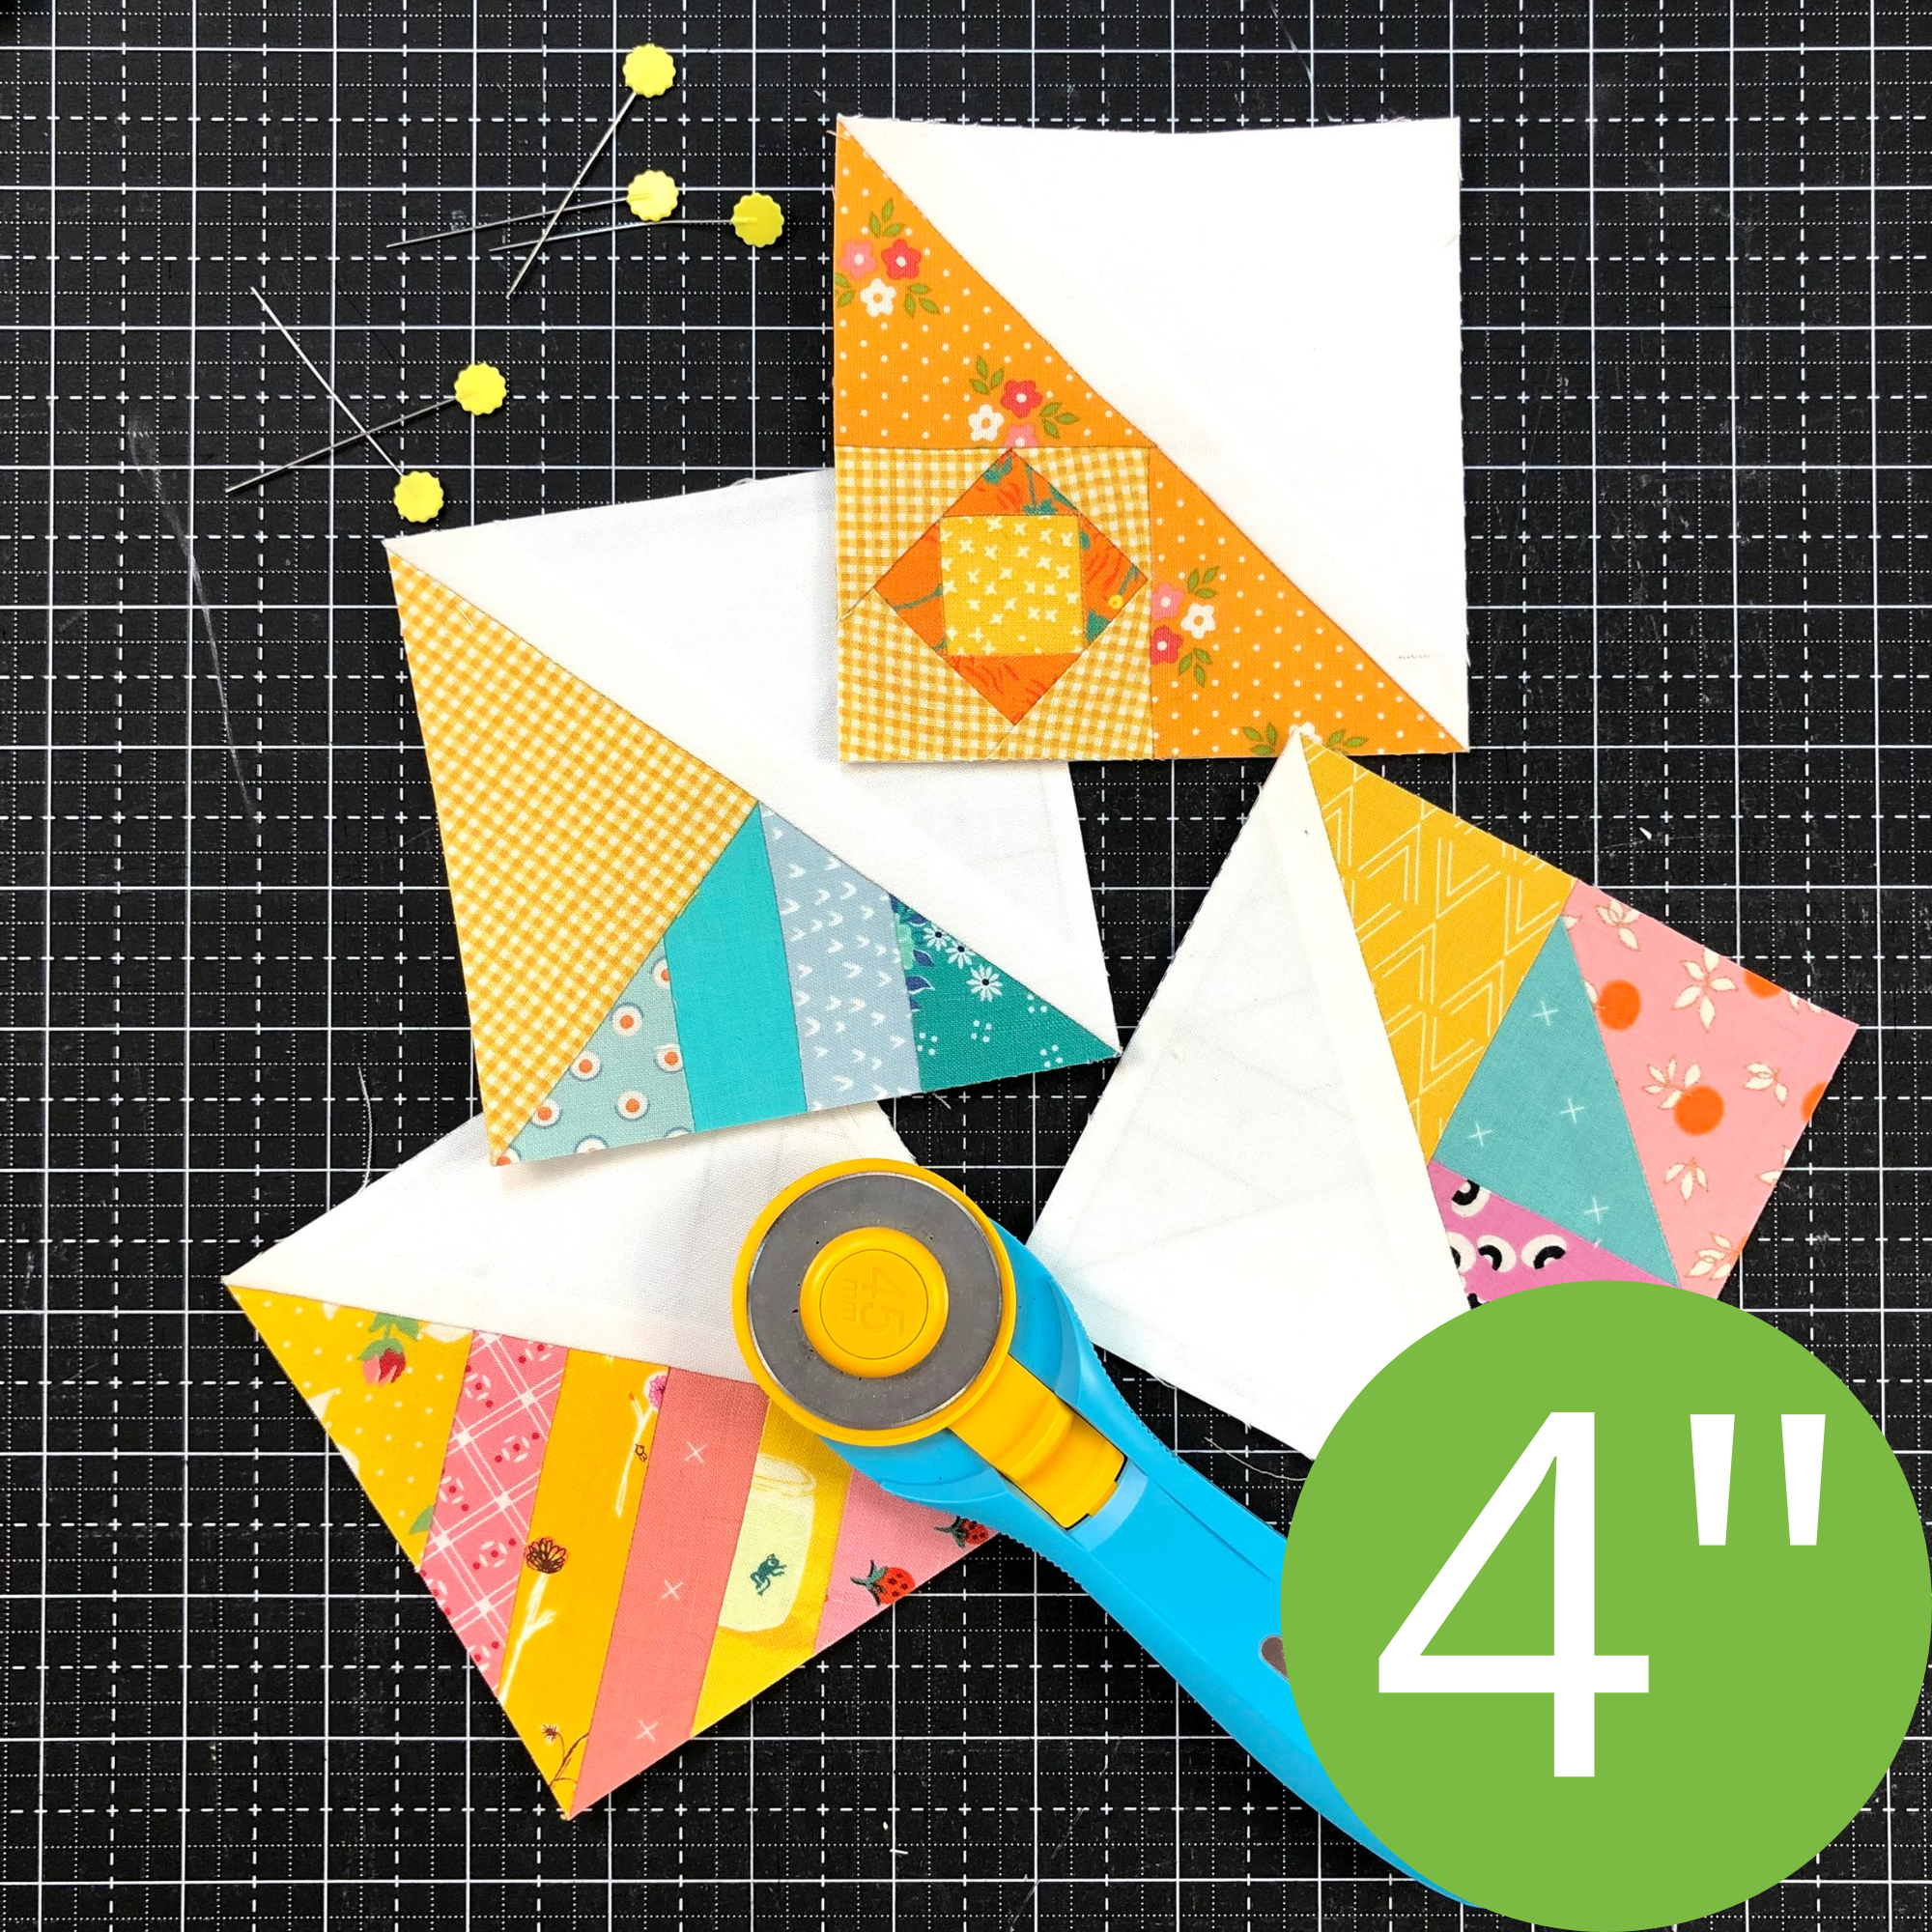
If you are using the pre-printed Scrappy HRT foundation pad, you can skip this step. Simply leaf through the pad and choose the foundation you wish to piece. Then cut the foundations apart on the indicated line.
If you are not using pre-printed foundations, the first step is to copy or print the needed foundation. You can use regular printer paper or specialty foundation paper. Before you print, check that the sizing is at 100% and Fit to Size is not selected. After copying, always check that the pattern has copied or printed to the correct size. There will box that is 1" square that you can measure to test if the foundation printed correctly. If you know the size of the finished unit, you can measure the printed foundation itself.
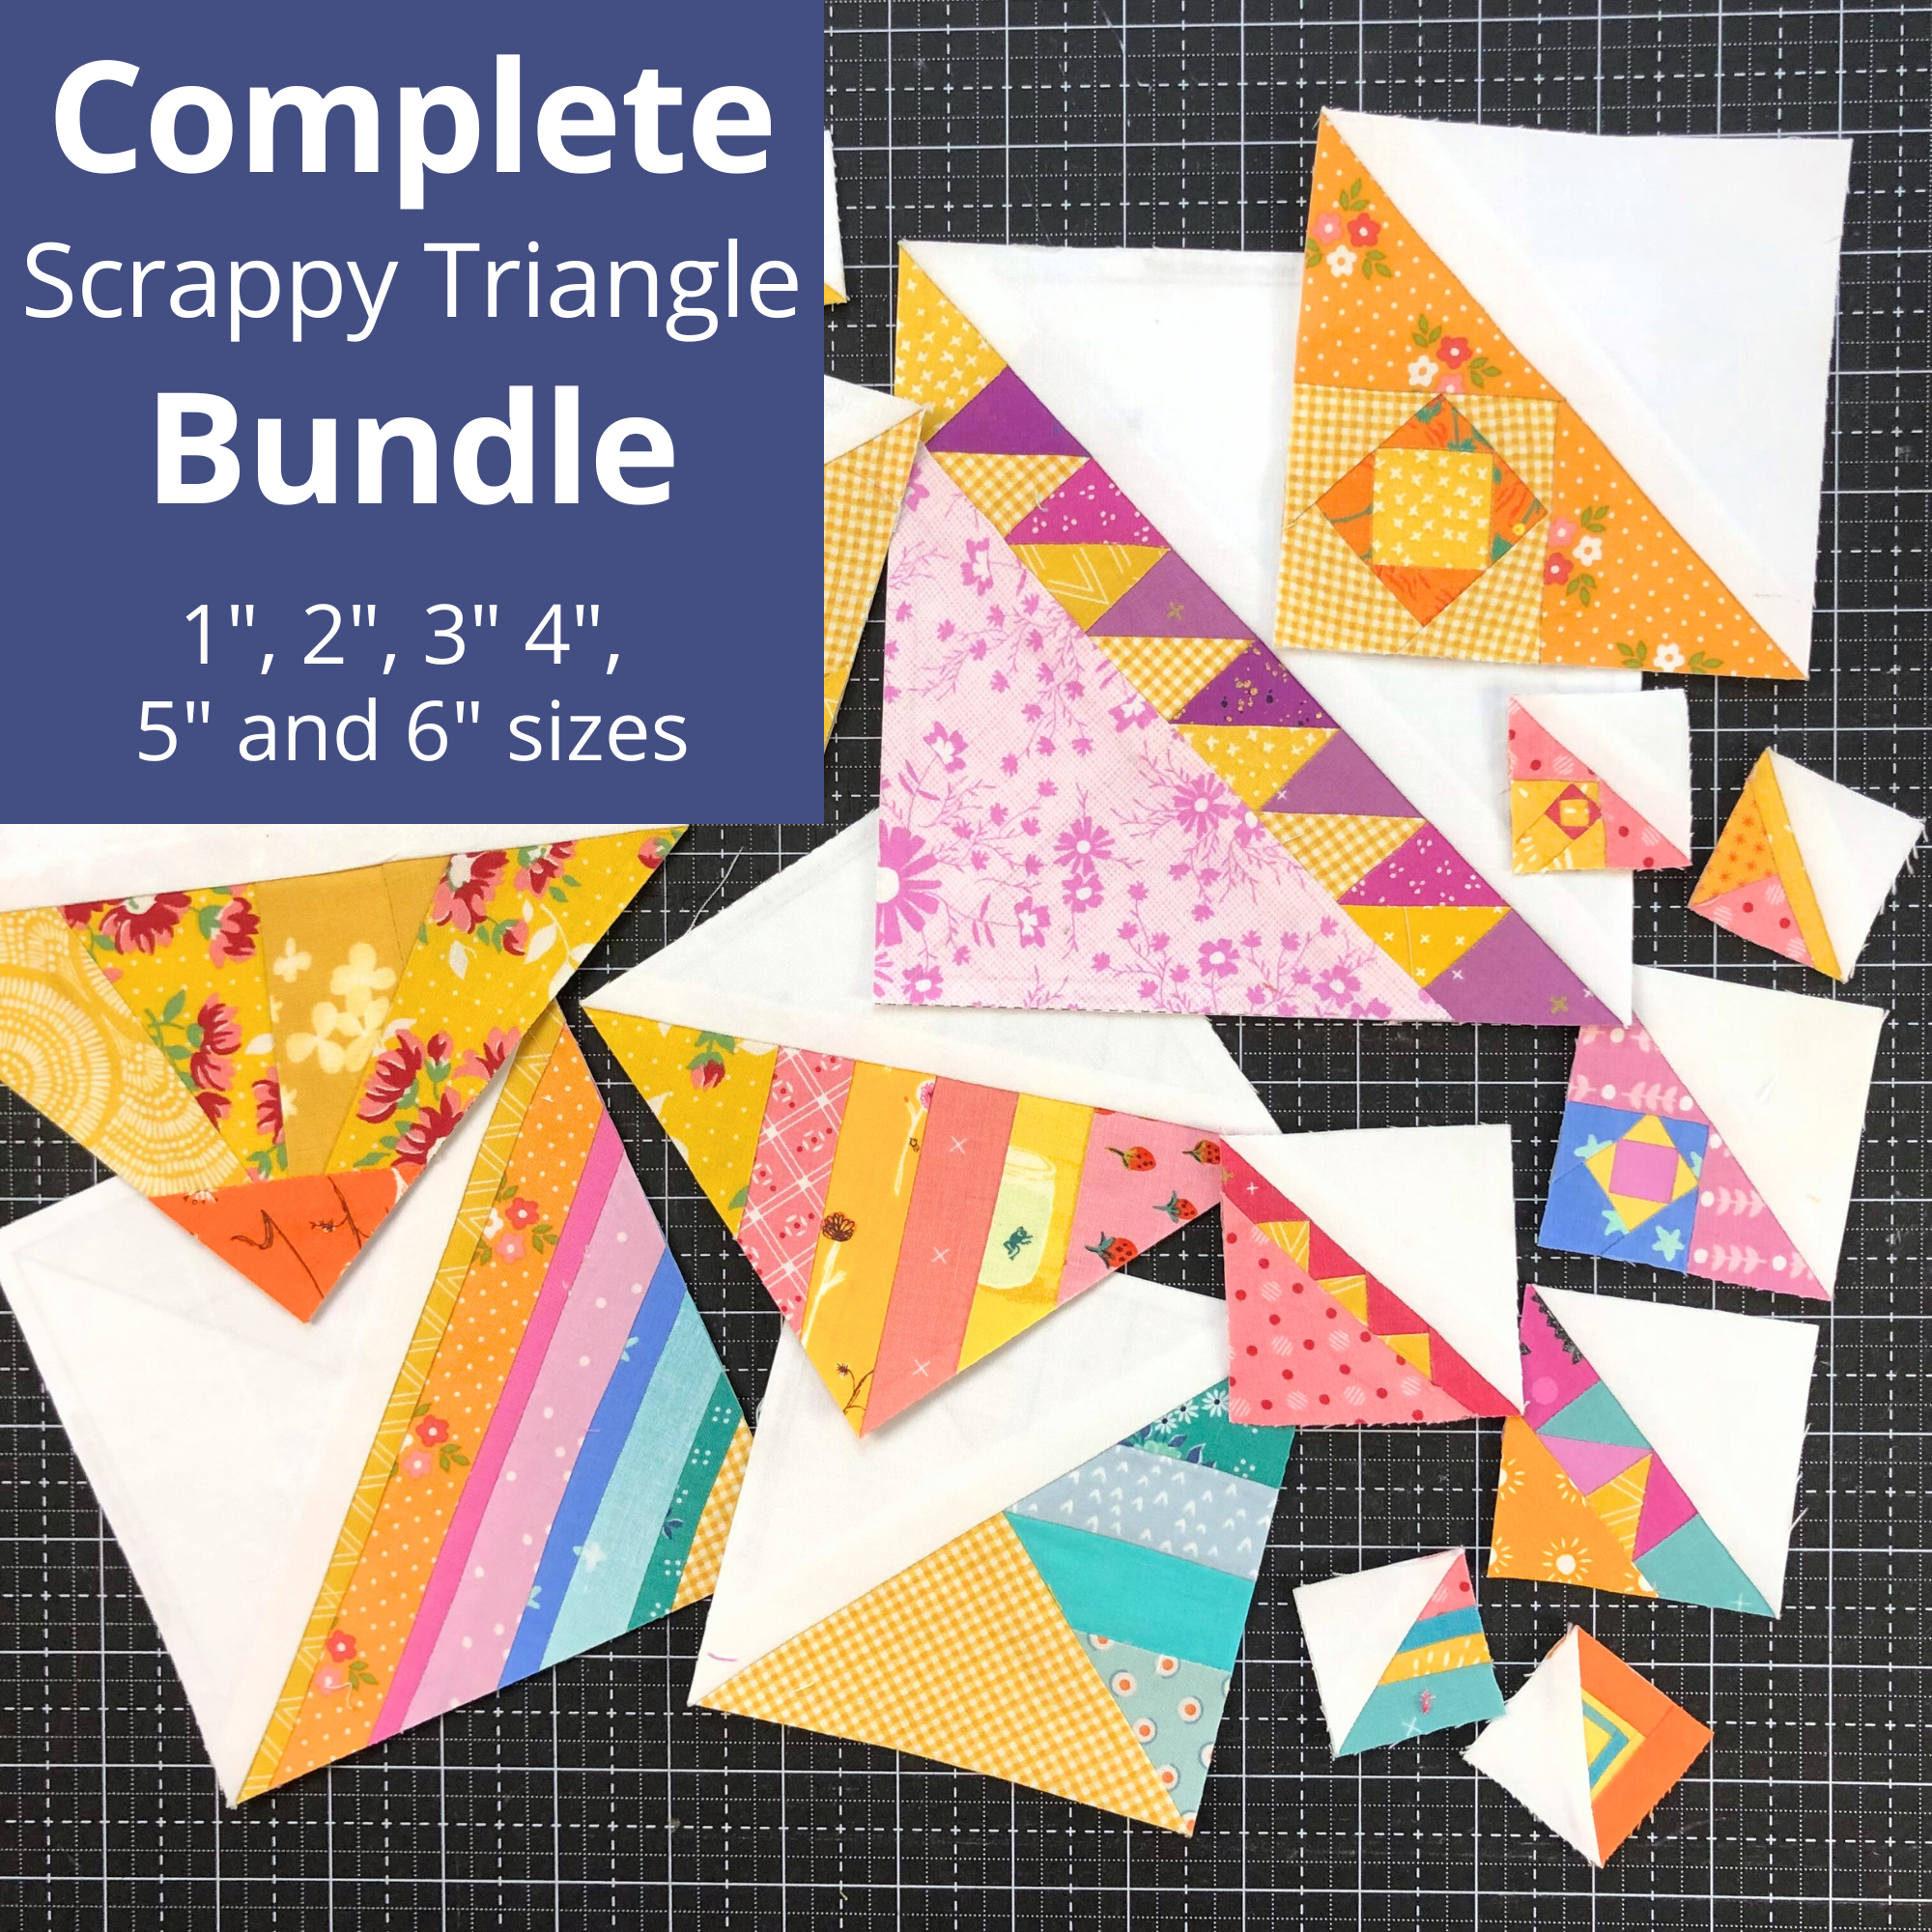
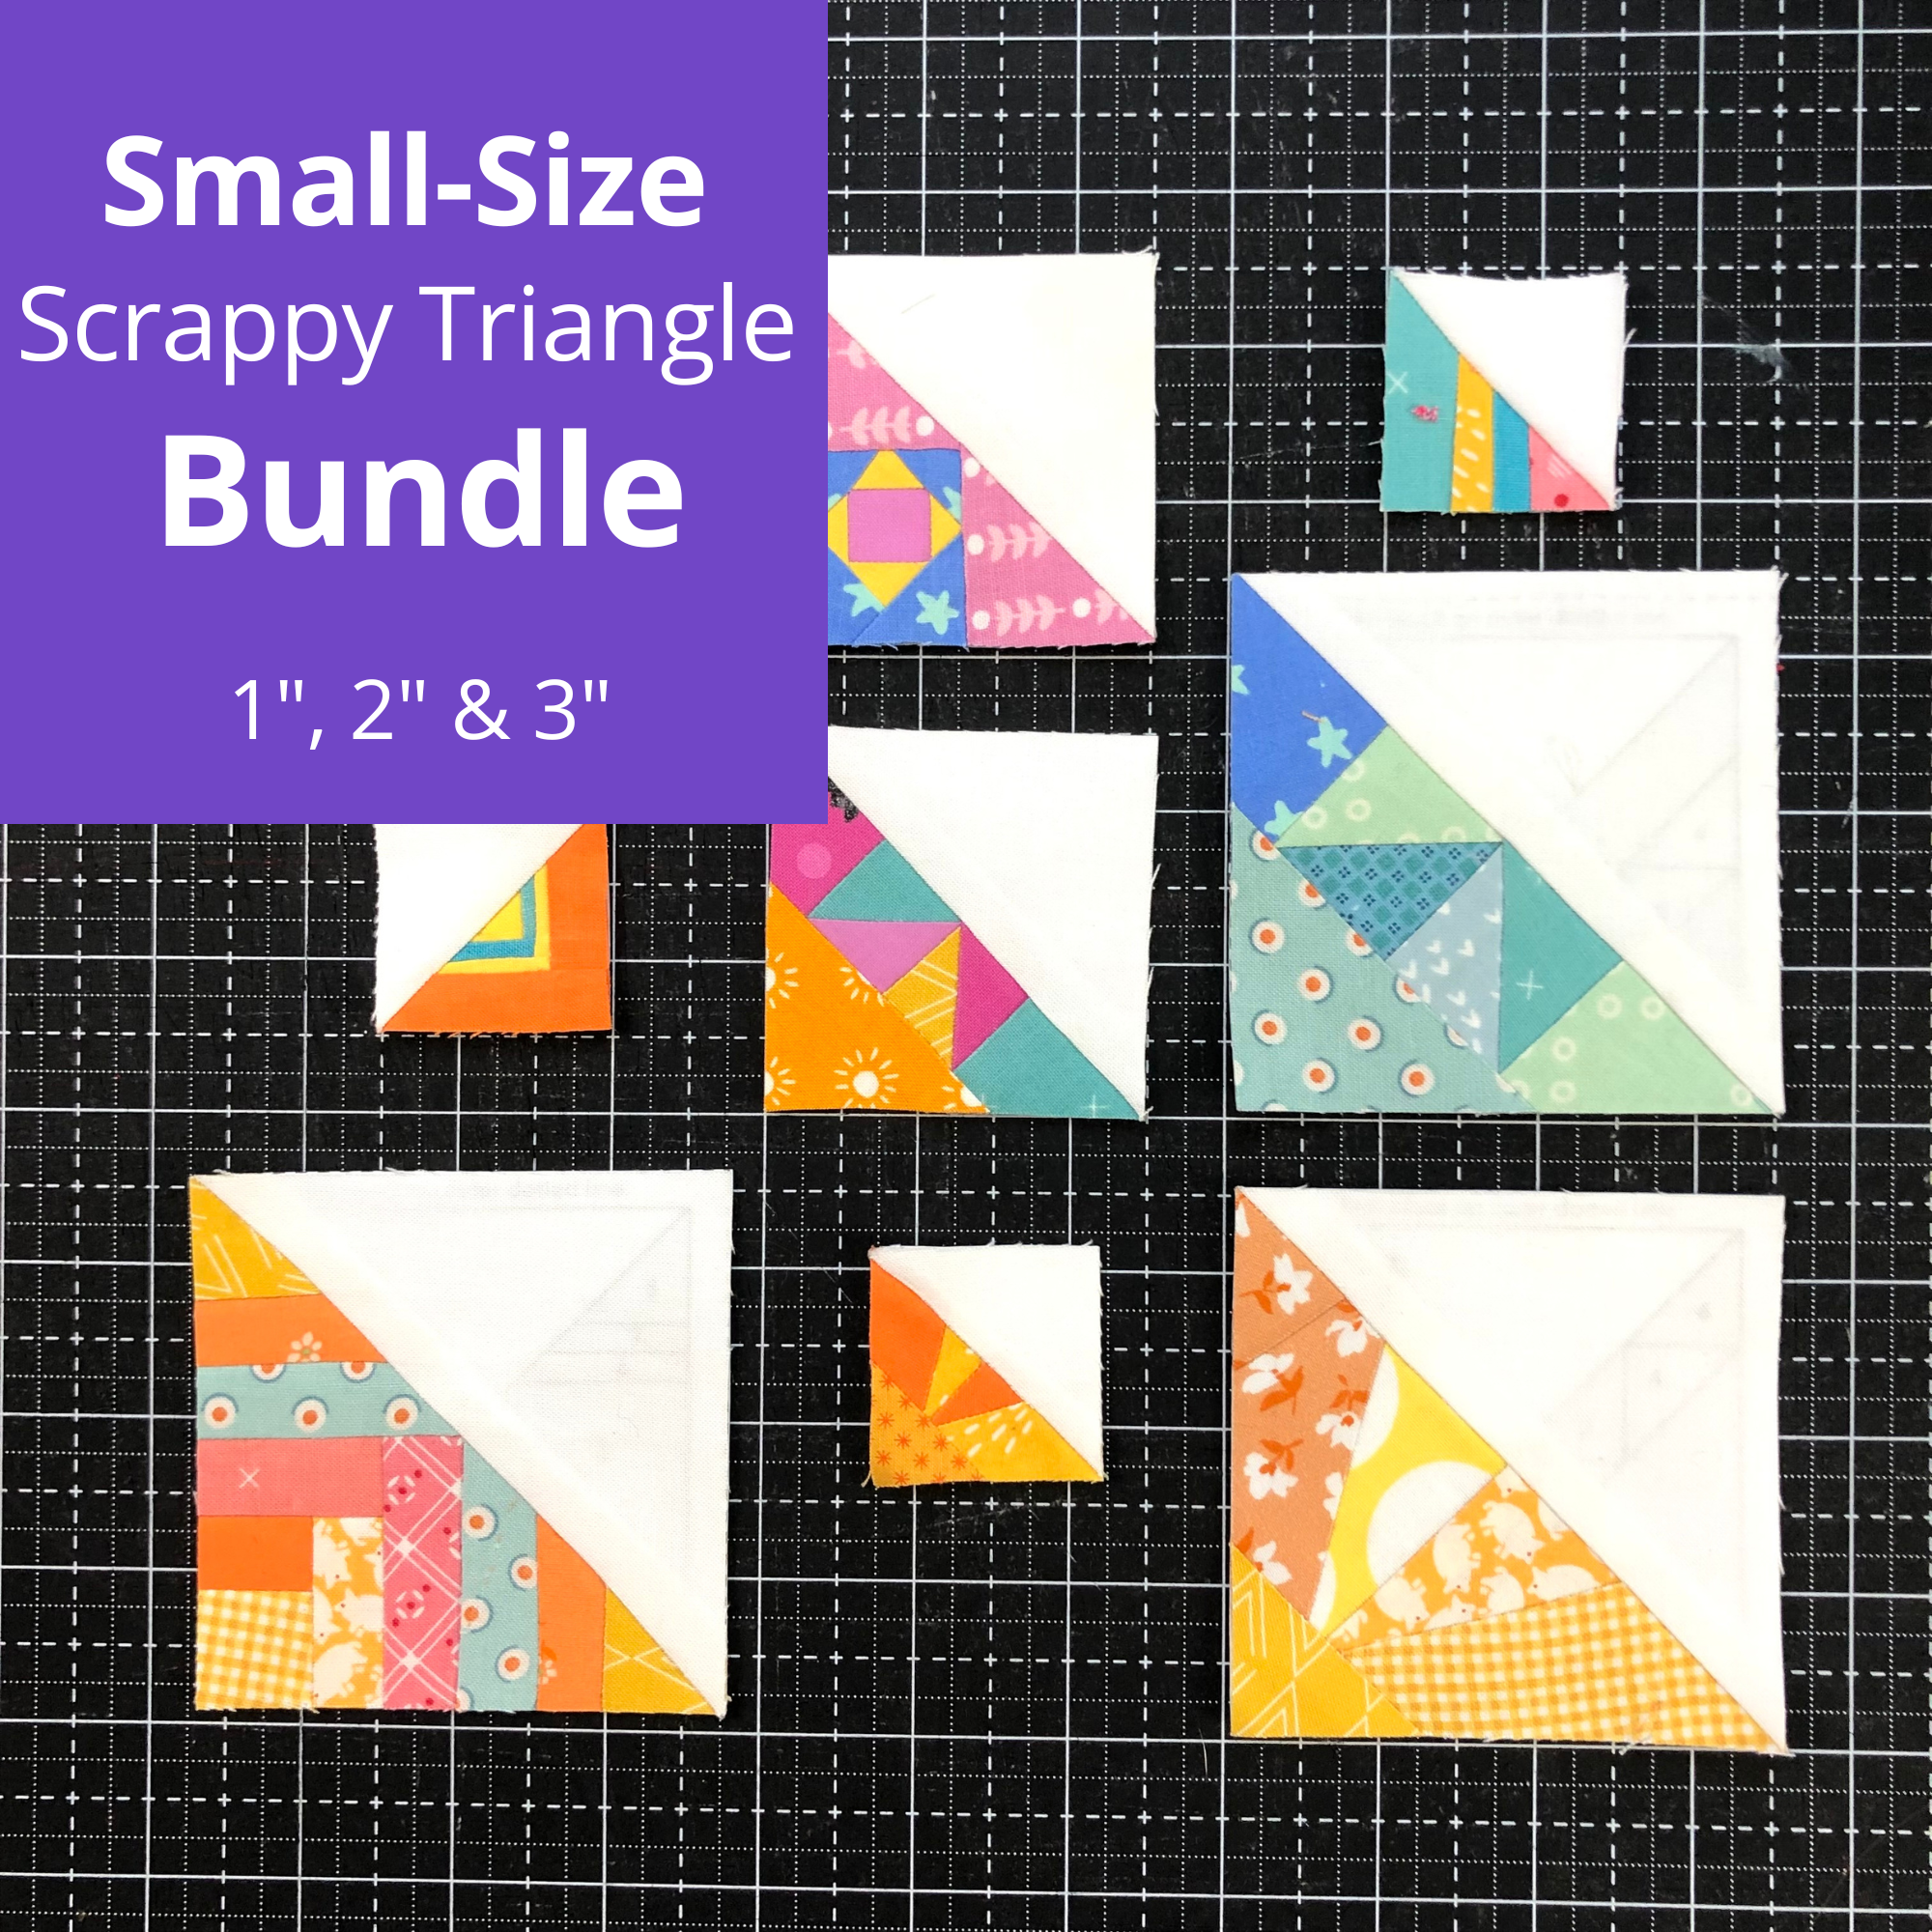
Step 2: Cut and Prepare Fabric
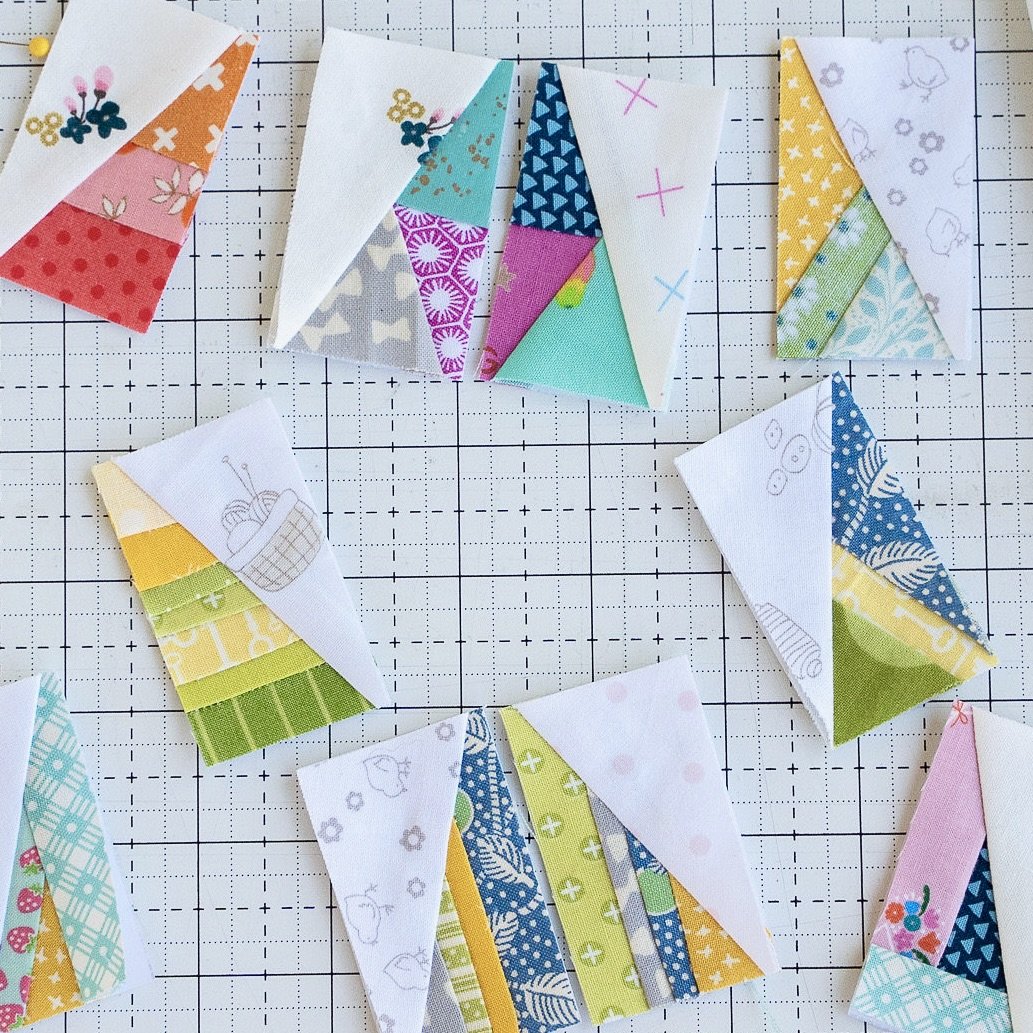
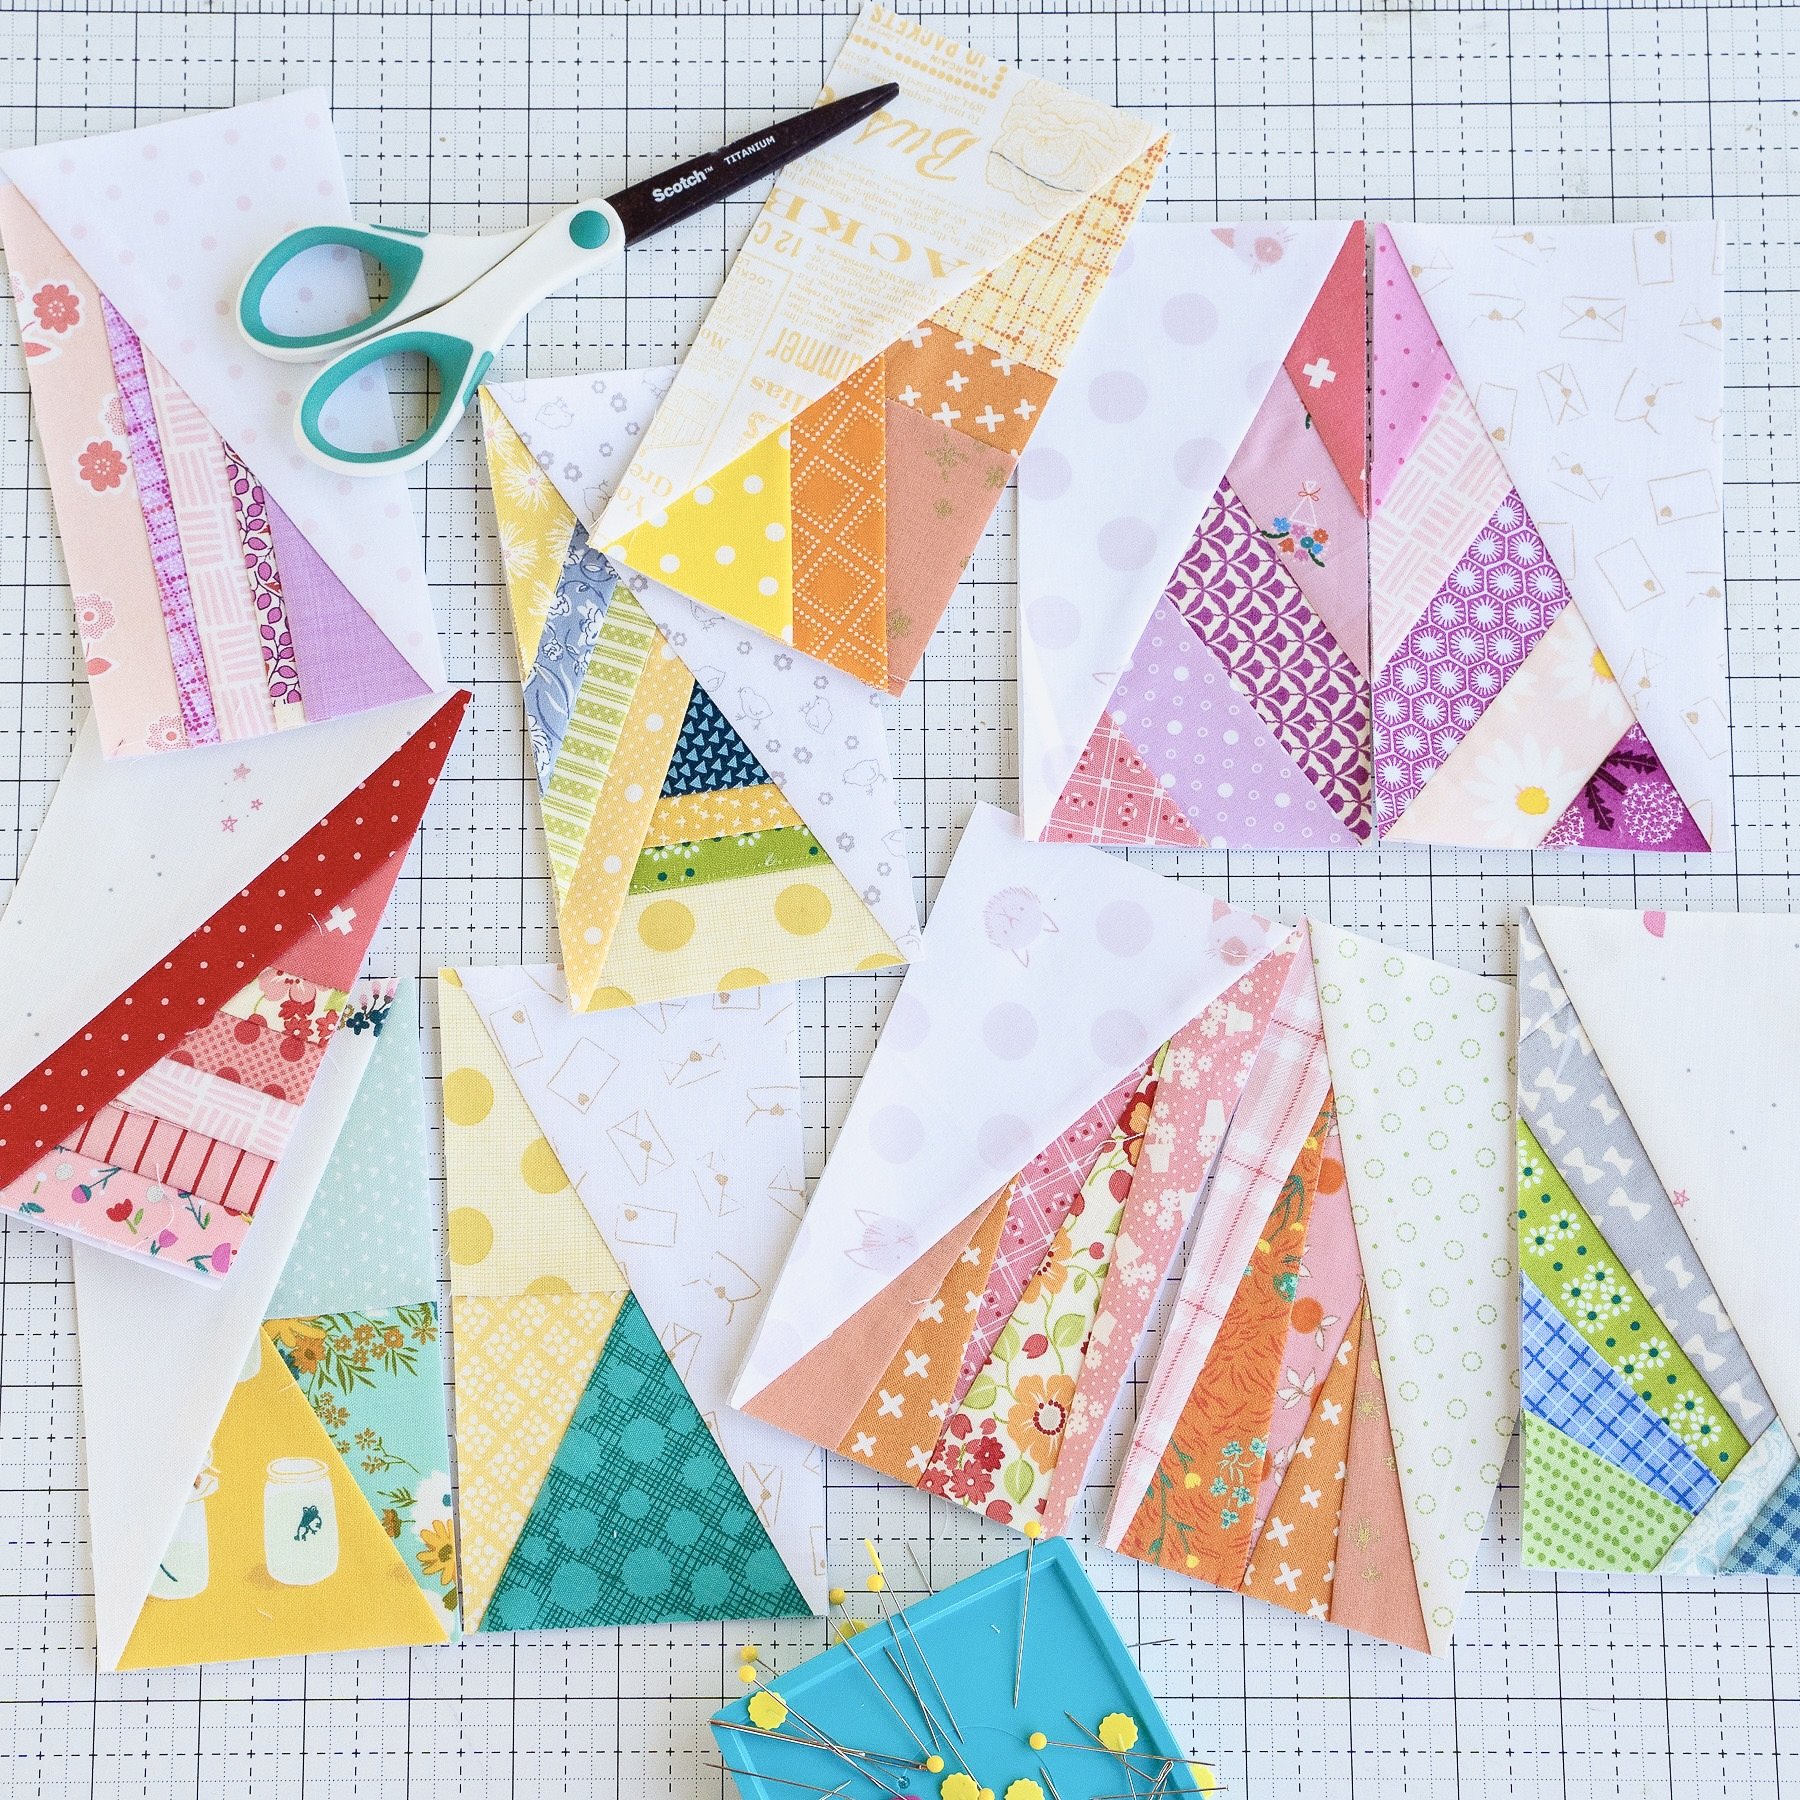
Each section of the foundation is numbered and a different fabrics will go in each section. Decide which fabric you wish to use in each section. Cut the fabric approximately ½” larger than the area the it will need to cover. If there are many different pieces, labeling can help keep them in order.

You can also write the color of fabric you will use for each section on the foundation itself so you don't get confused about what fabric goes where mid-piecing. (Don't ask me how many times I have sewn the wrong fabric to the wrong section!)
Step 4: Trim and Sew
When sewing the fabric pieces together, sew on the lines that divide the sections. For example, when you sew piece 2 to piece 1, you sew on the line between piece 1 and 2.

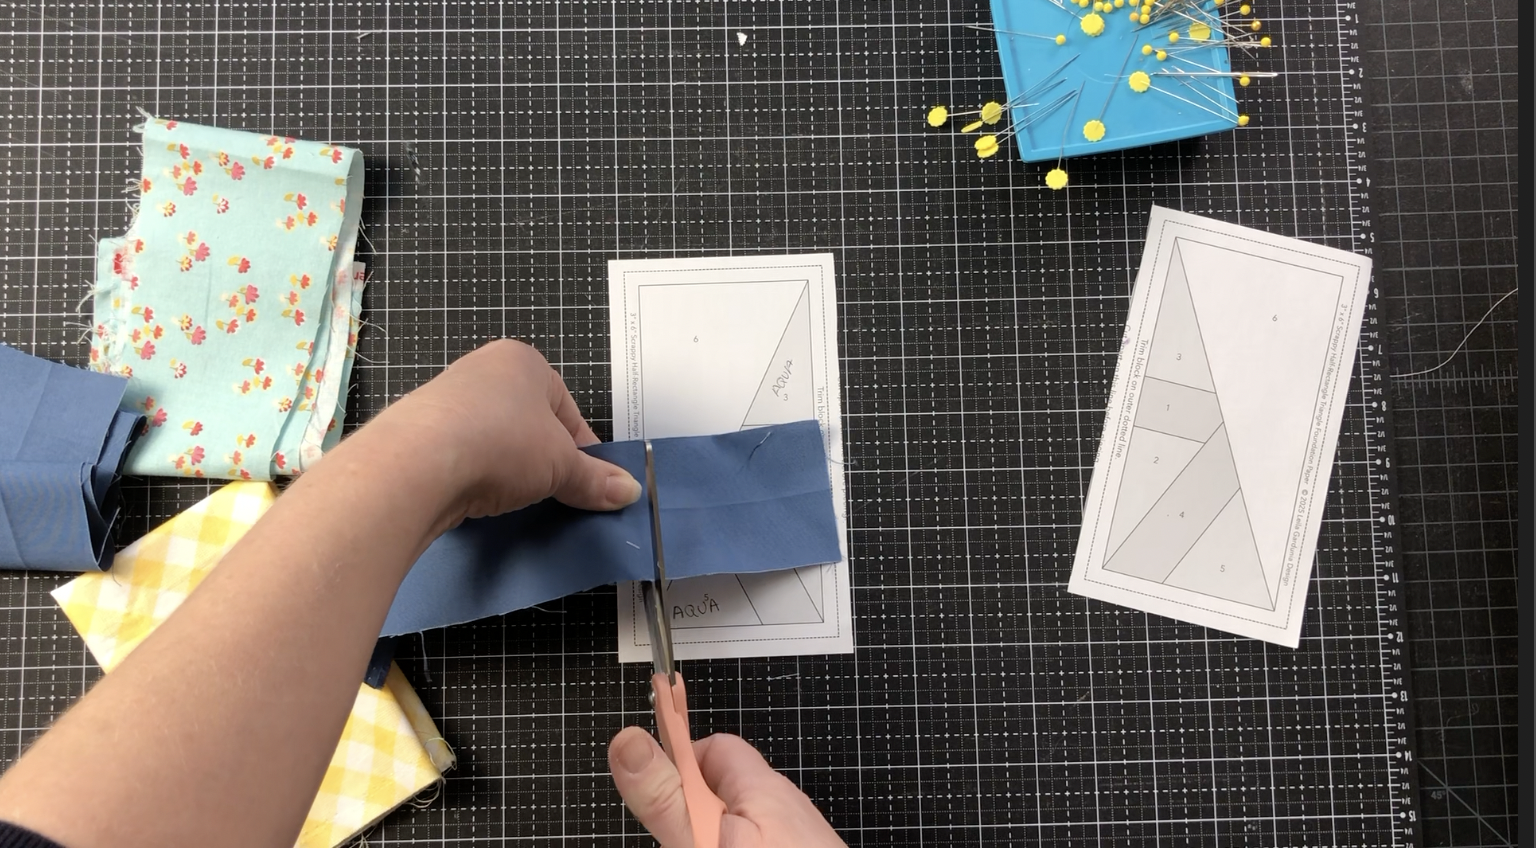
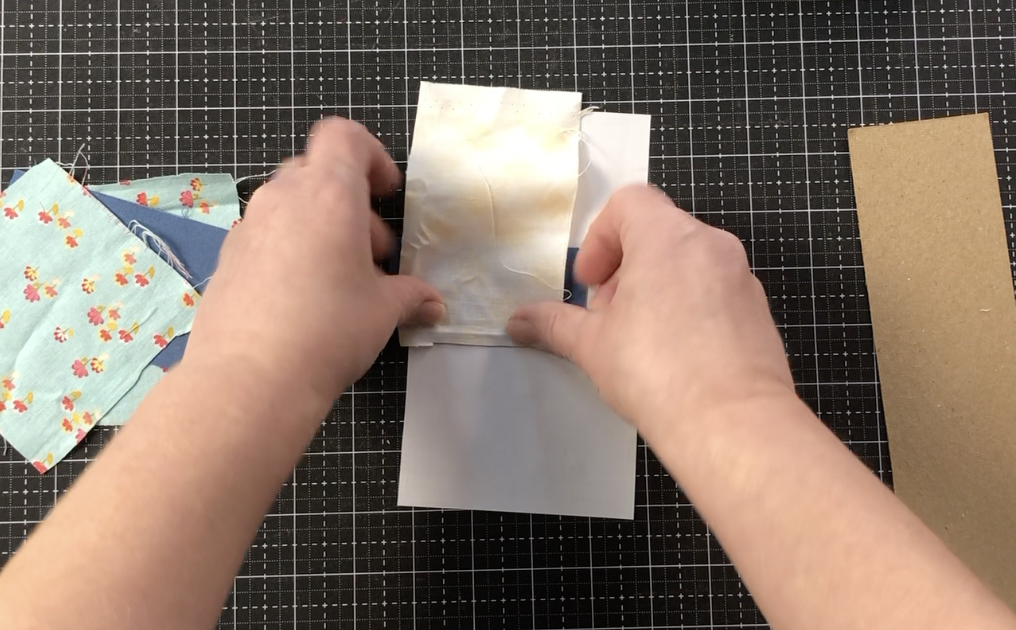
To start, place the wrong side of the fabric that will go in section 1 on the back side of the paper foundation. (The wrong side of the fabric should touch the paper.) Hold them up to a light to make sure the fabric covers the entire area of section 1. It should also overlap the other sections by at least ¼” on all sides. Secure the fabric with a flat head pin or a dab of glue stick. (Ball head pins will not allow the ruler to lay flat when it is time to trim.)

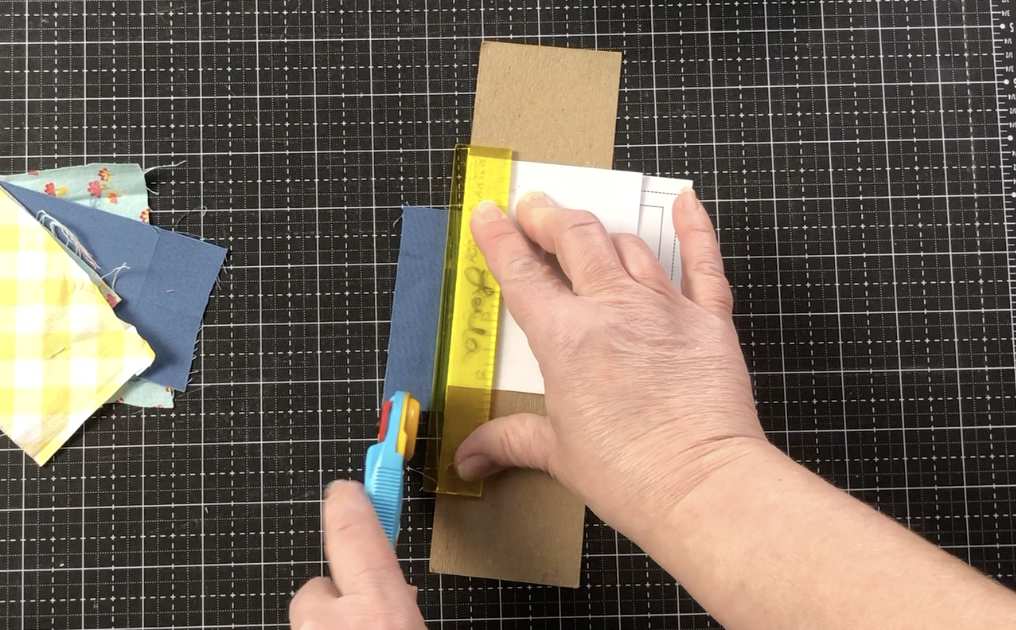
Flip the foundation back over and locate the line that runs between section 1 and 2. Using a postcard or piece of cardstock as a guide, fold the foundation back along the line between section 1 and 2.
Line up the ¼” line on your ruler with the edge of the paper and trim the exposed fabric to ¼”.
TIP: You can use a small regular ruler for trimming, but they also make specialty Add-a-Quarter rulers. They have a groove on the bottom that butts up against the folded paper and makes it easy to trim 1/4”. I used regular rulers for years but finally bought an Add-a-Quarter ruler once my close-up eyesight started to go. It was a game changer! No more squinting!
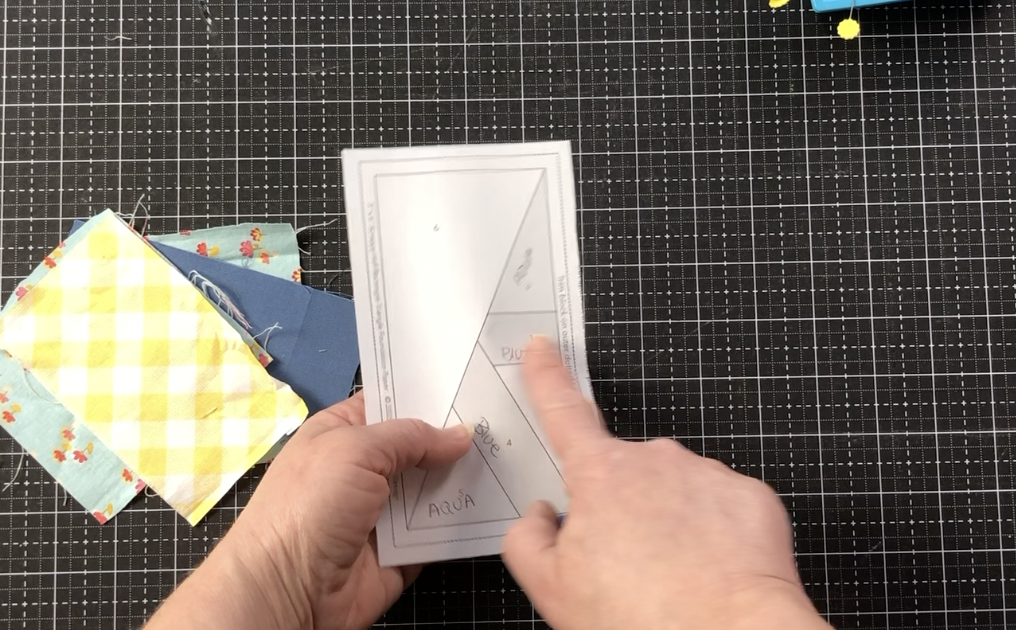
Fold the paper back down and flip the foundation over to the backside. Place the second piece of fabric on top of the first piece of fabric, right sides together and lined up along the trimmed edge. Pin in place.

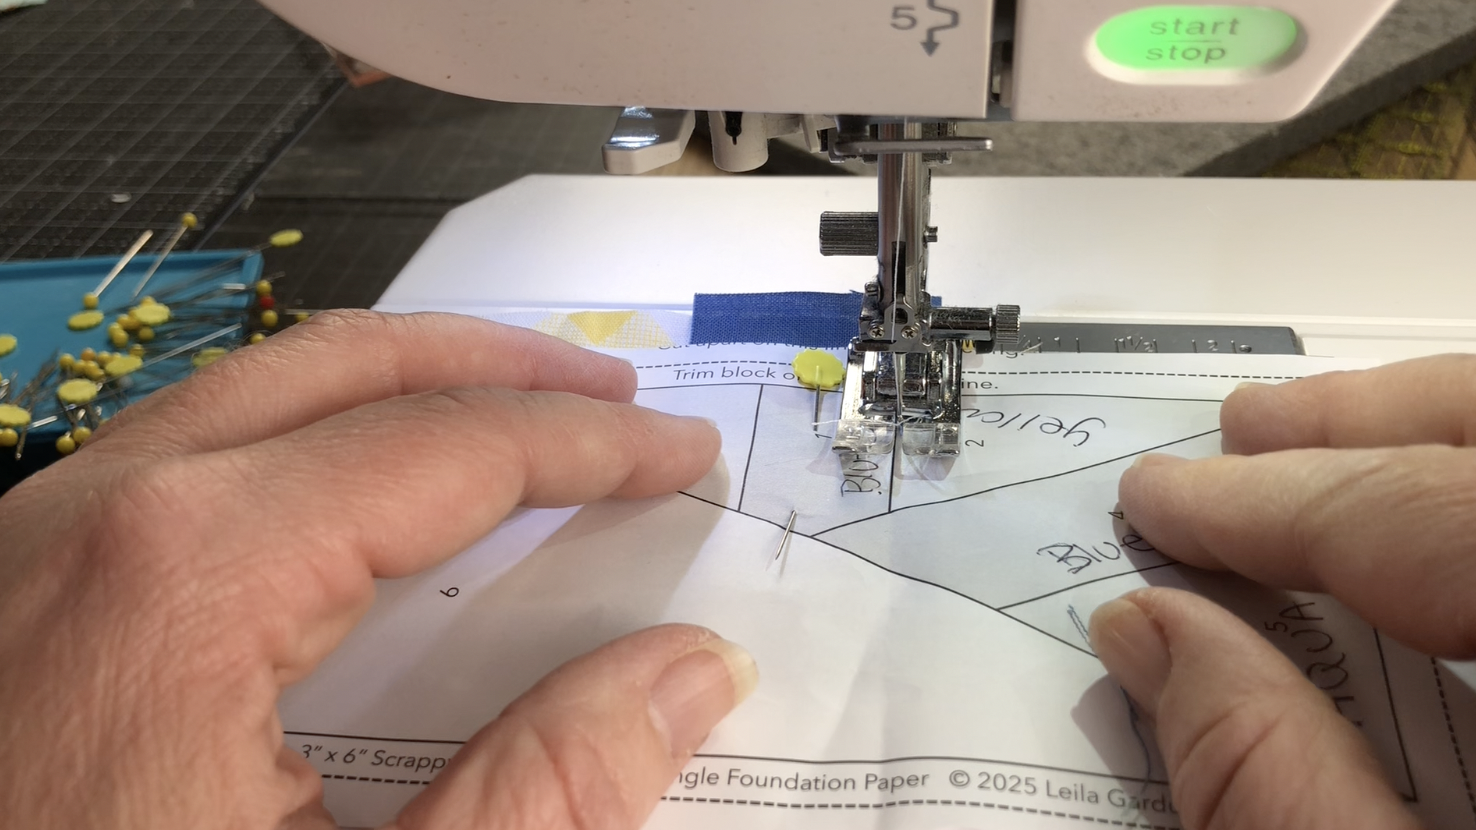
Flip the foundation over to the printed side. Double check that the stitch length is reduced to 1.5 and sew along the line between sections 1 and 2. Start a ½” before the line so the beginning of the sewing will be in the seam allowances. You can use the fold as a sewing guide until you hit the line. Continue sewing and stop ½” past the end of the line.
TIP: If you are making multiples of the same foundation, sew all of the 2 pieces onto the 1 pieces. Trimming, pinning, and sewing the same numbered section to all the foundations at the same time speeds the piecing process.


Set the seam and press piece 2 open. If the paper starts to curl up, the iron is too hot and should be turned down. Do not use steam to avoid the possibility of the ink bleeding. Some quilters press the seams using a seam roller or their fingers/thumbs.
After pressing, hold the foundation up to the light and make sure the 2nd fabric covers section 2 completely and overlaps the other sections by at least ¼”.
Paper side up, place the cardstock on the line between section 3 and sections 1 and 2. Fold the foundation back over the cardstock. Depending on the foundation, some fabric will come up with the paper. Simply pull the fabric down and off of the paper. Using the edge of the paper as a guide, trim the fabric to ¼”.

Fold the foundation back down, line up the 3rd piece of fabric with the newly trimmed edge and pin in place if necessary.


Flip the foundation over and sew on the line between sections 2 and 3, remembering to start a ½” before the line. Then press piece 3 open.
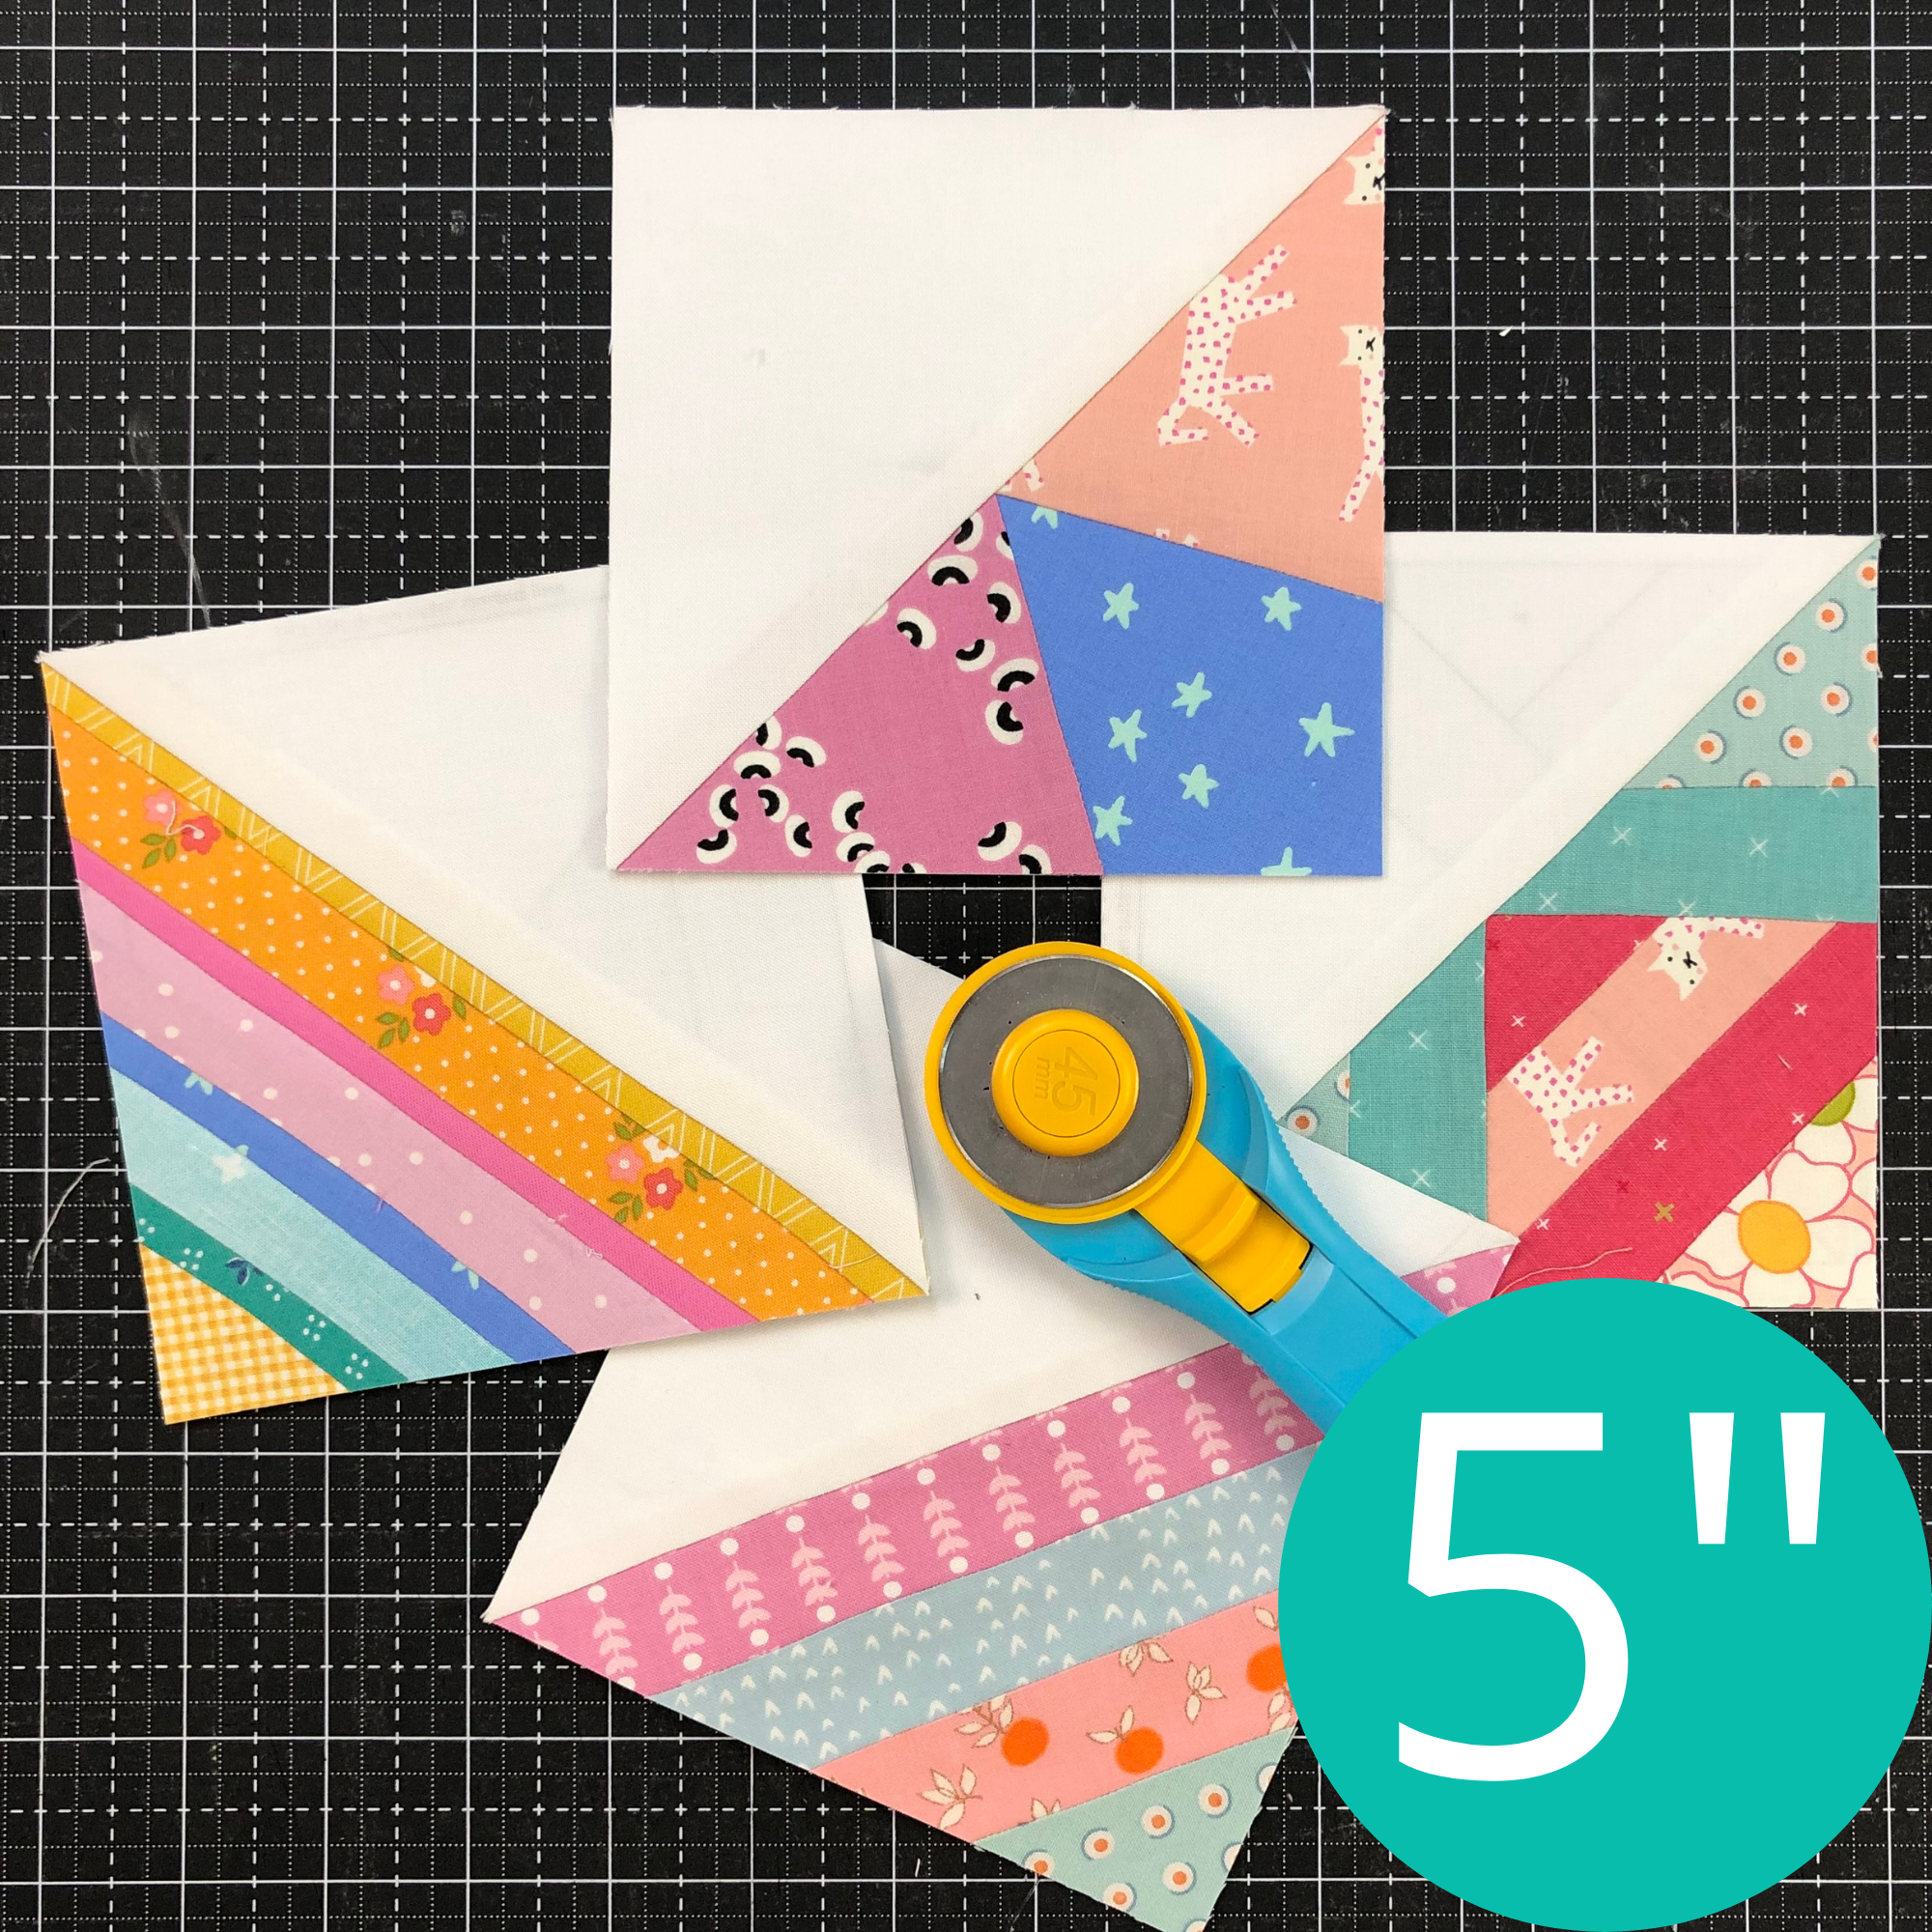
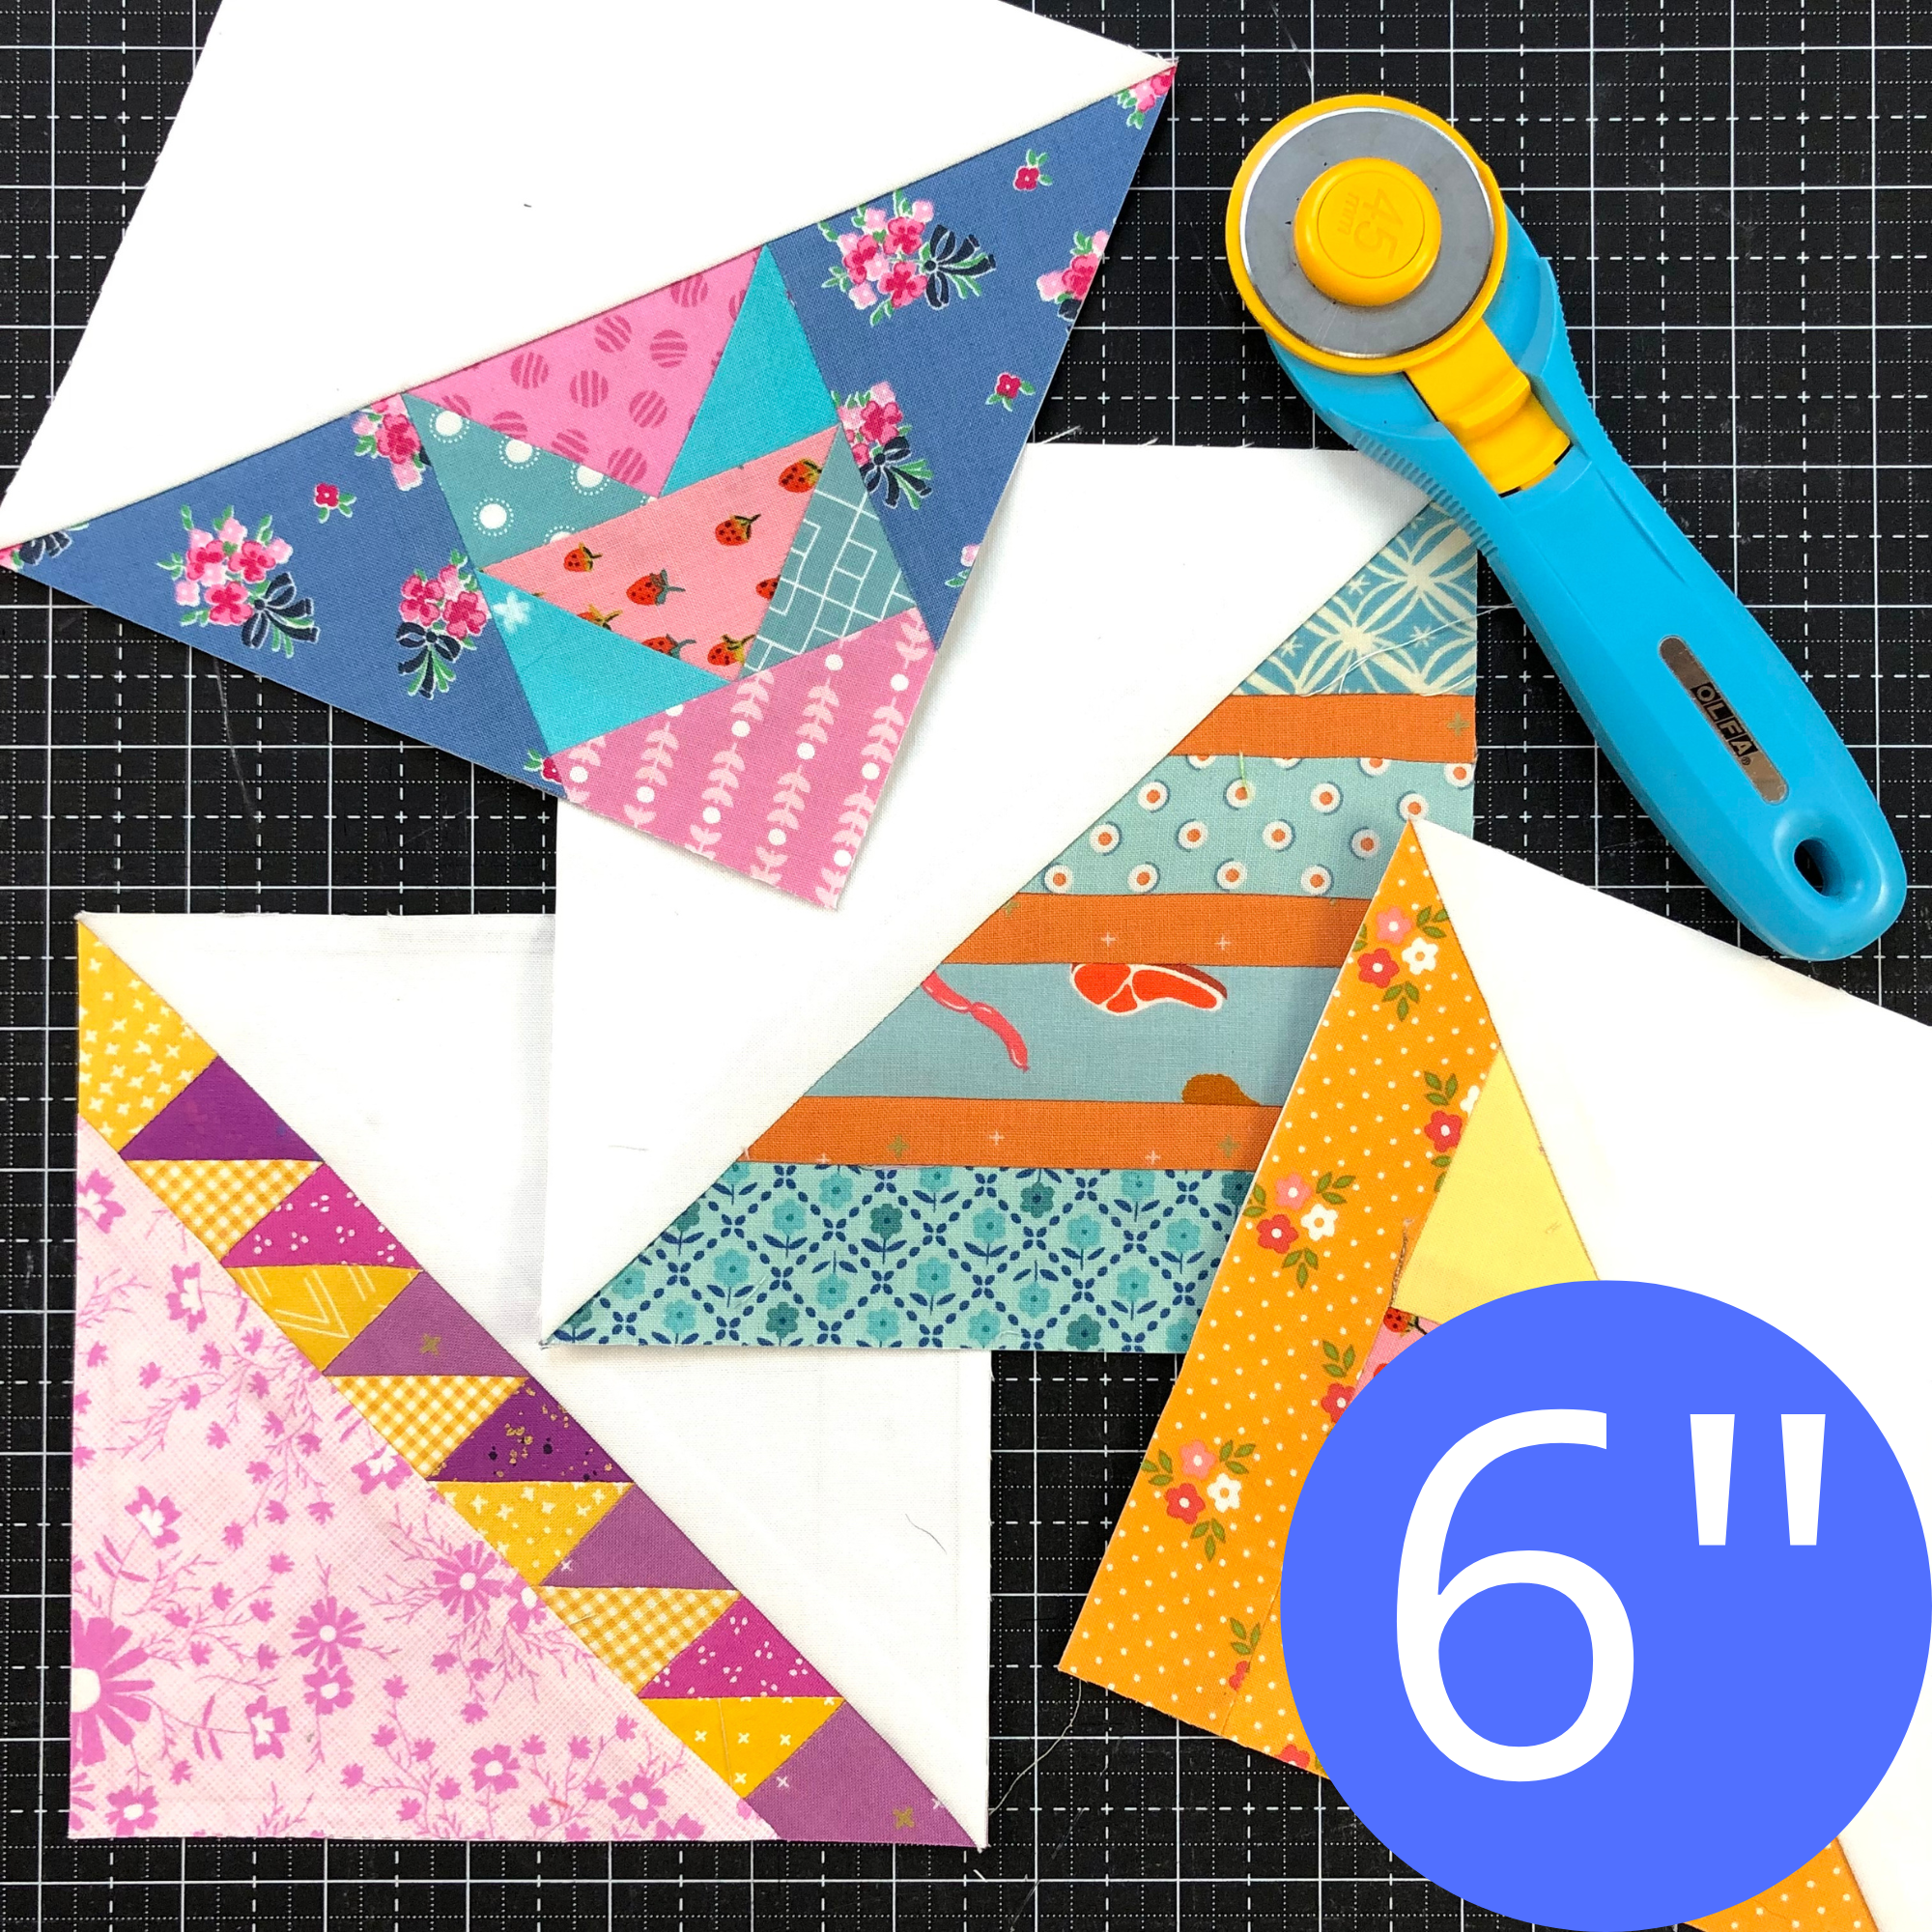
Continue to repeat these steps for all sections of the foundation. The basic foundation piecing formula is trim, sew and press. It is that simple. As you go, hold the foundation up to the light to make sure the fabric covers all sections completely.
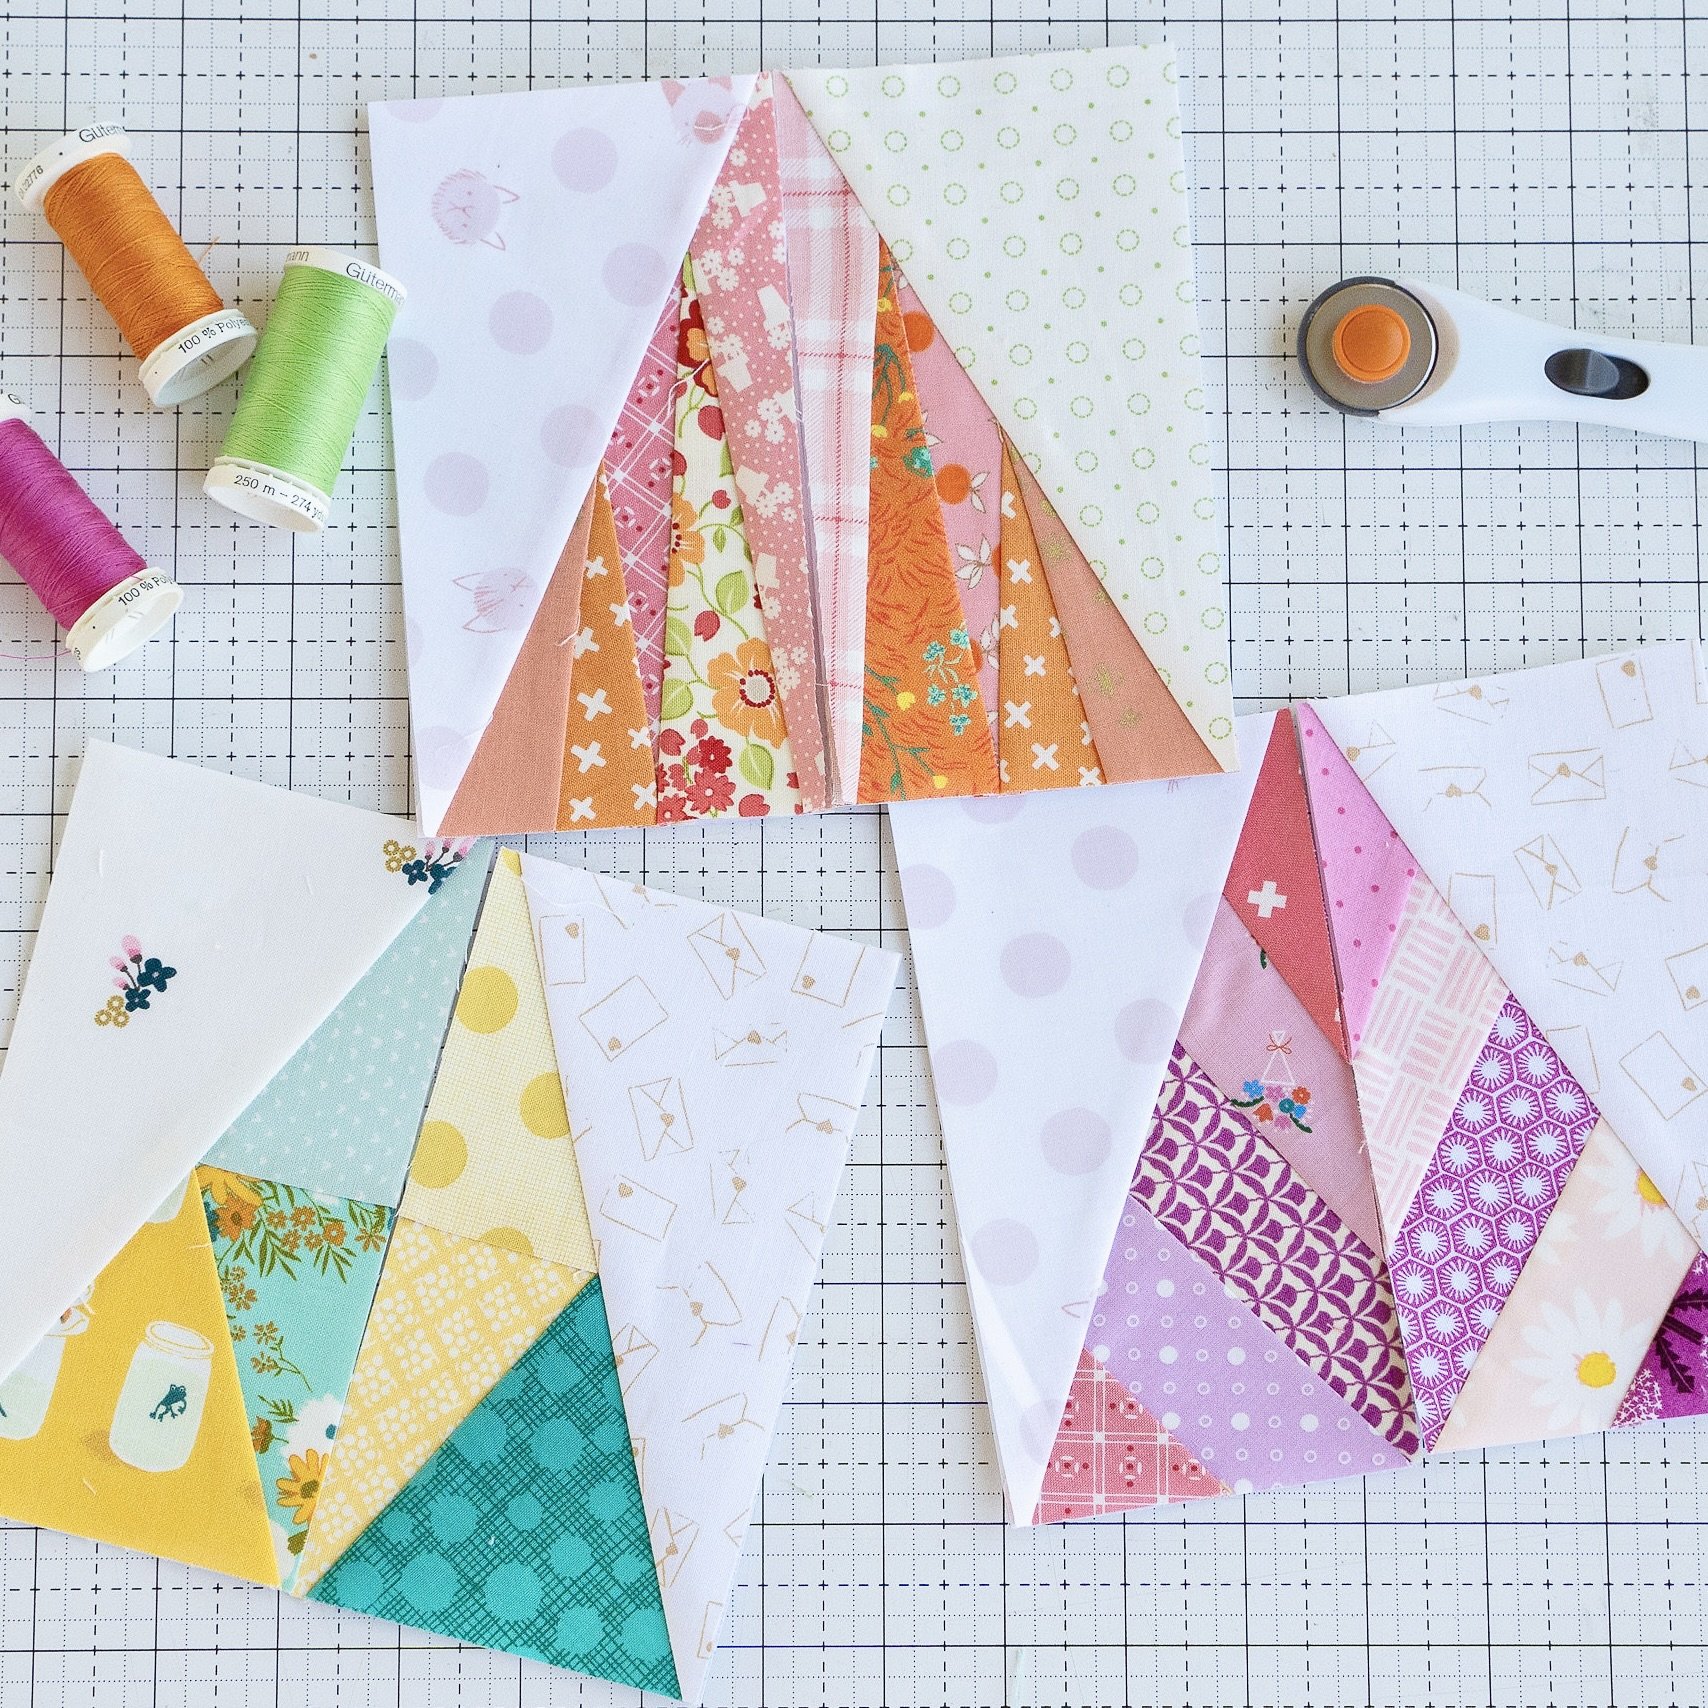
Step 5: Add Background Triangles
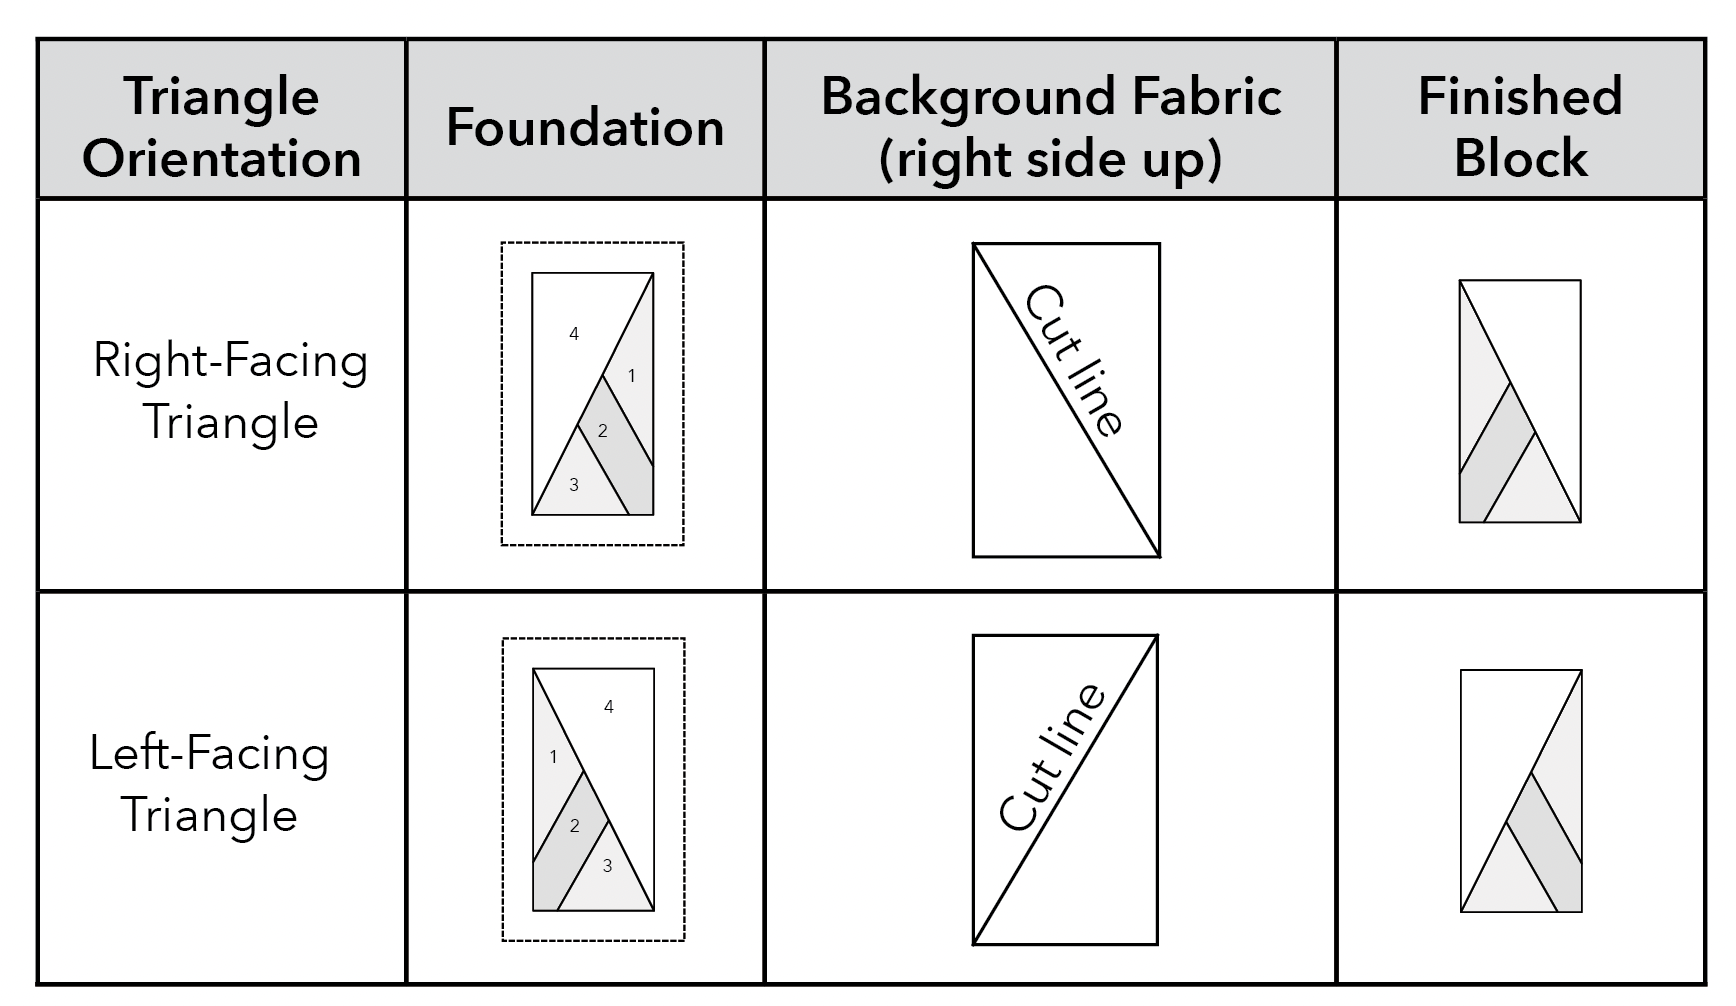

Direction matters when you cut the background rectangles in half from corner to corner. Refer to the diagram above that is found in the front of the foundation pad to make sure you cut in the correct direction for the triangle you are piecing.
But if you use a solid fabric, you don’t have to worry about the cut direction since you can flip the triangles over so they work with either triangle type.
I go into great detail about how to cut the background triangles in my video. Start watching it here for more info.
Step 6: Trim to Size

Once the block is pieced, trim the paper-pieced unit to size by lining up the inner solid line with the ¼” line on the ruler. Then trim off the excess. I trim the blocks this way because it is difficult to be sure the ruler is lined up exactly on the outer dotted line and the trim is more accurate when measured from the solid inner line.
Step 7: Sew the paper-pieced units together
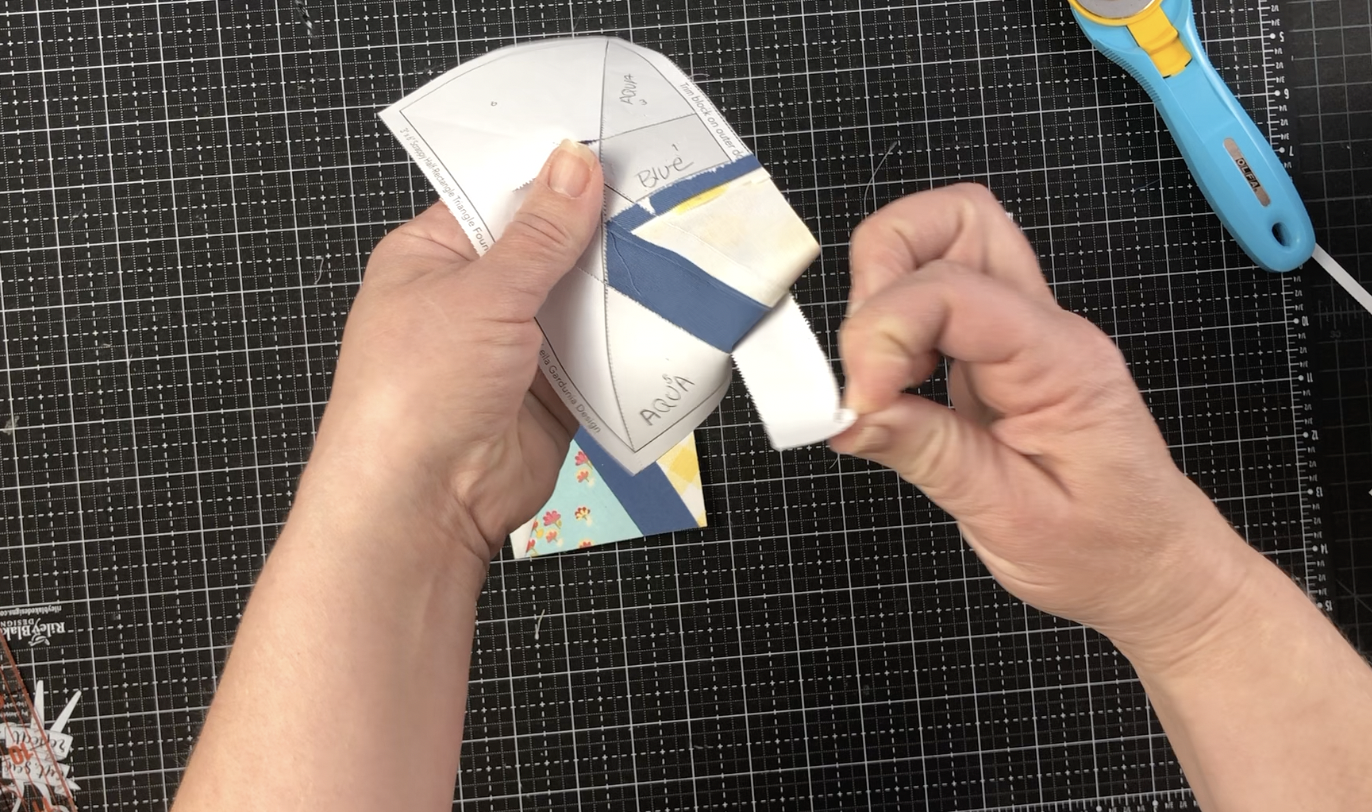
To sew the foundations together simply line up the edges and sew along the line. Remove the papers from the seams and press the seam to the side or open.
If you are instructed to sew the FPP unit to a traditionally pieced unit, simply leave the paper on and sew the units together as normal. Remove the paper only after the foundation is sewn to other quilt pieces on all sides. This will eliminate any possible stretching and distortion of the block.
If you are still having a hard time removing the papers, you may want to give Carolina Moore’s Water Pen a try. It dampens the paper so it tears off more easily.
That's it! Just follow these steps and you will be foundation paper piecing like a pro. Now go and make all those Scrappy Half-Rectangle Triangle quilt blocks!
For more super detailed instructions, watch my YouTube video.
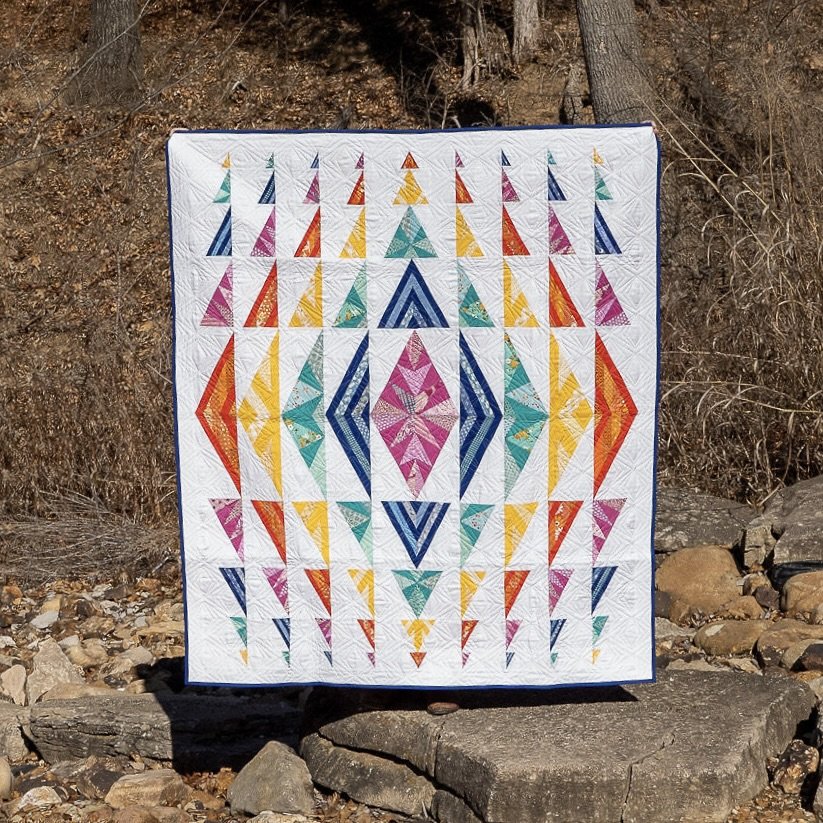
Need some extra inspiration? Check out these layout ideas!