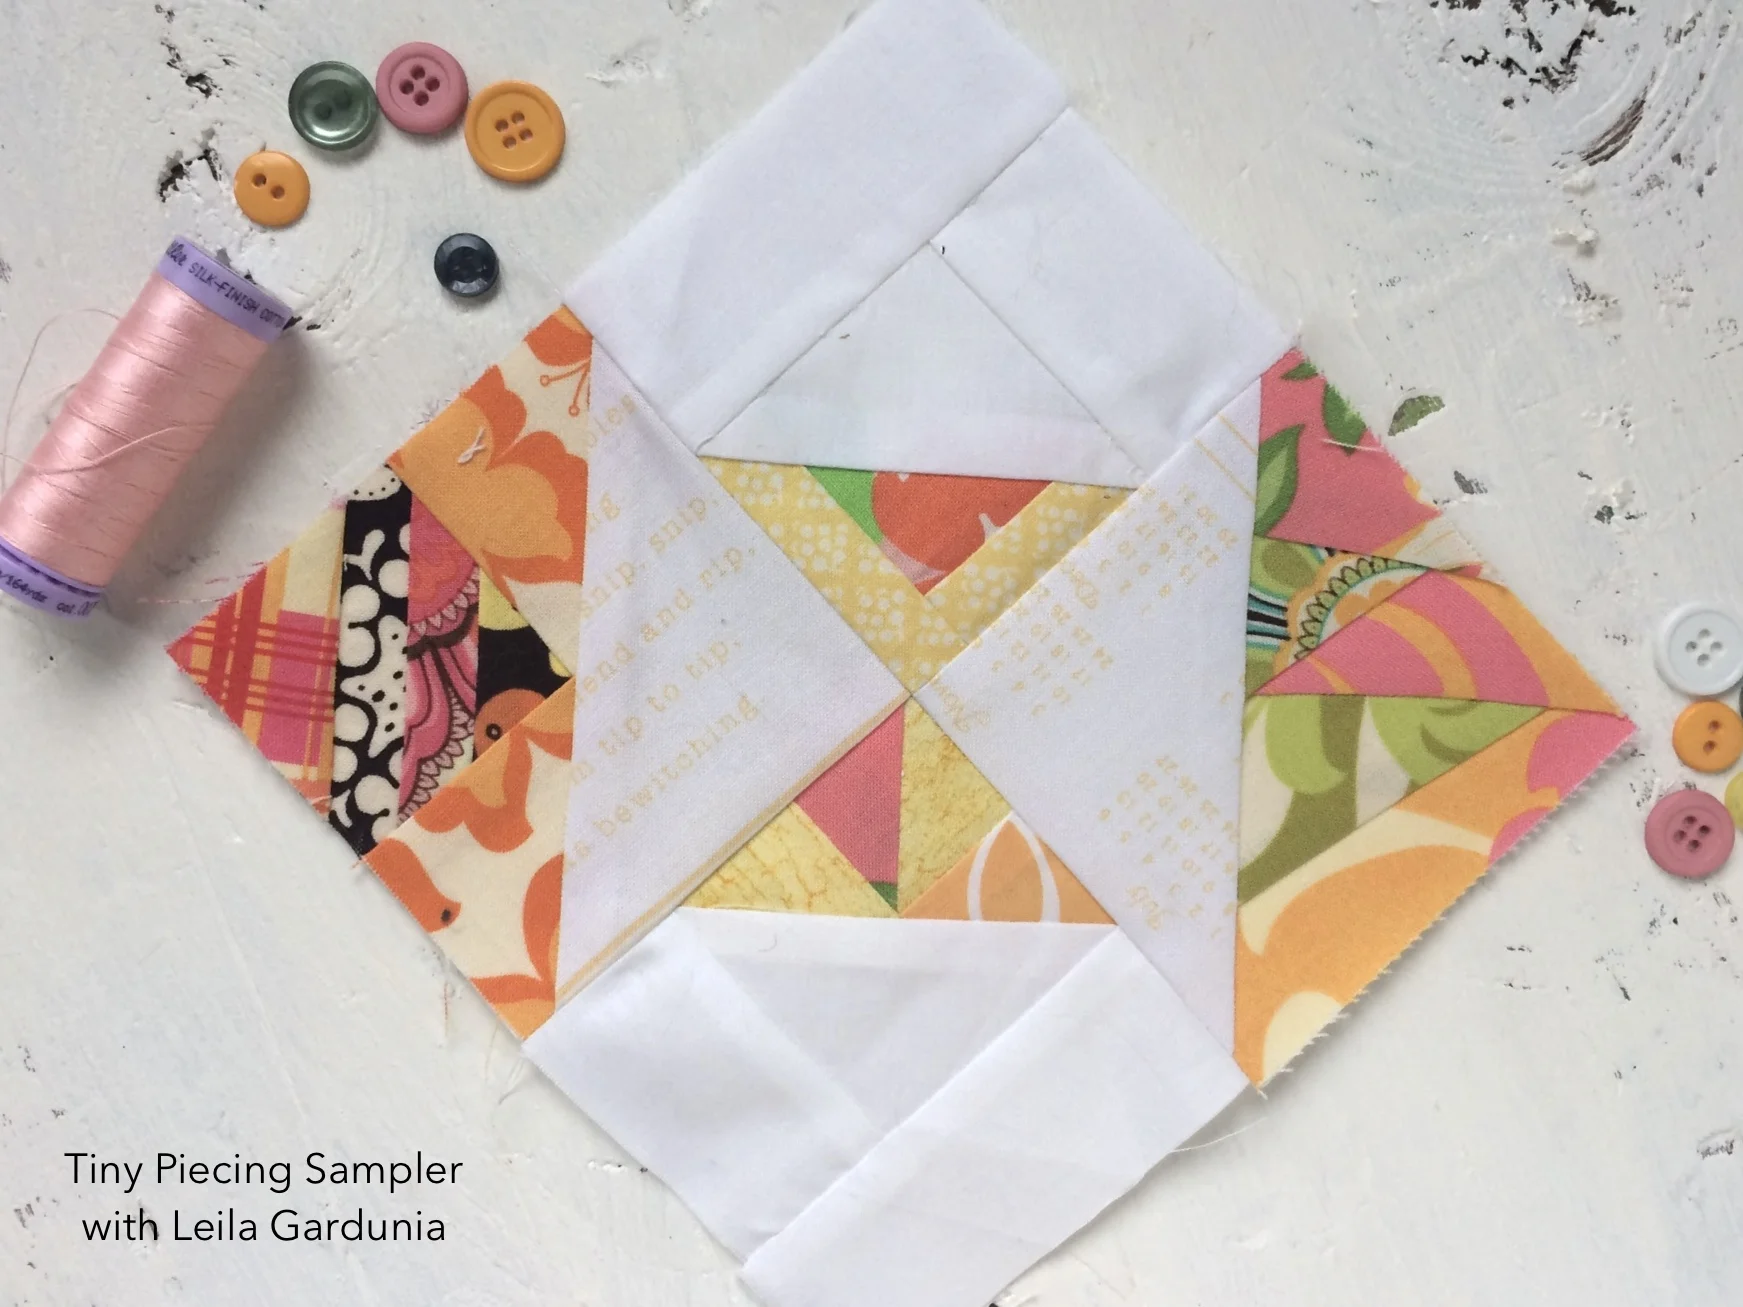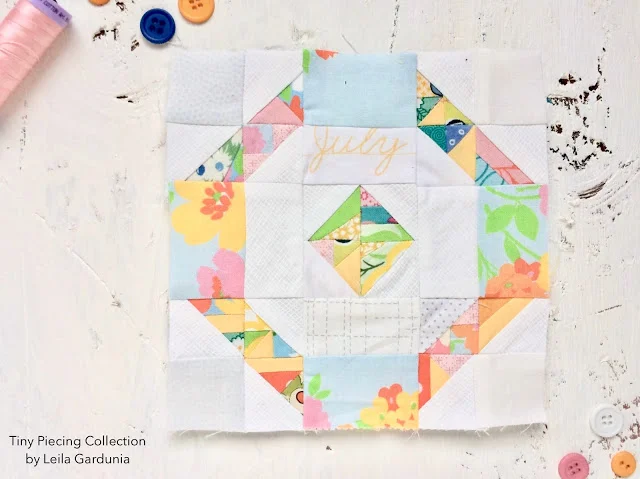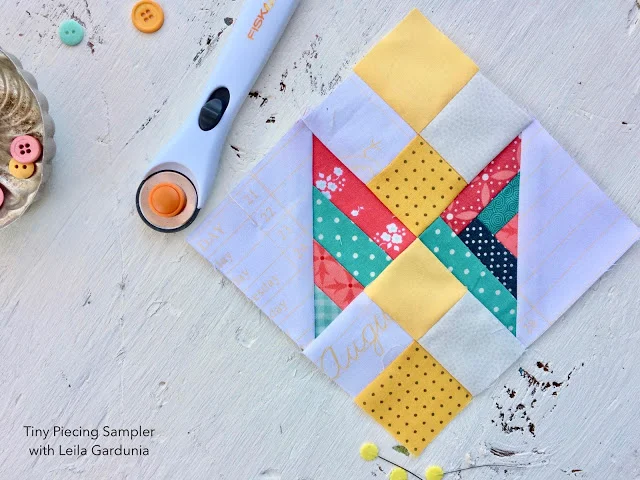
Block 12 - Tiny Piecing Sampler
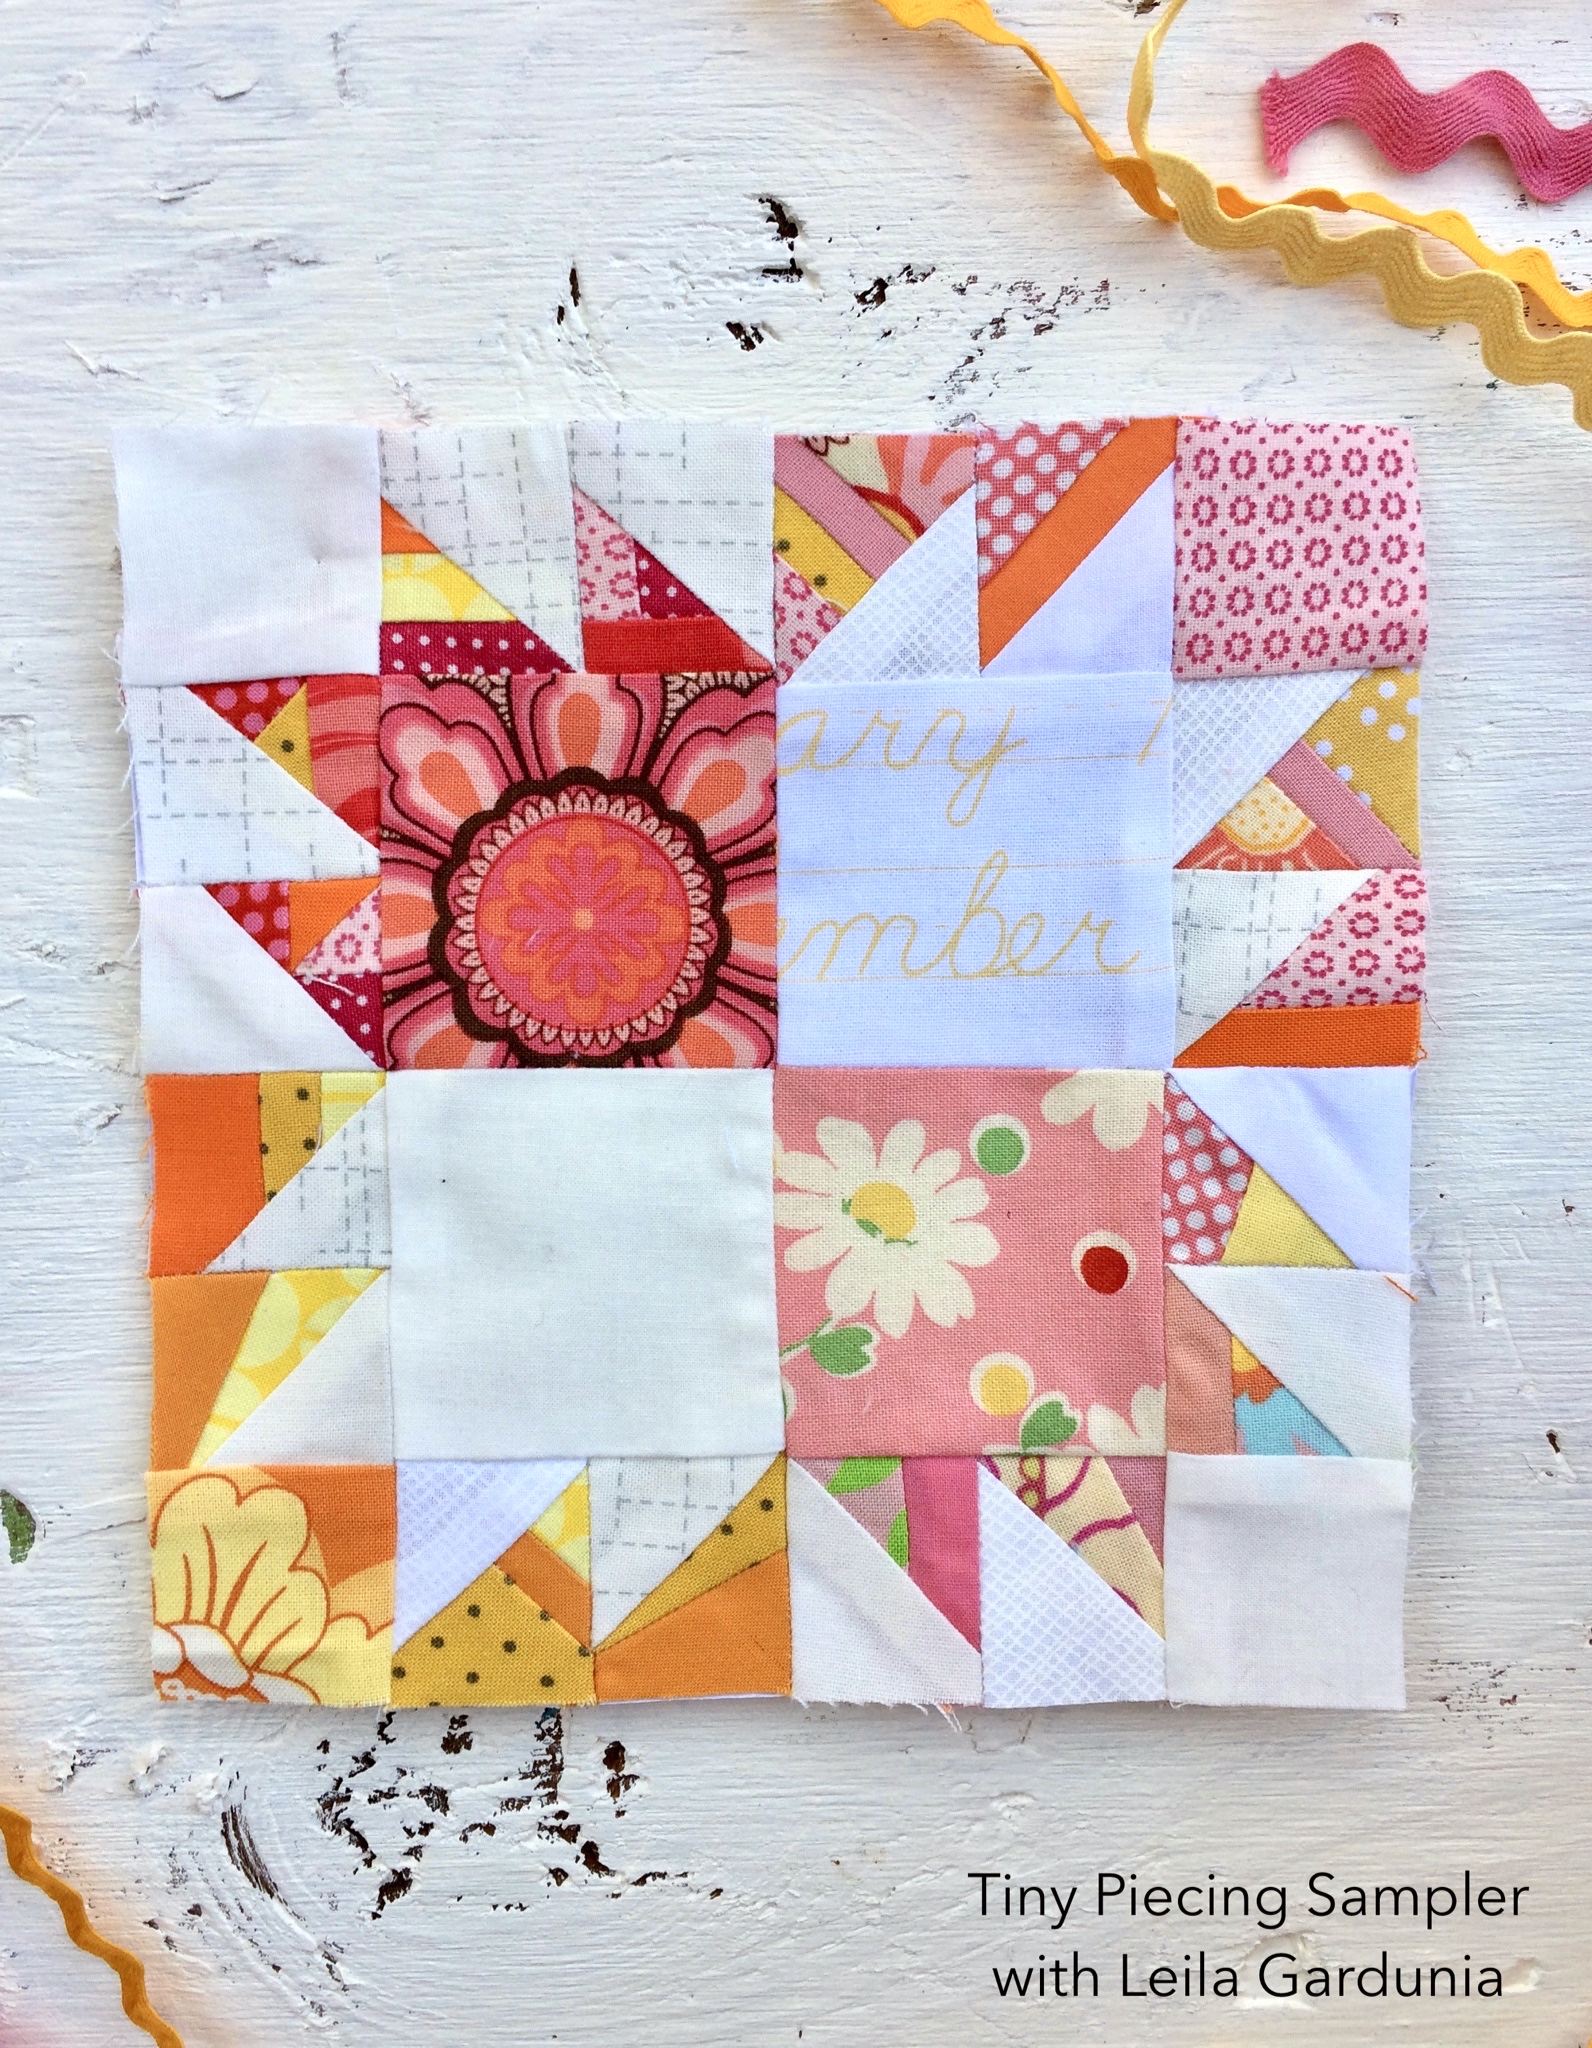
Can you believe it? Here is the last block in the Tiny Piecing Sampler. Have fun making it and I’ll see you next week for the setting instructions.
6” Block
Make:
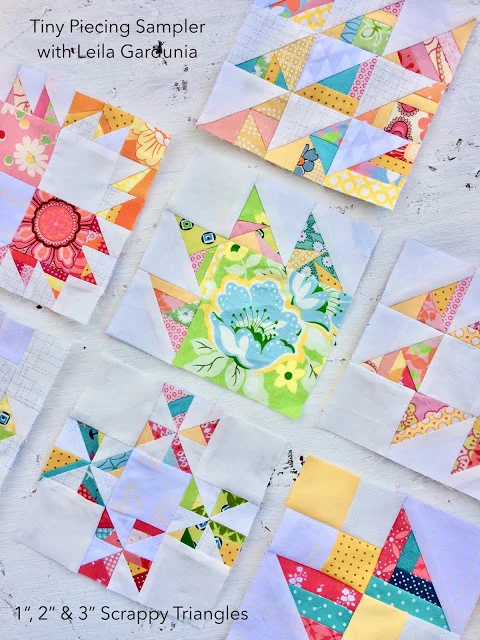
(16) 1” Scrappy Triangles (4 each in coordinating colors)
Cut:
White
(2) 1 1/2” squares
(2) 2 1/2” squares
Colored Prints (that coordinate with the Scrappy Triangles)
(2) 1 1/2” squares
(2) 2 1/2” squares
12” Block
Make:
(16) 2” Scrappy Triangles (4 each in coordinating colors)
Cut:
White
(2) 2 1/2” squares
(2) 4 1/2” squares
Colored Prints (that coordinate with the Scrappy Triangles)
(2) 2 1/2” squares
(2) 4 1/2” squares
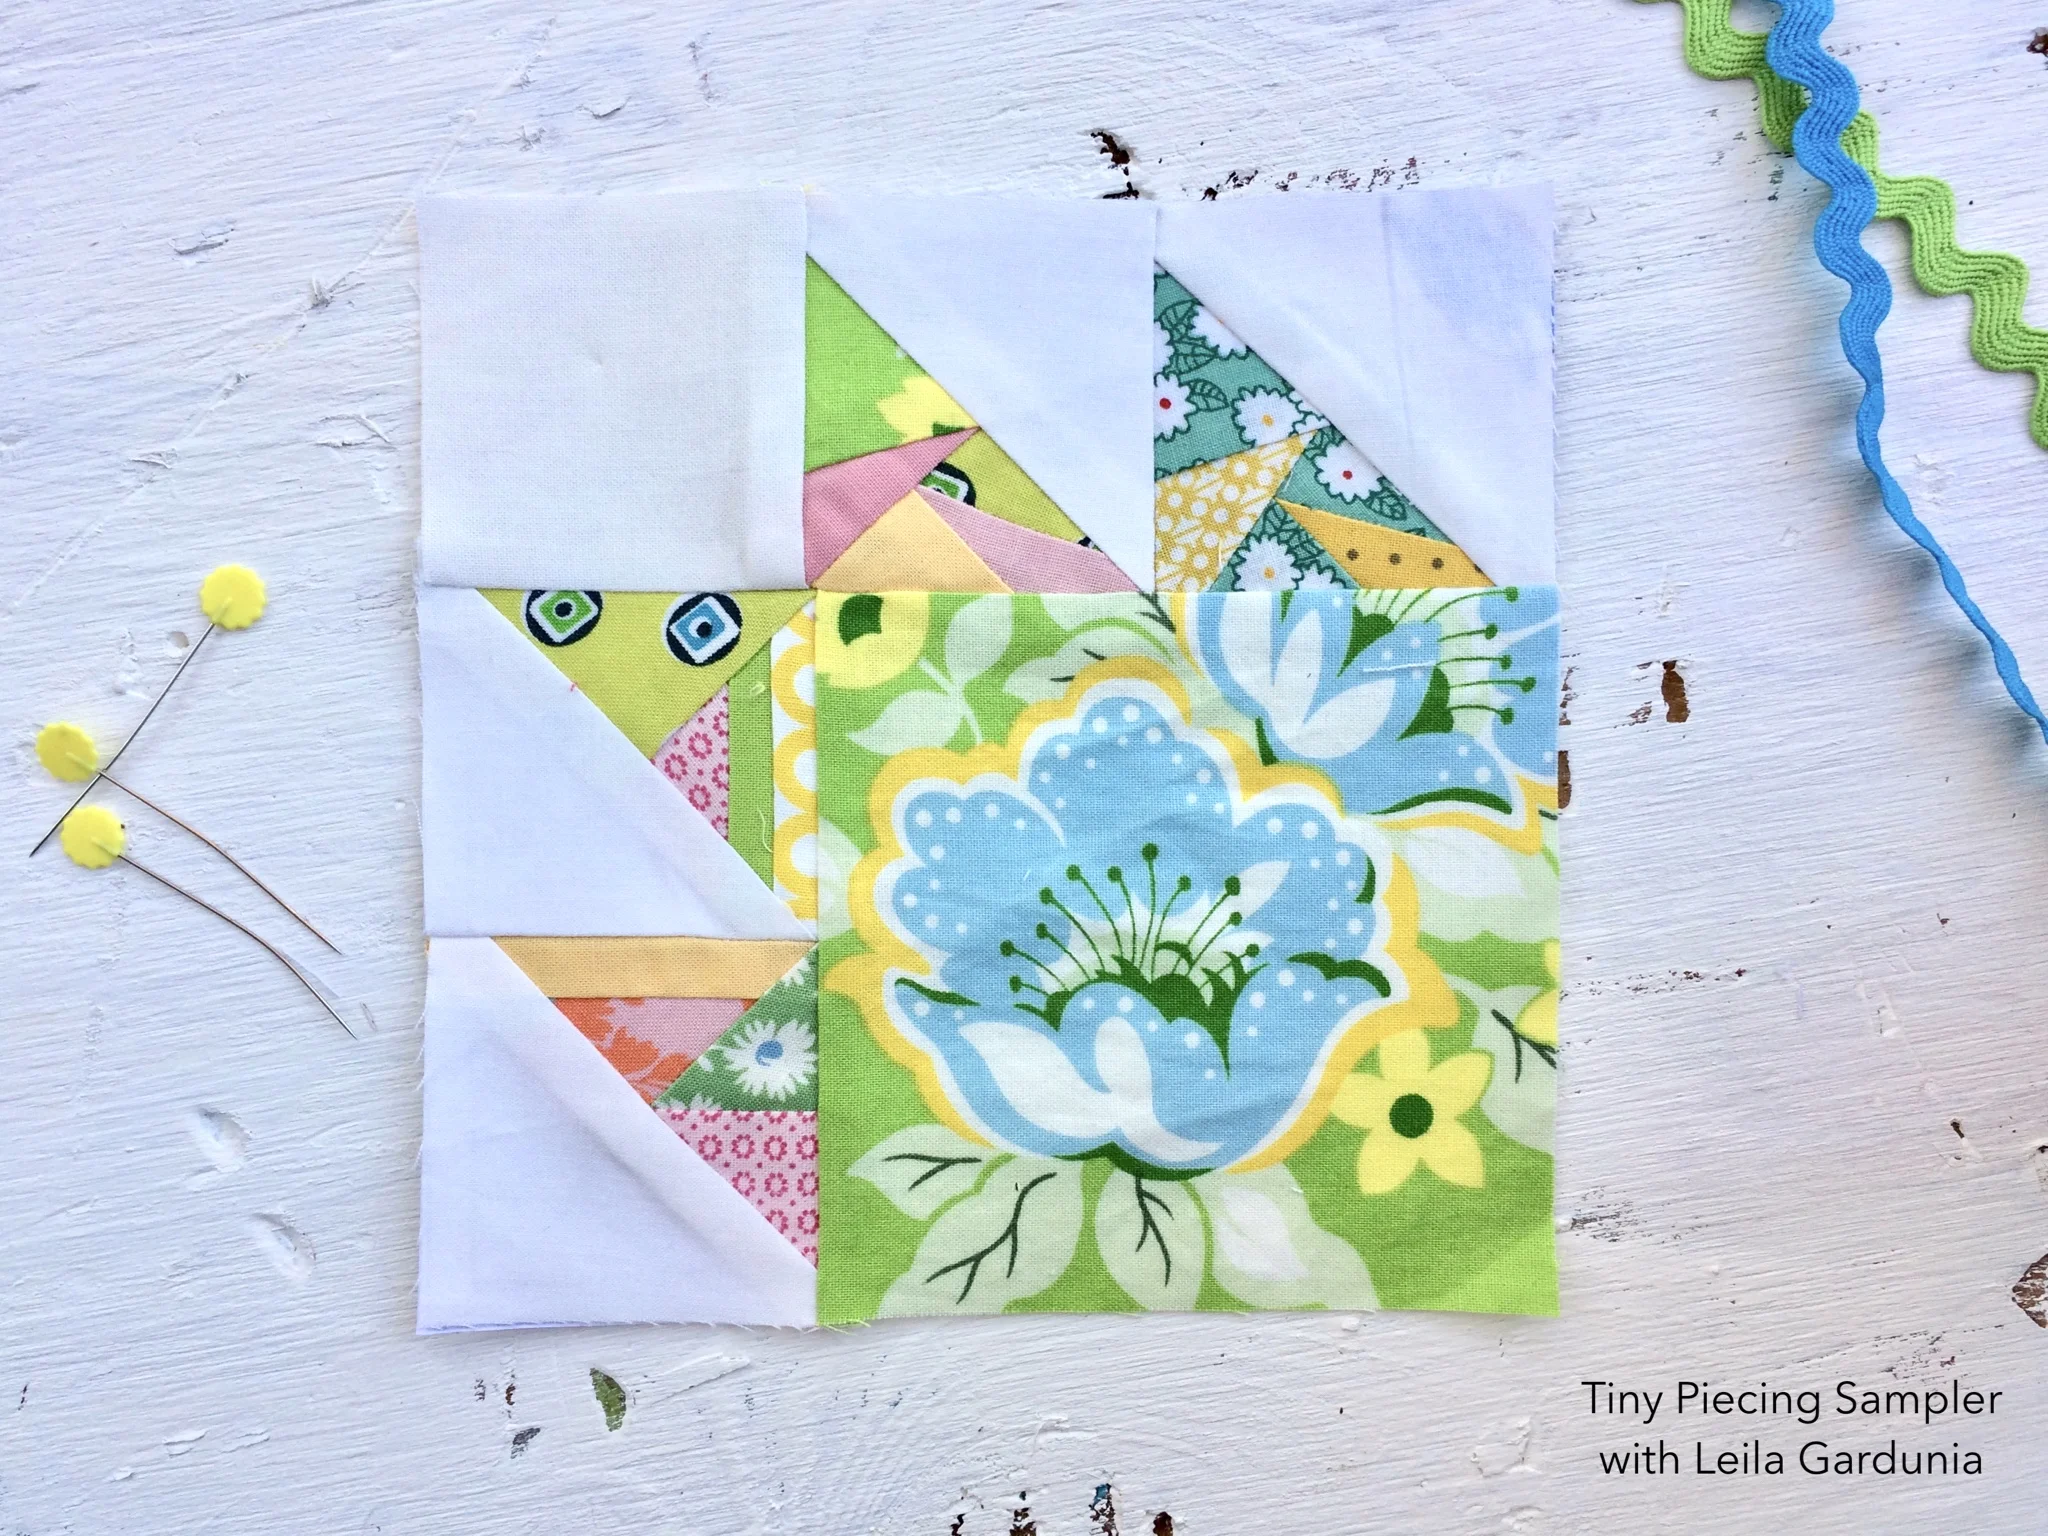
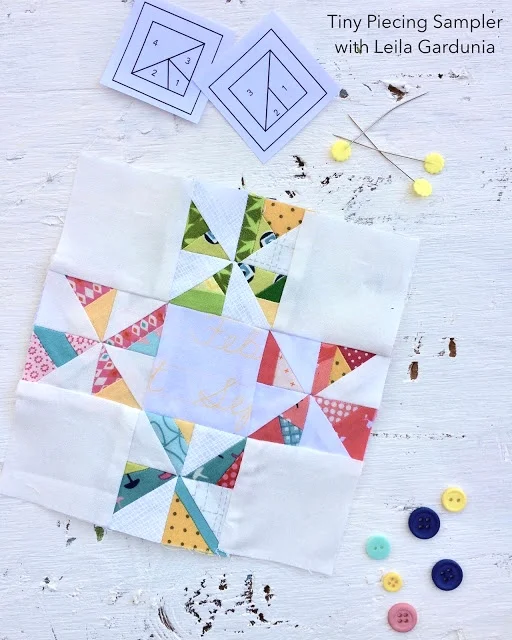
Assembly

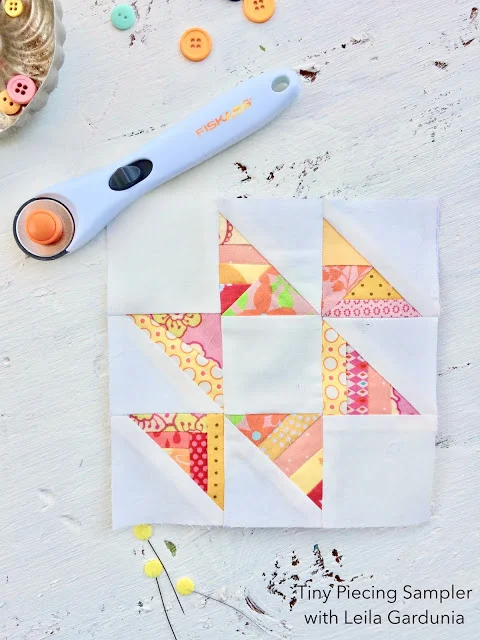
1, We will be making four Bear Paw units. Two with ‘white paws’ and two with ‘colored paws’. The construction is the same, just pay attention to color placement and the orientation of the triangles.
2. Lay out the squares and Scrappy Triangles as illustrated above.
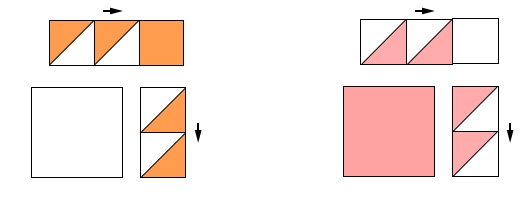
3. Sew the top row of Scrappy Triangles and small corner square together. Press towards the square.
4. Sew the side Scrappy Triangles together and press down.
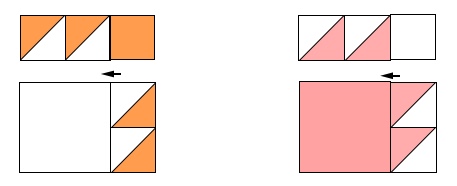
5. Sew the side Scrappy Triangle unit to the large square. Press towards the square.
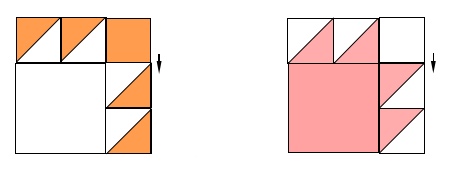
6. Sew the two rows together.
7. Repeat to make two of each color way.
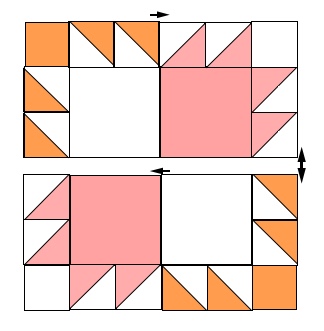
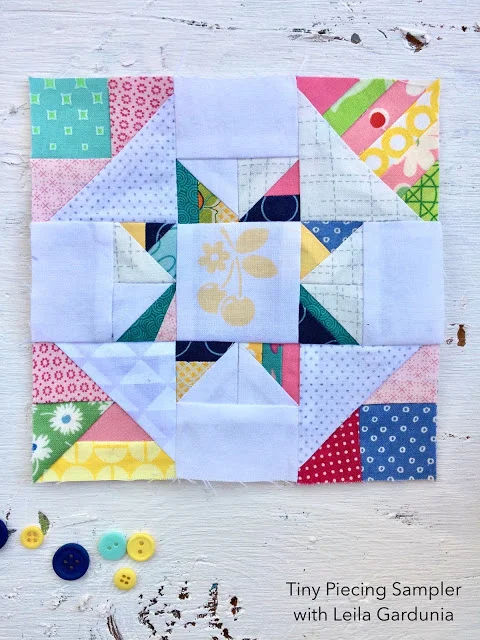
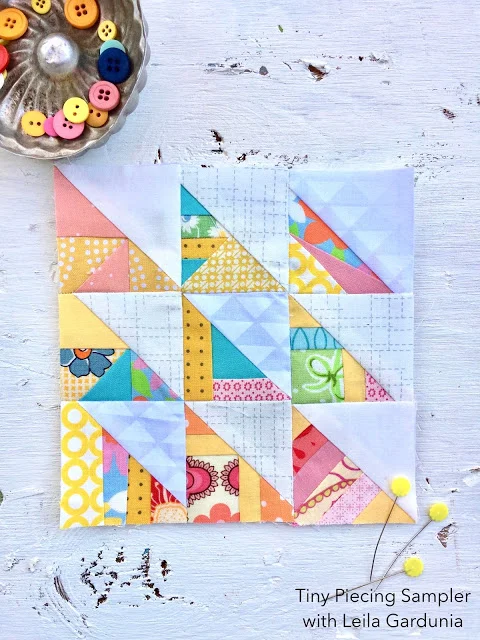
7. Arrange the bear paw units as illustrated and sew together into rows.
8. Then sew the rows together.
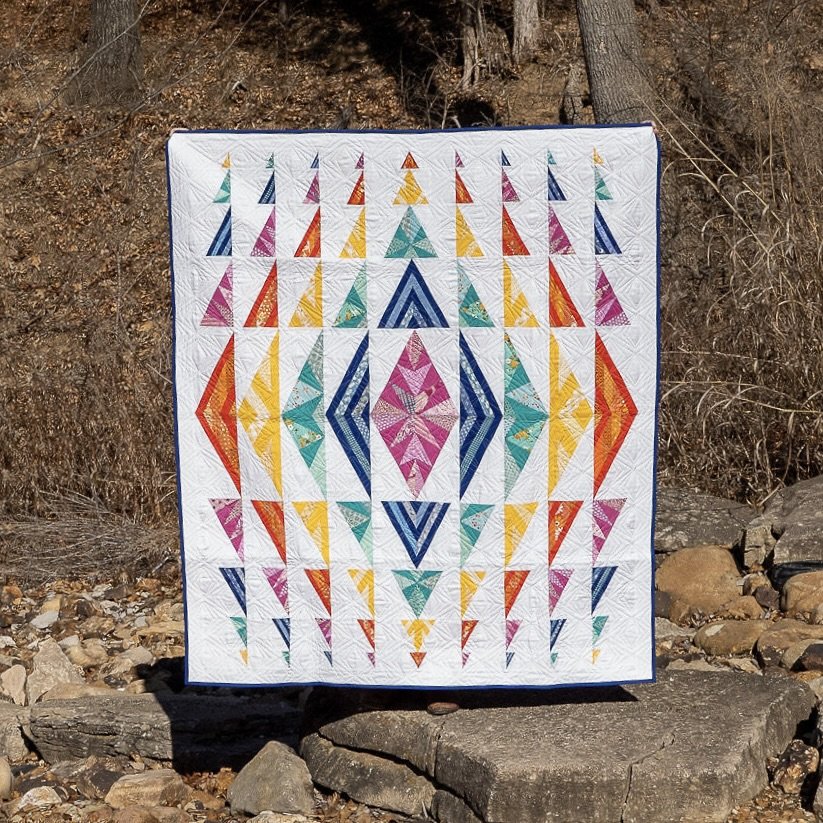
Yea! That is the last block in the Tiny Piecing Sampler! These have been so much fun to make with you. Next week I will post instructions for setting the blocks and sewing them together. See you then!