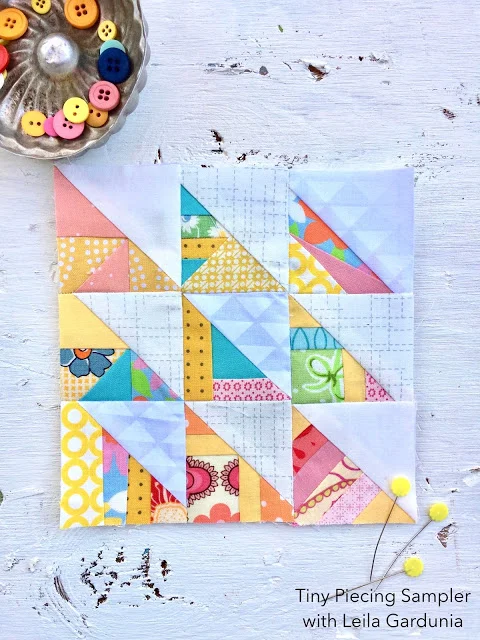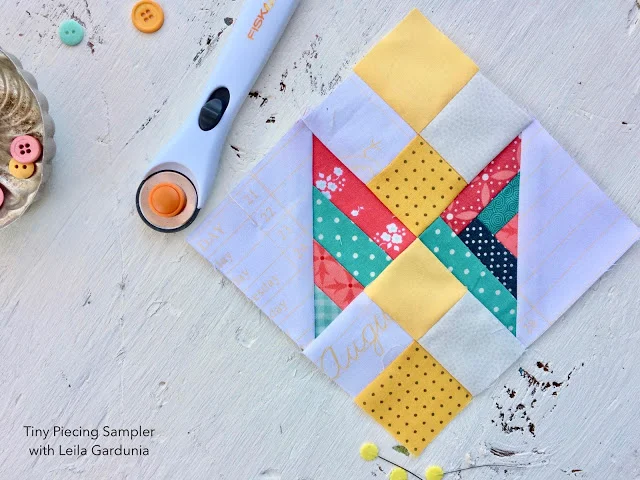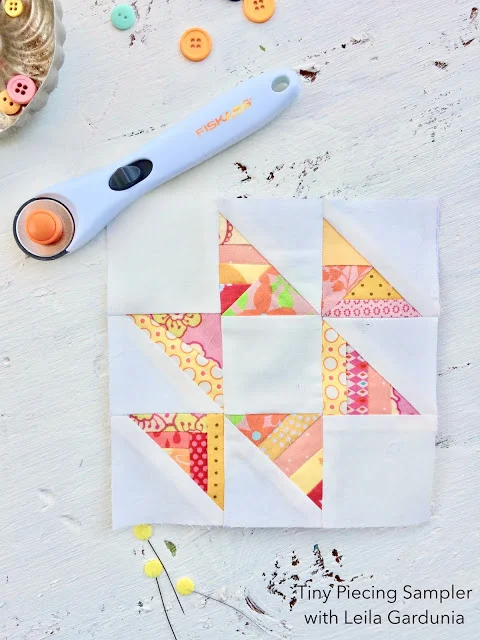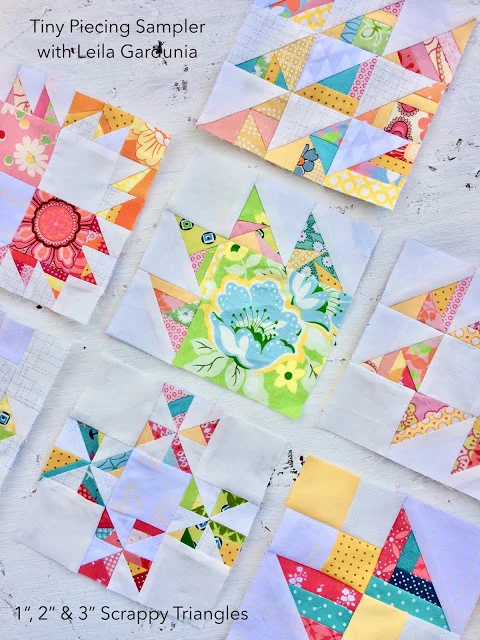
Block 10 - Tiny Piecing Sampler

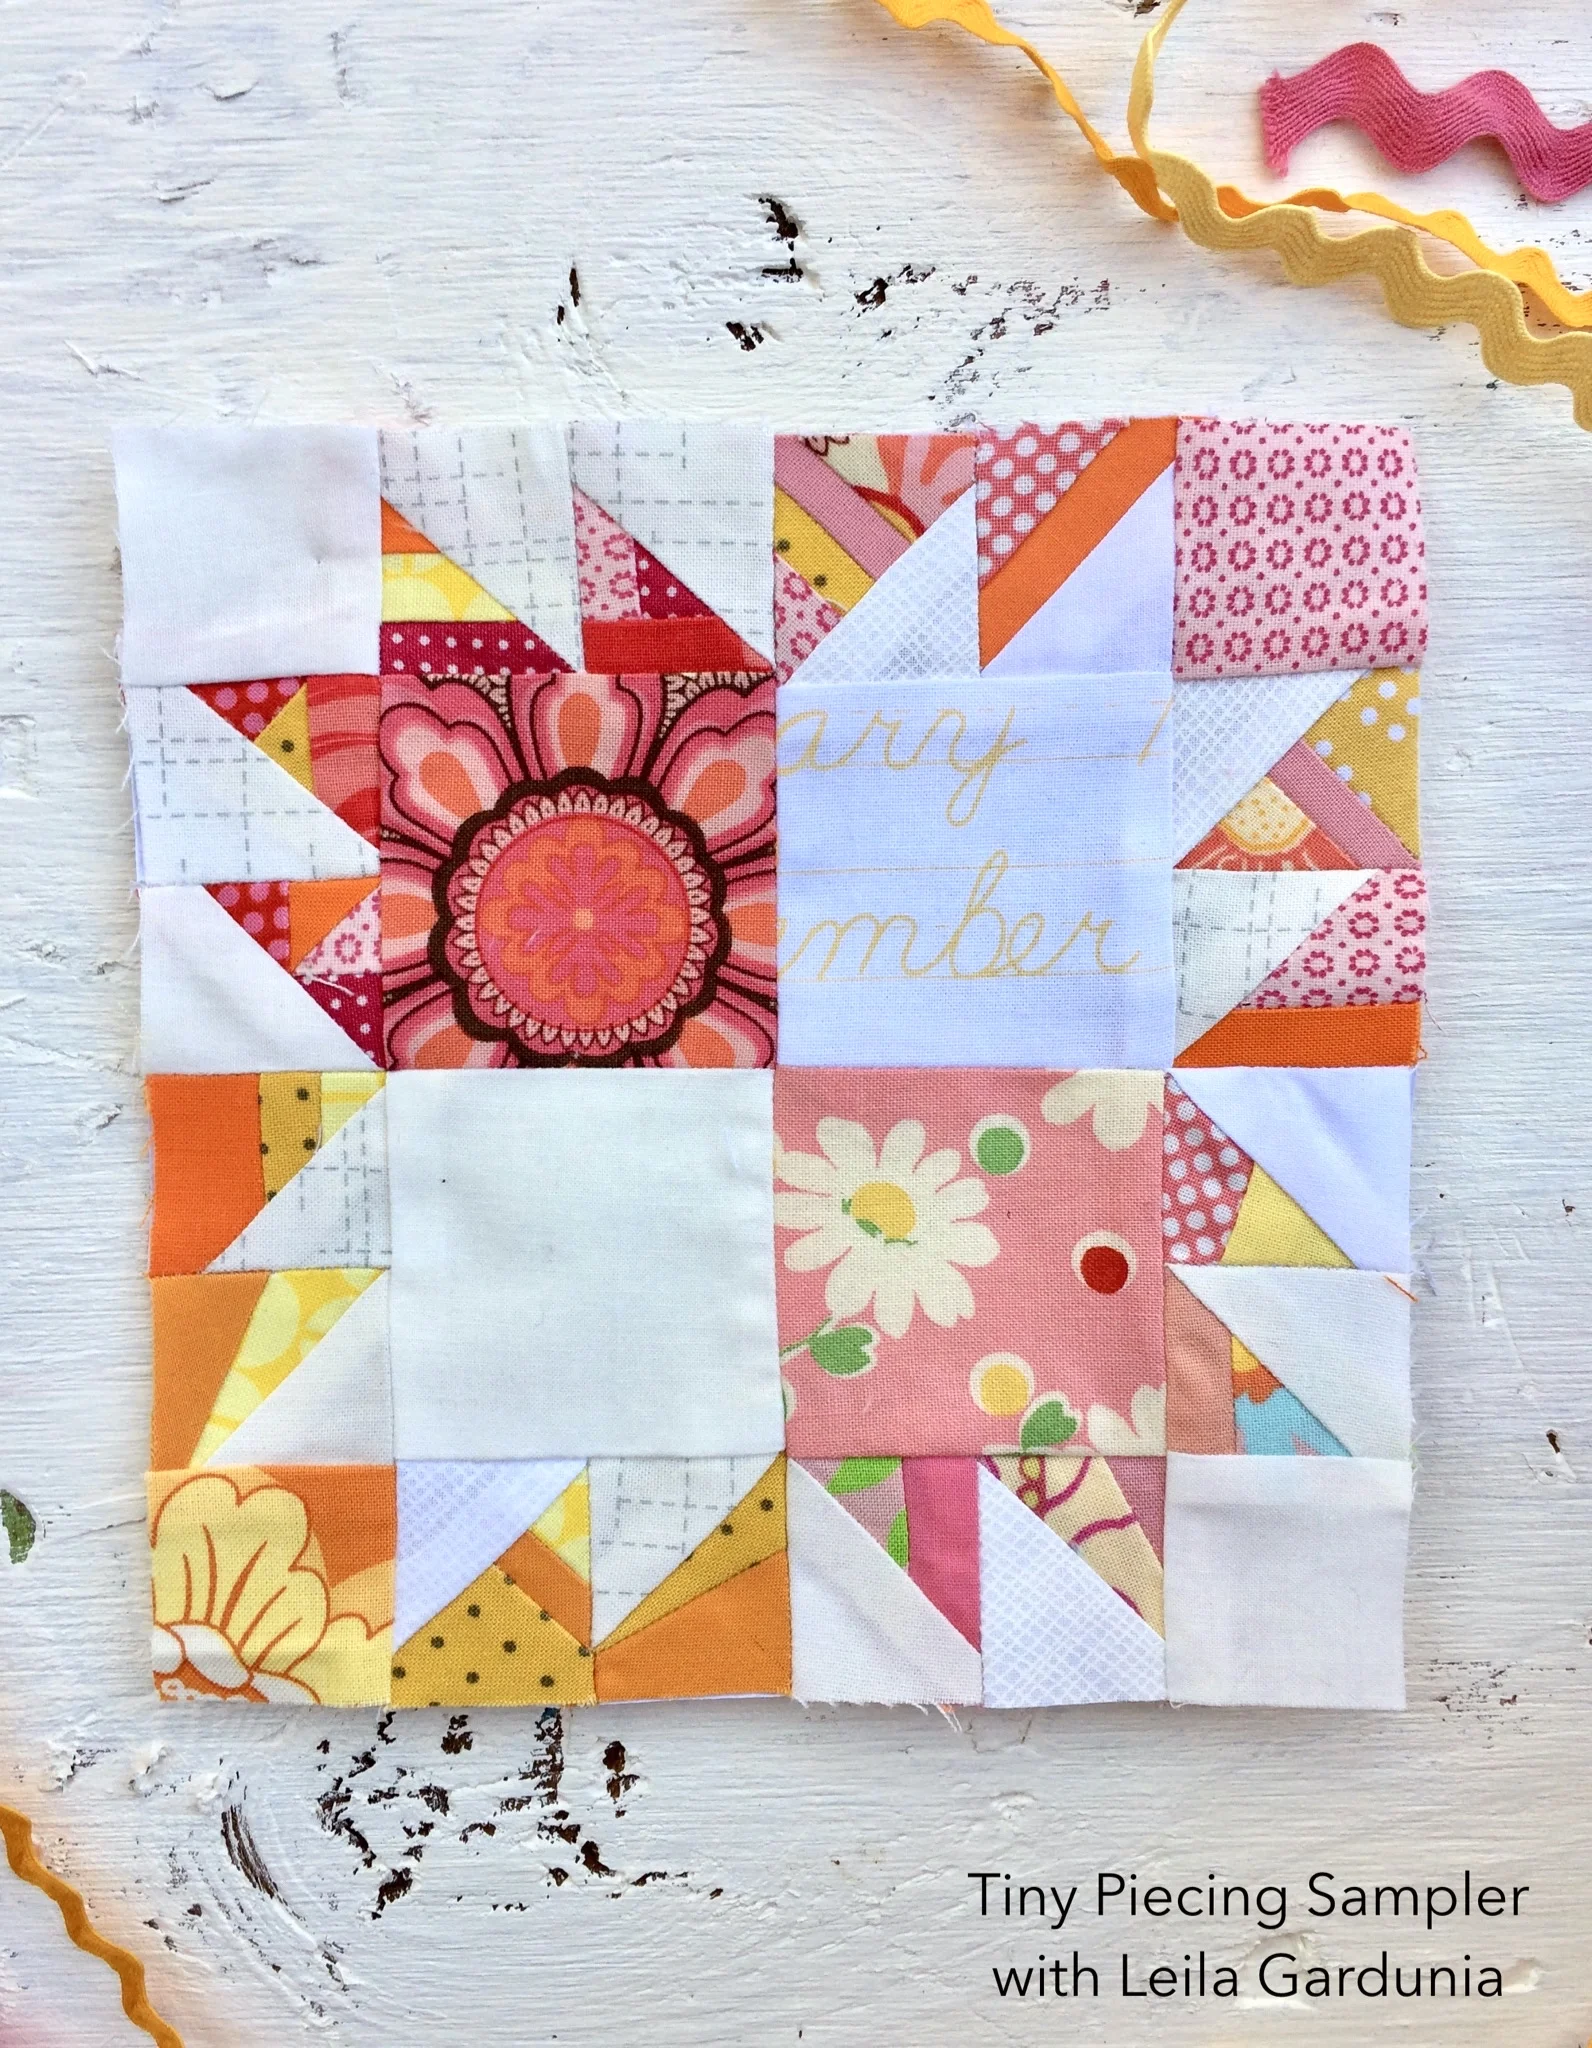
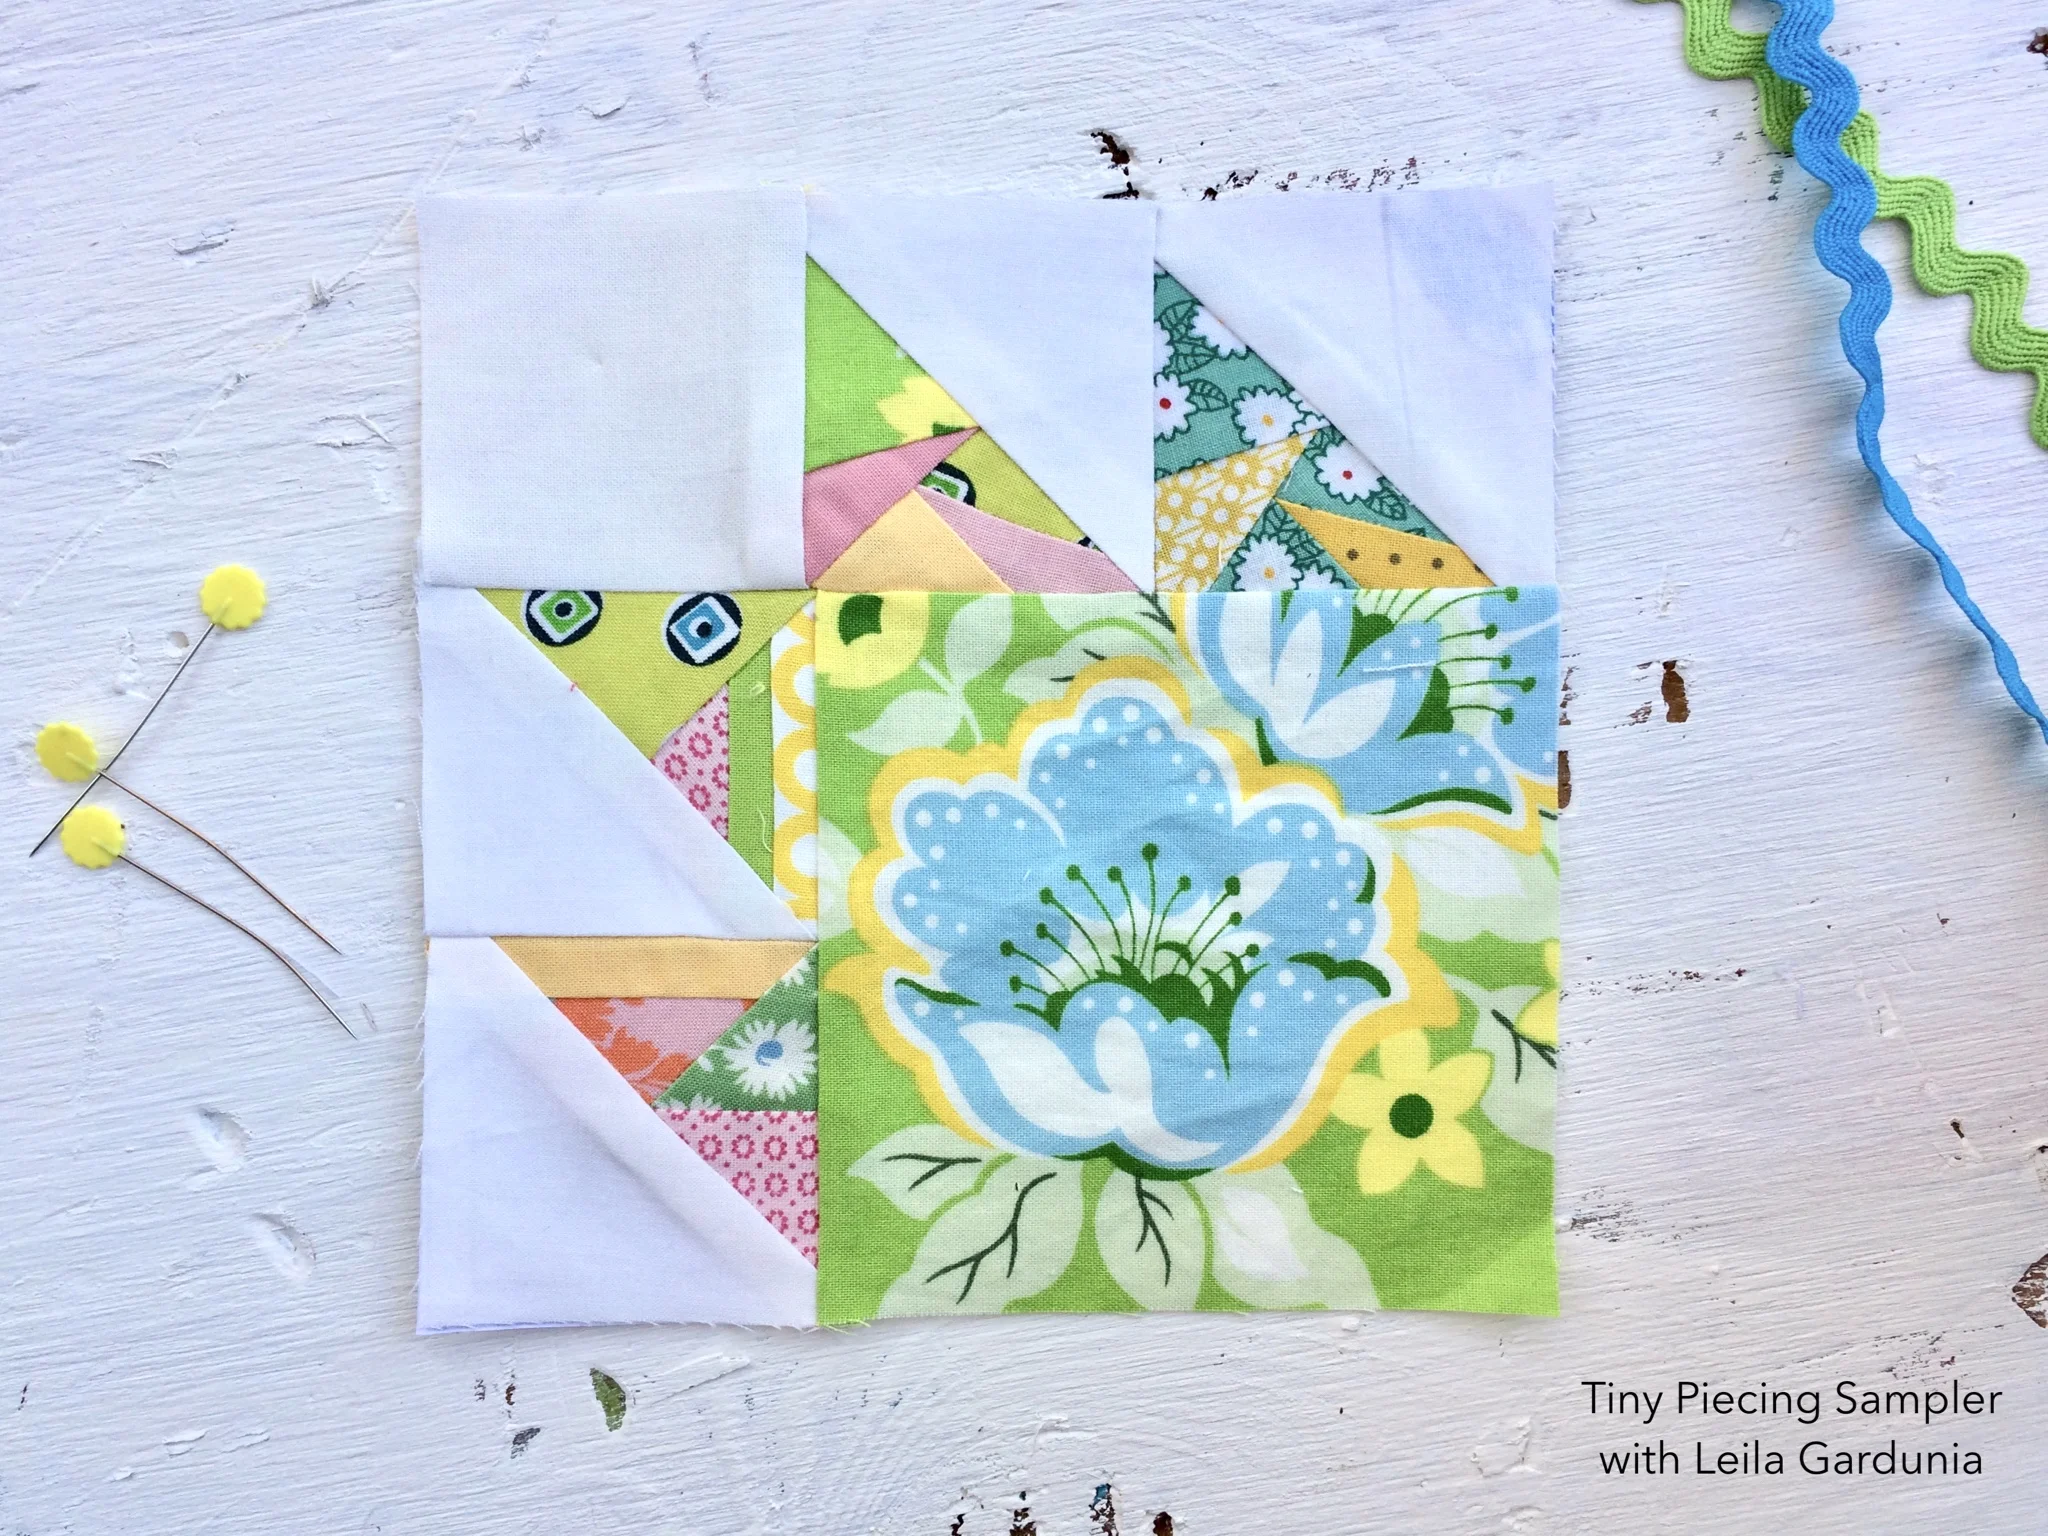
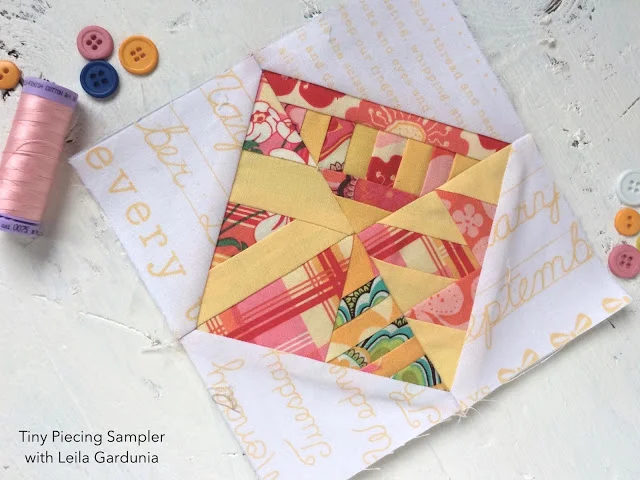
I really love this block. I think the fun floral fabric is the main reason I like it so much. It’s a scrap that I have held onto for years, just waiting for the perfect project. And now I finally used it! This week, while going through your scrap basket, keep an eye out for larger scale prints you can incorporate.
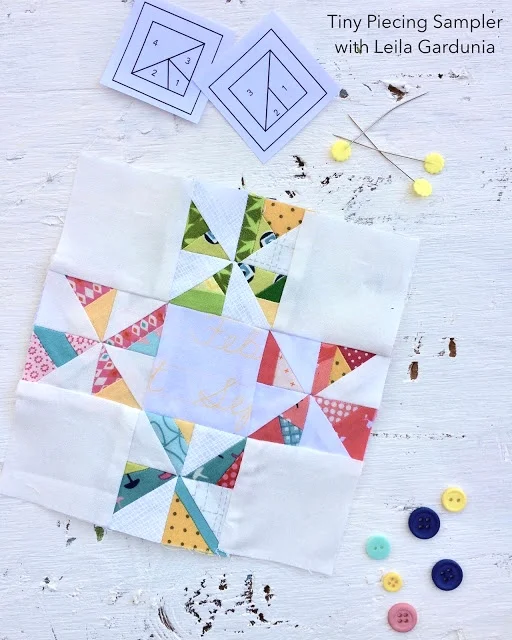
The instructions for 6” and 12” blocks are a bit different this week. The diagrams for the 6” block are on the left and the diagrams for the 12” block are on the right.
(Here are the links for all the other blocks in the Tiny Piecing Sampler and the Shop where you can purchase the Scrappy Triangle foundations.)
Instructions:
6” Block
Make:
(4) 2” Scrappy Triangles
Cut:
(1) 2 1/2” square from background fabric
(1) 4 1/2” square from print fabric
12” Block
Make:
(6) 3” Scrappy Triangles
Cut:
(1) 3 1/2” square from background fabric
(4) 3 1/2” squares from lime print fabric
(5) 3 1/2” squares from aqua print fabric
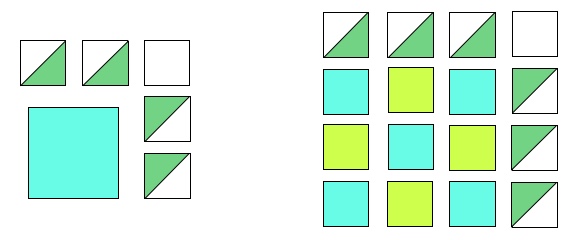
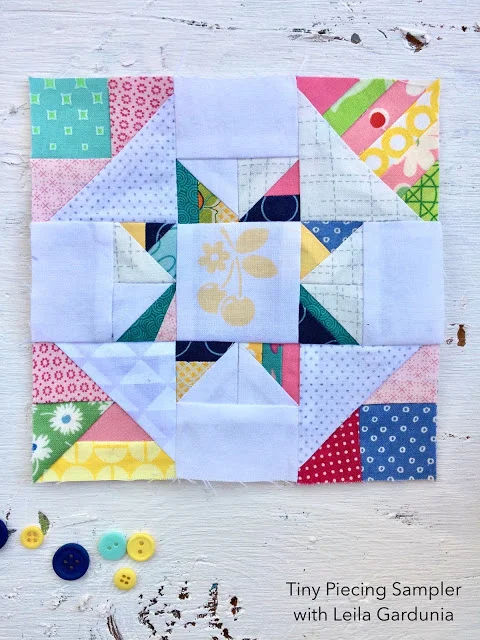
Lay out all block units as illustrated above.

2. For the 6” Block, sew the top row of Scrappy Triangles and background square together. Press towards the square. Sew the two side Scrappy Triangles together. Press towards the bottom of the block.
3. Sew the side Scrappy Triangles to the 4 1/2” print square. Press towards the square.
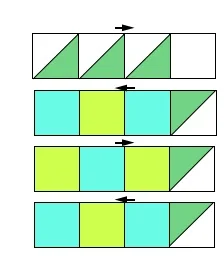
4. For the 12” Block, sew all units together into rows.