Tiny Piecing Sampler Finishing Instructions
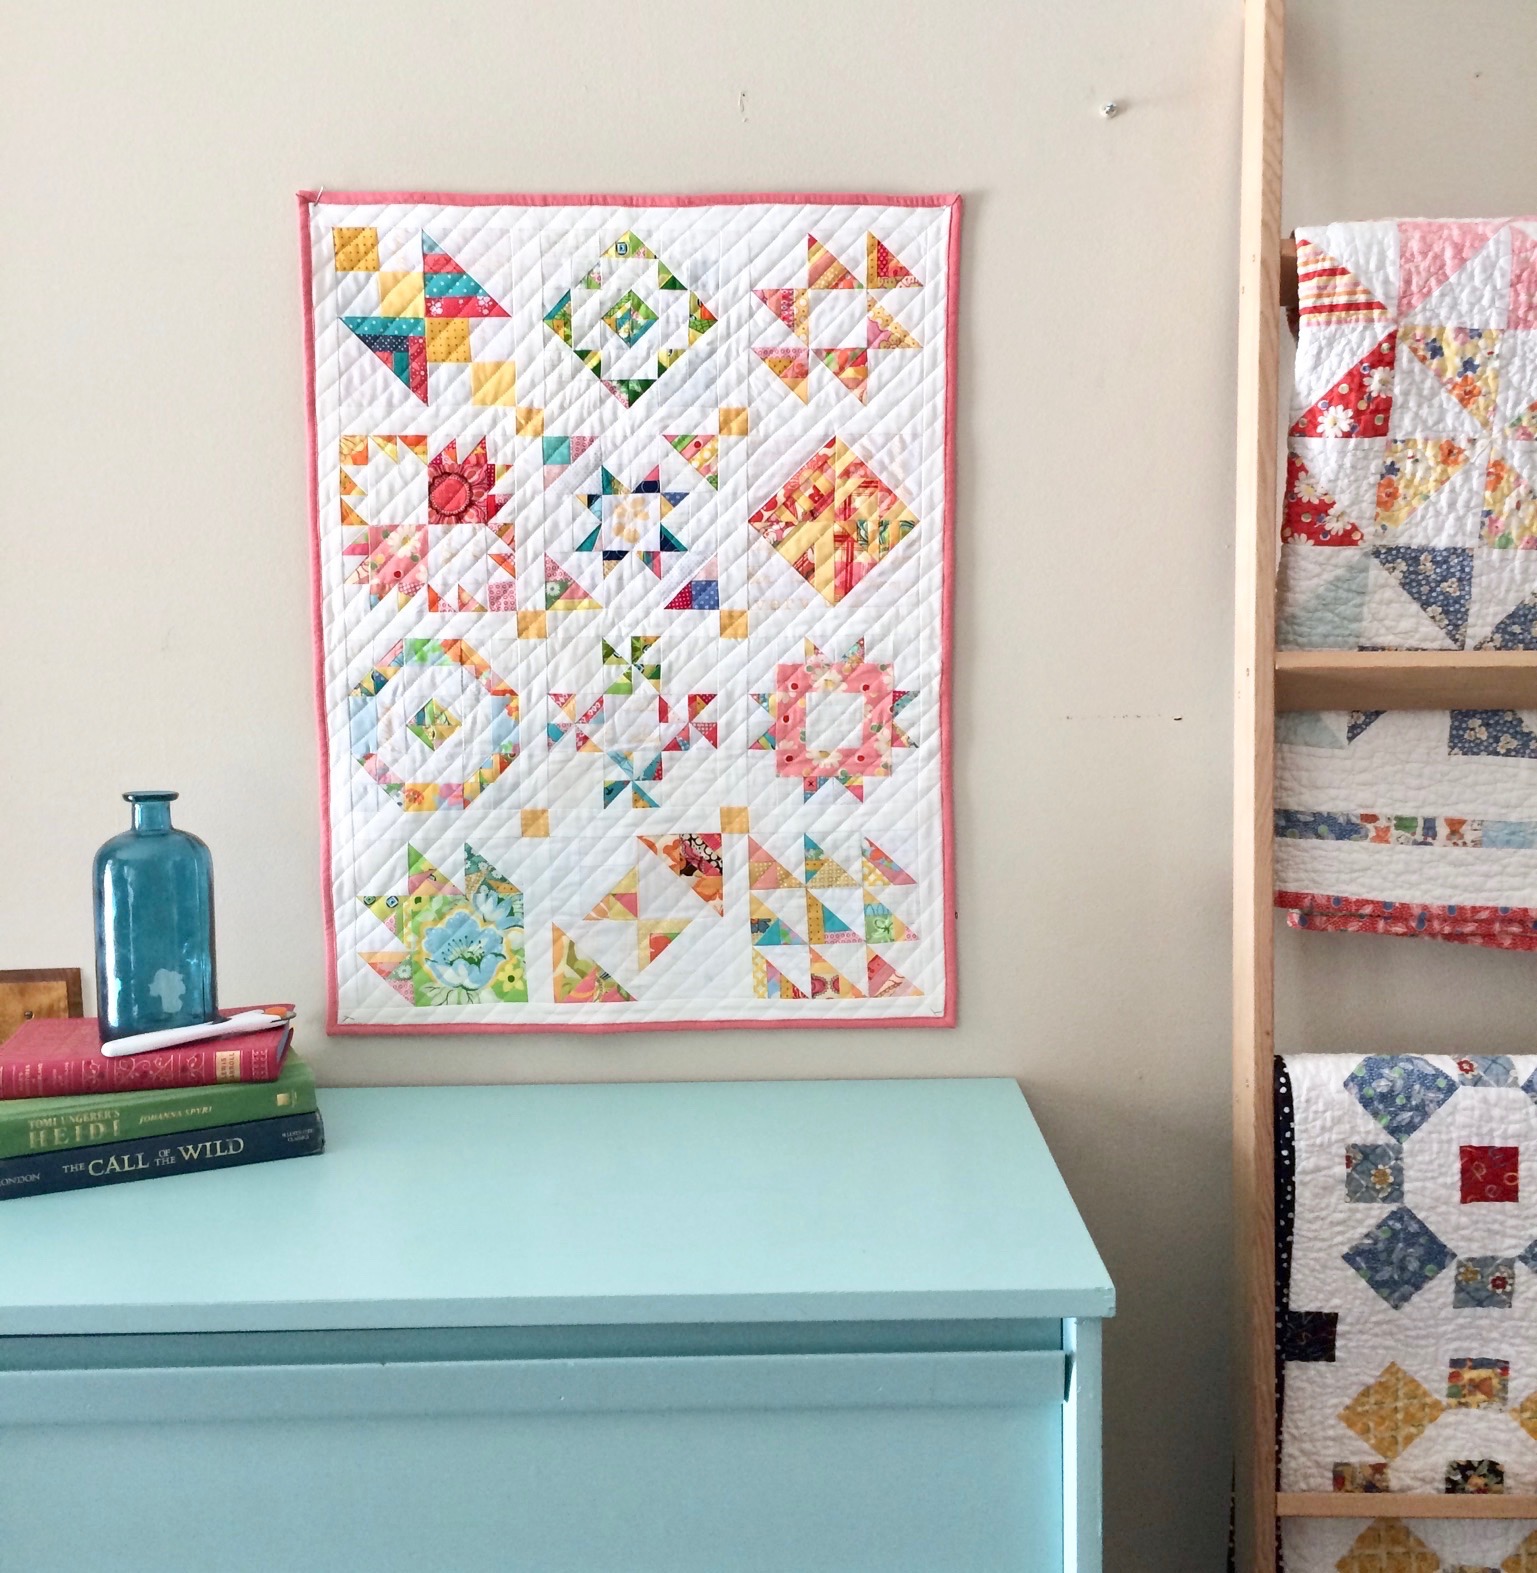
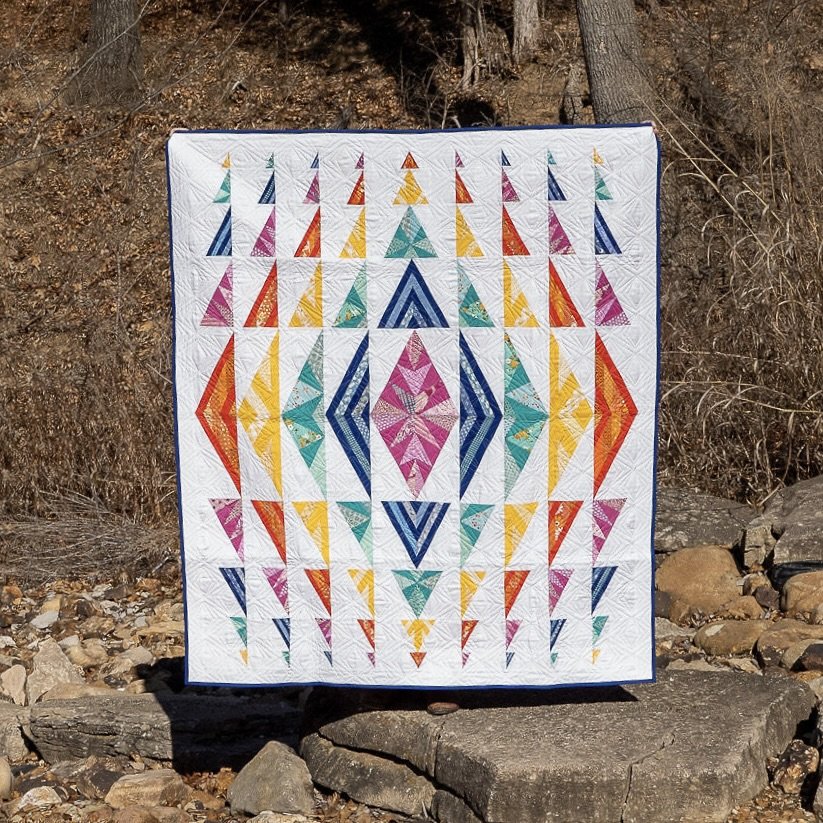
We made our last Tiny Piecing Sampler block last week, and now we are ready to put the sampler together! I used simple sashing strips and square ‘posts’ to give each of the blocks a bit of breathing space. If the blocks are all side by side, it is hard to pick out individual blocks and it can sometimes look a bit of a mess.
(You can find all the Tiny Piecing Sampler Tutorials here and the Scrappy Triangle Foundations here.)
I have provided the cutting instructions for the Mini Tiny Piecing Sampler made with the 6” blocks and for a Large Tiny Piecing Sampler made with the 12” blocks.
MIni Quilt with 6” Blocks (22” x 27”)
Cut
From a Print:
(6) 1 1/2” squares
From Background Fabric:
(17) 1 1/2” x 6 1/2” strips from background fabric
(2) 1 1/2” x 22 1/2” strips
(2) 1 1/2” x 27 1/2” strips
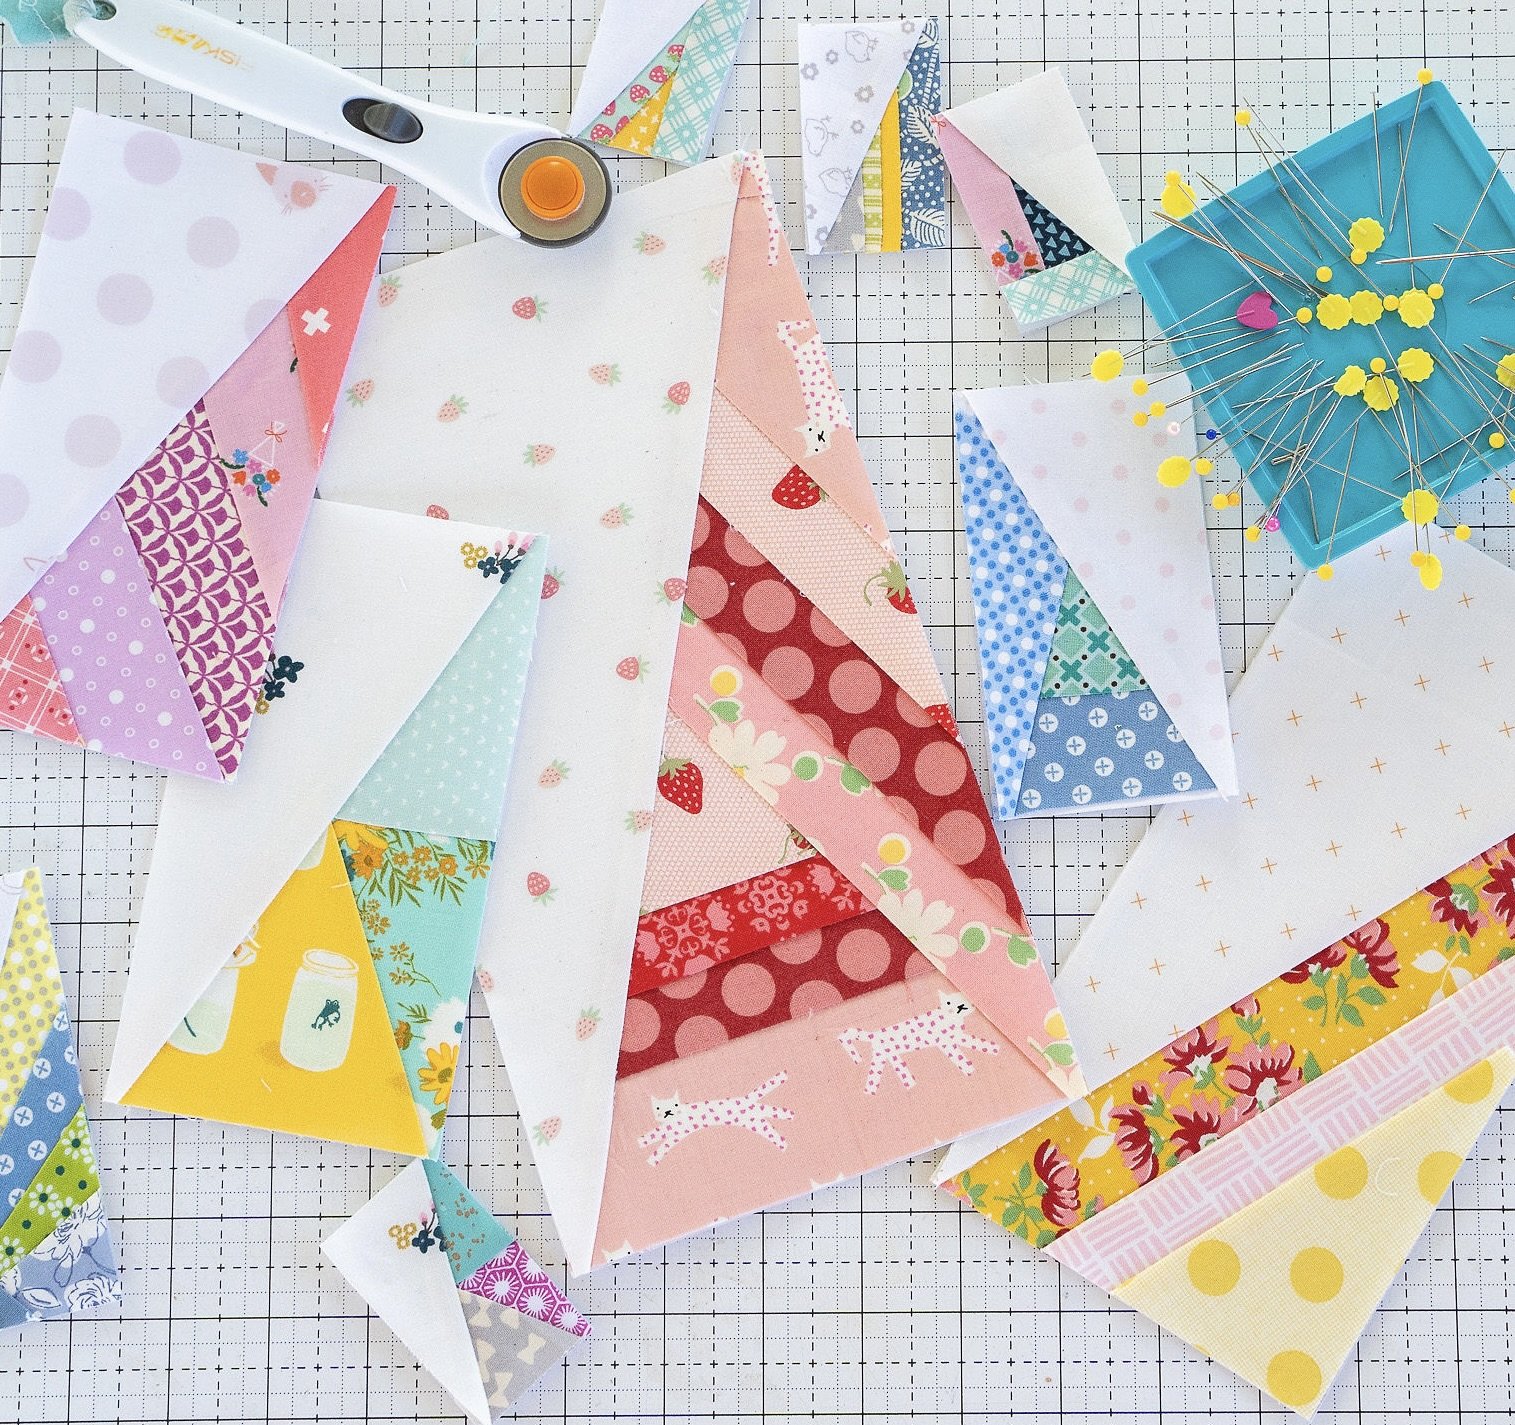
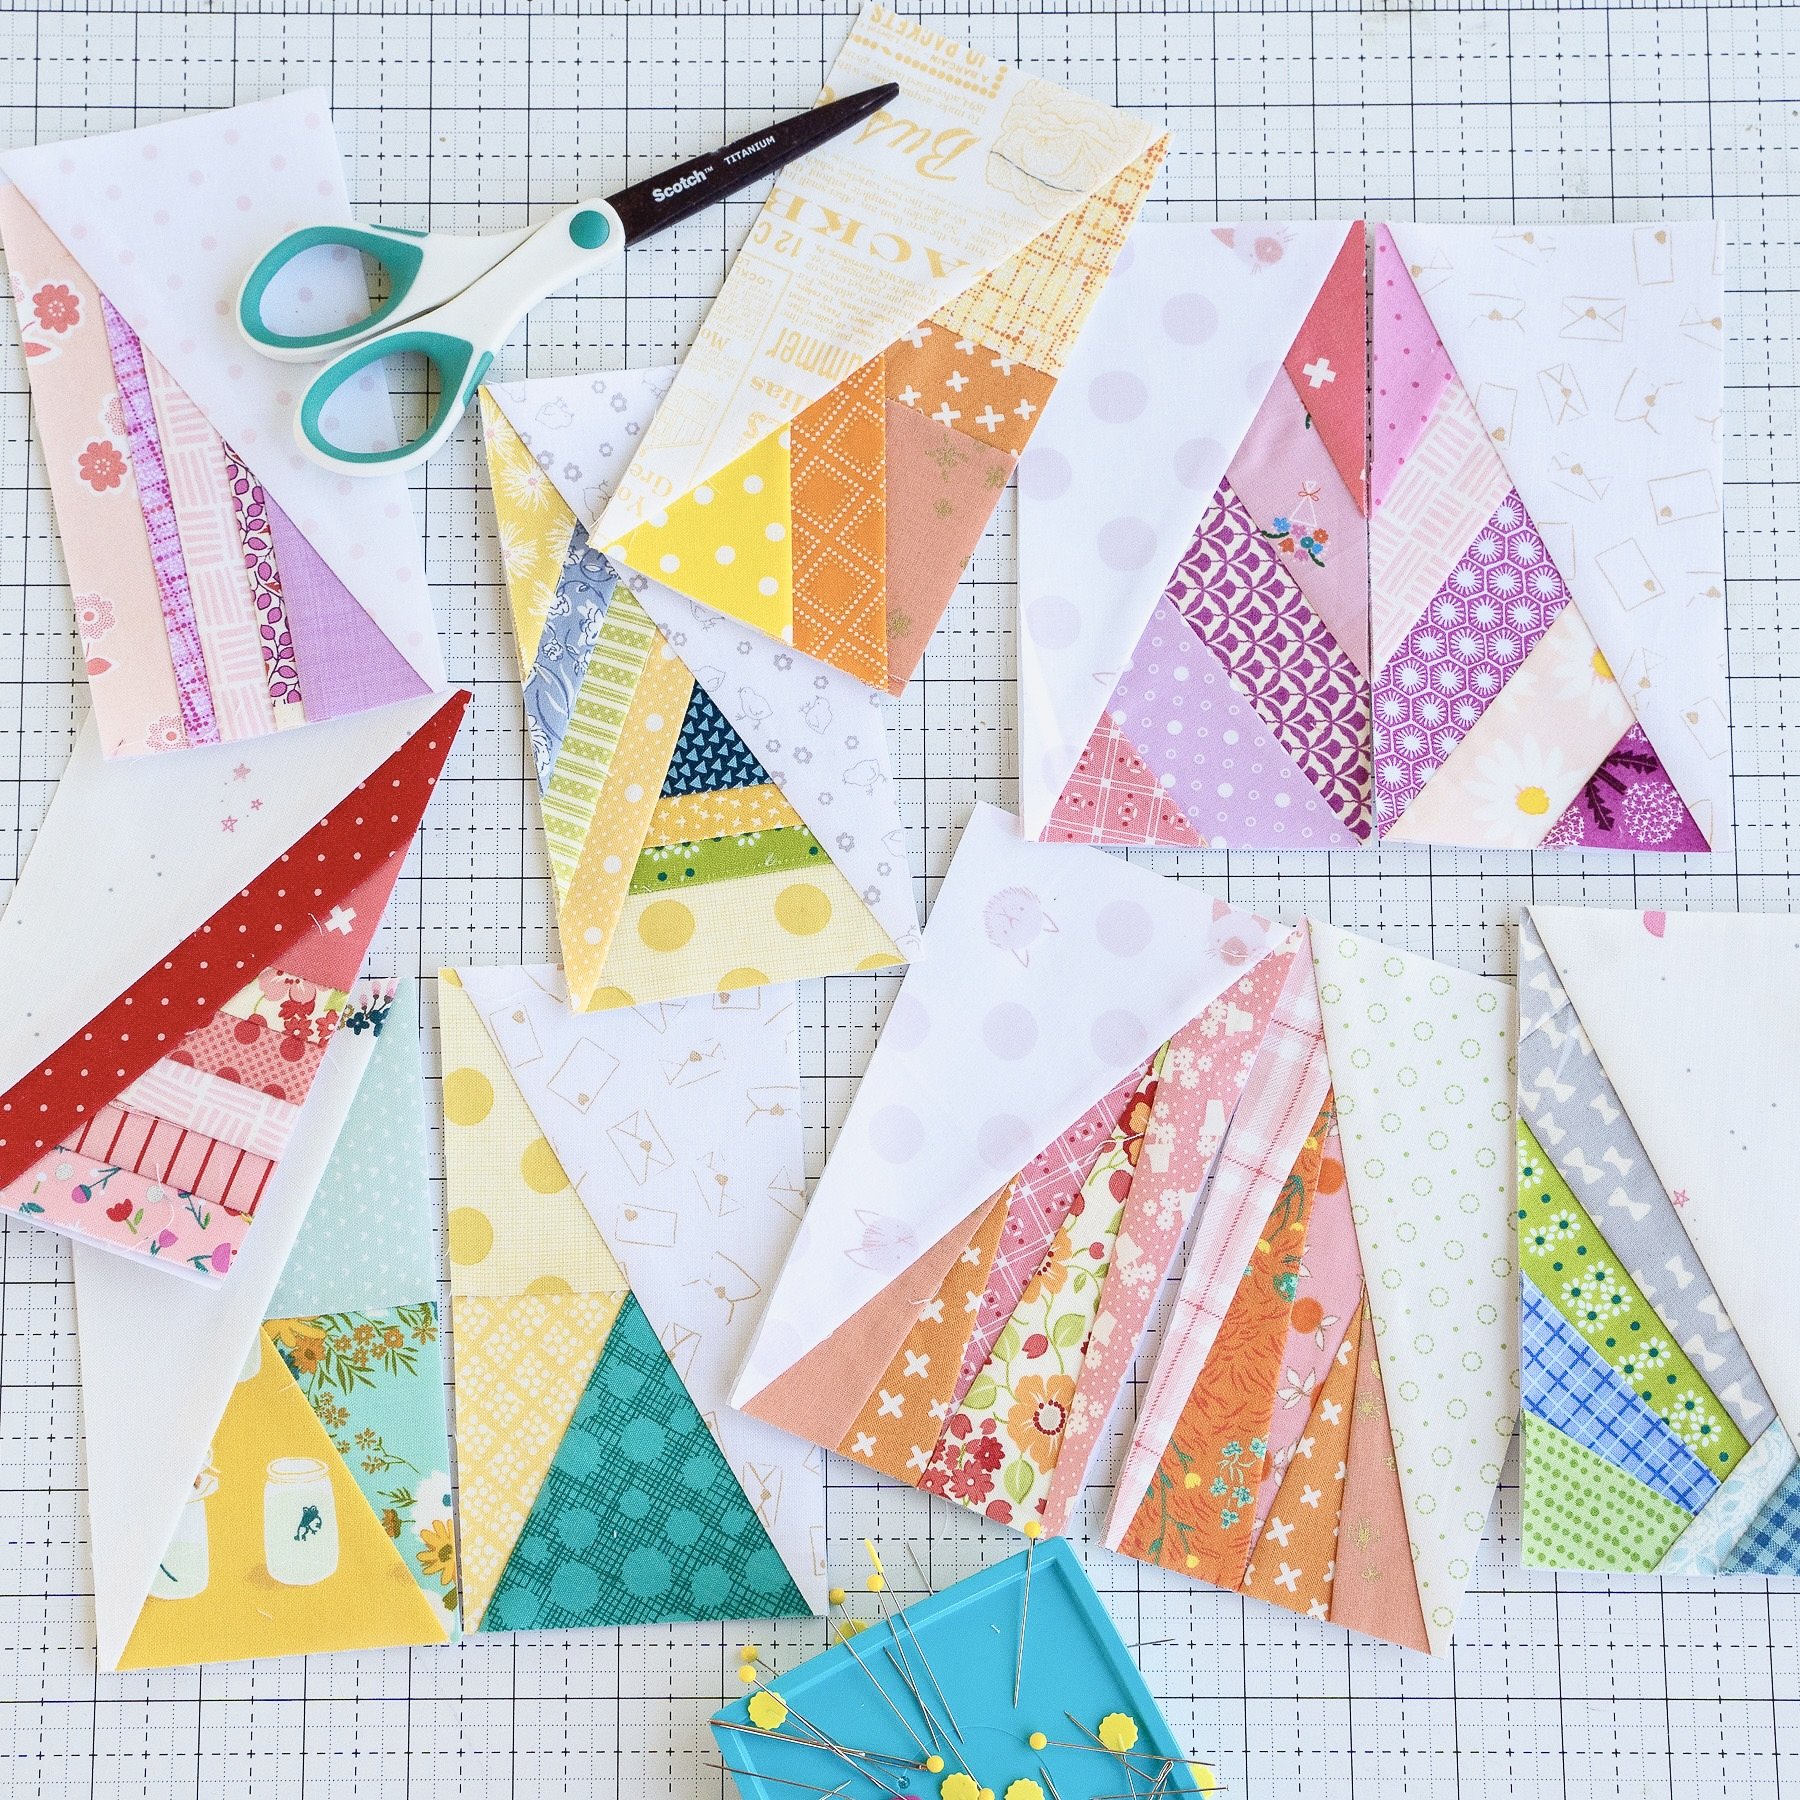
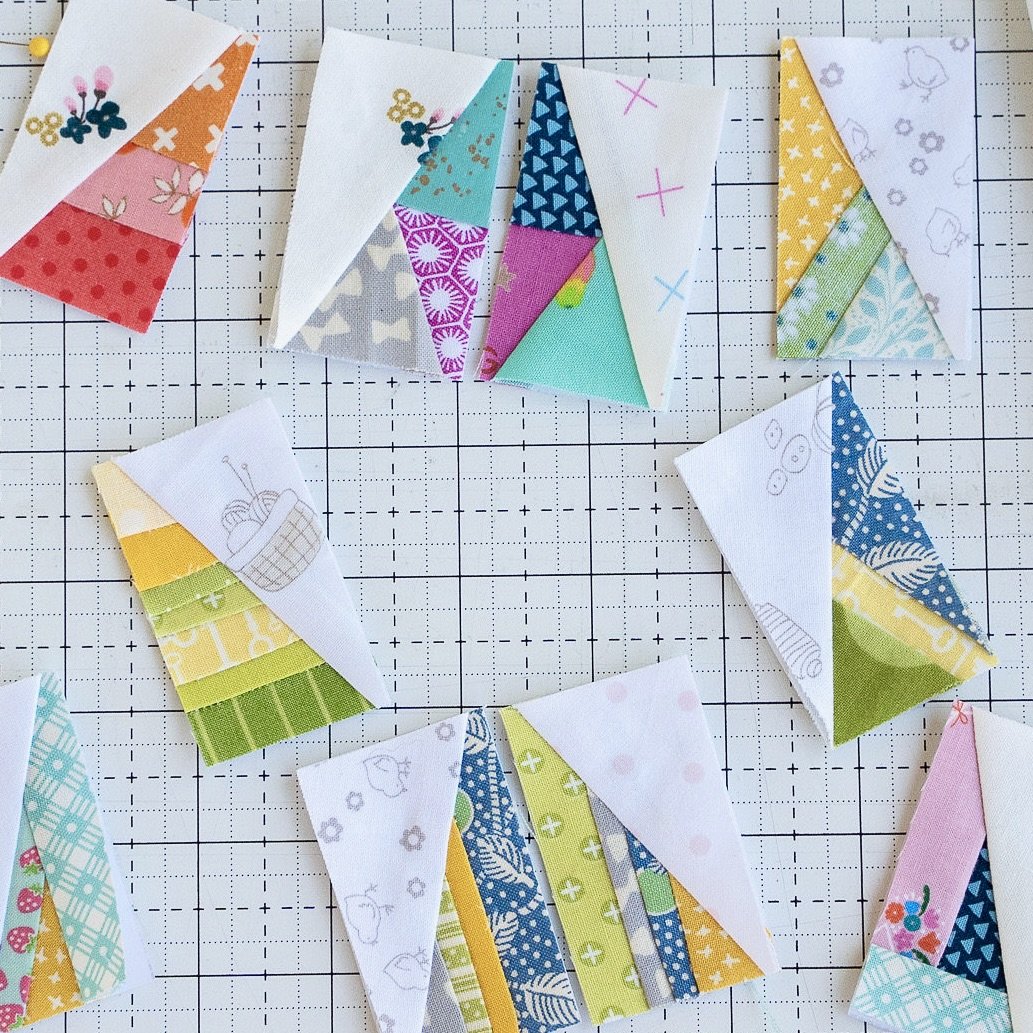
Make (12) 6” Tiny Piecing Sampler Blocks
Large Quilt with 12” Blocks (44” x 54”)
Cut
From a Print:
(6) 2 1/2” squares
From Background Fabric:
(17) 2 1/2” x 12 1/2” strips from background fabric
(2) 2 1/2” x 54 1/2” strips*
(2) 2 1/2” x 44 1/2” strips
*sew shorter 2 1/2” strips together and then trim to size
Make (12) 12” Tiny Piecing Sampler Blocks
1. Cut all of the fabric.
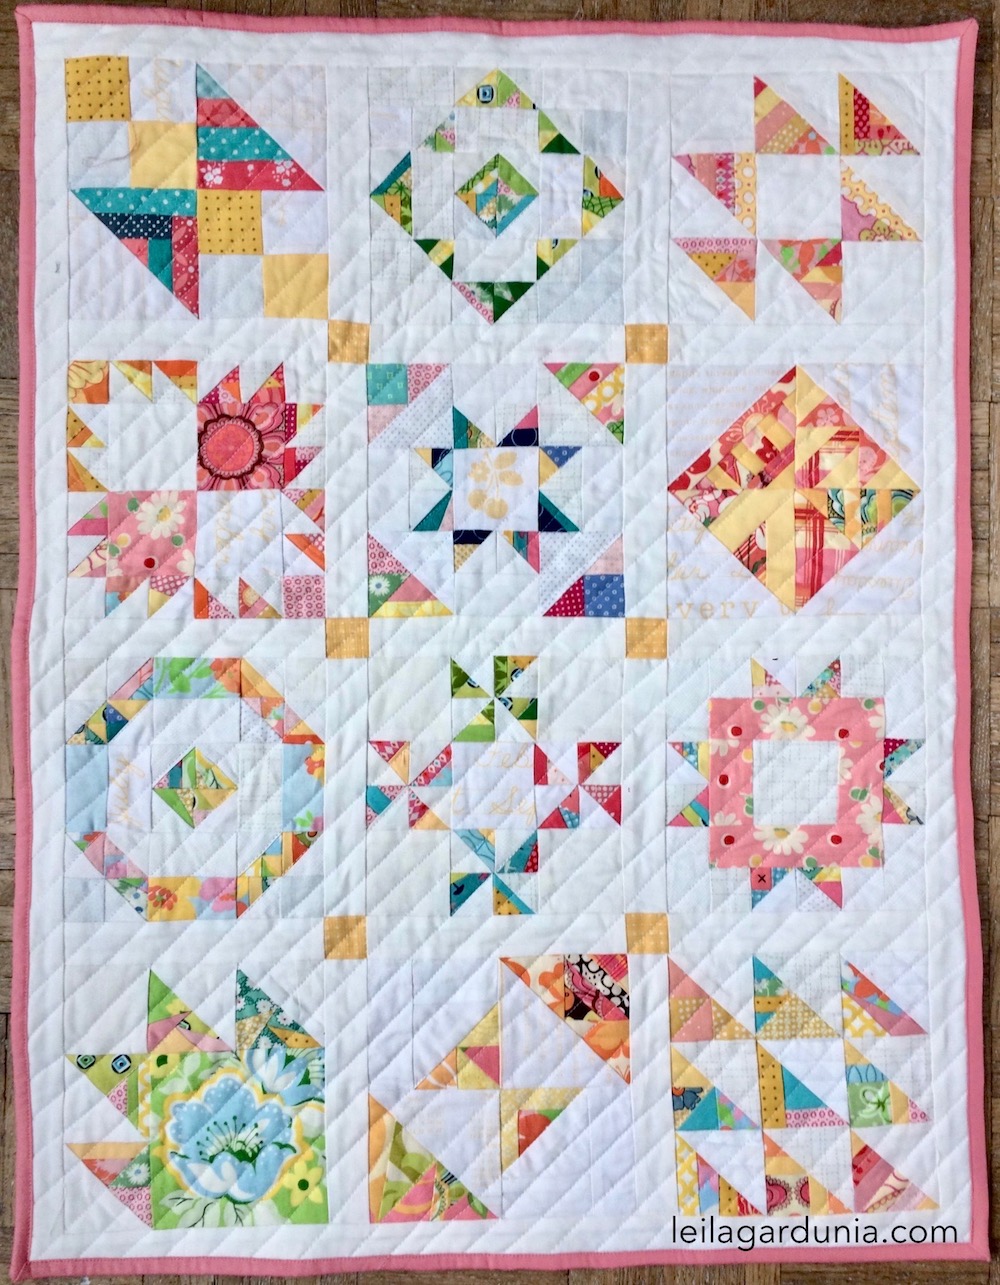
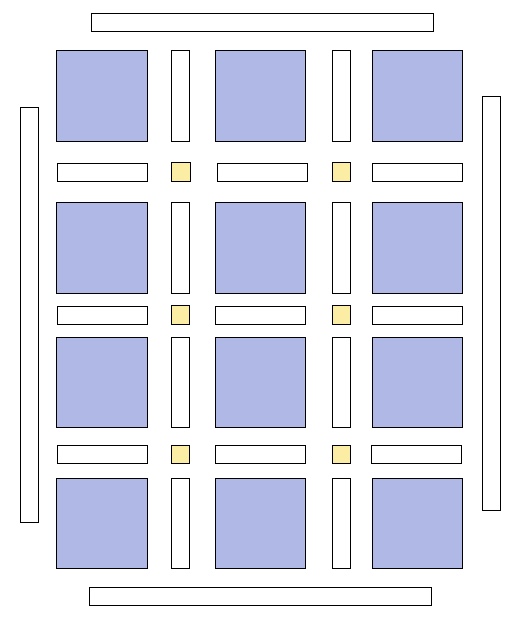
2. Layout all the strips, squares, and blocks as illustrated.
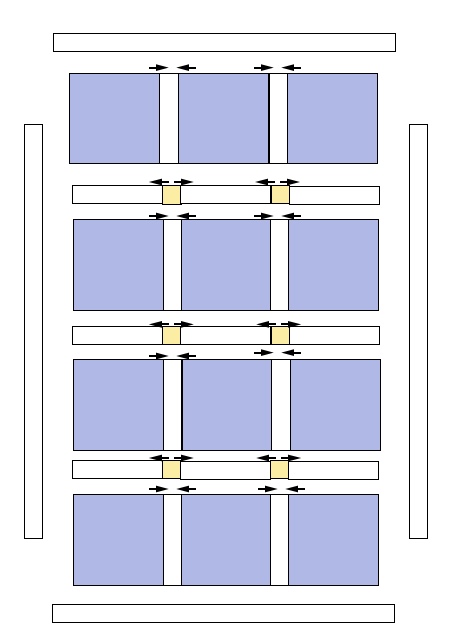
3. Sew the rows together. Press towards the sashing strips.
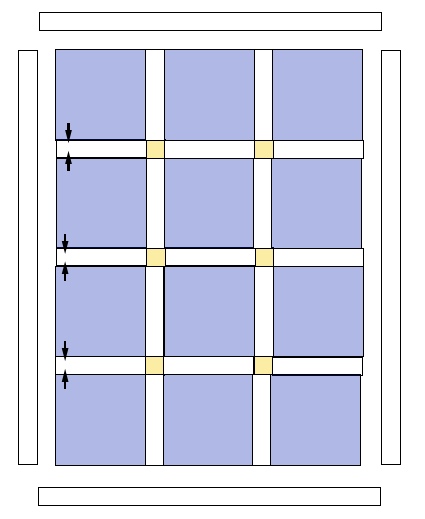
4. Sew the rows together. Press towards the strips.
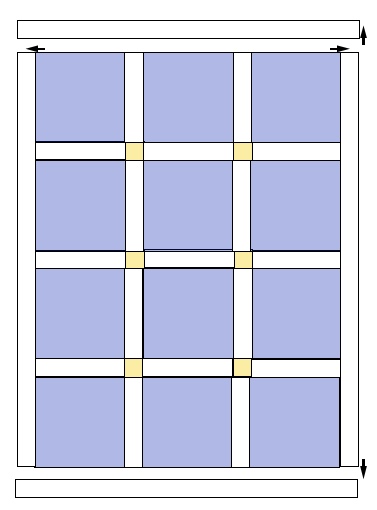
5. Sew the longest strips to the sides of the quilt. Set seams and press towards the strips.
6. Sew the long strips to the top and bottom of the quilt. Set seams and press towards the strips.

Yay! It’s all put together. Now to baste, quilt, and bind.
I decided to do simple straight line quilting on my mini sampler. I figured anything more would get lost or overwhelm the tiny piecing. But that is just a personal preference. Quilt as desired, bind, and enjoy!
I’m so glad that you quilted along with me!
P.S.You can find all of the Tiny Piecing Sampler Tutorials here.