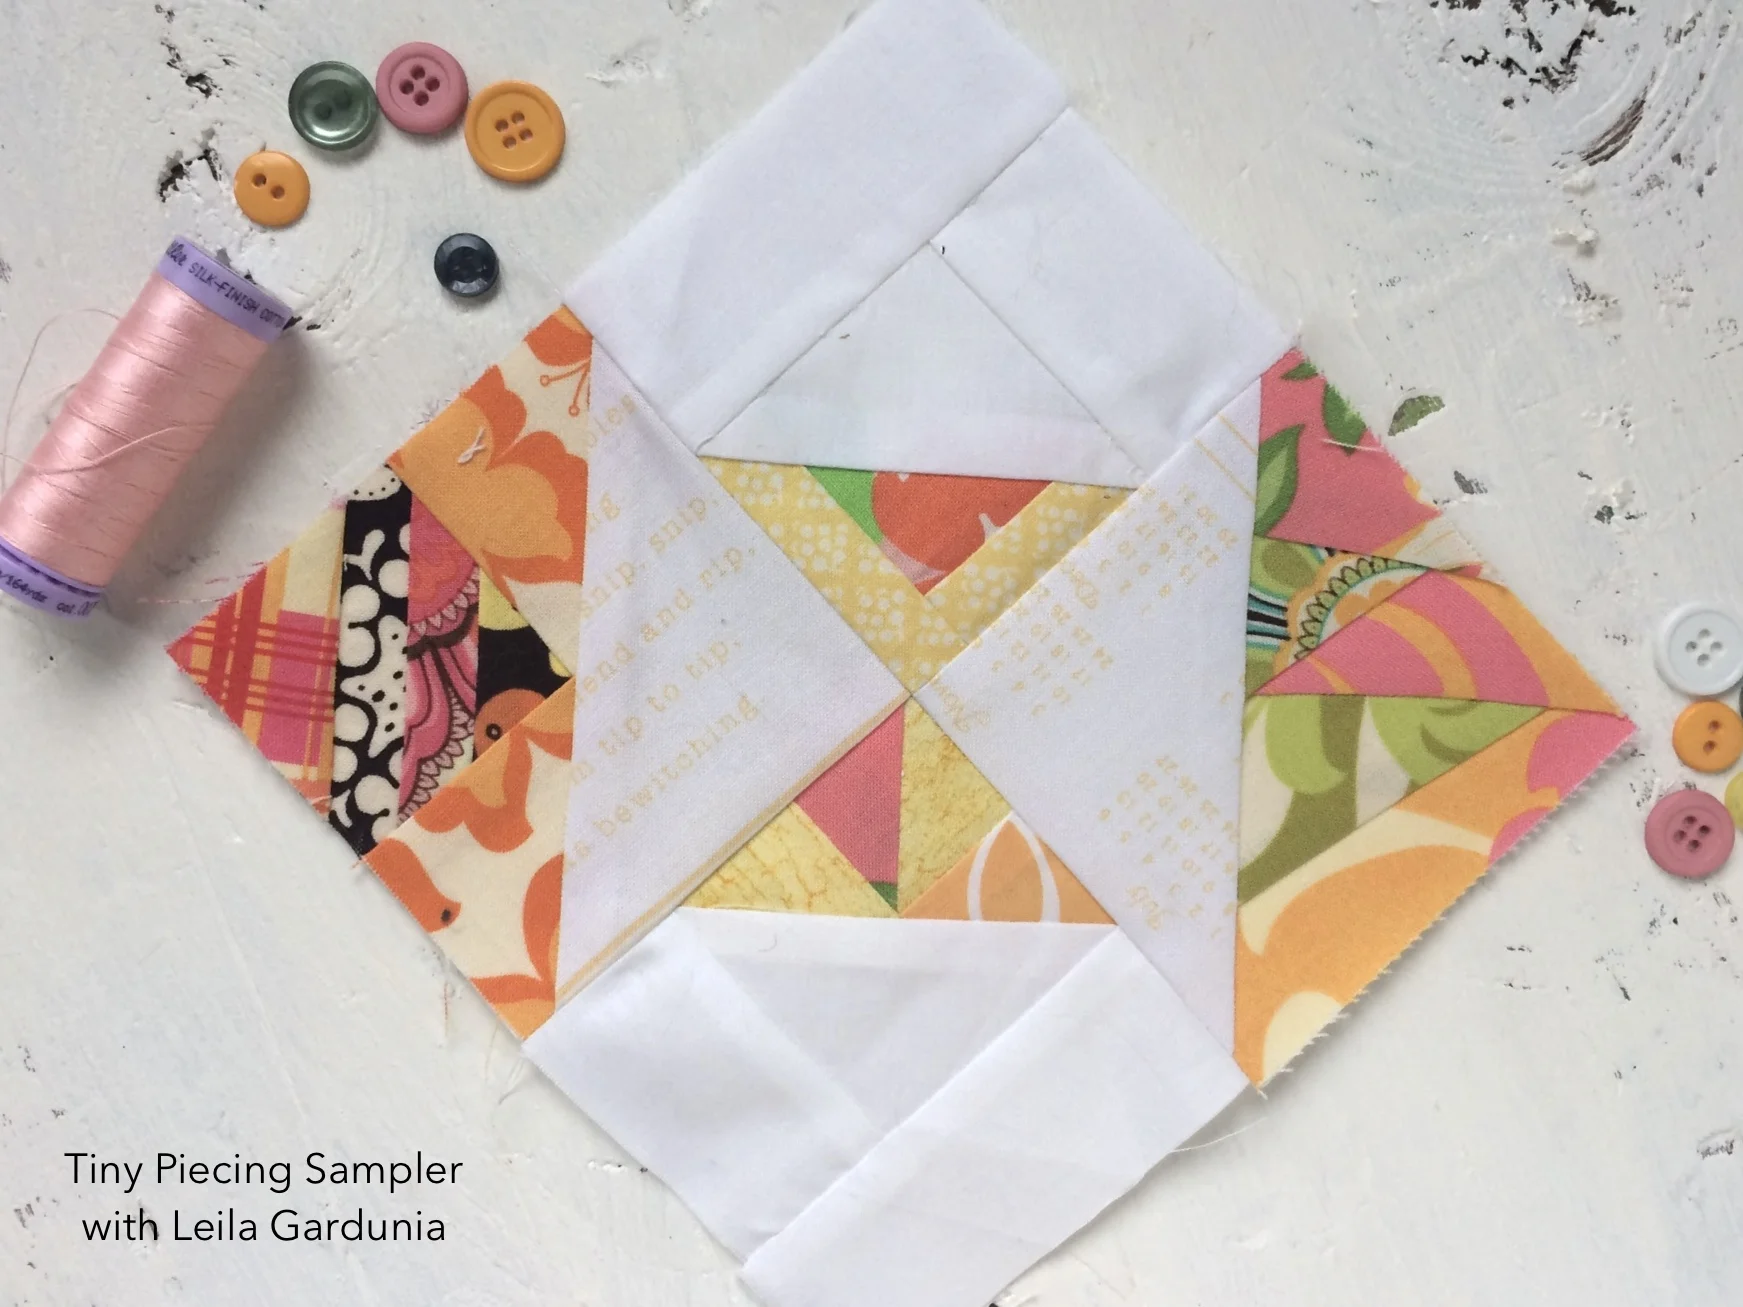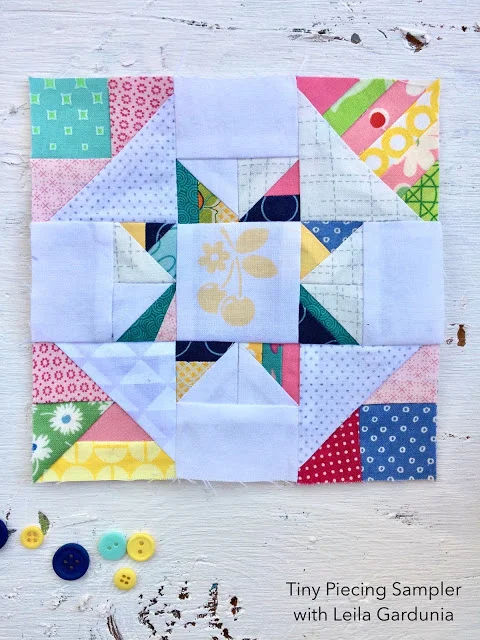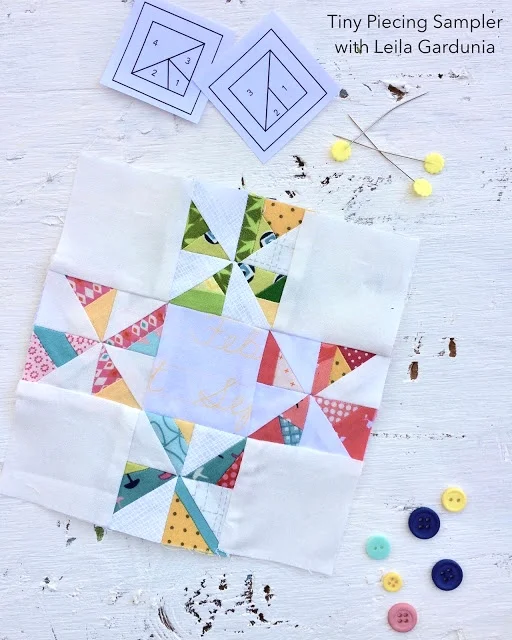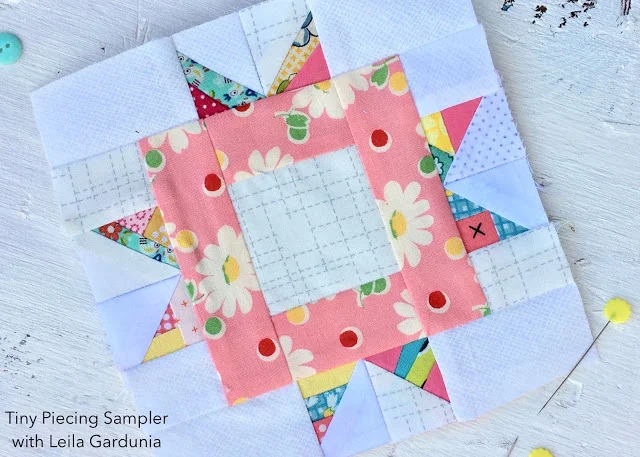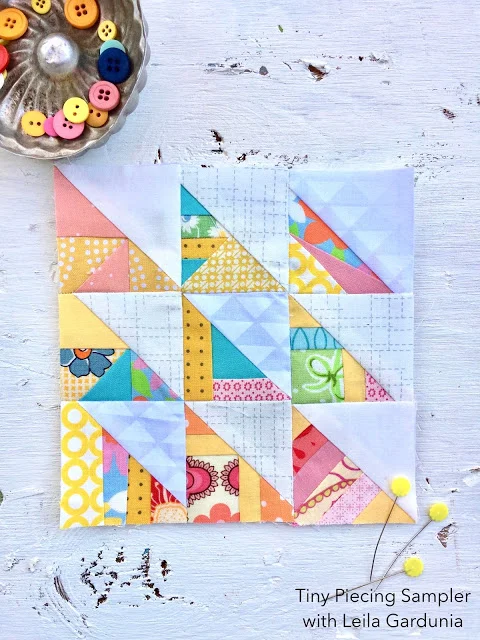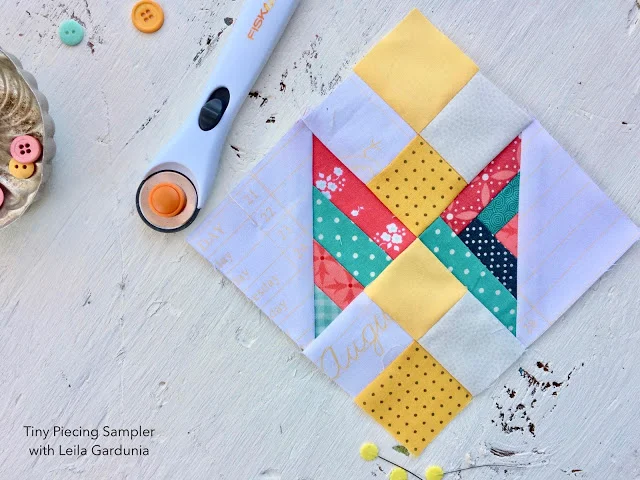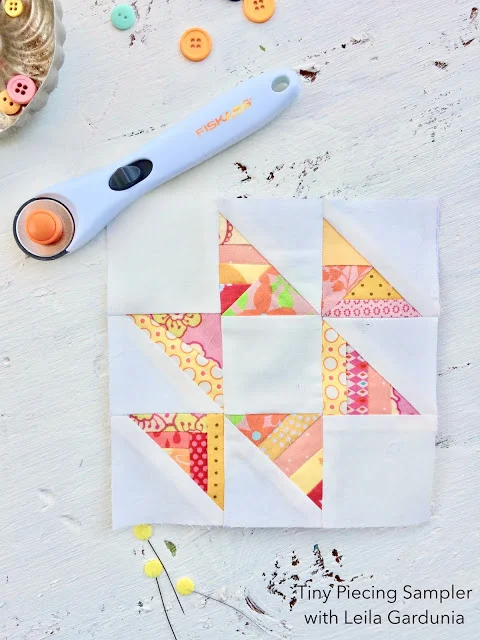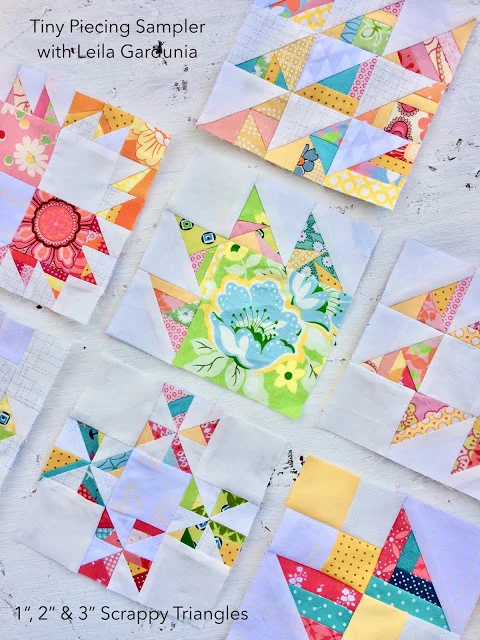
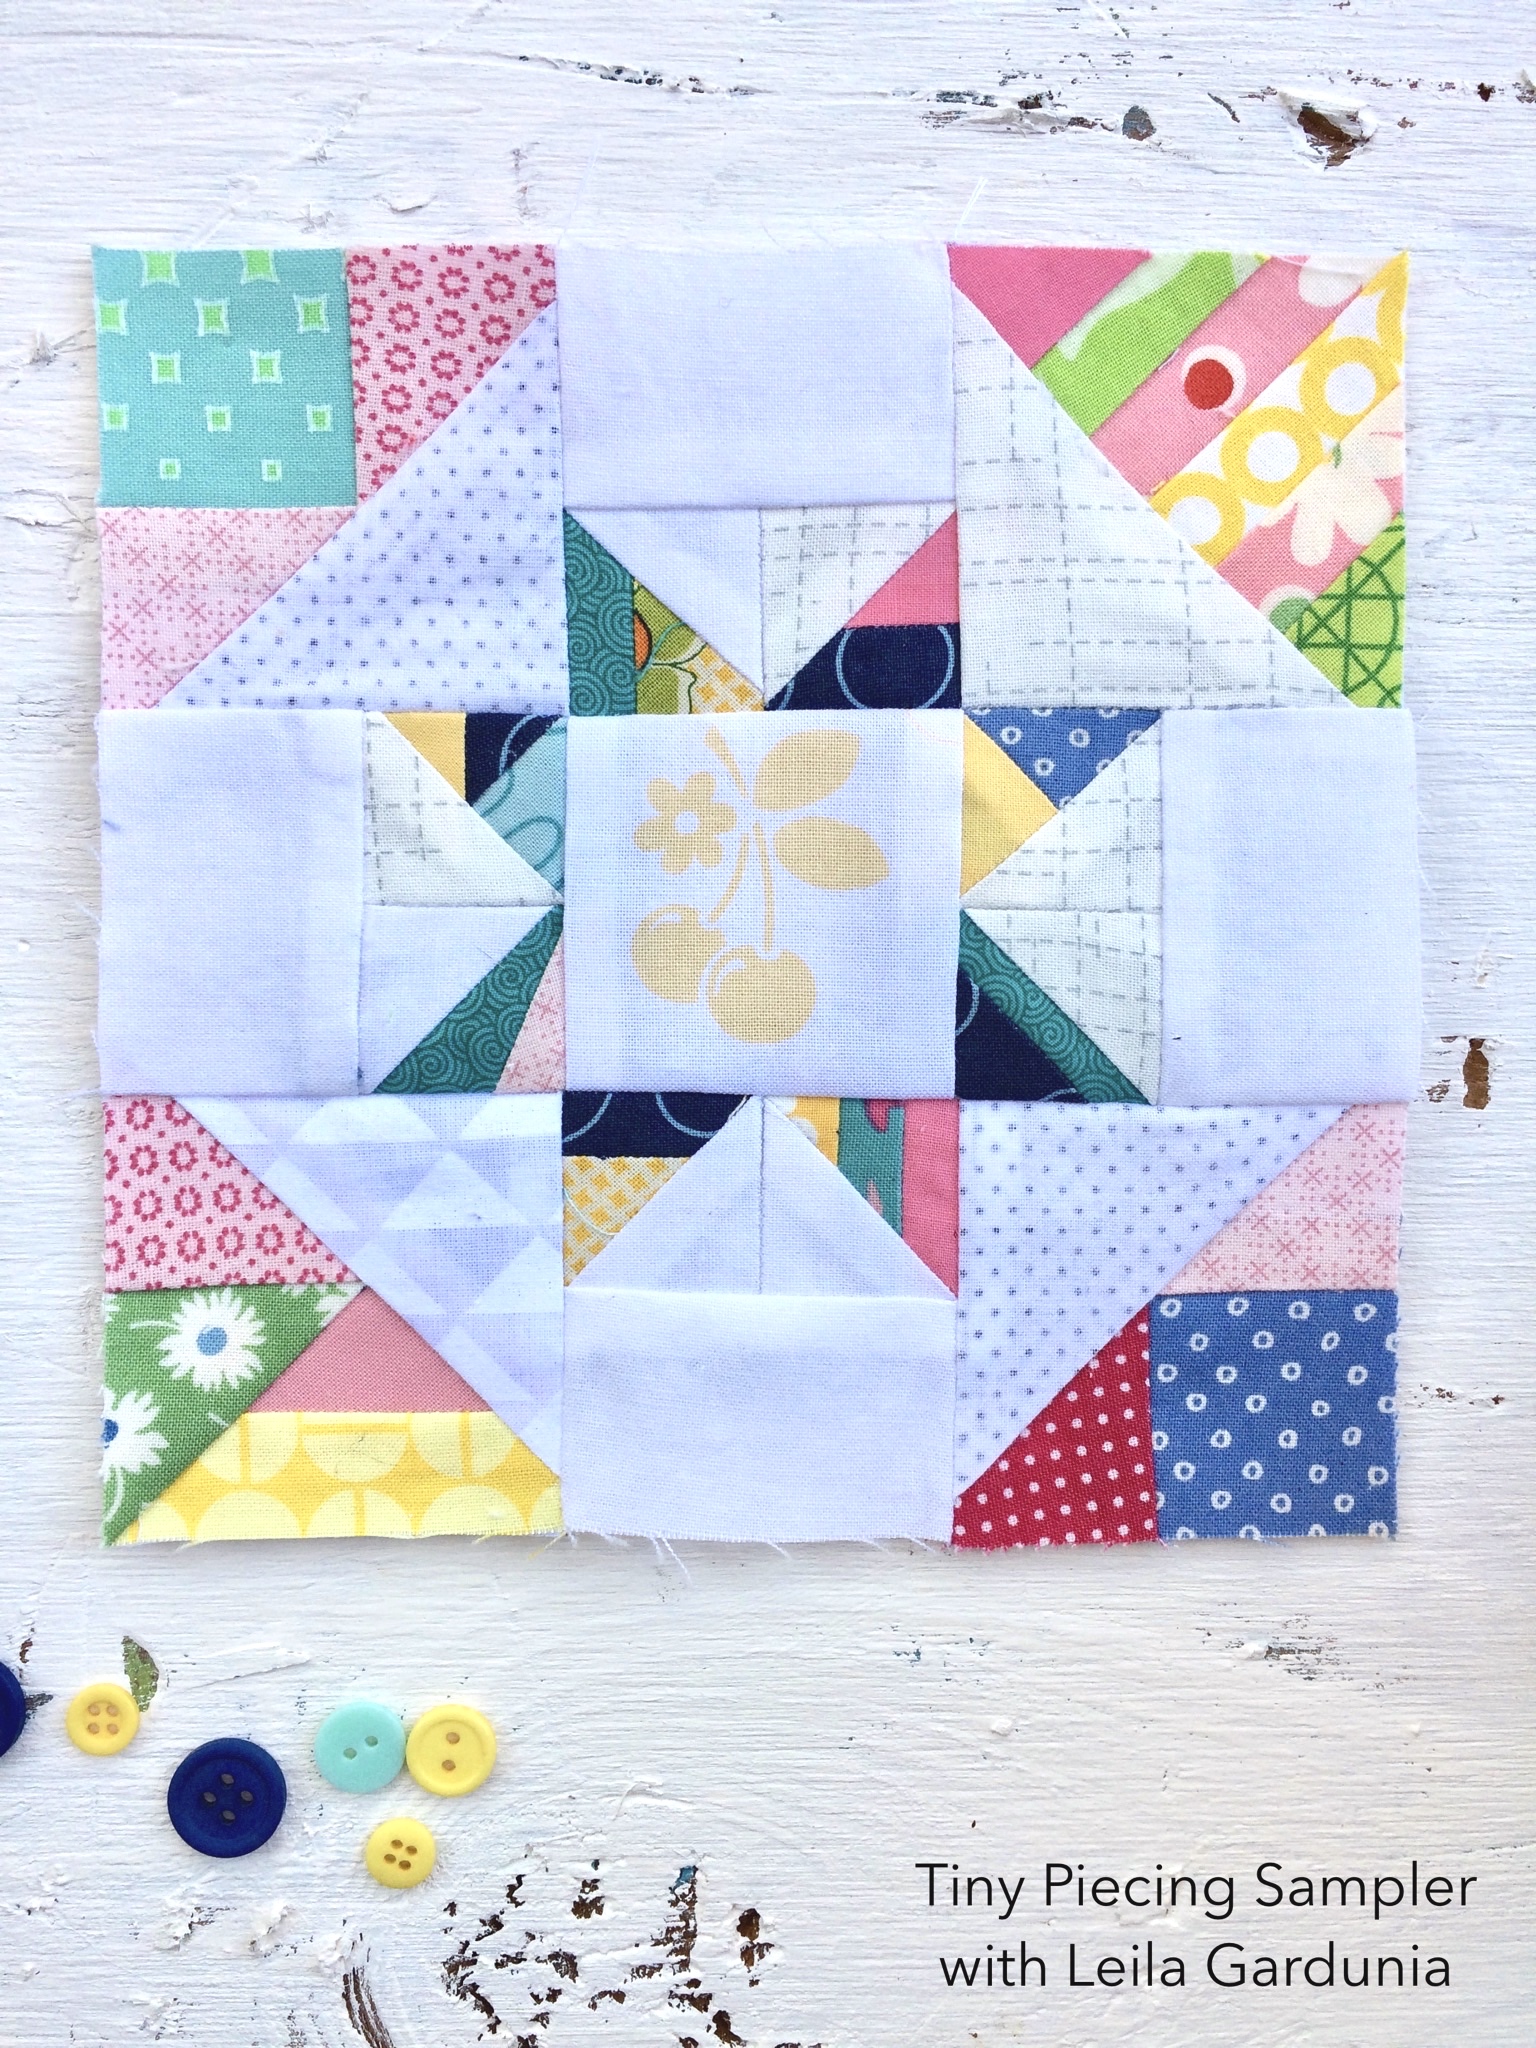
Block 8 - Tiny Piecing Sampler
This block gave me some problems. In the end, I modified the directions for the 12” block so that it will work with the Scrappy Triangles foundations that we have. The first step is only for the 12” block. If you are making the 6” version, skip to step 2. Enjoy!
Instructions
6" Block
Make:
(4) 2" Scrappy Triangles (shown as pink)
(8) 1" Scrappy Triangles (shown as blue)
Cut:
White
(4) 1 1/2" x 2 1/2" rectangles
(1) 2 1/2" square
12" Block
Make:
(8) 2" Scrappy Triangles (shown as blue)
(4) 3" Scrappy Triangles (shown as pink)
Cut:
White
(4) 1 1/2" x 3 1/2" rectangles
(4) 1 1/2" x 4 1/2" rectangles
(4) 2 1/2" x 4 1/2" rectangles
(1) 4 1/2" square

1. For the 12" Block only: sew the 1 1/2" x 3 1/2" white rectangle to the bottom of the 3" Scrappy Triangle. Press towards the white. Sew the 1 1/2" x 4 1/2" white rectangle to the adjacent side of the Scrappy Triangle. Press towards white. Repeat to make 4 units.

2. For both 6" and 12" blocks: Layout the Scrappy Triangles, rectangles and square as illustrated above.

3. Sew the smaller (blue) triangles into sets. Press seams open.

4. Sew rectangles to the top of the small Scrappy Triangle units. Press seams towards the rectangles.

5. Sew units together into rows. Press seams away from the small triangle units (blue triangles).
6. Sew rows together. Press seams towards the center.