Flanges! A tutorial for making a flanged binding
I LOVE Flanges! I have been making a bunch of pillows for Christmas presents and find that I want to use a flange on every. single. one. Flanges - a narrow flap of fabric - put on a quilt right before binding can make the binding really pop. I love the look of the double narrow border that a flange makes. It looks totally tricky and cool, but is soooo easy. Let me show you.
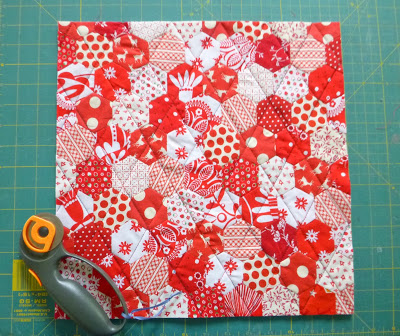
Make your quilt/pillow and quilt as desired. Trim the edges like you would before binding.
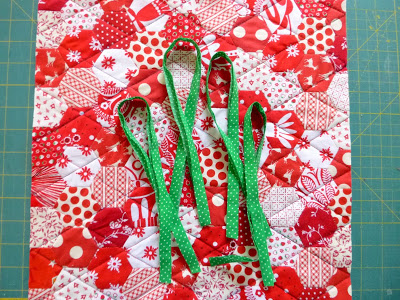
Cut out four 1" strips of fabric that are a bit longer than each side of your pillow/quilt. Fold them in half and press.

Take one strip and lay the unfinished edges along the edge of your quilt/pillow. Zigzag along the edge. Make sure you are right on the edge so the stitching doesn't show when you put on the binding.
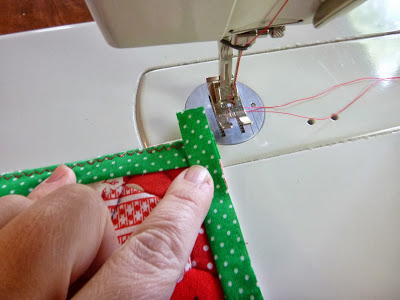
For the next side simply zigzag another strip to the quilt along the edge. The ends will overlap like so.
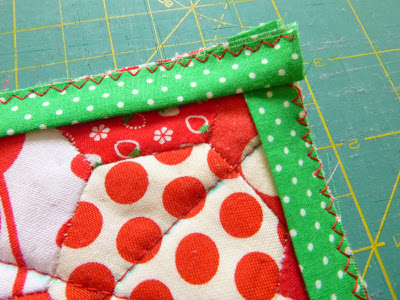
Trim off any extra fabric.
At this point it should look like this.
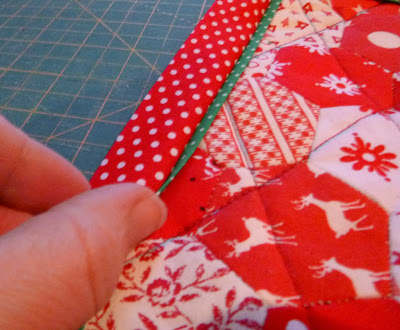
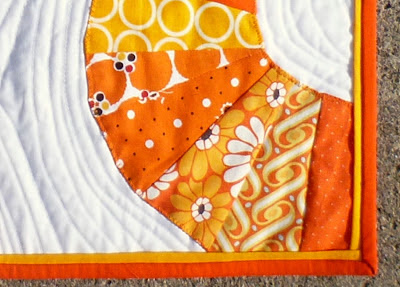
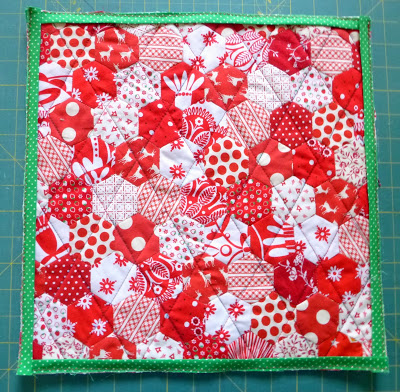
Next attach the binding as usual. When you pull back the binding you will see about a 1/4" of flange fabric along the edge. LOVE!!! Some people choose to top stitch the flange down along the loose edge, but I don't feel it is necessary.

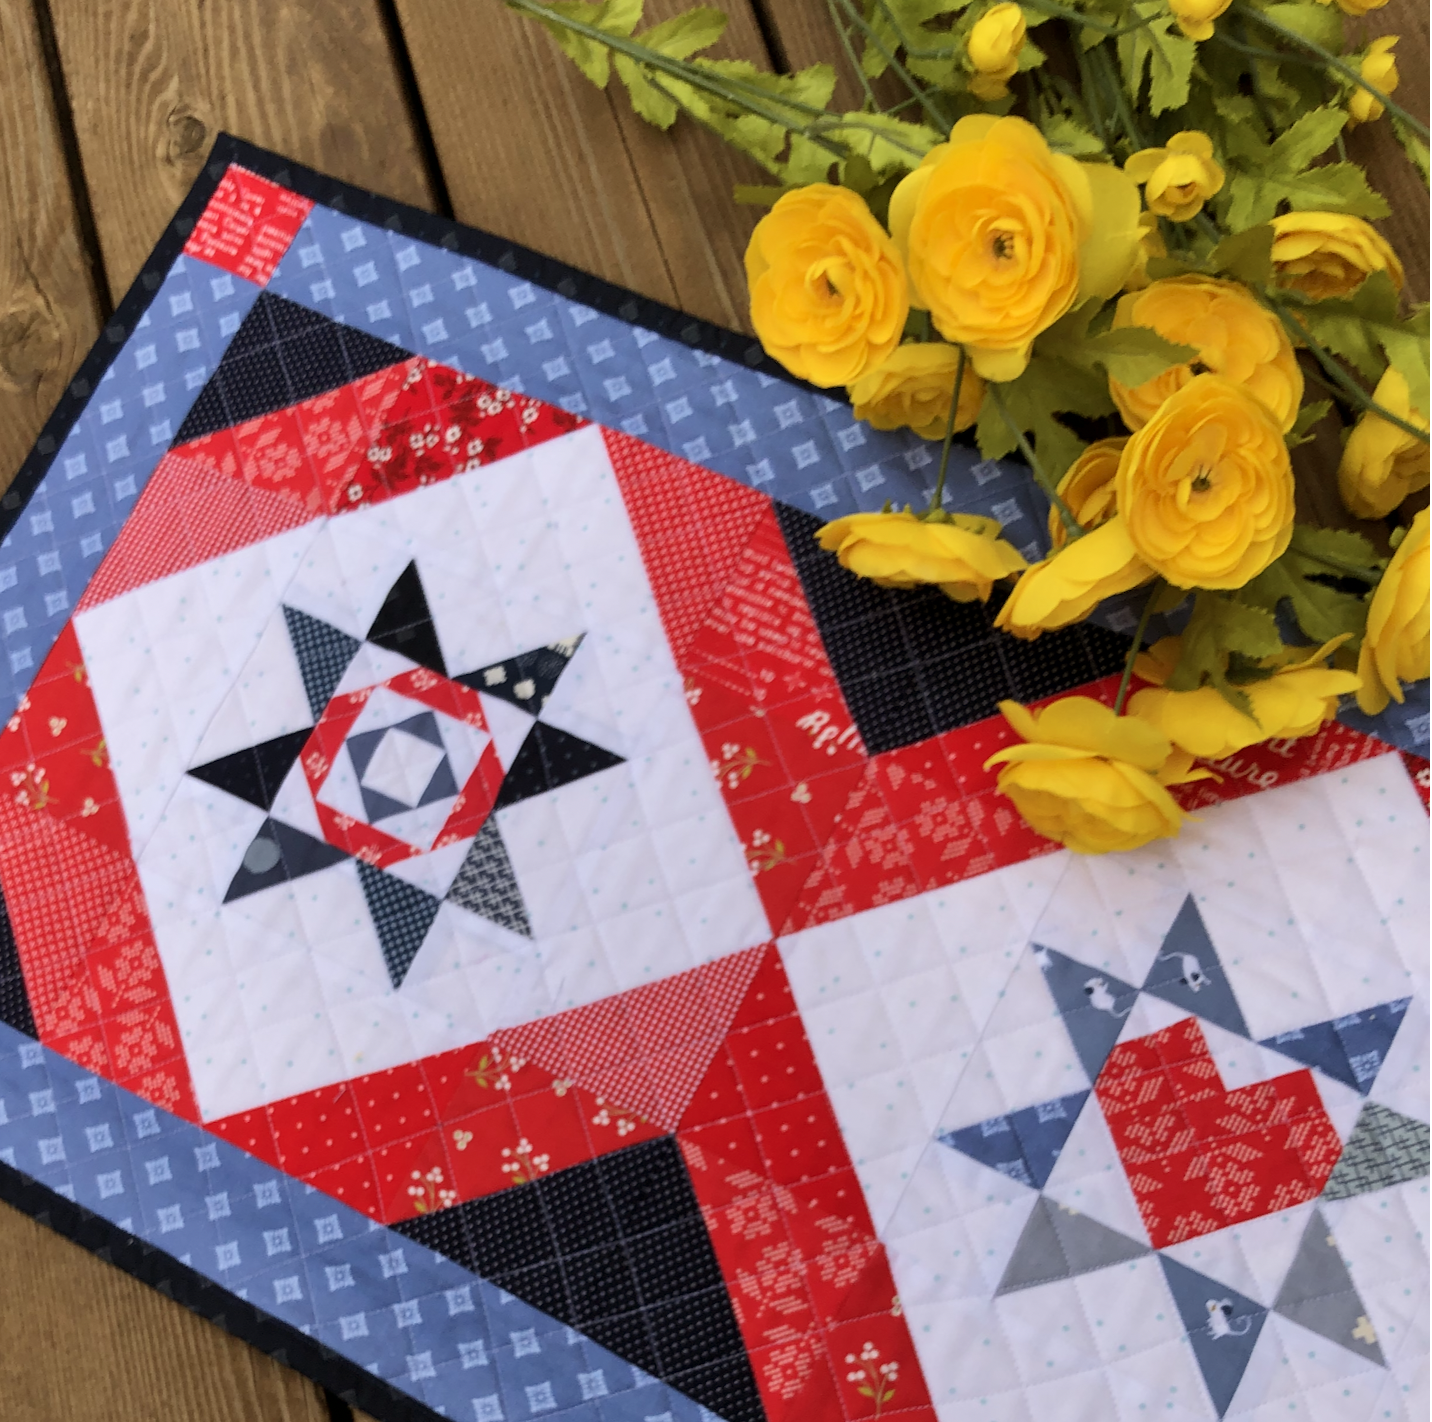
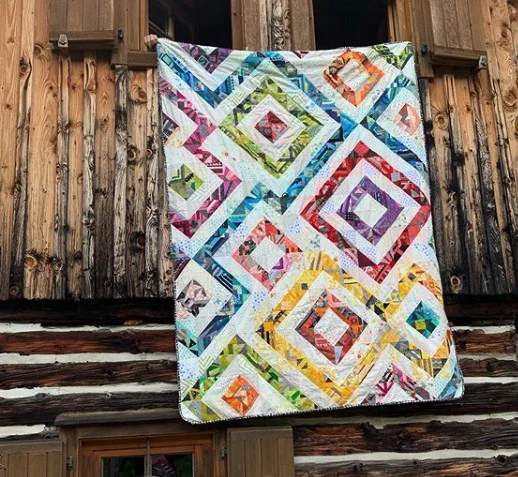
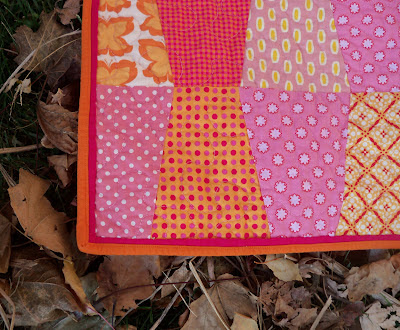
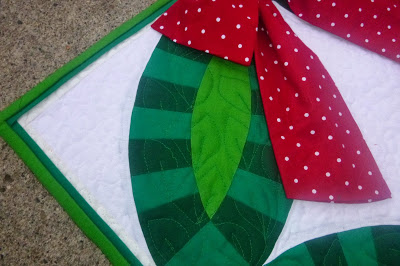
You can also add a flange along the edge of a quilt top before you add the final border. This gives you a narrow interior border without having to try to sew a 3/4" piece of fabric along the edge. (shudder)
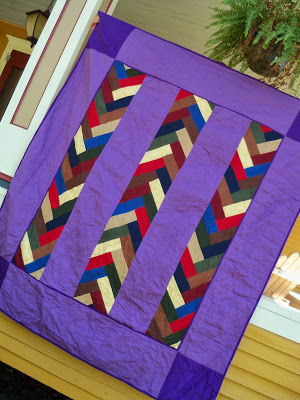
I personally like to have the interior flange be the same color as the binding. I think it looks nice that way but they could be different colors too.
Let me say it one more time: I Love Flanges! Blessings on the heads of the older ladies at the quilt store who showed me how to make one eight years ago. How about you? Have you ever used a flange in quilting?
(And is it just me or does flange sound like a bad word?)