
We Can Do It! Sampler, Block 1 - Log Cabin
Here we are at last!!! Week 1 of the We Can Do It! Skill Builder Sampler. This week we will make a log cabin block. If you are already familiar with the log cabin block and feel confident in your skills, you might want to mix things up a bit and make a courthouse steps block using this tutorial. But for the rest of us, a log cabin is a must-make type of block.
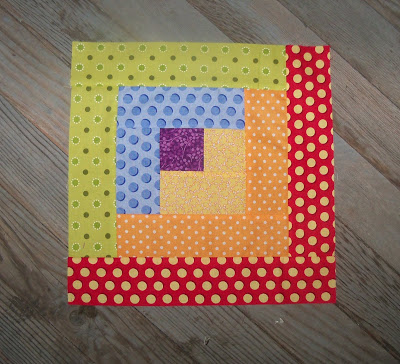
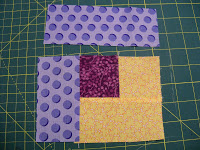
It is one of the easiest and most versatile blocks around. It is formed by sewing strips of fabric around a central square of fabric. If half of the log cabin block is made out of light colored fabric and the other half out of dark fabric, multiple blocks can be arranged to form a variety of patterns. The possibilities are endless. (scroll down for instructions)
............
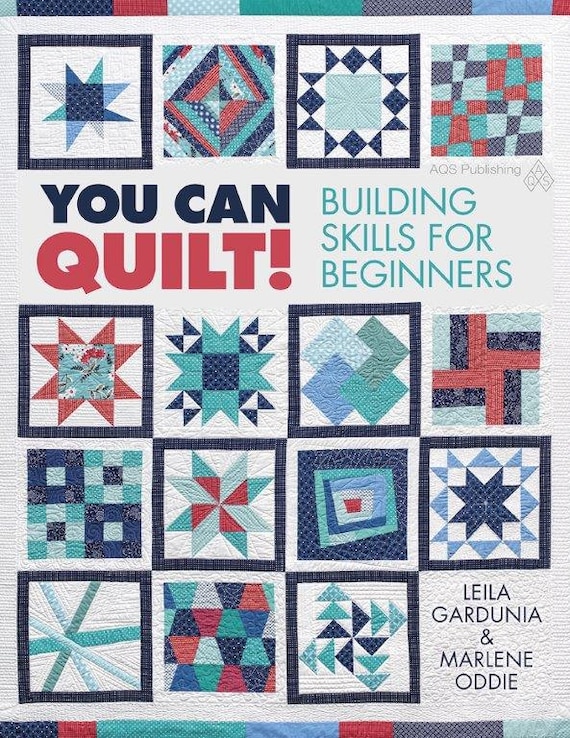
Edited (5/15): The Skill Builder Sampler will is available for purchase in book form! It has been renamed "You Can Quilt! Building Skills for Beginners" but covers the same skills with the easy, medium and challenging blocks and is a million times better than the original quilt along. It is perfect for the beginning quilter or the experienced quilter who wants to branch out and learn new skills. Find more information and order a signed copy in my Etsy shop or order on Amazon .
.
............
The goal with this block is to practice accurate cutting and sewing accurate 1/4 inch seams.
Fabric
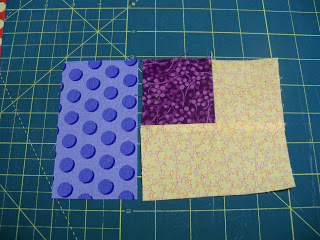
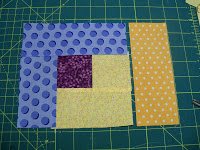
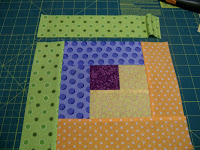
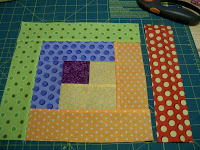
Since this will be a stand alone block, you can either make it light/dark or mix a variety of different valued prints on both sides. I personally like to have a center square that stands out, but that is personal preference. Take out your fabric and start playing with it. You can repeat fabrics or have each piece be unique. If you use the same fabric on all four sides it will make a square within a square pattern.

Here is my layout. I apologize for the picture quality. My basement sewing room is not the best for pictures. Does anyone know if there is a type of light bulb that will help picture quality? Anyway...
I actually had to "try out" a bunch of fabrics before I came up with this layout. Play around with it and don't be afraid to cut extra pieces of fabric. I promise you will be able to use all the extra 2.5 inch strips that you cut later in the sampler.
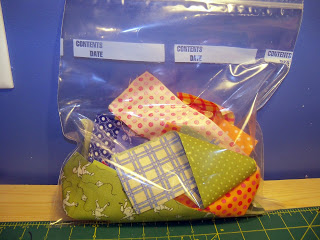
To start off, if you aren't using fat quarters (18x22 inch pieces of fabric) cut your fabric in half so the piece you are working with is only 22 inches wide. Fold up the other half of the fabric and save it to use later on in the sampler. Why cut your yardage in half? It makes it easier to work with and none of the blocks we will be making will need a strip of fabric 44 inches long. You can cut all of your fabric in half now if you want or just the pieces you will be using.
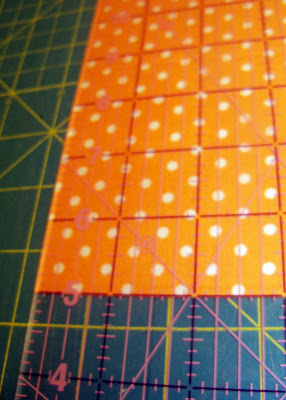
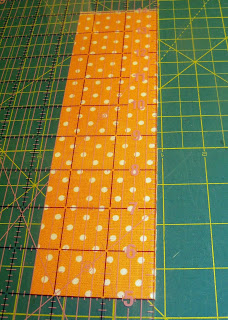
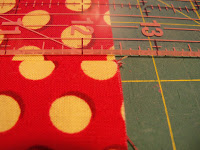
Cut 2.5 by 22 inch strips of all the fabrics you will be using.
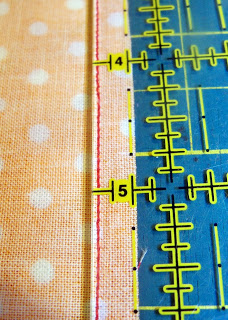
Let me break that down for you. To cut your strips, first square up the edge of the fabric. Squaring up means to trim the uneven side of the fabric so it is straight.


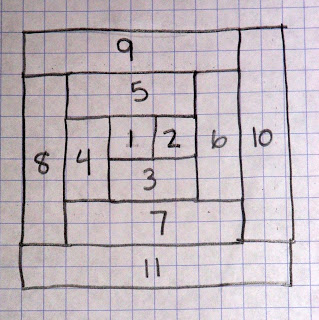
Pieces 1 and 2 are 2.5 x 2.5 inches
Pieces 3 and 4 are 2.5 x 4.5 inches
Pieces 5 and 6 are 2.5 x 6.5 inches
Pieces 7 and 8 are 2.5 x 8.5 inches
Pieces 9 and 10 are 2.5 x 10.5 inches
and Piece 11 is 2.5 x 12.5 inches

For example to cut a 2.5 x 4.5 inch piece you would:
- square up the end of the strip
- line up the top of the strip along an inch mark
- line up the short edge with the 4.5 inch mark
- and cut
Once you have your pieces cut it is time to get sewing!
To make sure we are sewing accurate 1/4 inch seam grab a scrap piece of fabric and sew 1/4 away from the edge.
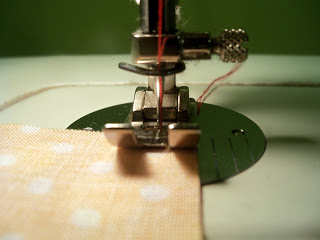
To mark your 1/4 inch line, take a ruler and put the needle down on the 1/4 inch mark. Place a sticky note or piece of tape along the edge of the ruler. This is your 1/4 inch mark. Make sure when sewing you stay right on the edge of it, not on it. Try sewing a 1/4 inch seam again. Better? Then let's get going!
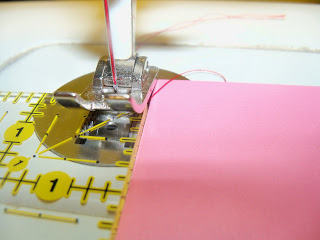
Sew Pieces 1 and 2 together
Put the two pieces of fabric right sides together and sew. With pieces this small it should not be necessary to pin, but if it makes you feel more comfortable, go for it.

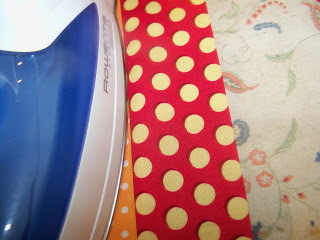
To press, open up the fabric and iron flat. Give the fabric a gentle push with the side or tip of the iron to make sure the seam is pressed completely open. If the fabric is not completely open the block will be too small.


Whooo! We Did It!

Let me know if you have any questions. I would love to see your pictures in the groups flickr pool!