
Block 5 - Arizona, We Can Do It! Skill Builder Sampler
............
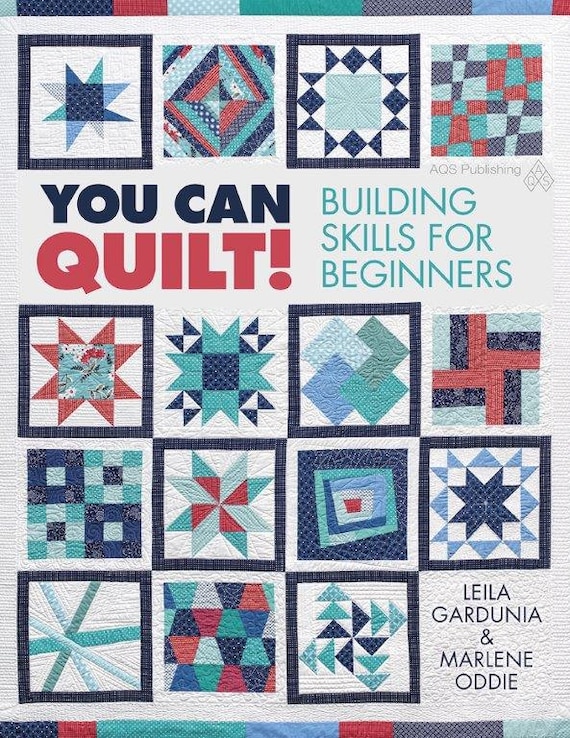
Edited (5/15): The Skill Builder Sampler will is available for purchase in book form! It has been renamed "You Can Quilt! Building Skills for Beginners" but covers the same skills with the easy, medium and challenging blocks and is a million times better than the original quilt along. It is perfect for the beginning quilter or the experienced quilter who wants to branch out and learn new skills. Find more information and order a signed copy in my Etsy shop or order on Amazon .
.
............
Cutting:

1 - 4.5x4.5 inch square (perhaps a larger print)
4 - 3x3 inch squares (out of a medium fabric, similar in color to the 4.5 inch square)
6 - 3x3 inch squares (out of your darkest fabric)
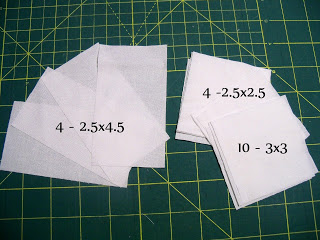
Out of your background fabric:
4 - 2.5x4.5 inch rectangles
4 - 2.5x2.5 inch squares
10 - 3x3 inch squares
Sewing:
Next:
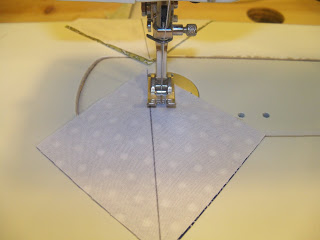
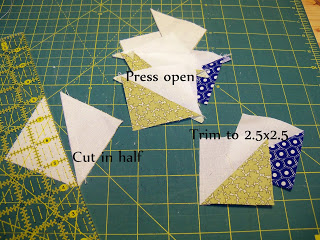
- Cut the squares in half on the line.
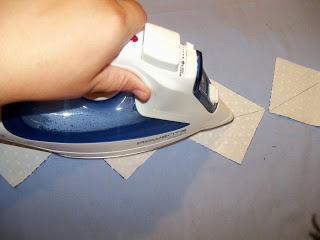
- Press the triangles open.
- Trim the half square triangles to 2.5 inches square. (I have got to learn how to sew an exact triangle. I thought the trimming would never end. Should I be admitting that?)
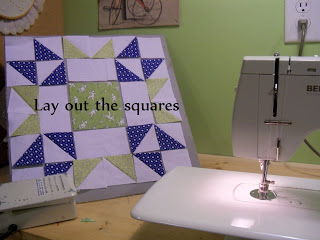
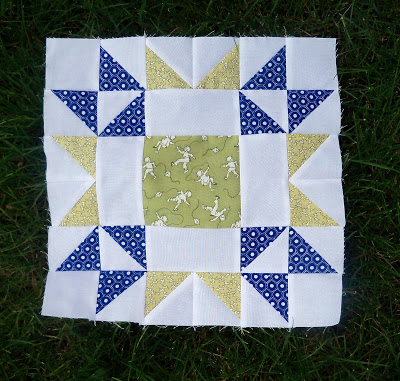
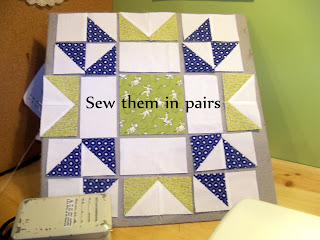
Once you have all of your blocks trimmed, arrange the block components as shown in the picture above.
A Brief Aside - A few months ago I was thinking that I needed a portable design wall to lay my block pieces on so they wouldn't get messed up as I sewed - I hate it when I sew the wrong pieces together! I remembered this small flannel board that I used when I taught Sunday School. I can prop it up right next to my sewing machine, sew pieces together, iron them, and then lay them back out. It makes it a lot easier to keep them in order. You could make your own flannel board by duct taping some flannel, batting or felt over a piece of cardboard or thin wood. Mine is 15x15 inches.
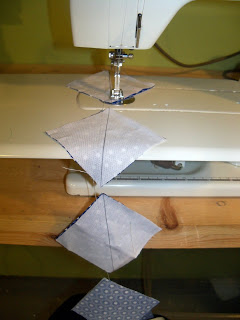
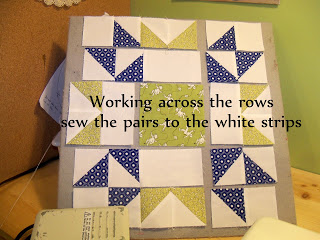
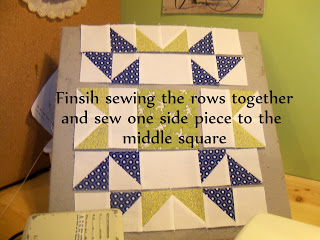
Moving on... there is no set way to sew the pieces together, but the following pictures illustrate the order I sewed them together in order to optimize my ability to chain piece.

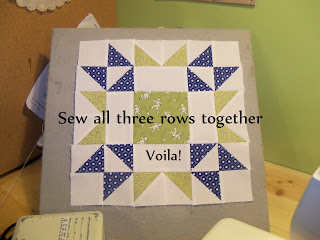
You have a beautiful block!

Remember to stop by the Flickr group to see the blocks everyone has been making and to post your own.
Remember...